

This should take overall.

This 3D model consists of files in StereoLithography (.Stl) format that have been optimized for 3D printing.
Before printing the files, we strongly recommend reading the PRINTING DETAILS section.
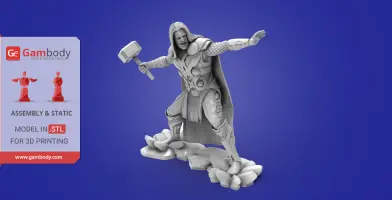
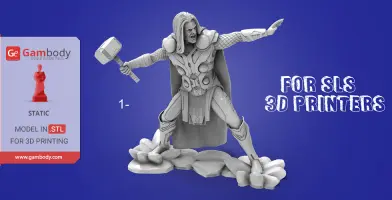
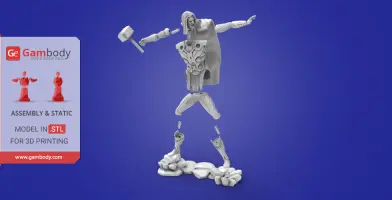
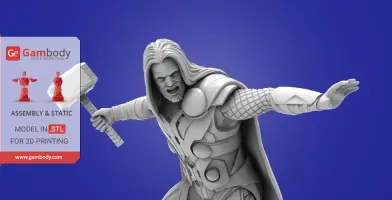
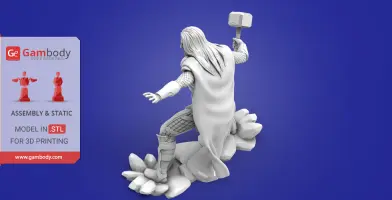
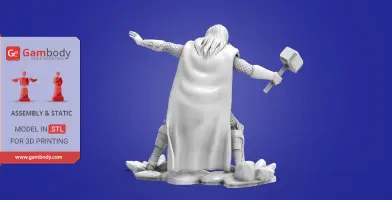
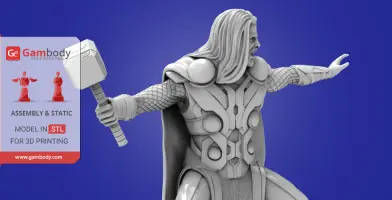
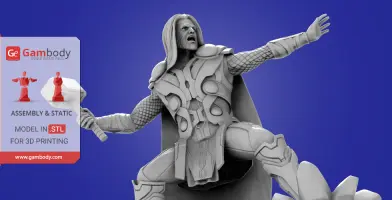
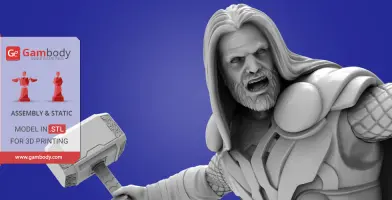
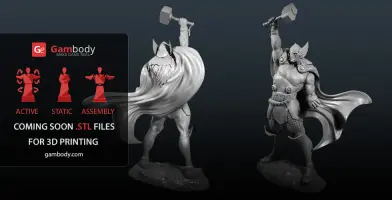
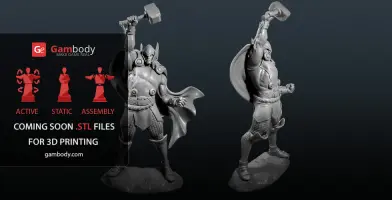
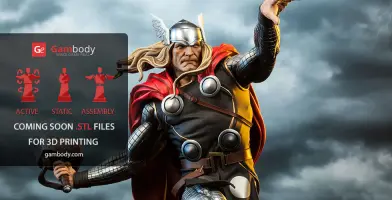
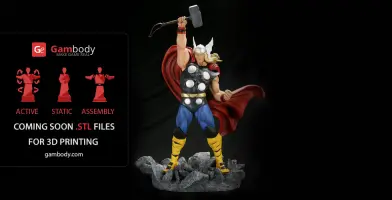
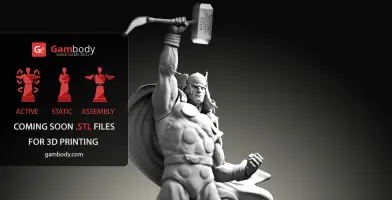
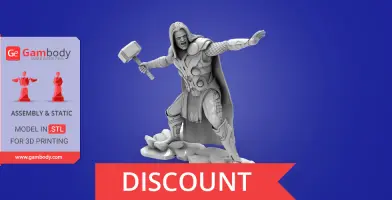
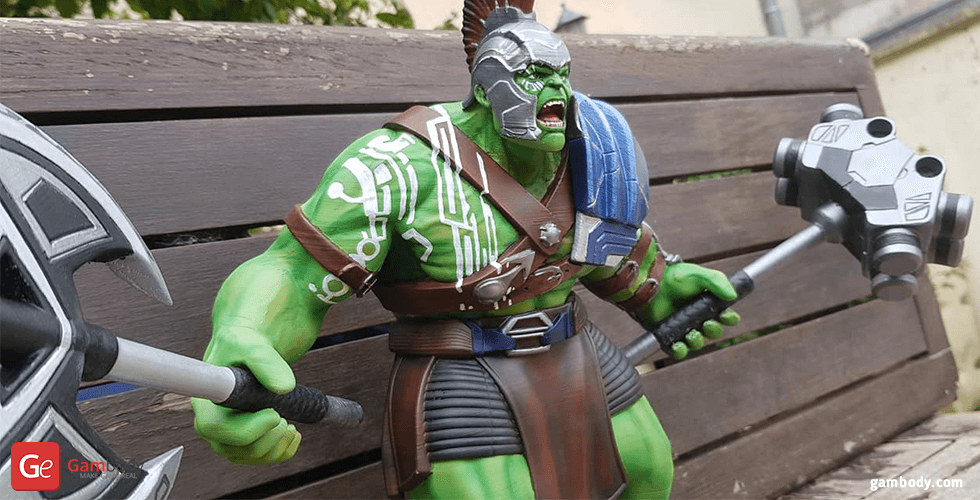
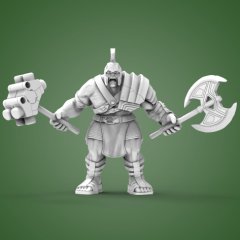
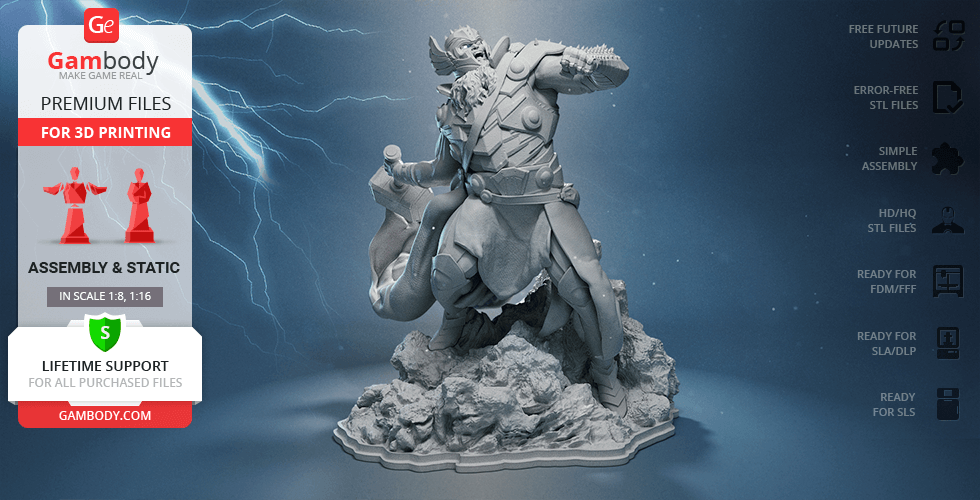
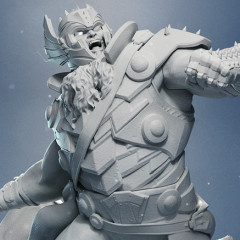
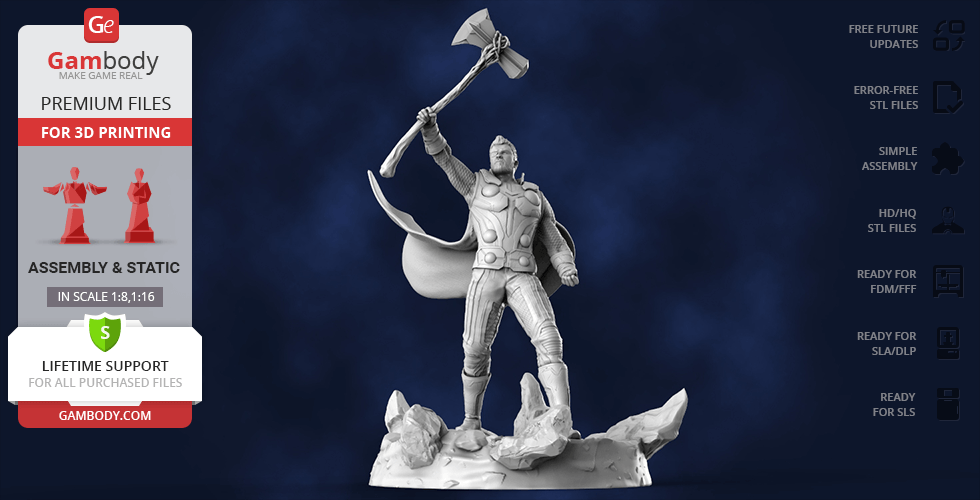
Version 1 and Version 2 are the files for Thor God of Thunder 3D Model optimized for 3D printing, the preview pictures of which you see above.
It is recommended:

|
|||||
|---|---|---|---|---|---|
| File Name | File Size | Time / Filament | Object Size (x/y/z mm) |
||
|
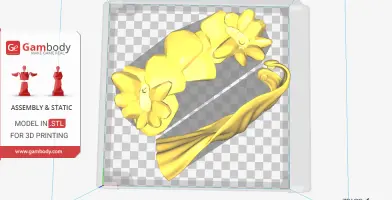
1_cloak.stl |
6.79 MiB | 13 h 47 min 9 m | 123 x 160 x 85 | Download | |
|
2_body.stl |
10.97 MiB | 14 h 42 min 8 m | 57 x 74 x 119 | Download | |
|
3_head.stl |
6.40 MiB | 5 h 27 min 4 m | 51 x 67 x 44 | Download | |
|
4_GE_Connector_B_1.stl |
0.04 MiB | 8 min <1 m | 20 x 6 x 6 | Download | |
|
5_arm_L.stl |
1.51 MiB | 2 h 8 min 1 m | 22 x 32 x 90 | Download | |
|
6_GE_Connector_B_2.stl |
0.04 MiB | 8 min <1 m | 20 x 7 x 6 | Download | |
|
7_hammer.stl |
4.61 MiB | 1 h 32 min 1 m | 20 x 32 x 65 | Download | |
|
8_arm_R.stl |
1.58 MiB | 2 h 51 min 2 m | 21 x 35 x 76 | Download | |
|
9_GE_Connector_B_4.stl |
0.04 MiB | 8 min <1 m | 20 x 6 x 6 | Download | |
|
10_platform.stl |
8.73 MiB | 15 h 8 min 8 m | 198 x 161 x 33 | Download | |
|
11_GE_Connector_B_3.stl |
0.04 MiB | 8 min <1 m | 20 x 6 x 6 | Download | |
|
12_GE_Connector_B_5.stl |
0.04 MiB | 8 min <1 m | 20 x 6 x 6 | Download | |
|
13_legs_1.stl |
10.23 MiB | 7 h 49 min 5 m | 109 x 40 x 74 | Download | |
|
14_GE_Connector_B_6.stl |
0.04 MiB | 8 min <1 m | 20 x 7 x 6 | Download | |
|
15_GE_Connector_B_7.stl |
0.04 MiB | 8 min <1 m | 20 x 7 x 6 | Download | |
|
16_legs_2_L.stl |
4.42 MiB | 3 h 9 min 2 m | 24 x 37 x 75 | Download | |
|
17_legs_2_R.stl |
4.13 MiB | 2 h 55 min 2 m | 33 x 37 x 71 | Download | |
| ... | |||||
This should take overall.
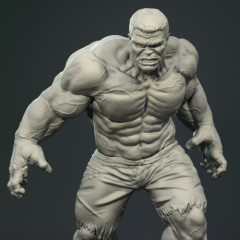
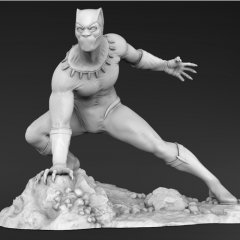
HISTORY OF THE THOR
The God of Thunder son of Odin and brother of Loki he grew up in Asgard and from the childhood was better than the rest humans. When he was 8 years old his father Odin gave him Mjolnir the enchanted hammer but he can take it only when he proof that he is great warrior. So next few years Thor was trained and improved his skills. After next 8 years he became the greatest warrior of Asgard and worthy of possession of the hammer. His soul is always very stubborn, proud and fairly selfish. Thor first descended to Earth in the 9th century, for response to the Viking prayers. Once upone a time Thor pursued a monster in the land of the Ice Giants, which is almost start the war in Asgard. And Odin give a lesson for Thor… He created a human body for his son with a lame leg and instilled Thor into him, depriving him of all abilities and memories. Odin sent him to Earth, to the New York Medical University under the name of Donald Blake. Odin hoped that his son would become very modest and devoted to his cause. But in the end, Blake graduated from university, earned the reputation of a caring doctor and brilliant surgeon, and also opened a private practice in New York. For a long time Thor could not remember anything of his life in Asgard, but soon most of the memory returned to him. Eventually, Odin told his son about the reason for his confinement on Earth in the guise of Blake. Thor want to continued his live among people in the role of Donald and work in medicine. He felt that some part of his soul was somehow connected with the Earth. Thor also very much attached himself to people and wished to get all experience that humanity could share with him. And today for your attention the 3D model of Thor Asgardian God of Thunder.
ABOUT THIS 3D MODEL
Thor God of Thunder 3D model for printing is saved in STL files, a format supported by most 3D printers.
His posture is made in the form of stopping the time before drawing a death impact by his Mjolnir.
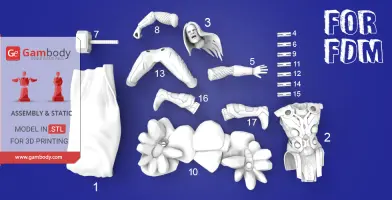
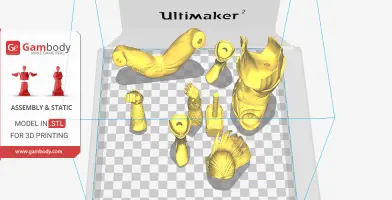
FDM version shape: divided into pieces and fasten with connectors.
SLS version shape: less then FDM and made as one part, for economy your material.
All .STL files for 3D printing have been checked in Netfabb and no errors were shown.
Note: Before starting 3D printing the model, read the Printing Details for CURA 2.7.0. software.
There are 17 parts for FDM version and only 1 part for SLS.
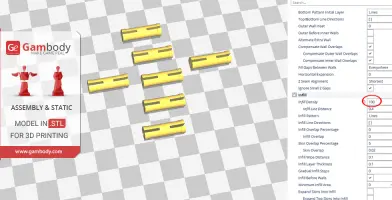
All parts of connectors should be printed at 100% infill.
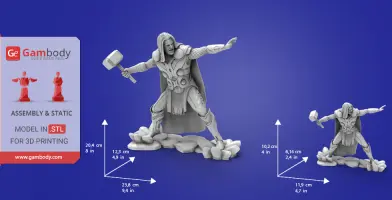
Scale:
His tall in real life is 1980 mm. Model made in 1/8 scale in FDM version and 1/16 in SLS/SLA version with an inclined body that preparing to impact.
FDM version dimension:
- After being printed will stand 204 mm tall, 236 mm wide, 123 mm deep;
- Connectors should be printed at 100% infill to make them solid.
SLS/SLA version dimension:
- After being printed will stand 102 mm tall, 119 mm wide, 61.6 mm deep.
- Has only one detail to keep printing costs down.
WHAT WILL YOU GET AFTER PURCHASE?
- .STL files of Thor God of Thunder for printing which consist of 18 parts.
- Removable model of cloak which you can print with flexible materials.
- Made in scale 1/8 of his real size.
- Detailed settings that we provide for Cura 2.7.0 for the best print.
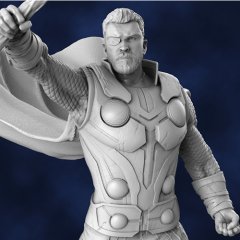
- High-poly detailed model of Thor God of Thunder.
- Full technical support from the Gambody Support Team.
Watch the tutorial video on how to assemble Thor God of Thunder Hero 3D Printing Miniature at Gambody YouTube channel.
You can get Thor God of Thunder Hero model for 3D Printing right now! Just click the green Buy button in the top-right corner of the model’s page. You can pay with PayPal or your credit card.
Also, you may like other Marvel 3D Printing Figurines as well as 3D Figurines of DC.
_______
FAQ:
Where can I print a model if I have no printer?
How to get started with 3D printing?
How to set up my 3D printer?
How to choose right 3D model print bed positioning?
How to paint printed figurine?
This model was tested in Cura 2.7.0. and printed on an Ultimaker 2 in PLA material.
Note: To maintain model quality, do not try to increase or decrease the size, since the connectors may not fit and the model will not be assemble after scale changes.
To avoid printing problems, we recommend the following settings:
Quality
Layer Height: 0.1 mm
Initial Layer Height: 0.27 mm
Line Width: 0.35 mm
Wall Line Width: 0.35 mm
Outer Wall Line Width: 0.35 mm
Inner Wall(s) Line Width: 0.35 mm
Top/Bottom Line Width: 0.35 mm
Infill Line Width: 0.35 mm
Skirt/Brim Line Width: 0.35 mm
Support Line Width: 0.35 mm
Initial Layer Line Width: 100%
Shell
Wall Thickness: 1.05 mm
Wall Line Count: 3
Outer Wall Wipe Distance: 0.2 mm
Top Surface Skin Layers: 0
Top/Bottom Thickness: 0.8 mm
Top Thickness: 0.8 mm
Top Layers: 8
Bottom Thickness: 0.8 mm
Bottom Layers: 8
Top/Bottom Pattern: Lines
Bottom Pattern Initial Layer: Lines
Top/Bottom Line Directions: [ ]
Outer Wall Inset: 0.025 mm
Compensate Wall Overlaps: Check
Compensate Outer Wall Overlaps: Check
Compensate Inner Wall Overlaps: Check
Fill Gaps Between Walls: Everywhere
Horizontal Expansion: 0 mm
Initial Layer Horizontal Expansion: 0 mm
Z Seam Alignment: Shortest
Ignore Small Z Gaps: Check
Infill
Infill Density: 20% (all parts of the connectors should be printed at 100% infill)
Infill Line Distance: 3.5 mm
Infill Pattern: Grid
Infill Line Directions: [ ]
Infill Overlap Percentage: 10%
Infill Overlap: 0.035 mm
Skin Overlap Percentage: 5%
Skin Overlap: 0.0175 mm
Infill Wipe Distance: 0.0875 mm
Infill Layer Thickness: 0.1 mm
Gradual Infill Steps: 0
Infill Before Walls: Check
Minimum Infill Area: 0 mm2
Material
Enable Retraction: Check
Retraction Extra Prime Amount: 0 mm3
Retraction Minimum Travel: 0.7 mm
Maximum Retraction Count: 90
Minimum Extrusion Distance Window: 6.5 mm
Nozzle Switch Retraction Distance: 20 mm
Nozzle Switch Retraction Speed: 20 mm/s
Nozzle Switch Retract Speed: 20 mm/s
Nozzle Switch Prime Speed: 20 mm/s
Speed
Print Speed: 45 mm/s
Infill Speed: 45 mm/s
Wall Speed: 36 mm/s
Outer Wall Speed: 26 mm/s
Inner Wall Speed: 36 mm/s
Top/Bottom Speed 20 mm/s
Support Speed: 26 mm/s
Support Infill Speed: 26 mm/s
Travel Speed: 90 mm/s
Initial Layer Speed: 27 mm/s
Initial Layer Print Speed: 27 mm/s
Initial Layer Travel Speed: 54 mm/s
Skirt/Brim Speed: 27 mm/s
Maximum Z Speed: 0 mm/s
Number of Slower Layers: 2
Travel
Combing Mode: All
Avoid Printed Parts when Traveling: Check
Travel Avoid Distance: 0.6562 mm
Cooling
Enable Print Cooling: Check
Fan Speed: 100%
Regular Fan Speed: 100%
Maximum Fan Speed: 100%
Regular/Maximum Fan Speed Threshold: 10 s
Initial Fan Speed: 0%
Regular Fan Speed at Height: 0.27 mm
Regular Fan Speed at Layer: 2
Minimum Layer Time: 5 s
Minimum Speed: 10 mm/s
Support
Enable Support: Check
Support Placement: Everywhere
Support Overhang Angle: 50°
Support Pattern: Zig Zag
Connect Support ZigZags: Check
Support Density: 15 %
Support Line Distance: 2.3333 mm
Support Z Distance: 0.1 mm
Support Top Distance: 0.1 mm
Support Bottom Distance: 0.1 mm
Support X/Y Distance: 0.7 mm
Support Distance Priority: Z overrides X/Y
Minimum Support X/Y Distance: 0.2 mm
Support Stair Step Height: 0.3 mm
Support Stair Step Maximum Width: 5.0 mm
Support Join Distance: 2.0 mm
Support Horizontal Expansion: 0.2 mm
Support Infill Layer Thickness: 0.1 mm
Use Towers: Check
Tower Diameter: 3.0 mm
Minimum Diameter: 3.0 mm
Tower Roof Angle: 65°
Build Plate Adhesion
Build Plate Adhesion Type: Brim
Skirt/Brim Minimum Length: 250 mm
Brim Width: 8.0 mm
Brim Line Count: 23
Brim Only on Outside: Check
Mesh Fixes
Union Overlapping Volumes: Check
Merged Meshes Overlap: 0.15 mm
Special Modes
Print Sequence: All at Once
Surface Mode: Normal
Experimental
Extra Skin Wall Count: 0
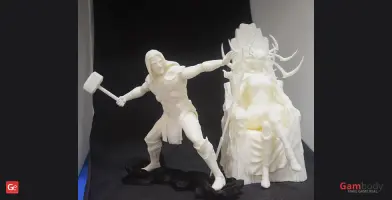
Disclaimer: This model will look outstanding if printed on SLA/SLS 3D printer. The accuracy of the model printed on FFF printer can vary from the result shown in the pictures.
comics, marvel, avengers, thor, ragnarok, marvel-movie, odin, revengers, odinson, god-of-thunder, team-revengers, team-of-revengers, thor-ragnarok
You are about to report Thor God of Thunder 3D Model | Assembly for violating our Terms and Conditions. Please take a few moments to fill in the following information.
Comments
comments powered by Disqus