Anycubic has delighted 3D printing enthusiasts with a new upgrade, the fast Anycubic Kobra 2. You can order this FDM 3D printer on the official website for just $209, or get it with fantastic Gambody & Anycubic Kobra 2 Bundles on gambody.com and enjoy extra perks such as beautiful models for 3D printing.
Following Gambody’s time-honored tradition, we will be happy to review the Kobra 2 printer, unbox it, explore every detail, specs, and dimensions, unscrew every bolt, and share everything with you.

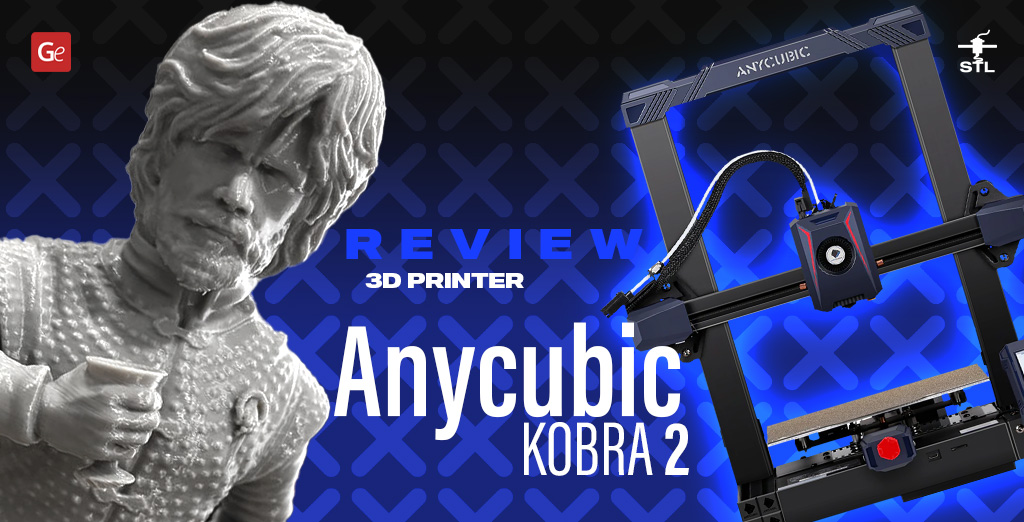
Anycubic Kobra 2
The new Anycubic FDM printer comes in a small box weighing under 20 lbs (about 9 kg). While unboxing, we like how well the Anycubic Kobra 3D printer is packed. Each part is surrounded by a thick layer of polypropylene, which maintains the integrity of all contents even if the box is accidentally dropped.

The first thing we see on top is the PEI build plate. It has become an excellent standard for 3D printing, and we are glad that our acquaintance with the new Anycubic Kobra begins with this element.

Next, we can observe two large 3D printer parts that connect easily using the four bolts.

Also, we can see a 4.3-inch full-colored LCD Touchscreen (another excellent standard by Anycubic), which we enjoyed working with while reviewing the Anycubic Vyper 3D printer. There is also a brand new print head, which we will discuss in more detail below.
Kobra 2 Print Head
The first thing catching your eye is the branded Anycubic printer 4-watt fan with two air channels extending to cool the nozzle on both sides and allow for more efficient filament cooling. The turbine-type cooler has a pass-through channel for cooling. You can find similar coolers on some powerful laptops.


There are holes for ventilation on the sides and an induction sensor to calibrate the distance between the nozzle and the bed on the reverse side.

Here, you can also see the powerful 60-watt Volcano-type heater (quite a lot!) and a small fan behind the radiator to cool it. On top of it all, you can see the NEMA 17 extruder motor, smaller than that used in the previous Anycubic 3D printer version. NEMA 17 is located directly above the hotend, meaning it will make the printer head work faster and easier.

Anycubic engineers worked well on the Kobra 2 printer head design. In general, we are pleased with its monolithic assembly and final appearance.
Kobra 3D Printer Frame
The main frame has an SD card slot and a USB port instead of a micro USB (what a significant improvement!) for computer connection on the front. On the lower side is a 400-watt power supply, which is quite powerful for this Anycubic Kobra 2 3D printer, and a controller board with a protective cover for the processor.
When you unscrew this cover, you will see a giant cooler that cools the mainboard. It is an excellent solution because it operates with less noise while providing an excellent cooling effect.

Anycubic Kobra 2 has a TriGorilla Pro B v1.0.2 mainboard and HDSC hc32f460 32-bit microcontroller with a Cortex-M4 CPU running at 200 MHz. The new Anycubic printer should have no performance issues because of its powerful core. And you’ll like the fact that the drivers are quiet.

Besides, this Anycubic Kobra 3D printer boasts a new leveling system, which we’ll look closer at after assembling and testing the machine.
Review & Assembly
Kobra 2 comes as a standard kit. It has a small spool of filament to test, a spare nozzle, and an 8 GB flash card with an adapter, with every part individually bagged and numbered. Unfortunately, there are no cutting pliers for filament in the kit.

The Anycubic Kobra 2 assembly requires a minimum amount of time. It took us 30 minutes from unboxing to running the first test print. All you need to do is connect the Z-axis with the Anycubic Kobra 2 bed, install the print head, and connect the Touchscreen. Then, you can enjoy Anycubic Kobra specs by making your first 3D prints.
Anycubic Kobra 2 comes with three instructions. One quickly explains how to assemble the 3D printer. The other two provide a more detailed description of the process and are available in the print and digital versions.

We advise you to follow the incredibly accurate instructions that describe the Kobra 2 assembly step by step. We had no issues, and you will succeed, too! Also, as noted in our previous Anycubic 3D printer reviews, you always feel like having a high-quality branded product when you assemble their machines. Each part is given the perfect coat of paint. All Kobra 3D printer parts fit together incredibly accurately. The bolts are of good quality, etc.

Many Anycubic 3D printers are great. This company has developed new guides that the components will ride on we haven’t seen in other brands. Their product is between standard guides with rubber rollers and rail guides. Kobra 2 has iron rollers that ride on a round rail. You can adjust the tension of the wheels by tightening the eccentric nuts, just as you do on standard guides.

After assembly, the Anycubic Kobra 2 3D printer looks fantastic. We want to note a special protective connector used for the print head wires, which should prevent wires from bending during the machine operation. In addition, the wheels roll well along their guides, and we didn’t have to tighten the nuts.

Anycubic Kobra 2 Dimensions
We mentioned the box weight of under 20 lbs (about 9 kg). Now it’s time to look closer at Anycubic Kobra 2 dimensions. The product is 19.13″ x 19.13″ x 16.93″.
Anycubic Kobra 2 Bed Size
The 3D printer dimensions offer an excellent build volume for incredible home projects. Anycubic Kobra 2 bed size is 230 x 230 mm (9.06″ x 9.06″). However, the print area is 220 x 220 x 250 mm (8.7″ x 8.7″ x 9.8″), which is enough to create a diversity of models, from simple smaller parts to complex objects you can find on gambody.com 3D printed marketplace.

The bed is covered with a magnetic PEI plate.
Comparing Kobra 2 to Vyper
Kobra 2 looks similar to Anycubic Vyper: the bed has a rigid fixation and requires no calibration using springs, and the Touchscreen comes with an interface identical to Vyper’s.
The first difference between Vyper and the new Kobra 3D printer is only one motor but two shafts you see if you look behind the machine. A transmission belt drives the second shaft into motion, having the same working principles as in the Voxelab Aquila D-1 3D printer we reviewed previously.
The Touchscreen has a standard interface as in some other Anycubic 3D printers. It works fast! The flash drive coming with Kobra 2 offers several models for 3D printing and calibration tests. Thus, you can enjoy printing when you assemble Anycubic Kobra 2. You must complete FDM printer bed calibration beforehand, as described below.
Bed Calibration
Anycubic Kobra 2 has an updated LeviQ 2.0 calibration system. It means you can now forget about calibration using a piece of paper. The printer’s build plate is stable and reliable. Using an inductive proximity sensor, the machine first maps the perfect distance between the bed surface and the nozzle tip at 25 points. After this, a unique touch sensor measures how far the nozzle is above the build plate. The extruder nozzle preheats and cleans the filament residues on a special silicone pad.

Your machine is ready to print after calibrating the Anycubic Kobra 2 bed. Depending on the 3D printing model, you might need to calibrate the nozzle height by 0.05 mm (higher or lower), which you can adjust in the settings.
To conclude, Kobra 2 bed calibration is way better than on other budget FDM 3D printers. Gambody liked it a lot!
Testing Anycubic Kobra 2 3D Printer
You could notice a rather noisy print head fan. We understand that it is essential to cool filament as quickly as possible when you 3D print at high speeds, and that’s why Anycubic installed a powerful dual-sided 4.8 W turbine on Kobra 2. But you can’t escape physics. The outstanding cooling effect comes at the cost of noise. To lower it, you must reduce print and fan speeds. Still, to defend the noisy “monster,” we should confirm that the fan provides a fantastic two-way cooling effect.
Our first calibration test was printing thin squares on the corners of the build plate to confirm excellent bed calibration.

The next test was to 3D print the iconic #3DBenchy boat. The flash drive that comes with the Anycubic printer offers several settings for this model that depend on the layer thickness.


Gambody team printed several ships in different settings. Kobra 2 copes well with cooling the filament while building bridges and overhangs. But the high speed is probably way too excessive. We believe the kinematics cannot handle accelerations and jerks at such speeds, even though the print head can.

For our review, the next Anycubic Kobra 2 test is to 3D print one of the models saved on the flash drive. You can see the high quality of the cooling system when you work on thin elements, create corners with overhangs, and notice the gap quality between the parts.


After testing Kobra 2, we started to 3D print models from Gambody 3D printed marketplace.
Anycubic Kobra Upgrades
When presenting Kobra 2, Anycubic replaced the Ultimaker Cura with its AnycubicSlicer and PrusaSlicer profile. We are not upset because PrusaSlicer boasts some excellent specs ahead of Cura. We like its algorithm for laying layers and working with supports.

You are advised not to install the PrusaSlicer version that arrives with your Kobra 2 because it is outdated. It is better to work with Anycubic Kobra upgrades, so download the newest slicer version and transfer a Profile for the Anycubic Kobra 2 from Cura saved on the flash drive.
Also, Anycubic allows you to install its preset PrusaSlicer profile. There is only one profile setting for PLA with a layer height of 0.2 mm, which is better than nothing. However, hobbyists whose regular slicer option is Cura can safely add the Kobra 2 profile with 220 x 220 x 250 mm build volume and the Direct Extruder. You can use the settings shared by Gambody along with the speeds described below. We haven’t studied the AnycubicSlicer yet, but it seems to be based mainly on PrusaSlicer with some visual interface adjustments.
3D Printing on Anycubic Kobra 2
The first accurate model we want to test print on Kobra 2 is Dwarf Bust. It is a complex project with many fine details and overhanging elements.


At first, we tried printing with the standard settings provided by Anycubic, but they are not suitable for building accurate, highly detailed models. Kobra 2 was too loud.
To improve this situation, Gambody created unique settings that consider all these facts and help the 3D printer build outstanding projects with fine details and complex overhanging elements. We tested these settings, and the assembly E.T. the Extra-Terrestrial 3D Printing Figurine turned out fantastic! Even its thin fingers printed without issues.

Everything is perfect with the retracts, too, but the settings are not standard.

The third model 3D printed on Anycubic Kobra 2 is Tyrion 3D Printing Figurine from Game of Thrones. We printed the one-piece SLS version on the new Anycubic FDM printer, and the result is incredible!
Print Settings
Anycubic states that Kobra 2 can operate at high speeds with a maximum print speed of 300mm/s and accelerated speed of 3000mm/s². Its print head is capable of this. However, it would help if you approached the high speeds wisely.
You can use the standard settings offered by Anycubic when printing something significant with smooth sides and without sharp corners (for example, a box with rounded edges). But when you wish to 3D print high-quality models with details, reducing the speed and acceleration by 30 to 40 percent is better. Kobra 2 will still print fast, but the printing quality will improve. Gambody, for instance, lowered the speeds and accelerations below the figures shared by Anycubic but kept them higher than the ones provided by Prusa.

Advice: We used tree supports because they save the filament and can be removed ideally from the models. Anycubic PLA Grey is the best filament to use in terms of price/quality.
It’s time to summarize the pros and cons of Kobra 2.
| Pros | Neutral | Cons | Grade |
| PEI build plate with magnetic base | +1 | ||
| Price | Price | 0 | |
| 3D printer kit | 0 | ||
| Quiet operation | Noisy at high speeds | -1.5 | |
| Print quality | +1 | ||
| Appearance | +1 | ||
| Fixed build place with auto-leveling system | +1.5 | ||
| Belt tensioners | 0 | ||
| Good build quality | +1 | ||
| Easy to assemble | +1 | ||
| Touchscreen | +1 | ||
| Interface | 0 | ||
| Performance | +1 | ||
| Intelligent Direct Extruder | +1 | ||
| Good active cooling on the nozzle | +1 |
Conclusion
Anycubic released another hit 3D printer, an entry-level budget FDM machine with top specs and speeds for the price. You will be satisfied with starting your journey in 3D printing with Kobra 2. The stunning models Gambody offers will help you improve it quickly. Consider reducing the noise of the leading cooler by changing the print settings, and the Anycubic printer will give you a lot of pleasure as you transform incredible STL files into beautiful projects and share your masterpieces in a friendly Gambody 3D Printing Community with hobbyists from all over the world.


15 Impressive Mandalorian Figurine and 3D Models for 3D Printing
Read Article
Black Pearl Ship 3D Model Step-by-Step 3D Printing, Assembling and Painting
Read Article