 Community


 es
 ua



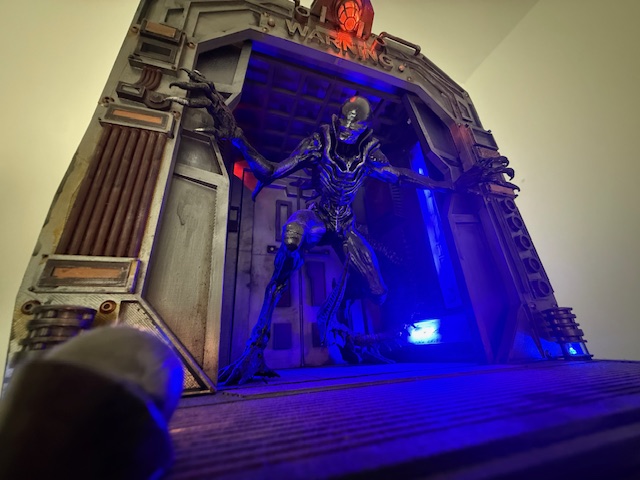
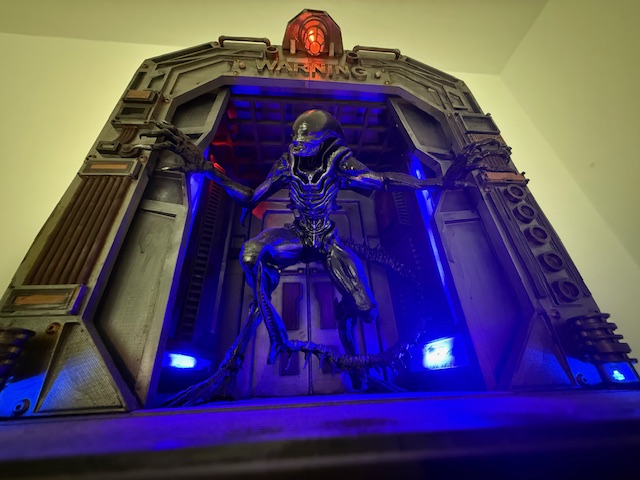
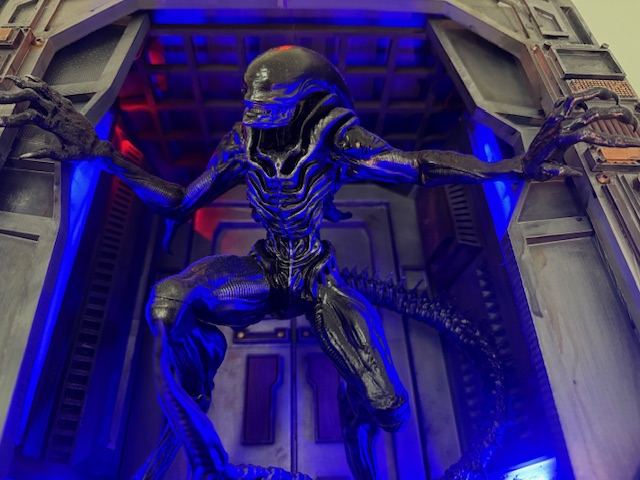
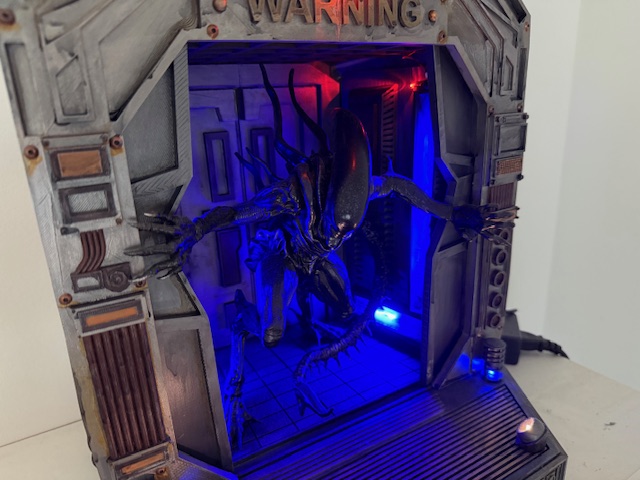
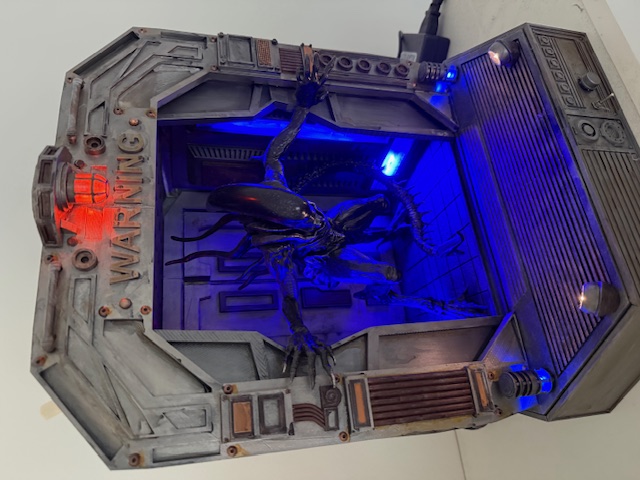
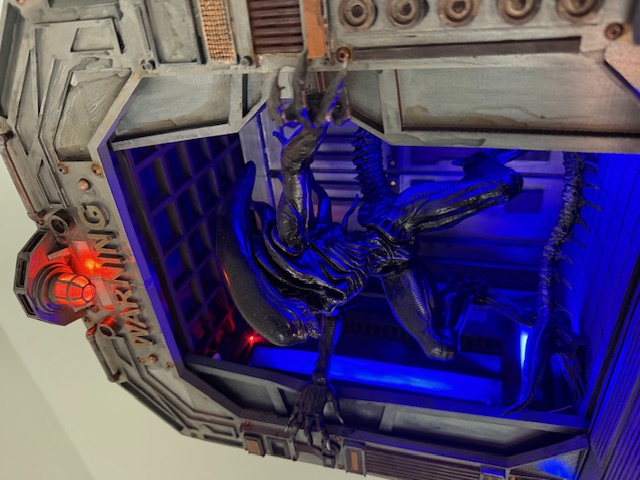
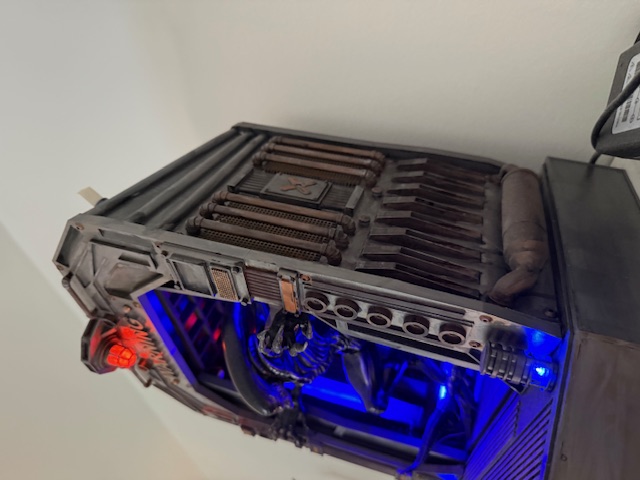
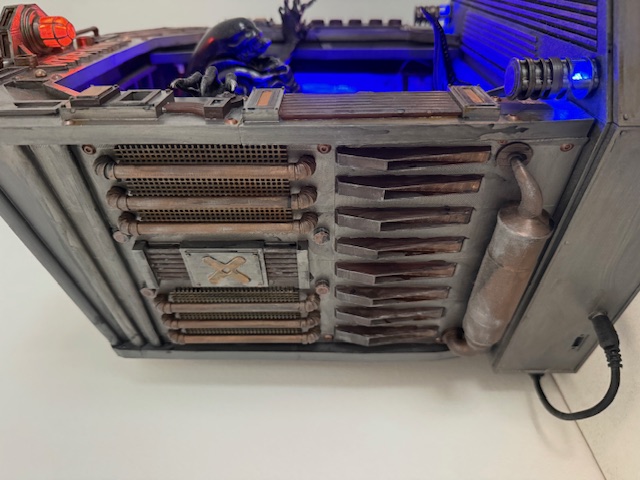
My Alien Diorama

Assembly - IMG_9365.MOV
Model showcase - IMG_4768.MOV


I started 3D printing my Alien Escape diorama in early 2025. Back then, I primed all the printed parts and even finished painting the Alien figure itself.
And then... nothing happened for almost a year. 😅
It wasn't until Christmas 2025 that I finally picked up the project again and started working on the electronics and final assembly.
With the help of ChatGPT, I managed to write the Arduino code to control all the lights individually, as well as the MP3 player and the steam generators.
In the meantime, I also tried to improve my painting skills, experimenting with different techniques to bring the diorama to life.
I also designed the entire bottom base, including the power switch and control button, myself in Fusion 360 and 3D printed it.
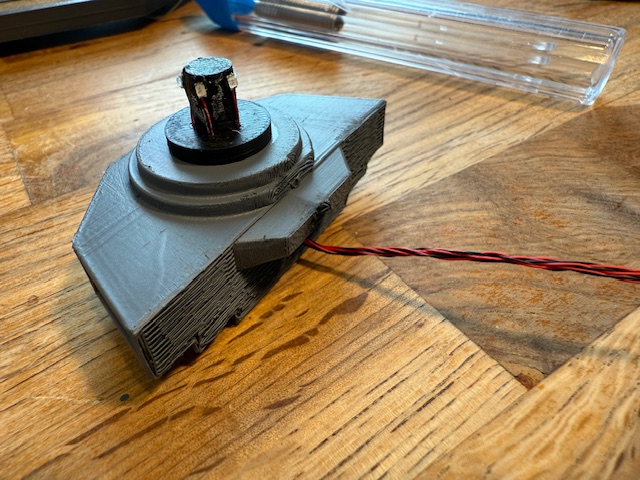
One of the biggest challenges was the rotating warning light, which uses five individually controlled LEDs to simulate the rotating effect.
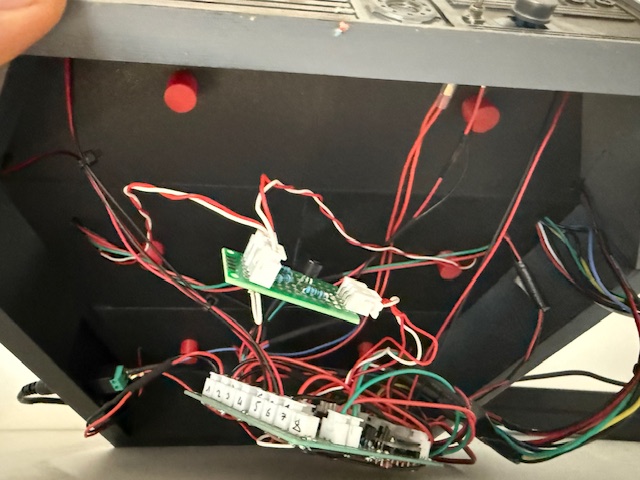
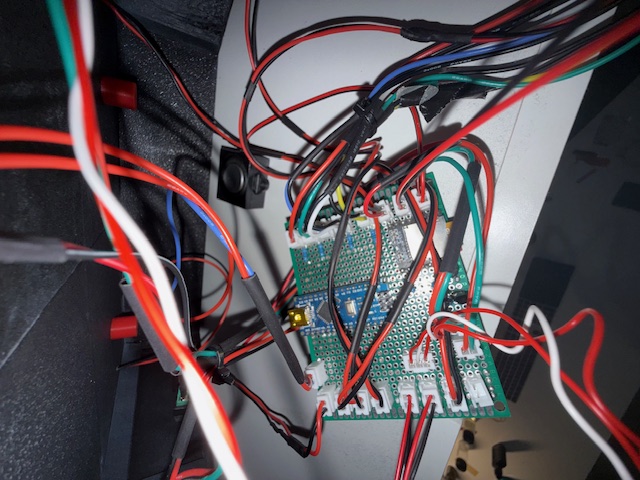
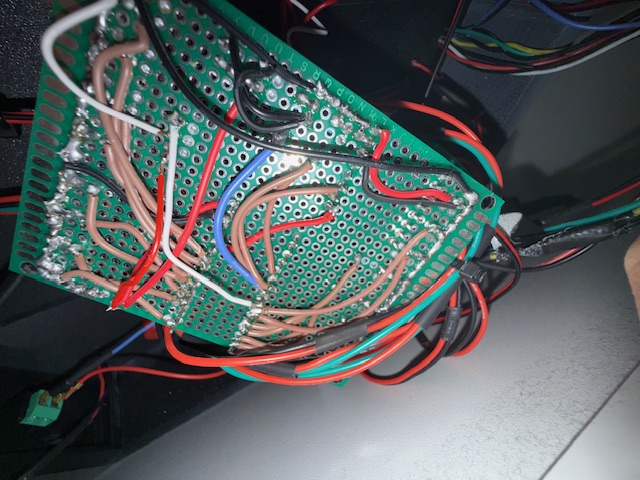
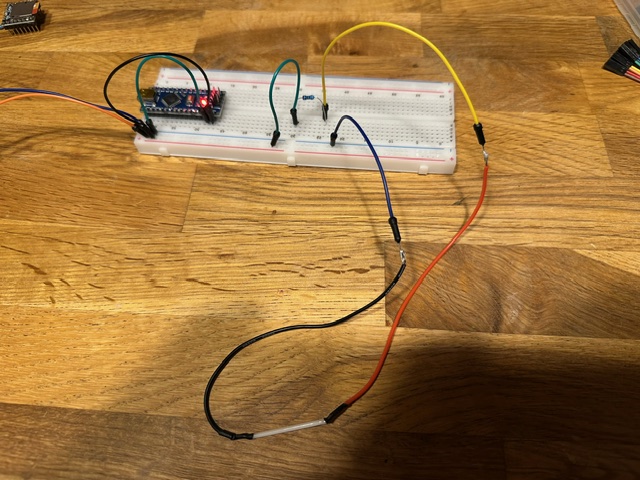
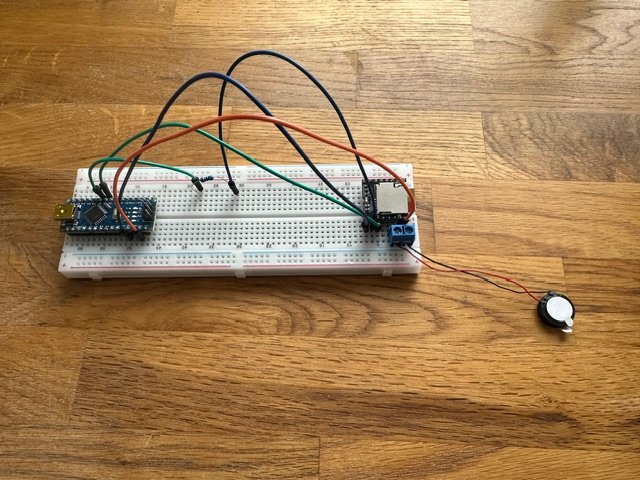
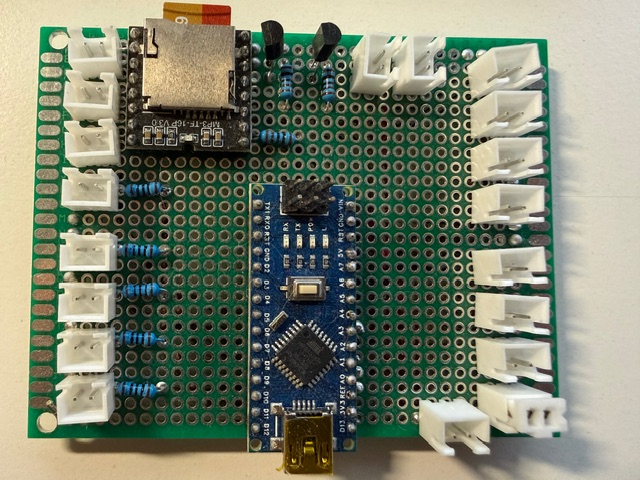
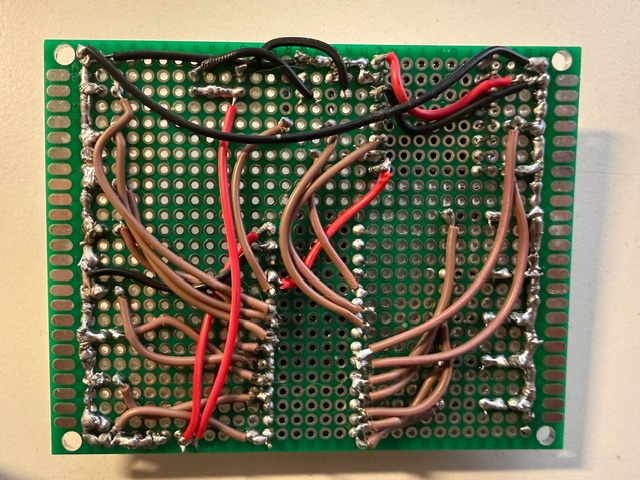
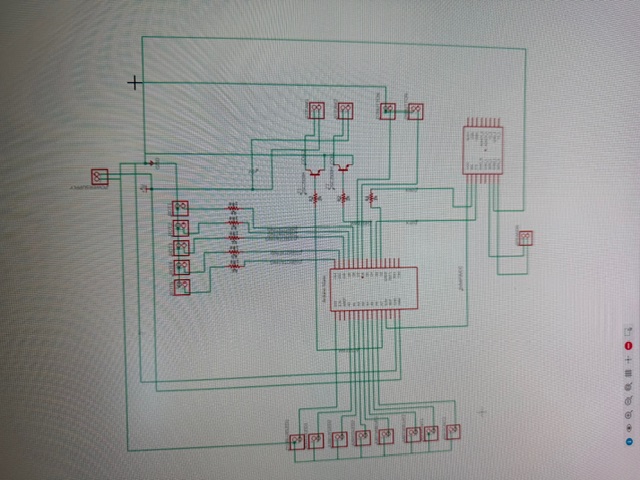
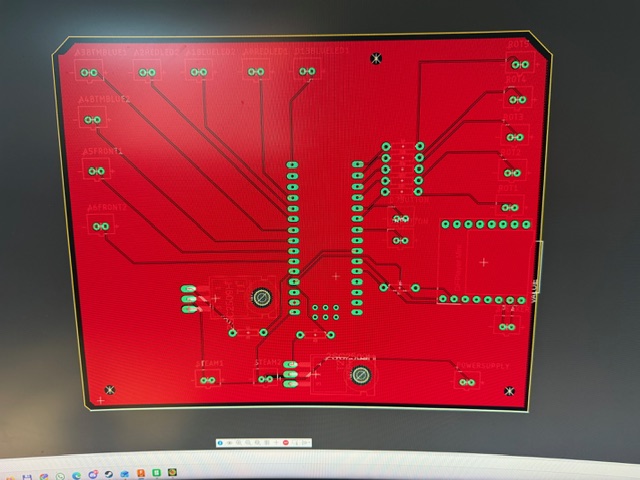
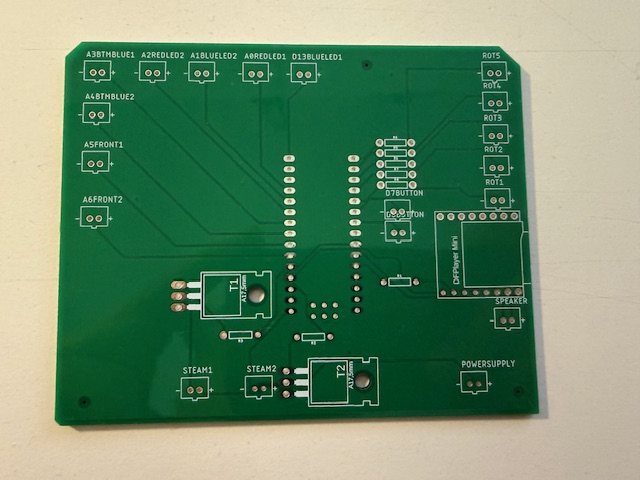
The electronics were another adventure. I built and soldered the entire circuit myself on a prototype board. Eventually, I'd like to replace it with a proper custom-designed and manufactured PCB.
Is this the most efficient or elegant electronics setup? Probably not! 😄
But that was never really the point.
What I enjoyed most was learning so many different things along the way: electronics, Arduino programming, Fusion 360, PCB design, painting, and 3D printing.
It was a lot of trial and error, experimenting, fixing mistakes, and figuring things out as I went.
And in the end, seeing all these different elements come together into one finished diorama was incredibly satisfying.
I'm really happy with how it turned out, and I wanted to share both the final result and some behind-the-scenes pictures of the process with you guys!
Hope you like it!
FFF/FDM printing: Bambu Lab P1S with AMS
PLA
Printing time: maybe 150 hours
Bambu Studio 2.8.0.50 Public Beta
27 October 2026
0
0
