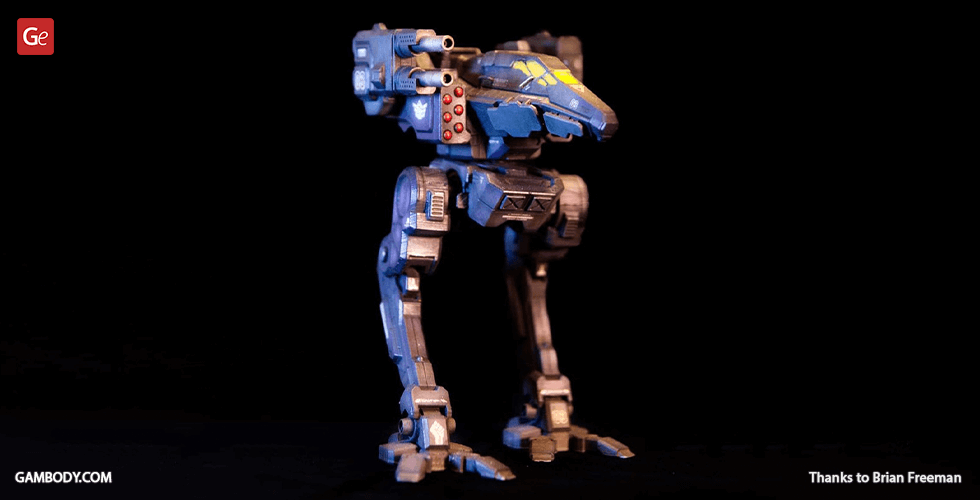
I've always wanted this APC. Many times I was on the brink of buying a toy online. When it came to Gambody, I attempted printing it right away, but my bedslinger printers did it no justice. I was not until I bout a Core XY printer that I was able to pull it off. I roughed mine up with weathering and decided not to light it up. I went with a 200% upscale. My print measures over 22 inches long. A great model.
As with all the other models I’ve gotten from Gambody, these files printed perfectly. I’d been wanting an F14 model since I started printing a year ago. You guys should do more ships from Star Gate series like the BC-304 Daedalus and Prometheus.
The print files are perfectly prepared and beautifully sliced, making the 3D‑printing process smooth and trouble‑free. I was especially impressed by the level of detail – every little fold, contour, and expression comes out beautifully and gives the final model a truly high‑quality look.
I can 100% recommend this file. Anyone looking to print a Baby Yoda model that not only looks great but is also technically well‑designed will be more than satisfied.
Just finihsed printing and its massive, I printed the FDM version but in Resin (As i like pain), and its HUGE, but massivly detailed, every print i would look it over and was just speachless. I would 100% recomend if youre a B5 fan to buy this with out doubt BUY IT. Keph is a talented designer and i cant wait for what he comes up with next, Im also going to make sure everyone knows about this model and how good it is.
An absolute monster of a build. And it has great details And the addon packages makes this exceptional detailed an fun print. I is estimated to use 11kg of filament and 750 hours of print time on my Bambu A1.
The bust is amazing the detail is incredible and it fits together perfectly, I printed her in resin and supported her in a way so there is very little clean up, fur and suit text just pop can’t wait to paint !
I upscaled the FFF model from 100 to 150. Detail turned out amazing. I still have to add the antennas. But these should provide a good idea.
I love robocop,. alike most other prints from Gambody I upscale them and this was no different. 1:1 scale and file integrity held perfectly. The detail is epic but i also like both heads with and without helmet so I can change them at will whenever the feeling takes me. You wont be disappointed!
Easy to print with hardly any supports needed. All pieces fit on a 250mm3 printer no problem. Printed on a couple of P1S printers with Bamblulab Grey PLA in about 4 days. Glued together with CA glue and it's holding up great! It's a very impressive model.
I loved UFO as a kid so I just had to get this model when I ordered my new Anycubic Kobra X. The model was so easy to print and for the most part very easy to colour. Final Result came out great!
Merci beaucoup pour ce modèle. Il est vraiment magnifique. Je l'imprime en PETG HS ERYONE, nozzle en 0.25 et layer en 0.06 mm sur Flashforge ADM 5 PRO. Patrice
Just thumbing through the files. Good lord. Extremely high poly with quality surfaces. Im pretty sure i could upscale these and print out very close to a 1:350 scale. Please jesus pay this guy to do an s rank enterprise E model.
OK, this is awesome! the print is long and it does take a while to custom pain to get the cool look, but with my H2D made printing it easy. No waste with the dual colors. I was thinking of lighting this up but could not find a good way to do it with one battery source.
One note to anyone else, follow the directions. I used 15% infill and it suggests 5 to 6 percent. This made this model almost 7lbs. I had to do a very solid mount. Great print!
Das Teil war nicht einfach und ein bisschen Erfahrung mit Modellbau wäre hier sehr von Vorteil. Am Ende realisiert man erst, wie groß das Teil eigentlich ist. Ein großes Lob an die oder den Künstler, jedoch habe ich trotzdem eine kleine Kritik. Es wurde die Toilette vergessen?! Ich konnte das so nicht stehen lassen und musste notgedrungen eine Dixi Toilette mit in den Frachtraum nehmen.
I had zero issues withthe model or any settings. Printed on my Saturn with ABS like resin, with a vat heater at 85F. Beatiful prints, no issues withassembly or any failures of any kind.I love the size of the figures, great for display!
This a an awesome model so much nostalgia. I spent a few hours in painting it in Bambu Studios. It was well worth the effort and time printing this model. This is my favorite project so far.
This has always been one of my favorite star ships. This print went well and no real issues. Stick with the recommended settings and things will go smooth. this was printed on a P1S and my H2D for the multi color. Thank you for such a awesome model!
Jak dla mnie absolutnie niesamowity model, jego szczegółowe przygotowanie i odwzorowanie. W pierwszej wersji miał to być model wydrukowany w skali 150%, jednak w wyniku mojej pomyłki zostały wydrukowane dwie wersje: 150 % i 225%. Obie wyszły fantastycznie. Model wart każdego centa i każdego grama filamentu.
Honestly what drew me to this model the most was the stand that comes with the elite add-on. Admittedly this was not a favorite TIE model in general, but as i built it it rapidly became one of my favorite ships! I'm working on an elite version and will post pix once those are done. all in all a great experience; well done!
Noah is a class act and a pleasure to build his creations. The models are the best I’ve come Across for any Tron related model. His passion comes through his designs and the models are very well thought out. MUST BUY’S if your a fan of Tron or any futuristic vehicle design.