

 es
es  ua
ua 

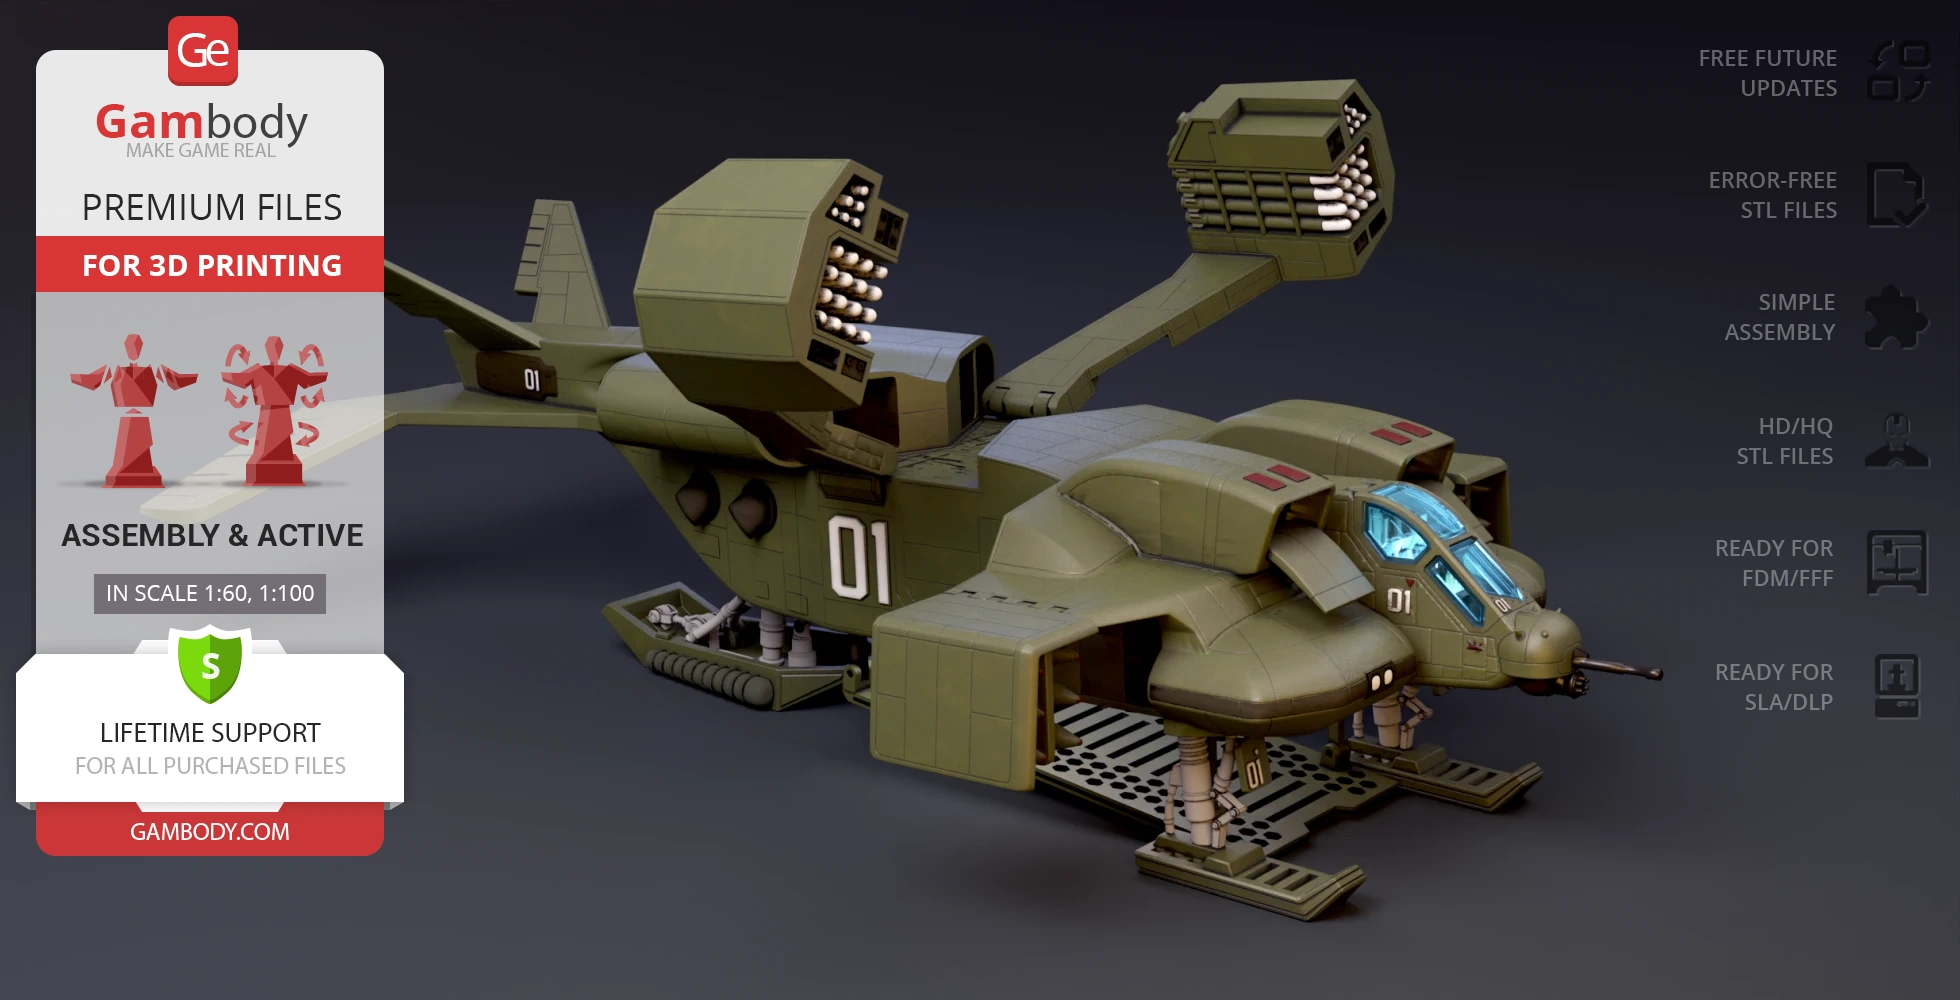
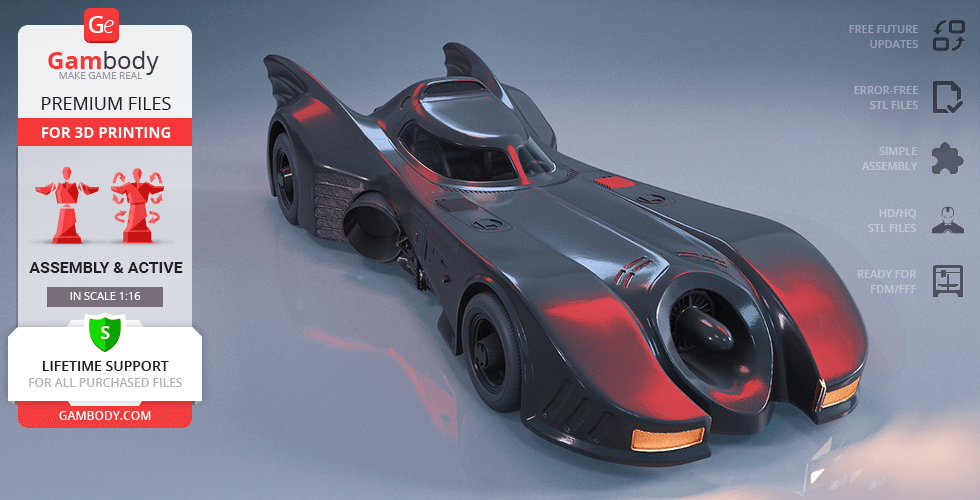
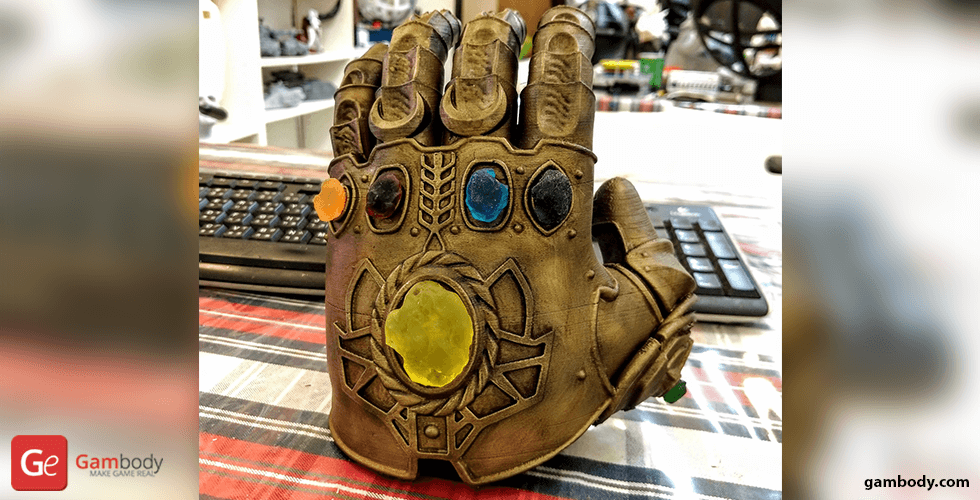
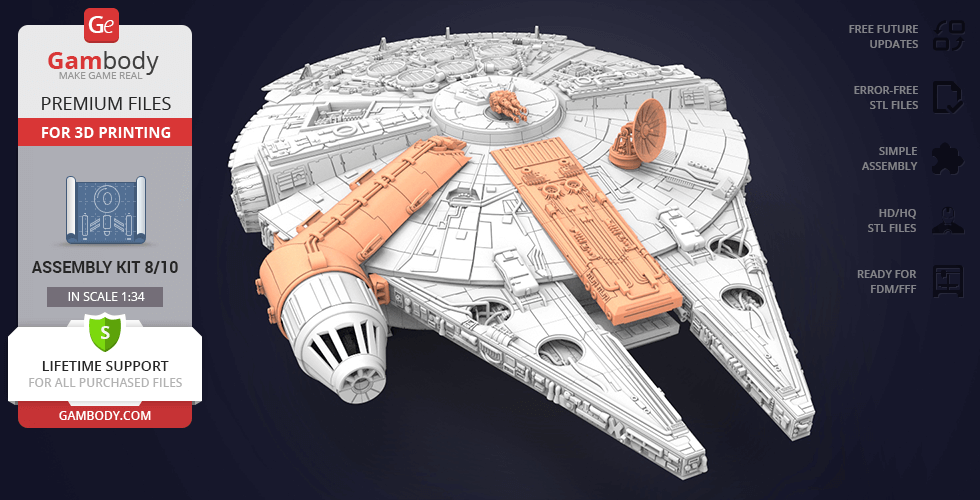


Still building this, keep coming up with different ways of printing parts🤪 having great results using "Painting" multicolor parts in Bambu to bring greater detail ..see pics.
Ran into small problem, but the creator promptly corrected got back to me with an update to the part file 👍


I was a bit leery about printing something like this. But after the front body and cockpit was printed I knew it will be good looking.
Here it is in pre-paint. Not sure of the colour scheme, yet.

I printed this for my wife, as she is a huge Grogu fan. Painted the model in Snapmaker Orca slicer to print multicolor. Did all the parts separately and glued together. Printed mostly in Matte PLA from Overture. The biggest issues I had were in printing the candy cane and the hands. They do not like to print standing up to get the best detail, so I ended up orienting them laying down and using a raft with supports. Palms down with the hands, so the palms side is not the nicest looking because of the supports, but they are hidden by the coffee mug, so not terrible. The fit on everything was great and I look forward to printing the other versions of this for the different Holidays!
I upscaled the FFF model from 100 to 150. Detail turned out amazing. I still have to add the antennas. But these should provide a good idea.
Just thumbing through the files. Good lord. Extremely high poly with quality surfaces. Im pretty sure i could upscale these and print out very close to a 1:350 scale. Please jesus pay this guy to do an s rank enterprise E model.

Honestly what drew me to this model the most was the stand that comes with the elite add-on. Admittedly this was not a favorite TIE model in general, but as i built it it rapidly became one of my favorite ships! I'm working on an elite version and will post pix once those are done. all in all a great experience; well done!
Been meaning to print this for a while but too tiny as standard so printing it at 200% and it is huge lol. Only snag I came to is the socket fittings dont screw in properly. Overall though epic model to print. Once I have more free printer time I will 500% this model. I like how the chest and the back fit together with pegs, I modded my file to take 5x2mm magnets instead to make it easier for battery replacement and repairs without having to hope it stays ion place or glue. If like me obsessed with pacific rim & robots then buy it dont hesitate lol
Saw this on Andor and loved it! I printed this out quickly and chose the in-flight view.. going to double the size and print this out in landed mode which should be cool. might have to buy a bigger house to keep all of these things in! :) Awesome job! anyways I wanted to post pics but this site is very particular about size, so maybe later..

Meant to add photos to the review.
Overall very nice model, do wish the thruster pods on the sides were not attached, but otherwise no real complaints at all.
Weathering and decals not done yet, but otherwise finished, if a model is ever really finished.

fantastic
For a die-hard fan, this model is an absolute must-have.
It's a faithful recreation and even has the option to add internal lighting. I highly recommend it and I'm going to add it to my slicer right now!


I have just finsihed with Saimons SR-1 and half way through the SR-2 and I cant tell you enough just how good these models are, The thought and effort put into them is just AWESOME. I have been looking for a long time for a good model of the Normandy and when i saw this one i just had to have it. If he makes any more models from the ME Uni i will be there buying them up for sure.
Amazing model. Not 100% screen accurate but very close. Printed nicely with resin and the pieces went together smoothly. I made him about 35cm tall. I didn't print the base as I wanted him to be free standing. Keep up the good work.
as per normal from this designer top quality and well worth the money. this is the second model i've had and definitely not the last
While still waiting for resin stock to print this I was very impressed with the detail of the model and have since purchased the Hyper jump ring to go with it.
Not the best picture but awesome model with great detail. Thanks. Printed it on Creality k1c without presets and didn't have any problems.
Printed this first version and was completely satisfied. Month later returned to download, so as I could improve my first attempt. Surprise! The model had been improved and it's amazing. I love this model. Many thanks!

The model is absolutely beautiful, and I truly appreciate the hard work that went into creating it. I do have one suggestion that I hope the designer might consider. I love adding fiber-optic lighting to my builds. my Star Destroyer has over 700 individual lights, and people always comment on how incredible it looks. It would be amazing if the sides of the model could be opened up or designed with accessible sections so fiber-optic lighting can be installed throughout. Having that flexibility would take the build to another level, and I’d love to be able to exibit next to the star destroyer.
I spent agonising hours printing paul as a distraction for my family - my name is paul and they associate me with the alien because i love marmite. It took ages on a couple of ender 3s. Painted it outside, 20 minutes someone stole it - that is how good this print is.
Excellent file and setup, easy to print, harder to stick together on the head LOL. I am going to print it again but this time mod the file for magnet fitting of the head pieces making the process easier. If you want a life size paul then have at it, fun and always a pleaser, there are no faults with this model at all which I love.
Easy to print with hardly any supports needed. All pieces fit on a 250mm3 printer no problem. Printed on a couple of P1S printers with Bamblulab Grey PLA in about 4 days. Glued together with CA glue and it's holding up great! It's a very impressive model.
I've always wanted this APC. Many times I was on the brink of buying a toy online. When it came to Gambody, I attempted printing it right away, but my bedslinger printers did it no justice. I was not until I bout a Core XY printer that I was able to pull it off. I roughed mine up with weathering and decided not to light it up. I went with a 200% upscale. My print measures over 22 inches long. A great model.