Community (fb)

 ua
ua 









Files
3D model format
Stereolithography (.stl)
Total files

Slicer settings
Mesh error check
Netfabb
Support
Lifetime support from Gambody team
Update requests
Available to verified buyers
Model complexity
Standard: balanced printing difficulty and moderate part count with assembly steps.
Advanced: may require tuning print settings or support placement, plus precise fitting, gluing, or sanding.
Model versions
FFF/FDM
Assembly method
Connectors, Ge-Locks, Glue, Filament pieces
Features
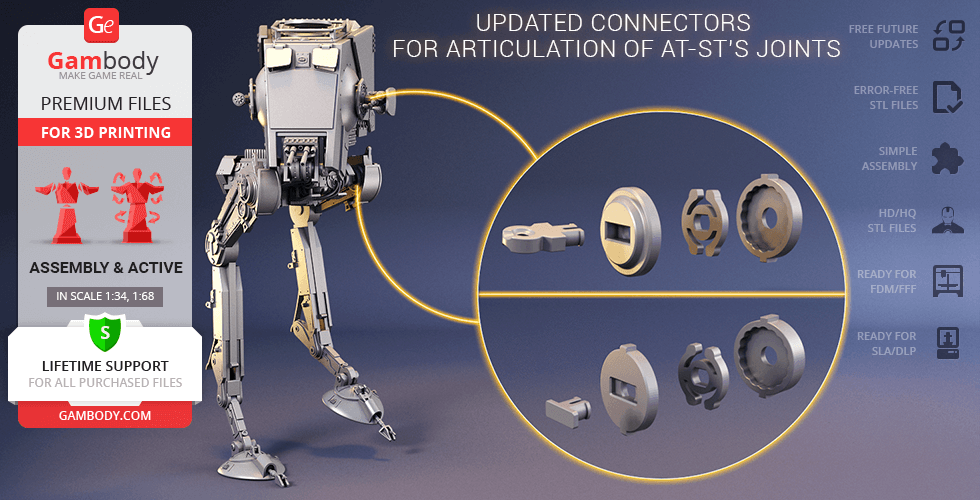
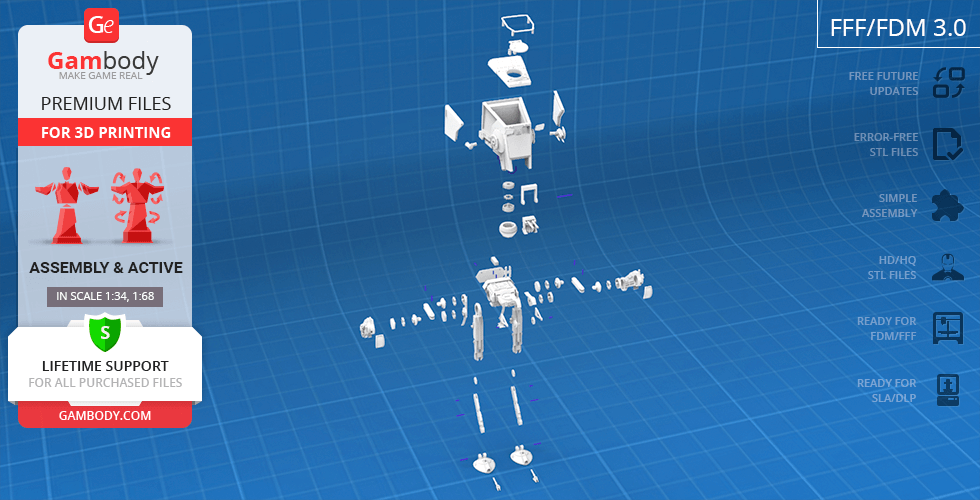
- The updated version of the model with a significantly enhanced level of detail, completely reworked joints, and articulated elements;
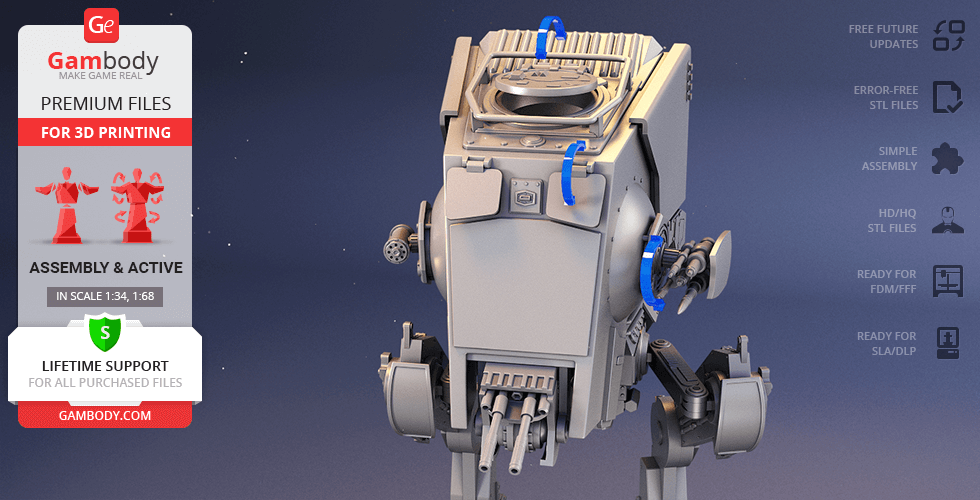
- Assembly kit includes one lock 52_Ge_lock_10H to attach the Walker's "head" to the gyro system securely without glue;
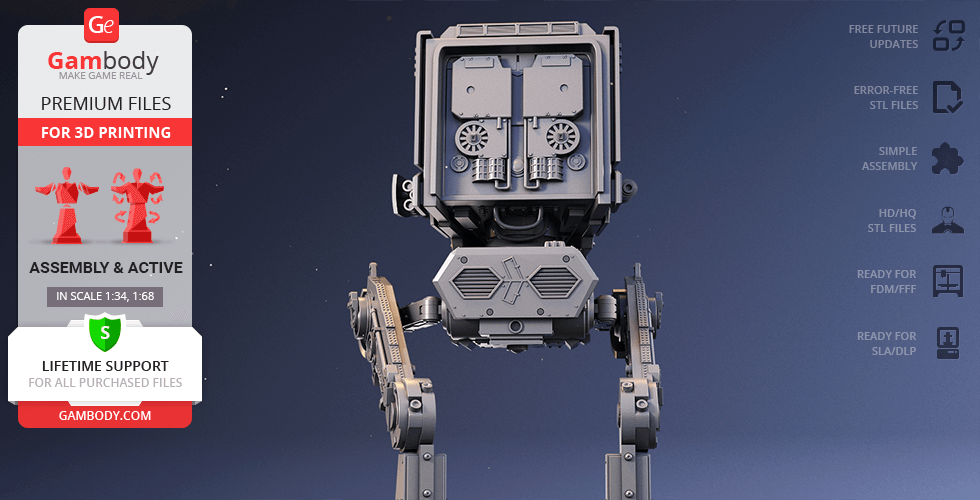
- The rotating hollow "head" of the AT-ST can be accessed via opening entry hatch and opening command viewport;
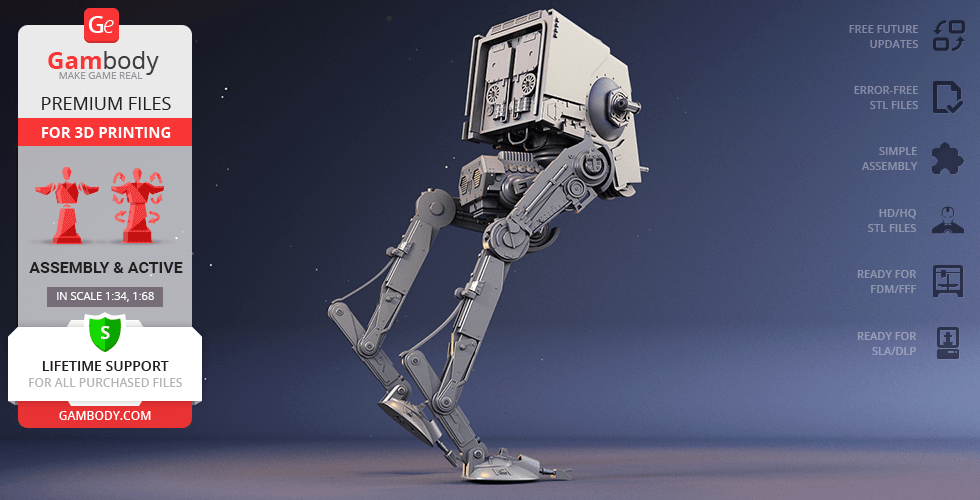
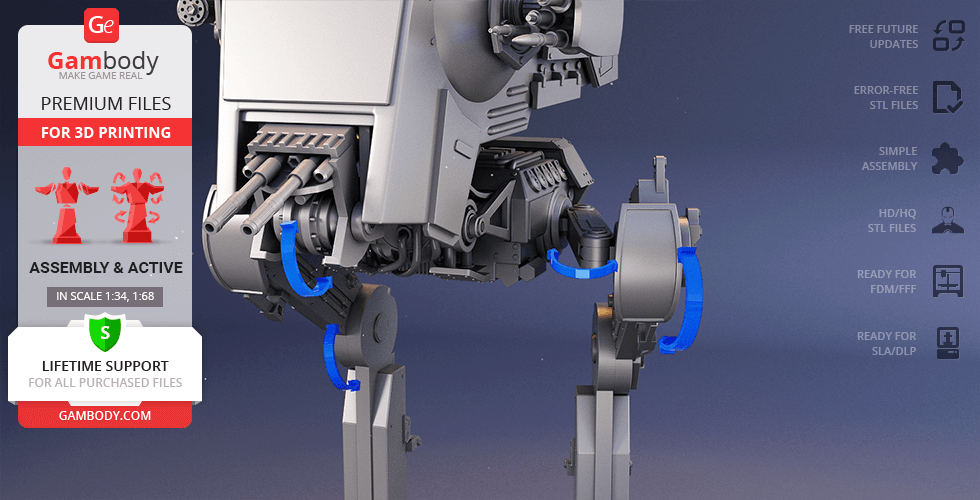
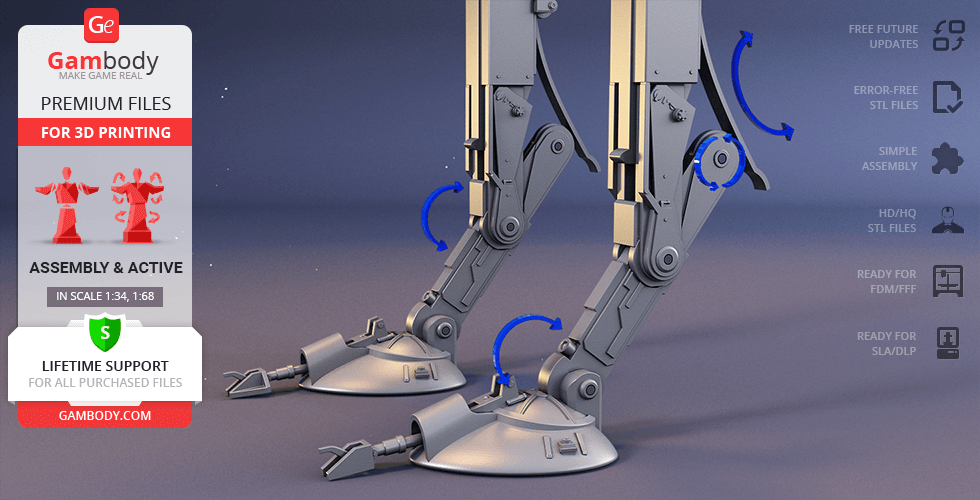
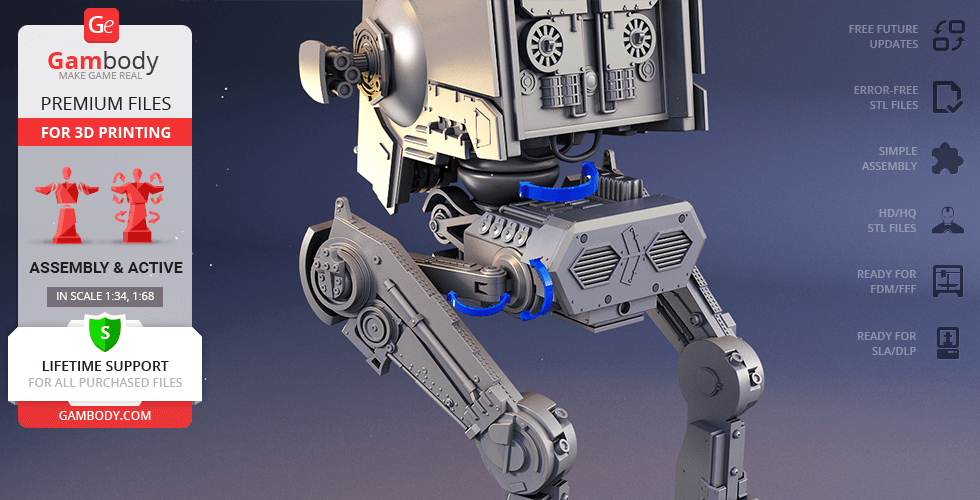
- Made with several sets of special joints to ensure the model's articulation (foot, ankle, elbow, knee, hip and pelvis joints are movable);
- For the highly articulated Walker to stand firmly in any position you may choose there was a ratchet mechanism introduced into the model’s main joints (elbow, knee, hip, and pelvis);
- Additional joint options for upscaled prints are included in the package as parts #67–72. As the print scale increases, we recommend using a lighter joint option to ensure smoother movement and proper functionality.
- The model's hip and knee connection allows Walker's legs to slide apart;
- The Walker's chin-mounted twin blaster cannons, cheek-mounted grenade launcher, and cheek-mounted light blaster cannon are movable;
- A pair of small wheels comprising Walker's gyro system is spinning;
- Decorative hydraulic cables that connect Walker's parts do not come in STL files but can be made out of short pieces of regular 1.75 PLA;
- The assembly of some of the articulated parts of AT-ST requires additional “pins”. These pins do not come in STL files but can be made out of short pieces of regular 1.75 PLA;
- It is highly recommended that you watch "Assembly Video" in the photo preview section and read "Assembly Manual" in PDF before assembling the Walker;
- It is recommended that you print all parts of the connectors at 50% of your standard printing and travel speed with 100% Infill;
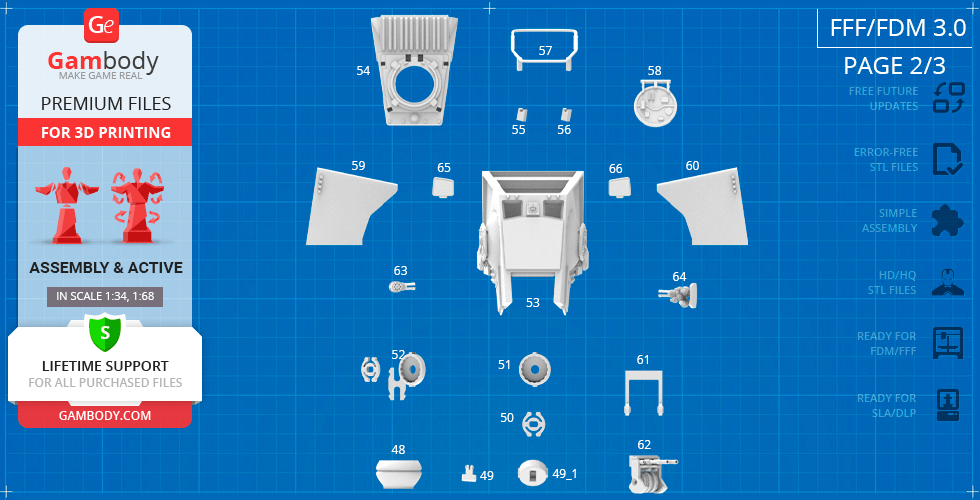
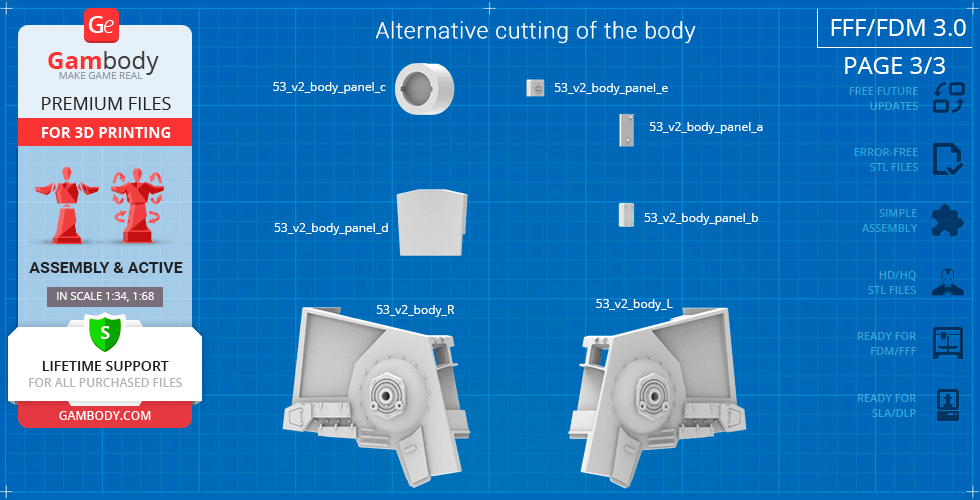
- All parts are divided in such a way that you will print them with the smallest number of support structures.
DLP/SLA
Assembly method
Connectors, Glue
Features
- The Walker's cheek-mounted grenade launcher and cheek-mounted light blaster cannon are movable;
- The rotating hollow "head" of the AT-ST can be accessed via opening entry hatch;
- Walker's legs are static but you can assemble them in various positions;
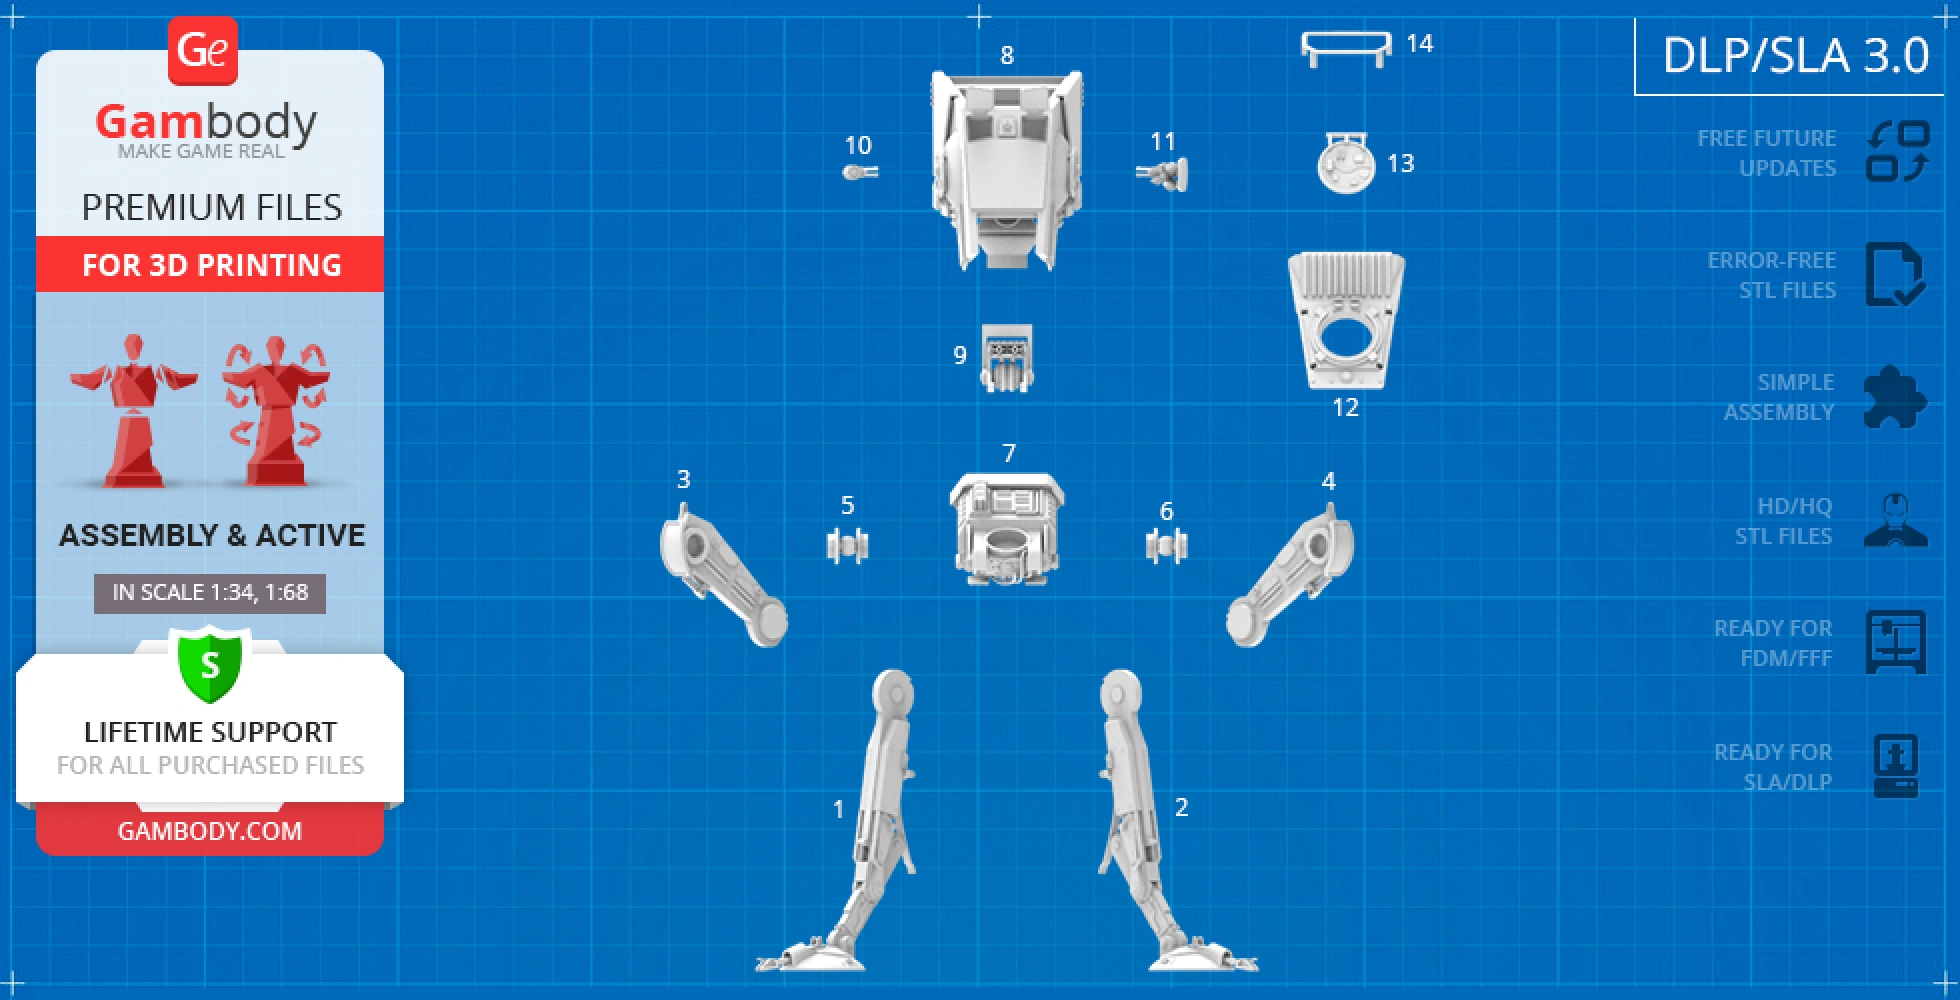
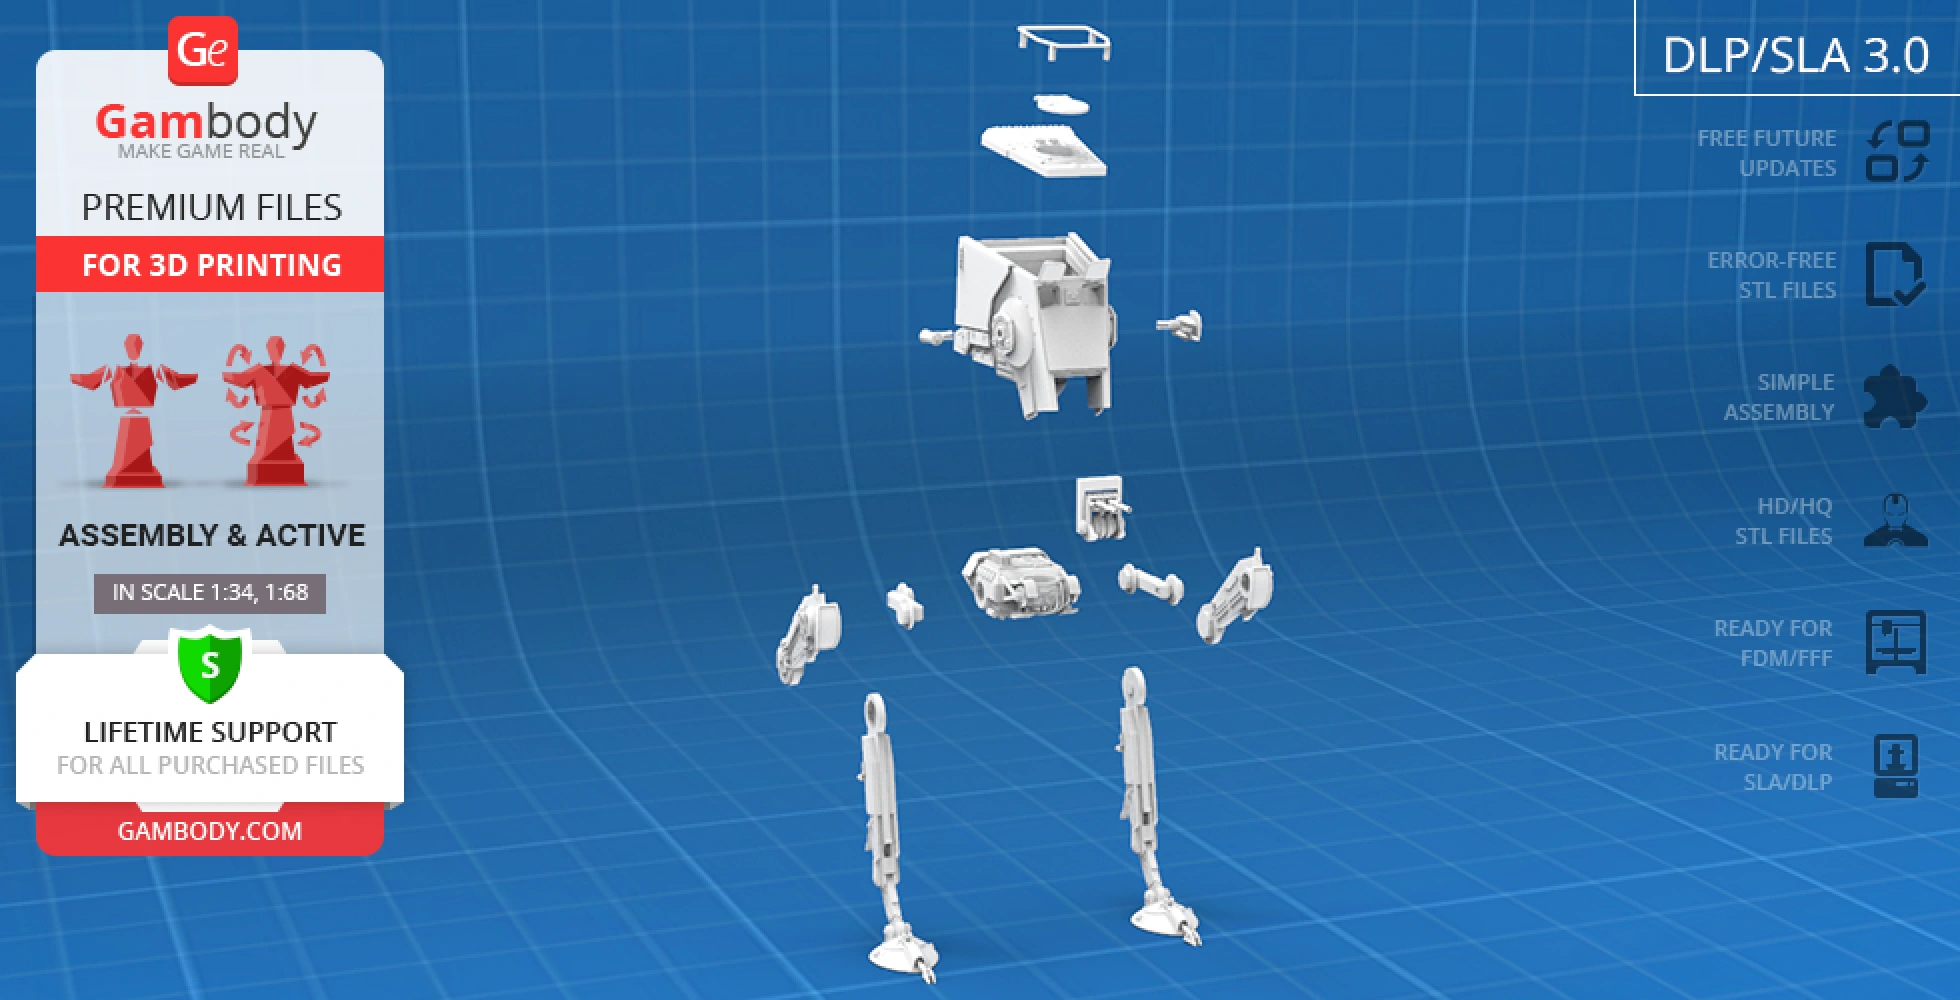
- All parts are divided in such a way to fit the build plates and to ensure that support structures are generated where needed.
FFF/FDM
Assembly method
Connectors, Glue
Features
- The updated version of the AT-ST 3D printing model released in 2017;
- The scale of the model is indeterminate.
FFF/FDM
Assembly method
Connectors, Glue
Features
- The initial low-poly version of the AT-ST 3D printing model released in 2015;
- The scale of the model is indeterminate.
Additional details
Part of diorama
Yes
Other model in diorama
Special pack included
No
You will get instant access to the STL files of AT-ST Walker 3D Printing Model | Assembly + Action after completing your purchase. Simply add the model to your cart and check out using PayPal, credit or debit card, Apple Pay, Google Pay, Alipay, or other available payment methods.
Watch the assembly video for AT-ST Walker 3D Printing Model | Assembly + Action, and explore more tutorials, behind-the-scenes content, 3D printing timelapses, and painting guides on the official Gambody YouTube channel.
This 3D model of AT-ST Walker consists of files in StereoLithography (.Stl) format that is optimized for 3D printing.
Before printing the files, we strongly recommend reading the PRINTING DETAILS section.
WHAT WILL YOU GET AFTER PURCHASE?
- 4 versions of AT-ST Walker STL files for FFF/FDM and DLP/SLA 3D printers — files for all versions are available for download after the purchase;
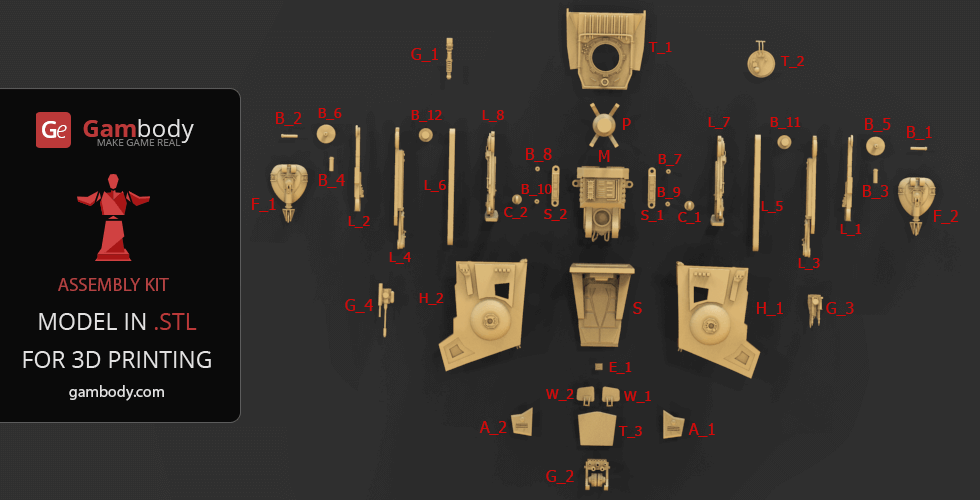
- STL files of high-poly AT-ST Walker model for 3D printing consist of 166 files;
- Sizes for:
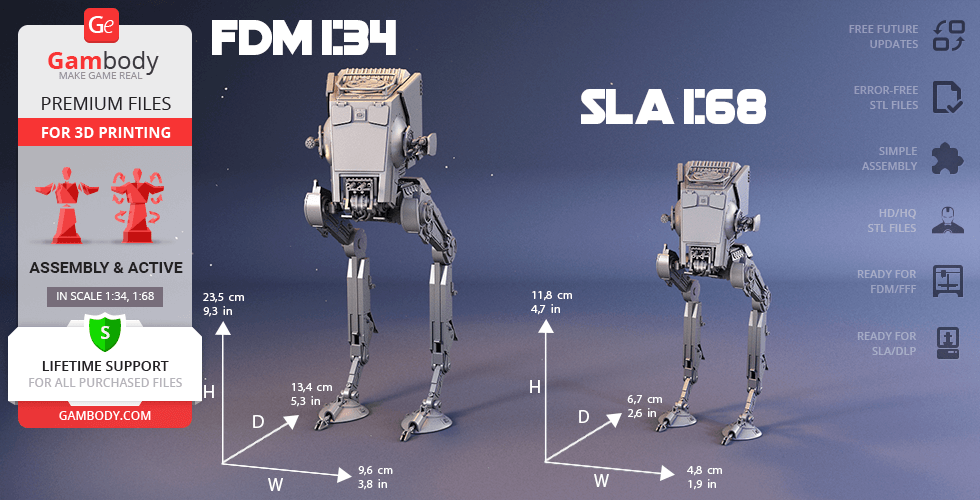
- FFF/FDM: 235 mm tall, 96 mm wide, 134 mm deep;
- DLP/SLA: 118 mm tall, 48 mm wide, 67 mm deep;
- Assembly Manual for 3.0 FFF/FDM and 1.0 DLP/SLA versions in PDF and video formats;
- Detailed settings that we provide as a recommendation for Cura, Bambu Studio, Simplify3D, Slic3r and PrusaSlicer for the best print;
- Full technical support from the Gambody Support Team.
Detailed information about these 3D printer files is available in the DESCRIPTION section.
Before printing, take a look at Printing Details for recommended settings and tips to achieve better results.
| File name | Size (mm | in) | Size(mb) | Printing Time / Filament | |||
|---|---|---|---|---|---|---|
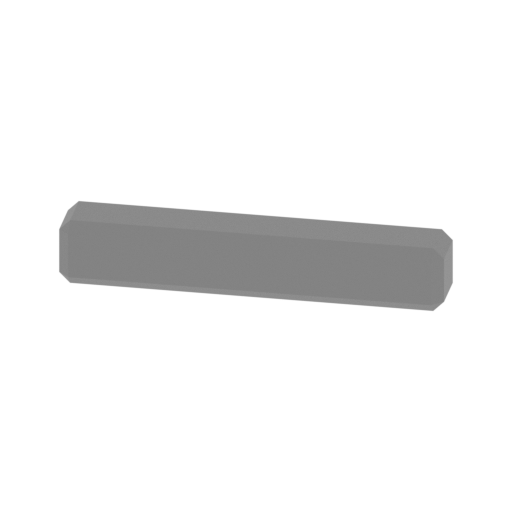 | new_53_beam_x6 (repaired).stl 10.31 x 3.4 x 1.8 mm | 0.41 x 0.13 x 0.07 in | Size: 10.31 x 3.4 x 1.8 mm | 0.41 x 0.13 x 0.07 in | File size: 0.00 mb | Printing Time / Filament: 1 min / <1 m | ||
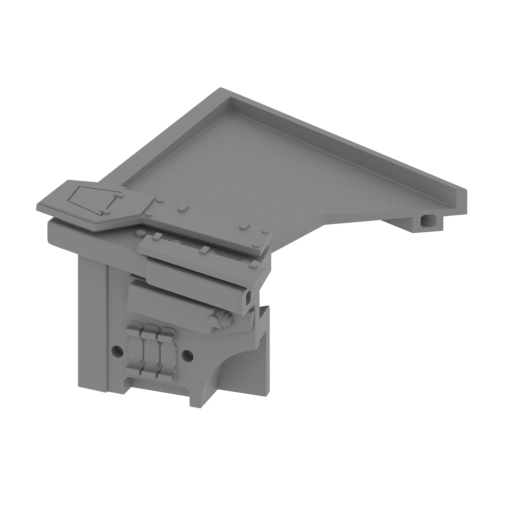 | new_53_2_v2_body_R_FDM (repaired).stl 52.45 x 59.24 x 30.8 mm | 2.07 x 2.33 x 1.21 in | Size: 52.45 x 59.24 x 30.8 mm | 2.07 x 2.33 x 1.21 in | File size: 3.95 mb | Printing Time / Filament: 5 h 42 min / 3 m | ||
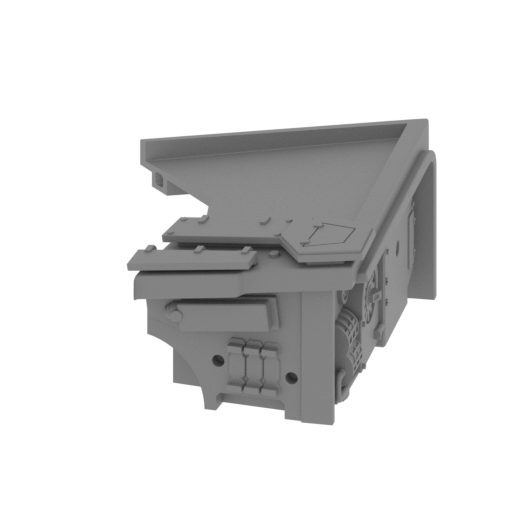 | new_53_2_v2_body_L_FDM (repaired).stl 52.45 x 59.24 x 30.8 mm | 2.07 x 2.33 x 1.21 in | Size: 52.45 x 59.24 x 30.8 mm | 2.07 x 2.33 x 1.21 in | File size: 3.96 mb | Printing Time / Filament: 5 h 46 min / 3 m | ||
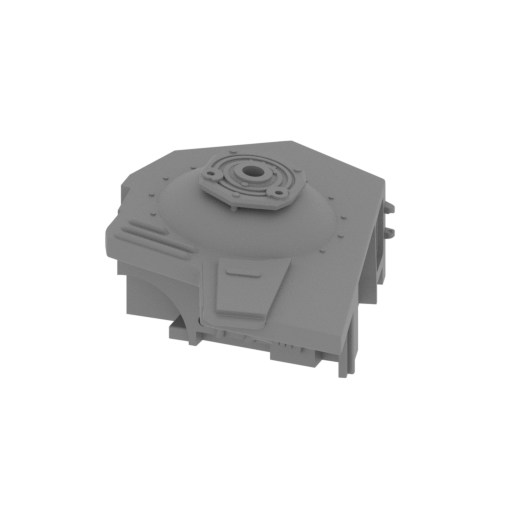 | new_53_1_v2_body_R_FDM (repaired).stl 53.63 x 71.11 x 29.97 mm | 2.11 x 2.8 x 1.18 in | Size: 53.63 x 71.11 x 29.97 mm | 2.11 x 2.8 x 1.18 in | File size: 4.48 mb | Printing Time / Filament: 6 h 7 min / 4 m | ||
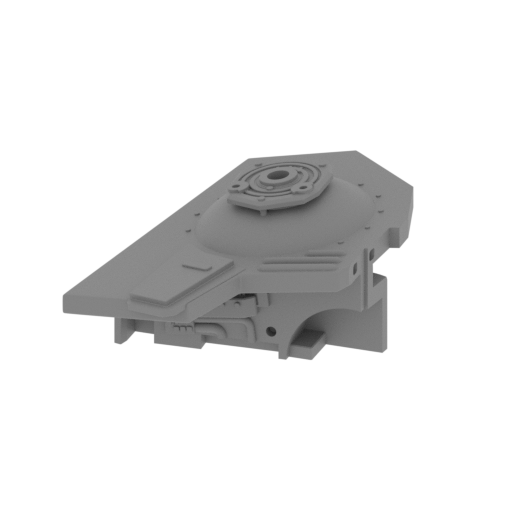 | new_53_1_v2_body_L_FDM (repaired).stl 53.63 x 71.11 x 29.97 mm | 2.11 x 2.8 x 1.18 in | Size: 53.63 x 71.11 x 29.97 mm | 2.11 x 2.8 x 1.18 in | File size: 4.48 mb | Printing Time / Filament: 6 h 7 min / 4 m | ||
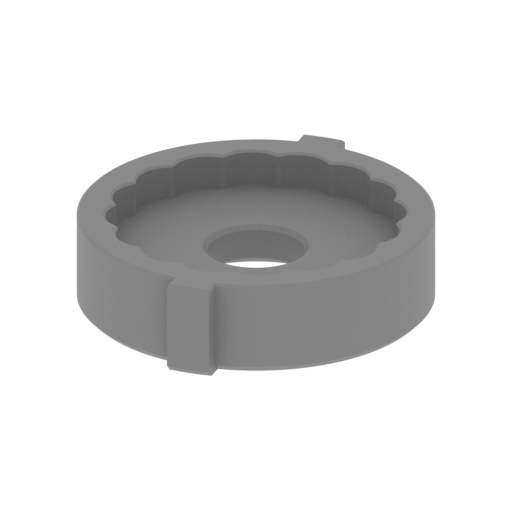 | _51_pelvis_connector_c_L (repaired).stl 15.12 x 16.62 x 4.06 mm | 0.6 x 0.65 x 0.16 in | Size: 15.12 x 16.62 x 4.06 mm | 0.6 x 0.65 x 0.16 in | File size: 0.16 mb | Printing Time / Filament: 10 min / <1 m | ||
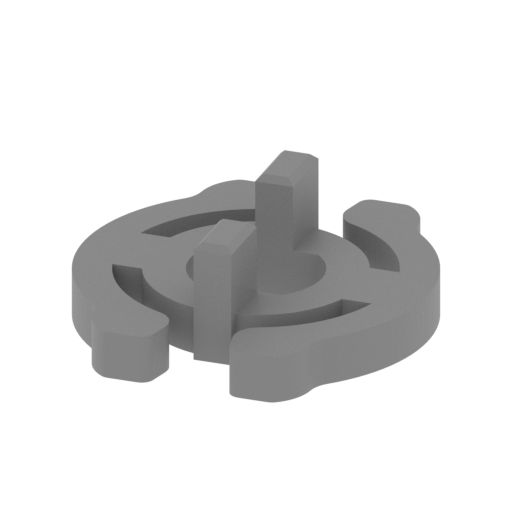 | _50_pelvis_connector_b_L (repaired).stl 10.99 x 11.76 x 3.8 mm | 0.43 x 0.46 x 0.15 in | Size: 10.99 x 11.76 x 3.8 mm | 0.43 x 0.46 x 0.15 in | File size: 0.07 mb | Printing Time / Filament: 5 min / <1 m | ||
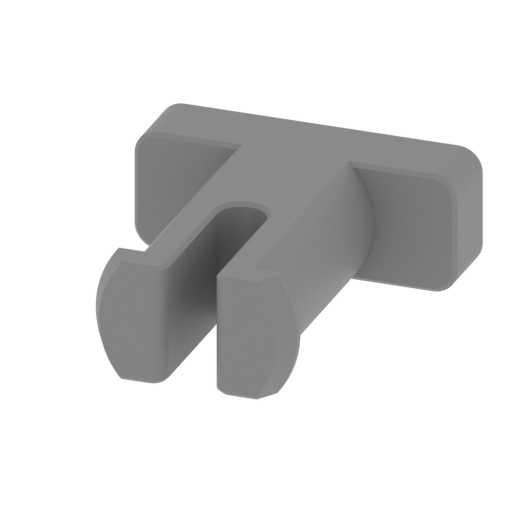 | _49_pelvis_connector_a_L (repaired) .stl 8 x 9.16 x 3 mm | 0.31 x 0.36 x 0.12 in | Size: 8 x 9.16 x 3 mm | 0.31 x 0.36 x 0.12 in | File size: 0.06 mb | Printing Time / Filament: 3 min / <1 m | ||
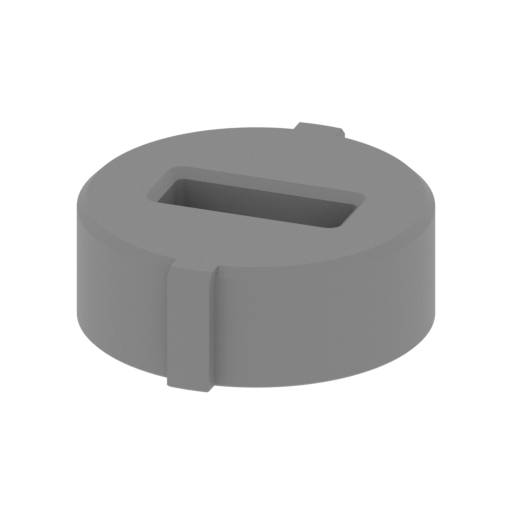 | _49_1_pelvis_connector_a_L (repaired).stl 15.12 x 16.62 x 5.45 mm | 0.6 x 0.65 x 0.21 in | Size: 15.12 x 16.62 x 5.45 mm | 0.6 x 0.65 x 0.21 in | File size: 0.06 mb | Printing Time / Filament: 10 min / <1 m | ||
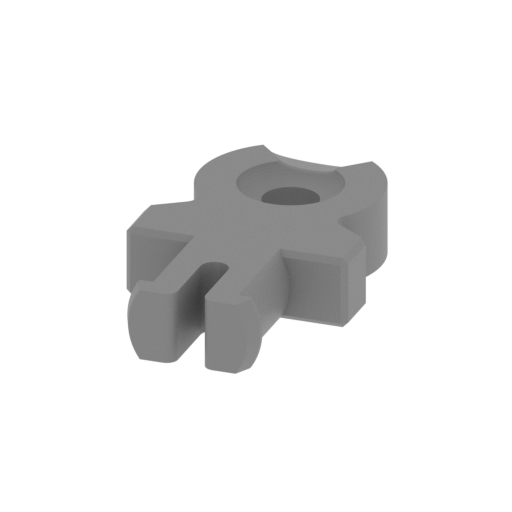 | _36_hip_b_connector_c_L (repaired) .stl 8 x 13.33 x 2.56 mm | 0.31 x 0.52 x 0.1 in | Size: 8 x 13.33 x 2.56 mm | 0.31 x 0.52 x 0.1 in | File size: 0.23 mb | Printing Time / Filament: 3 min / <1 m | ||
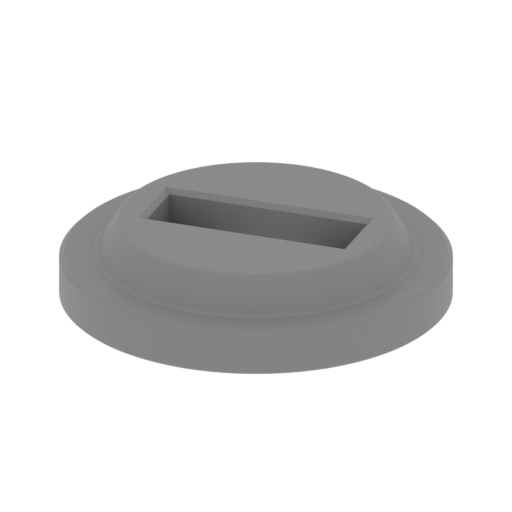 | _36_1_hip_b_connector_c_L (repaired).stl 15.13 x 15.13 x 3.2 mm | 0.6 x 0.6 x 0.13 in | Size: 15.13 x 15.13 x 3.2 mm | 0.6 x 0.6 x 0.13 in | File size: 0.15 mb | Printing Time / Filament: 7 min / <1 m | ||
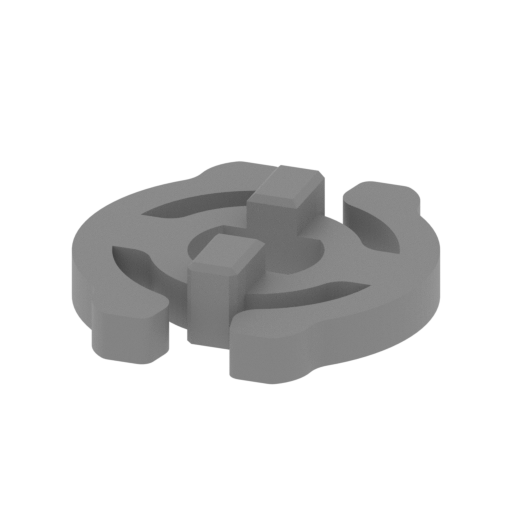 | _35_hip_b_connector_b_L (repaired).stl 10.99 x 11.76 x 2.6 mm | 0.43 x 0.46 x 0.1 in | Size: 10.99 x 11.76 x 2.6 mm | 0.43 x 0.46 x 0.1 in | File size: 0.07 mb | Printing Time / Filament: 5 min / <1 m | ||
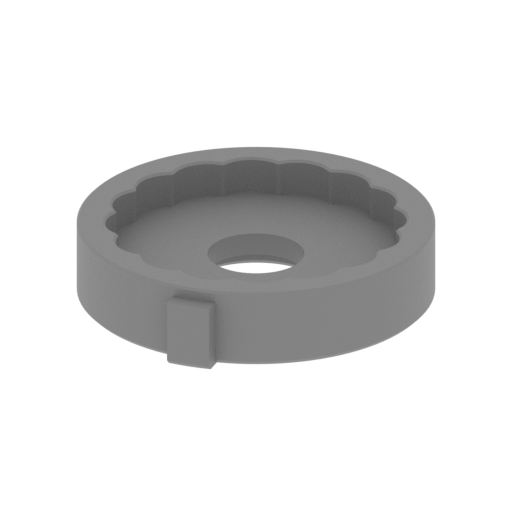 | _34_hip_b_connector_a_L (repaired).stl 15.13 x 16.62 x 3.36 mm | 0.6 x 0.65 x 0.13 in | Size: 15.13 x 16.62 x 3.36 mm | 0.6 x 0.65 x 0.13 in | File size: 0.16 mb | Printing Time / Filament: 9 min / <1 m | ||
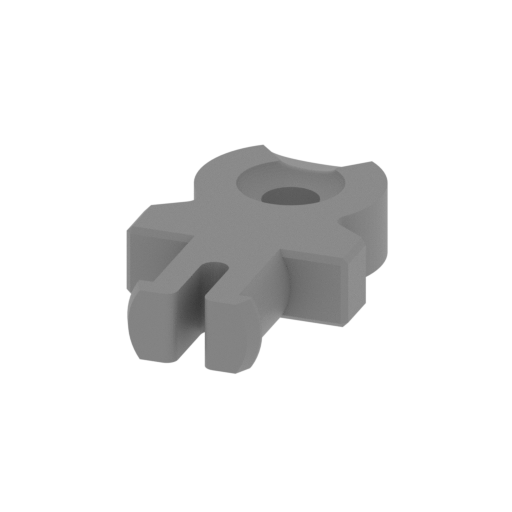 | _32_hip_a_connector_c_L (repaired) .stl 8 x 13.33 x 2.56 mm | 0.31 x 0.52 x 0.1 in | Size: 8 x 13.33 x 2.56 mm | 0.31 x 0.52 x 0.1 in | File size: 0.23 mb | Printing Time / Filament: 3 min / <1 m | ||
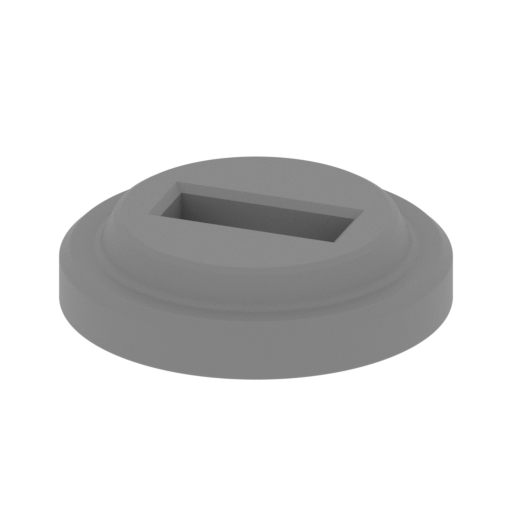 | _32_1_hip_a_connector_c_L (repaired).stl 15.13 x 15.13 x 3.7 mm | 0.6 x 0.6 x 0.15 in | Size: 15.13 x 15.13 x 3.7 mm | 0.6 x 0.6 x 0.15 in | File size: 2.42 mb | Printing Time / Filament: 7 min / <1 m | ||
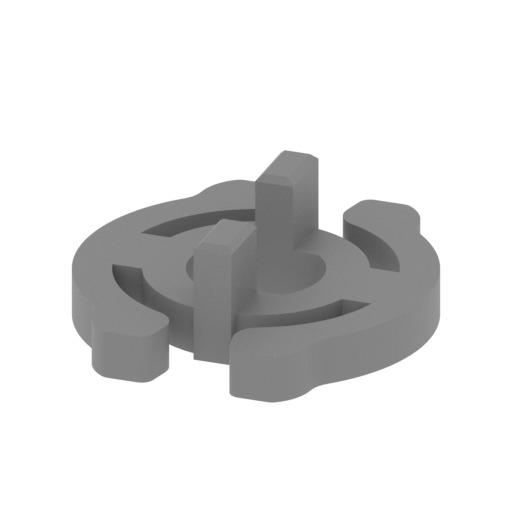 | _26_leg_connector_b_L (repaired).stl 10.99 x 11.76 x 3.8 mm | 0.43 x 0.46 x 0.15 in | Size: 10.99 x 11.76 x 3.8 mm | 0.43 x 0.46 x 0.15 in | File size: 0.07 mb | Printing Time / Filament: 5 min / <1 m | ||
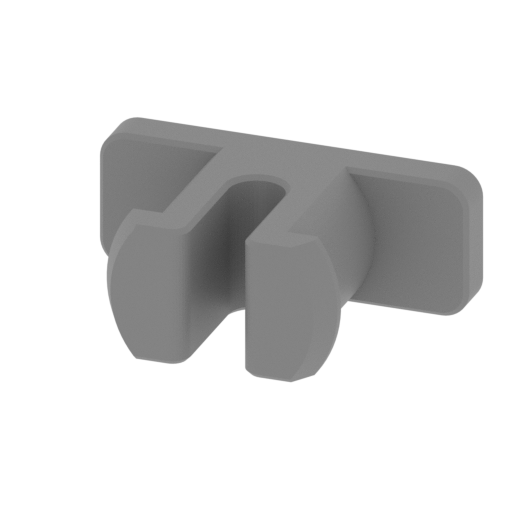 | _25_leg_connector_a_L (repaired) .stl 8 x 5.16 x 3 mm | 0.31 x 0.2 x 0.12 in | Size: 8 x 5.16 x 3 mm | 0.31 x 0.2 x 0.12 in | File size: 0.06 mb | Printing Time / Filament: 3 min / <1 m | ||
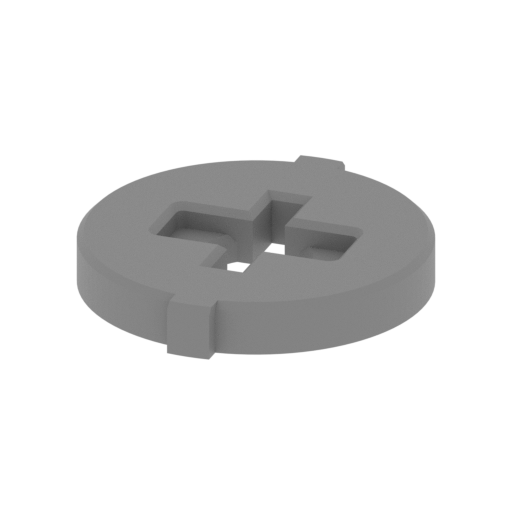 | _25_1_leg_connector_a_L (repaired).stl 15.12 x 16.62 x 2.3 mm | 0.6 x 0.65 x 0.09 in | Size: 15.12 x 16.62 x 2.3 mm | 0.6 x 0.65 x 0.09 in | File size: 0.05 mb | Printing Time / Filament: 6 min / <1 m | ||
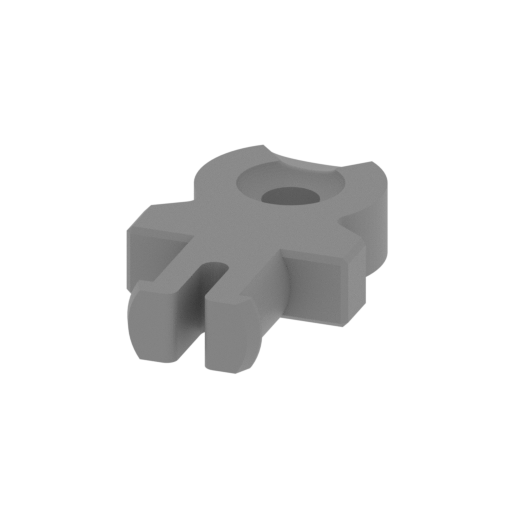 | _18_hip_b_connector_c_R (repaired) .stl 8 x 13.33 x 2.56 mm | 0.31 x 0.52 x 0.1 in | Size: 8 x 13.33 x 2.56 mm | 0.31 x 0.52 x 0.1 in | File size: 0.23 mb | Printing Time / Filament: 3 min / <1 m | ||
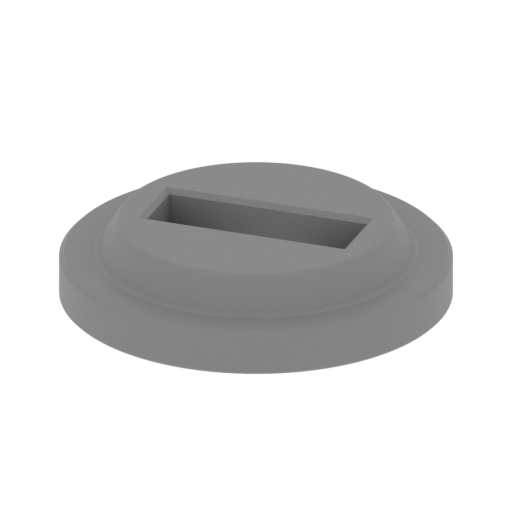 | _18_1_hip_b_connector_c_R (repaired).stl 15.13 x 15.13 x 3.2 mm | 0.6 x 0.6 x 0.13 in | Size: 15.13 x 15.13 x 3.2 mm | 0.6 x 0.6 x 0.13 in | File size: 0.15 mb | Printing Time / Filament: 7 min / <1 m | ||
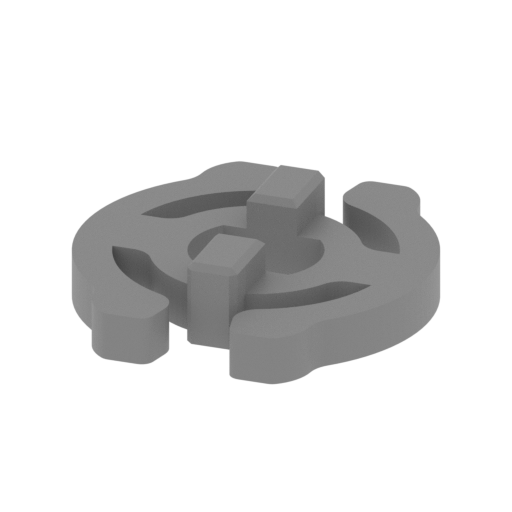 | _17_hip_b_connector_b_R (repaired).stl 10.99 x 11.76 x 2.6 mm | 0.43 x 0.46 x 0.1 in | Size: 10.99 x 11.76 x 2.6 mm | 0.43 x 0.46 x 0.1 in | File size: 0.07 mb | Printing Time / Filament: 5 min / <1 m | ||
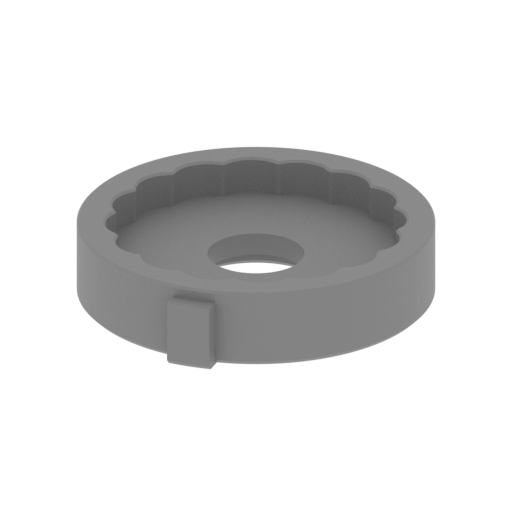 | _16_hip_b_connector_a_R (repaired).stl 15.13 x 16.62 x 3.36 mm | 0.6 x 0.65 x 0.13 in | Size: 15.13 x 16.62 x 3.36 mm | 0.6 x 0.65 x 0.13 in | File size: 0.16 mb | Printing Time / Filament: 9 min / <1 m | ||
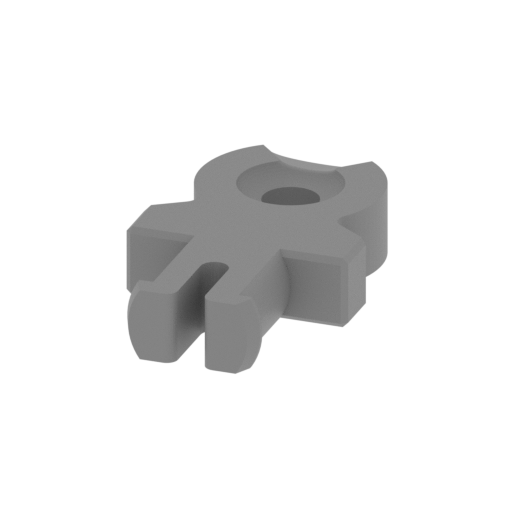 | _14_hip_a_connector_c_R (repaired) .stl 8 x 13.33 x 2.56 mm | 0.31 x 0.52 x 0.1 in | Size: 8 x 13.33 x 2.56 mm | 0.31 x 0.52 x 0.1 in | File size: 0.23 mb | Printing Time / Filament: 3 min / <1 m | ||
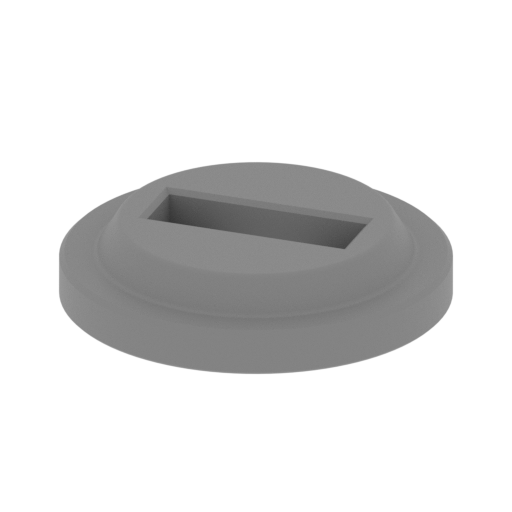 | _14_1_hip_a_connector_c_R (repaired).stl 15.13 x 15.13 x 3.2 mm | 0.6 x 0.6 x 0.13 in | Size: 15.13 x 15.13 x 3.2 mm | 0.6 x 0.6 x 0.13 in | File size: 0.15 mb | Printing Time / Filament: 7 min / <1 m | ||
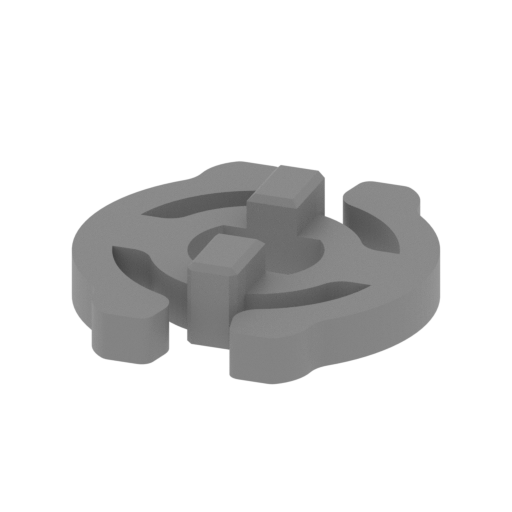 | _13_hip_a_connector_b_R (repaired).stl 10.99 x 11.76 x 2.6 mm | 0.43 x 0.46 x 0.1 in | Size: 10.99 x 11.76 x 2.6 mm | 0.43 x 0.46 x 0.1 in | File size: 0.07 mb | Printing Time / Filament: 5 min / <1 m | ||
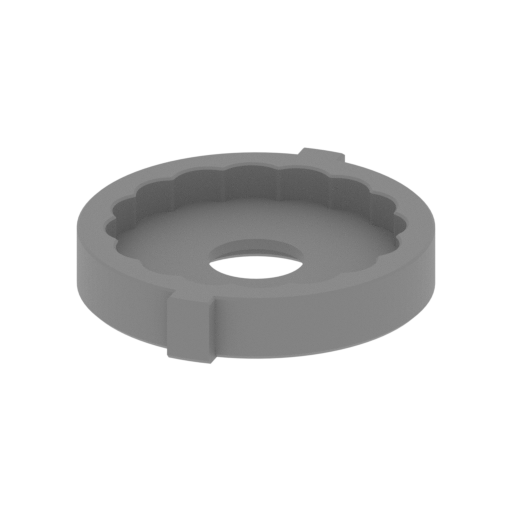 | _9_leg_connector_c_R (repaired).stl 15.12 x 16.62 x 2.86 mm | 0.6 x 0.65 x 0.11 in | Size: 15.12 x 16.62 x 2.86 mm | 0.6 x 0.65 x 0.11 in | File size: 0.16 mb | Printing Time / Filament: 8 min / <1 m | ||
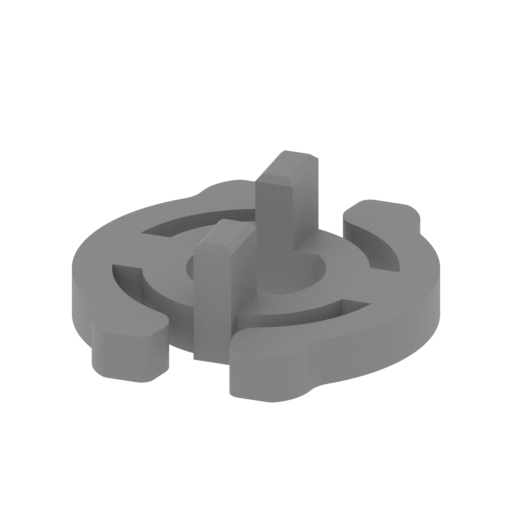 | _8_leg_connector_b_R (repaired).stl 10.99 x 11.76 x 3.8 mm | 0.43 x 0.46 x 0.15 in | Size: 10.99 x 11.76 x 3.8 mm | 0.43 x 0.46 x 0.15 in | File size: 0.07 mb | Printing Time / Filament: 5 min / <1 m | ||
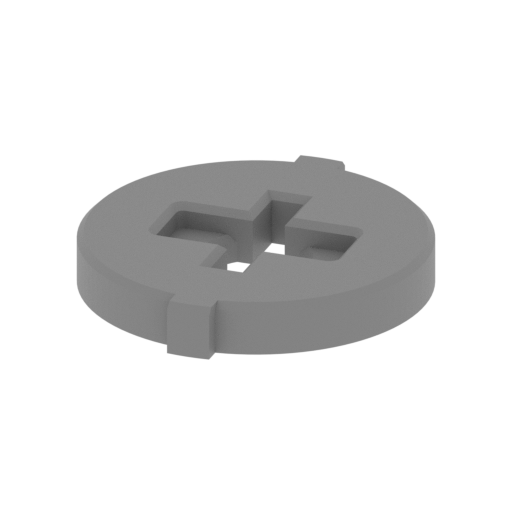 | _7_leg_connector_a_R (repaired).stl 15.12 x 16.62 x 2.3 mm | 0.6 x 0.65 x 0.09 in | Size: 15.12 x 16.62 x 2.3 mm | 0.6 x 0.65 x 0.09 in | File size: 0.05 mb | Printing Time / Filament: 6 min / <1 m | ||
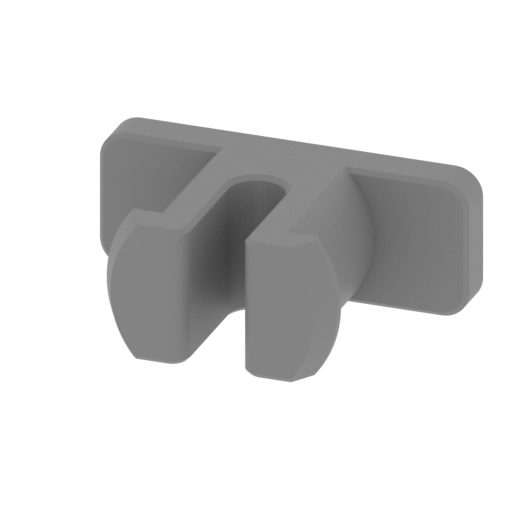 | _7_1_leg_connector_a_R (repaired) .stl 8 x 5.16 x 3 mm | 0.31 x 0.2 x 0.12 in | Size: 8 x 5.16 x 3 mm | 0.31 x 0.2 x 0.12 in | File size: 0.06 mb | Printing Time / Filament: 3 min / <1 m | ||
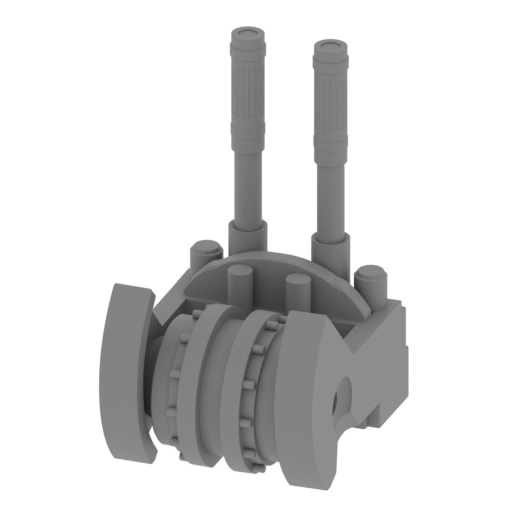 Updated Updated | _62_gun_front (repaired).stl 16.53 x 21.18 x 28.62 mm | 0.65 x 0.83 x 1.13 in | Size: 16.53 x 21.18 x 28.62 mm | 0.65 x 0.83 x 1.13 in | File size: 4.78 mb | Printing Time / Filament: 1 h 1 min / <1 m | ||
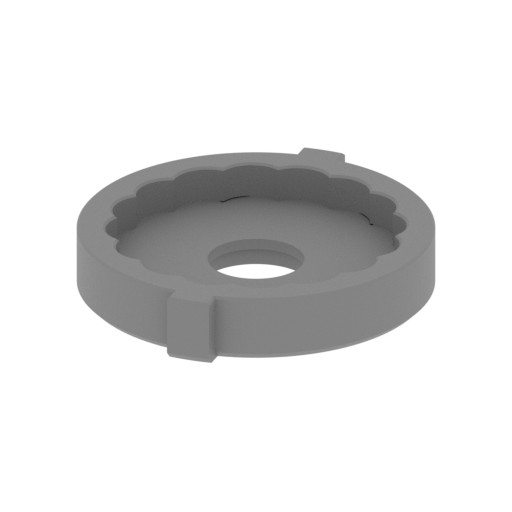 | _30_hip_a_connector_a_L (repaired).stl 15.13 x 16.62 x 2.86 mm | 0.6 x 0.65 x 0.11 in | Size: 15.13 x 16.62 x 2.86 mm | 0.6 x 0.65 x 0.11 in | File size: 0.41 mb | Printing Time / Filament: 8 min / <1 m | ||
 | _27_leg_connector_c_L (repaired).stl 15.13 x 16.62 x 2.86 mm | 0.6 x 0.65 x 0.11 in | Size: 15.13 x 16.62 x 2.86 mm | 0.6 x 0.65 x 0.11 in | File size: 0.41 mb | Printing Time / Filament: 8 min / <1 m | ||
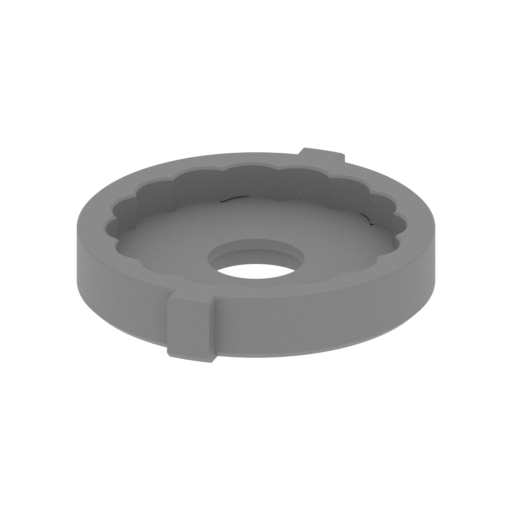 | _12_hip_a_connector_a_R (repaired).stl 15.13 x 16.62 x 2.86 mm | 0.6 x 0.65 x 0.11 in | Size: 15.13 x 16.62 x 2.86 mm | 0.6 x 0.65 x 0.11 in | File size: 0.41 mb | Printing Time / Filament: 8 min / <1 m | ||
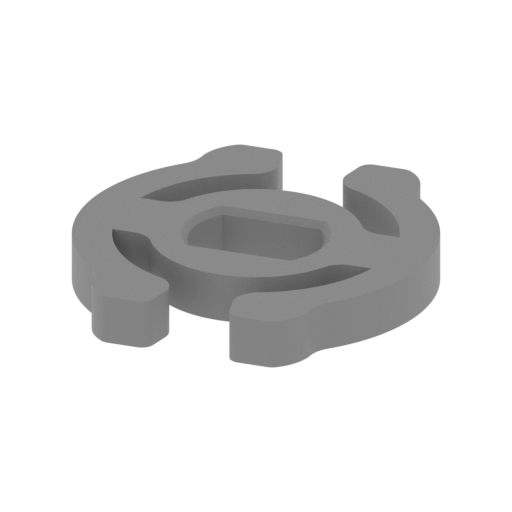 | _31_hip_a_connector_b_L (repaired).stl 11 x 11.76 x 1.5 mm | 0.43 x 0.46 x 0.06 in | Size: 11 x 11.76 x 1.5 mm | 0.43 x 0.46 x 0.06 in | File size: 0.22 mb | Printing Time / Filament: 4 min / <1 m | ||
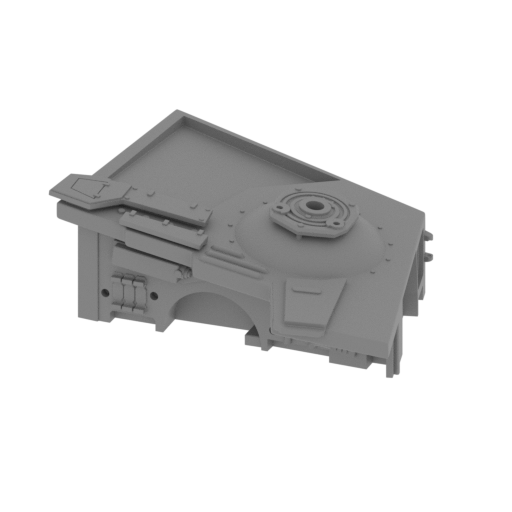 | _53_v2_body_R_FDM (repaired).stl 85 x 80 x 31 mm | 3.35 x 3.15 x 1.22 in | Size: 85 x 80 x 31 mm | 3.35 x 3.15 x 1.22 in | File size: 7.74 mb | Printing Time / Filament: 10 h 30 min / 7 m | ||
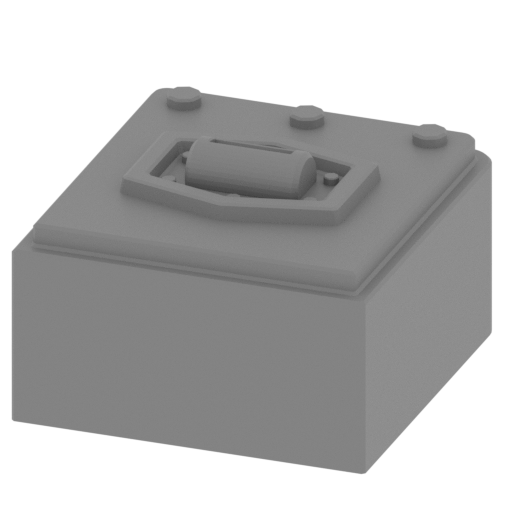 | _53_v2_body_panel_e_FDM (repaired).stl 7 x 8 x 5 mm | 0.28 x 0.31 x 0.2 in | Size: 7 x 8 x 5 mm | 0.28 x 0.31 x 0.2 in | File size: 0.10 mb | Printing Time / Filament: 5 min / <1 m | ||
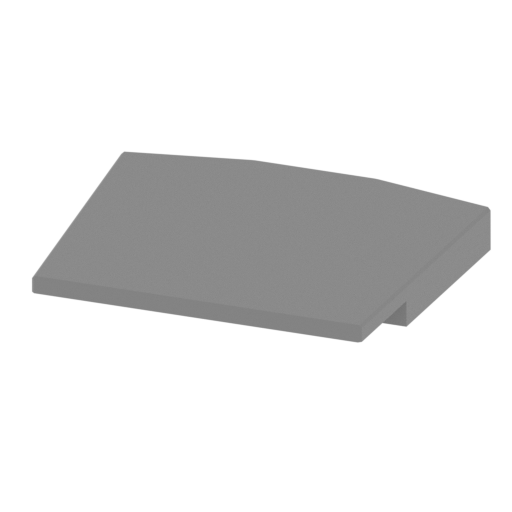 | _53_v2_body_panel_d_FDM (repaired).stl 34 x 30 x 4 mm | 1.34 x 1.18 x 0.16 in | Size: 34 x 30 x 4 mm | 1.34 x 1.18 x 0.16 in | File size: 0.01 mb | Printing Time / Filament: 32 min / <1 m | ||
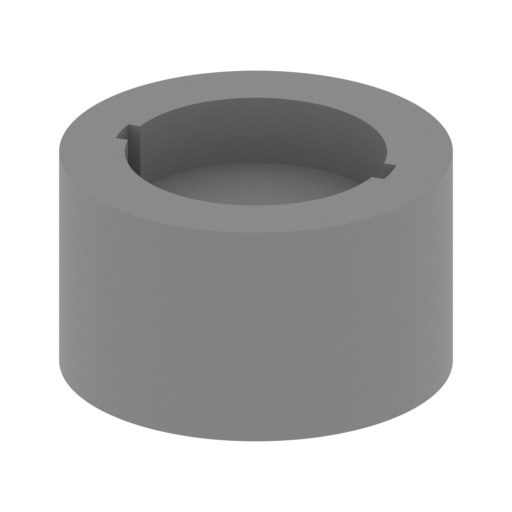 | _53_v2_body_panel_c_FDM (repaired).stl 23 x 23 x 13 mm | 0.91 x 0.91 x 0.51 in | Size: 23 x 23 x 13 mm | 0.91 x 0.91 x 0.51 in | File size: 0.12 mb | Printing Time / Filament: 33 min / <1 m | ||
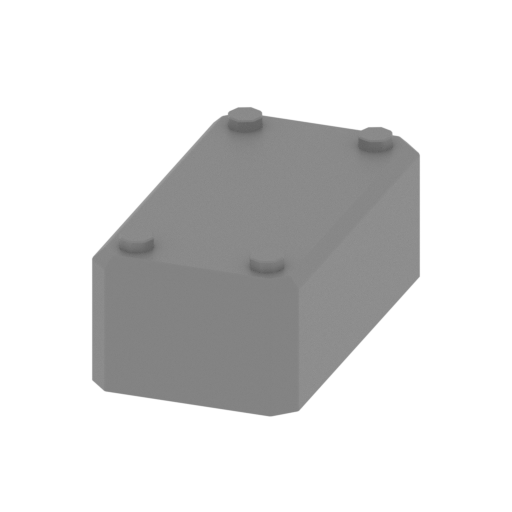 | _53_v2_body_panel_b_FDM (repaired).stl 6 x 11 x 4 mm | 0.24 x 0.43 x 0.16 in | Size: 6 x 11 x 4 mm | 0.24 x 0.43 x 0.16 in | File size: 0.05 mb | Printing Time / Filament: 4 min / <1 m | ||
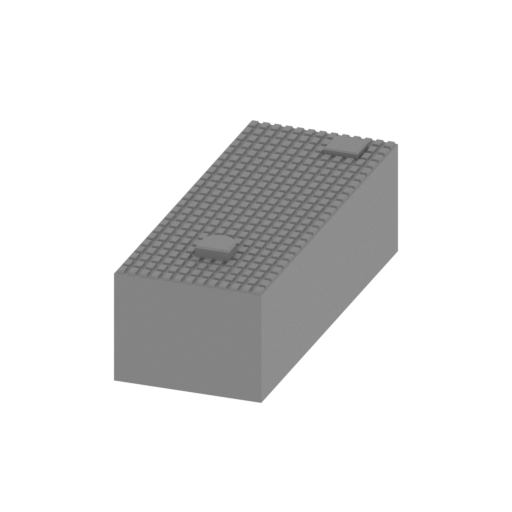 | _53_v2_body_panel_a_FDM (repaired).stl 6 x 14 x 5 mm | 0.24 x 0.55 x 0.2 in | Size: 6 x 14 x 5 mm | 0.24 x 0.55 x 0.2 in | File size: 1.11 mb | Printing Time / Filament: 5 min / <1 m | ||
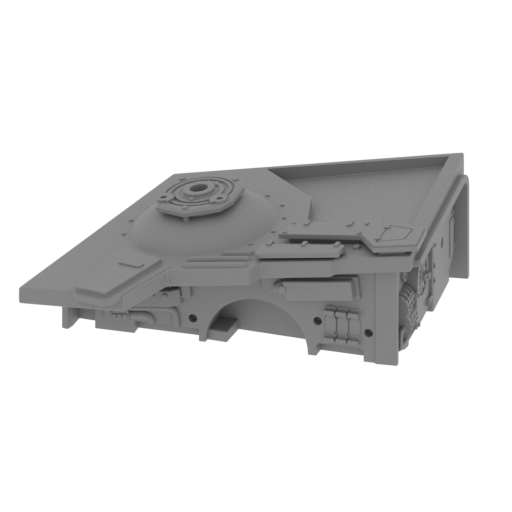 | _53_v2_body_L_FDM (repaired).stl 85 x 80 x 31 mm | 3.35 x 3.15 x 1.22 in | Size: 85 x 80 x 31 mm | 3.35 x 3.15 x 1.22 in | File size: 7.75 mb | Printing Time / Filament: 10 h 30 min / 7 m | ||
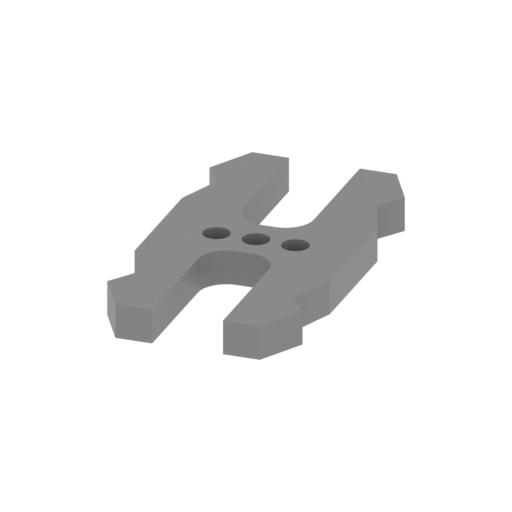 | _52_Ge_lock_10H_x4 (repaired).stl 10 x 18 x 2 mm | 0.39 x 0.71 x 0.08 in | Size: 10 x 18 x 2 mm | 0.39 x 0.71 x 0.08 in | File size: 0.03 mb | Printing Time / Filament: 4 min / <1 m | ||
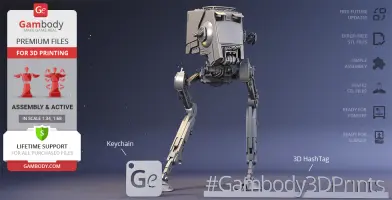
 | Tag (repaired).stl 150.15 x 18.16 x 4.59 mm | 5.91 x 0.71 x 0.18 in | Size: 150.15 x 18.16 x 4.59 mm | 5.91 x 0.71 x 0.18 in | File size: 1.78 mb | Printing Time / Filament: 1 h 16 min / 1 m | ||
 | Keychain (repaired).stl 30 x 30 x 2 mm | 1.18 x 1.18 x 0.08 in | Size: 30 x 30 x 2 mm | 1.18 x 1.18 x 0.08 in | File size: 0.37 mb | Printing Time / Filament: 23 min / <1 m | ||
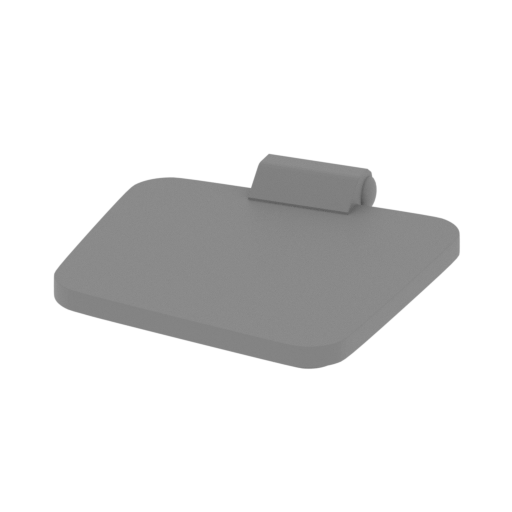 | _66_viewport_lid_L (repaired).stl 12 x 14 x 2 mm | 0.47 x 0.55 x 0.08 in | Size: 12 x 14 x 2 mm | 0.47 x 0.55 x 0.08 in | File size: 0.44 mb | Printing Time / Filament: 3 min / <1 m | ||
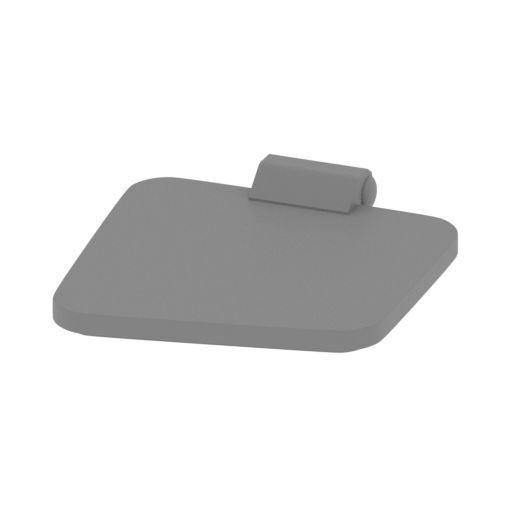 | _65_viewport_lid_R (repaired).stl 12 x 14 x 2 mm | 0.47 x 0.55 x 0.08 in | Size: 12 x 14 x 2 mm | 0.47 x 0.55 x 0.08 in | File size: 0.44 mb | Printing Time / Filament: 3 min / <1 m | ||
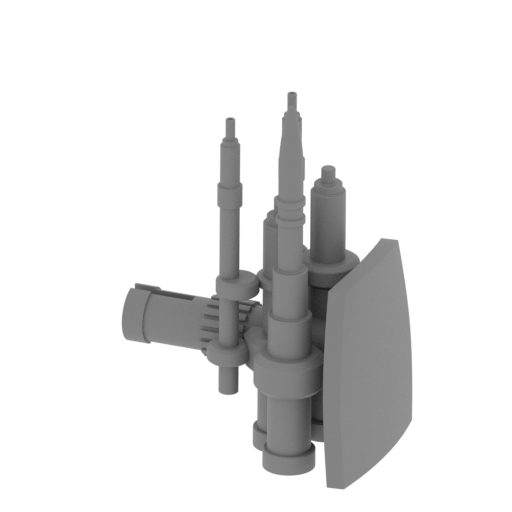 | _64_gun_L (repaired).stl 20 x 14 x 29 mm | 0.79 x 0.55 x 1.14 in | Size: 20 x 14 x 29 mm | 0.79 x 0.55 x 1.14 in | File size: 2.90 mb | Printing Time / Filament: 34 min / <1 m | ||
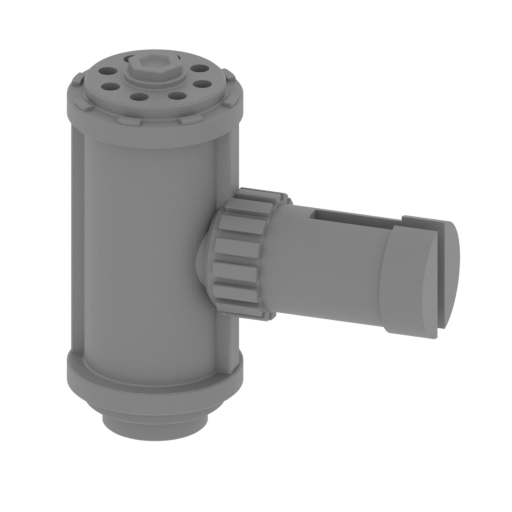 | _63_gun_R (repaired).stl 13.94 x 6.28 x 14.02 mm | 0.55 x 0.25 x 0.55 in | Size: 13.94 x 6.28 x 14.02 mm | 0.55 x 0.25 x 0.55 in | File size: 0.52 mb | Printing Time / Filament: 13 min / <1 m | ||
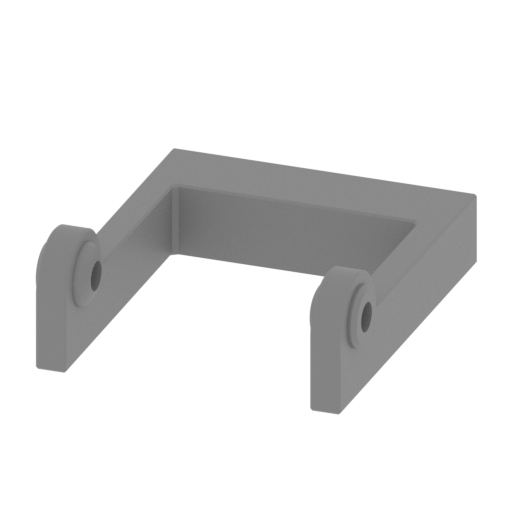 | _61_gun_front_stand (repaired).stl 22 x 25 x 8 mm | 0.87 x 0.98 x 0.31 in | Size: 22 x 25 x 8 mm | 0.87 x 0.98 x 0.31 in | File size: 0.26 mb | Printing Time / Filament: 17 min / <1 m | ||
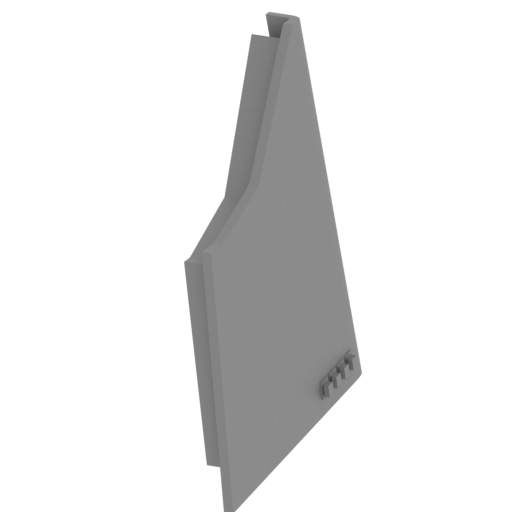 | _60_body_armor_L (repaired).stl 13 x 44 x 46 mm | 0.51 x 1.73 x 1.81 in | Size: 13 x 44 x 46 mm | 0.51 x 1.73 x 1.81 in | File size: 1.36 mb | Printing Time / Filament: 1 h 3 min / 1 m | ||
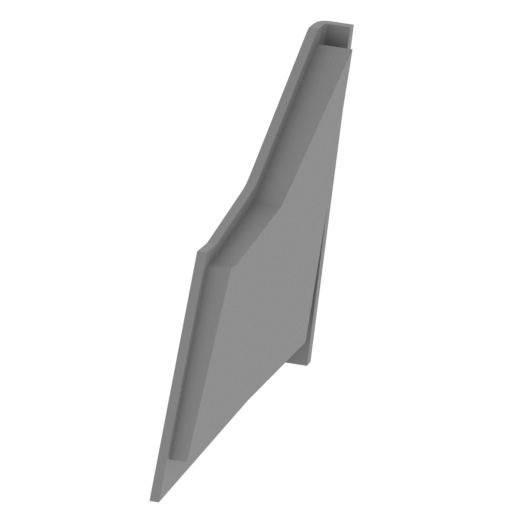 | _59_body_armor_R (repaired).stl 13 x 44 x 46 mm | 0.51 x 1.73 x 1.81 in | Size: 13 x 44 x 46 mm | 0.51 x 1.73 x 1.81 in | File size: 1.36 mb | Printing Time / Filament: 1 h 2 min / 1 m | ||
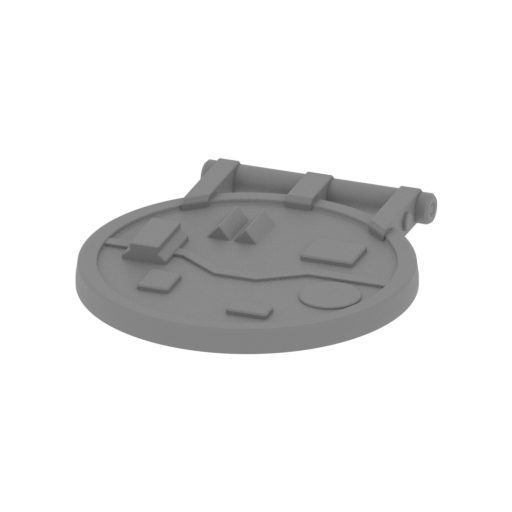 | _58_body_luke (repaired).stl 24 x 27 x 3 mm | 0.94 x 1.06 x 0.12 in | Size: 24 x 27 x 3 mm | 0.94 x 1.06 x 0.12 in | File size: 0.55 mb | Printing Time / Filament: 15 min / <1 m | ||
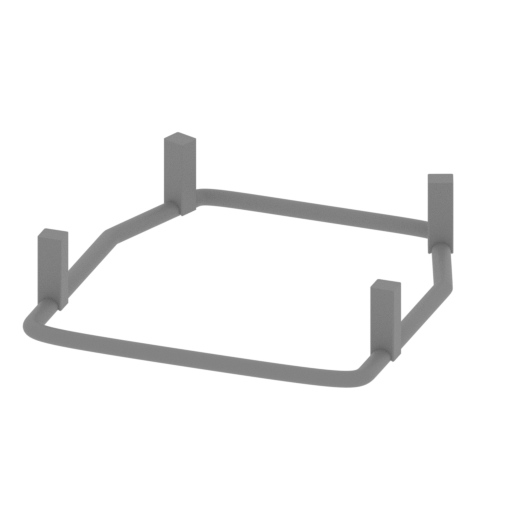 | _57_body_grid (repaired).stl 37 x 39 x 8 mm | 1.46 x 1.54 x 0.31 in | Size: 37 x 39 x 8 mm | 1.46 x 1.54 x 0.31 in | File size: 0.51 mb | Printing Time / Filament: 13 min / <1 m | ||
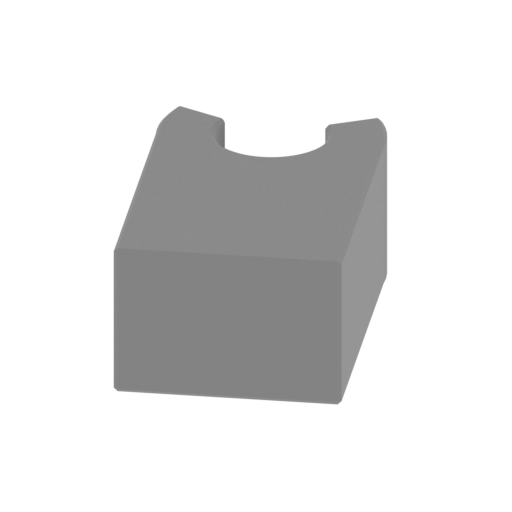 | _56_body_luke_connector_L (repaired).stl 6 x 8 x 3 mm | 0.24 x 0.31 x 0.12 in | Size: 6 x 8 x 3 mm | 0.24 x 0.31 x 0.12 in | File size: 0.03 mb | Printing Time / Filament: 2 min / <1 m | ||
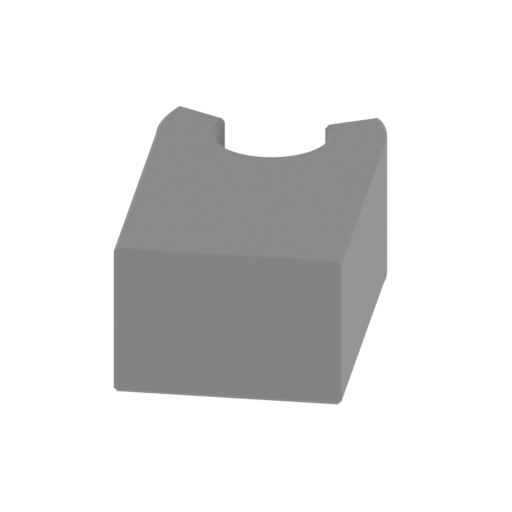 | _55_body_luke_connector_R (repaired).stl 6 x 8 x 3 mm | 0.24 x 0.31 x 0.12 in | Size: 6 x 8 x 3 mm | 0.24 x 0.31 x 0.12 in | File size: 0.03 mb | Printing Time / Filament: 2 min / <1 m | ||
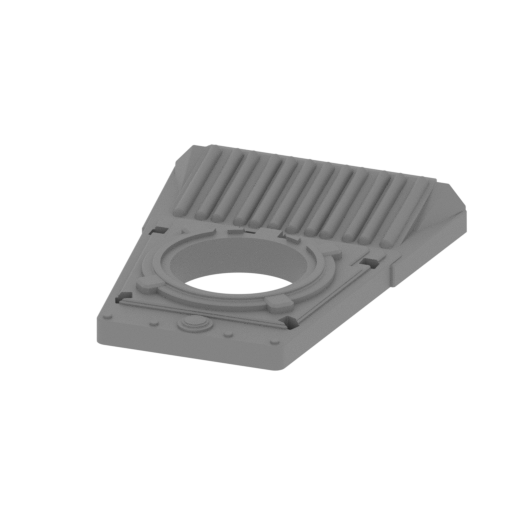 | _54_body_cap_top (repaired).stl 48 x 61 x 9 mm | 1.89 x 2.4 x 0.35 in | Size: 48 x 61 x 9 mm | 1.89 x 2.4 x 0.35 in | File size: 1.16 mb | Printing Time / Filament: 1 h 41 min / 1 m | ||
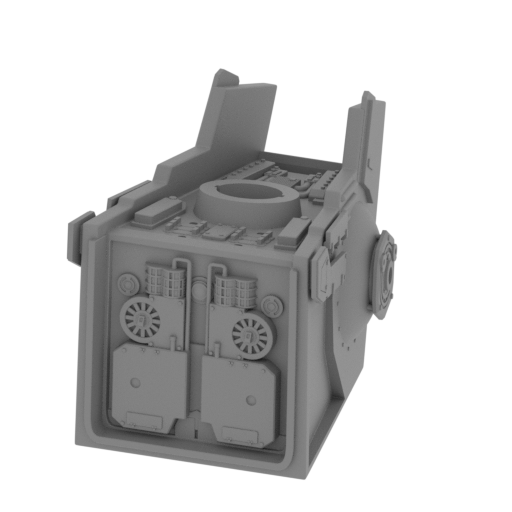 | _53_body (repaired).stl 61.69 x 90.62 x 67.39 mm | 2.43 x 3.57 x 2.65 in | Size: 61.69 x 90.62 x 67.39 mm | 2.43 x 3.57 x 2.65 in | File size: 16.49 mb | Printing Time / Filament: 18 h 26 min / 12 m | ||
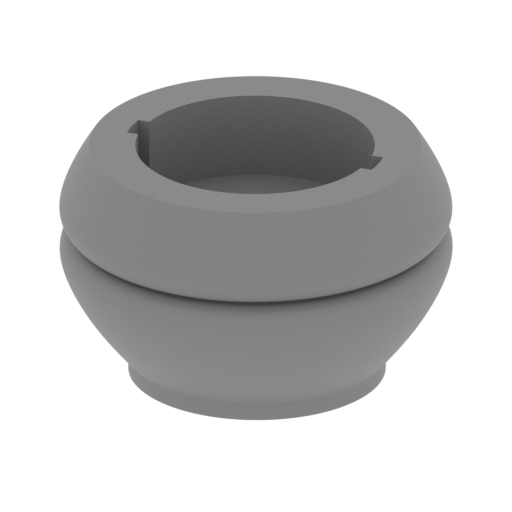 | _48_pelvis_pipe (repaired).stl 25.14 x 25.2 x 15.76 mm | 0.99 x 0.99 x 0.62 in | Size: 25.14 x 25.2 x 15.76 mm | 0.99 x 0.99 x 0.62 in | File size: 1.80 mb | Printing Time / Filament: 41 min / <1 m | ||
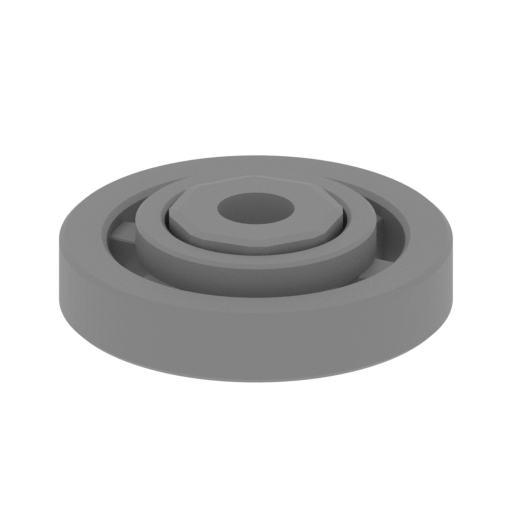 | _47_pelvis_wheel_L (repaired).stl 10.13 x 10.13 x 2.68 mm | 0.4 x 0.4 x 0.11 in | Size: 10.13 x 10.13 x 2.68 mm | 0.4 x 0.4 x 0.11 in | File size: 0.24 mb | Printing Time / Filament: 5 min / <1 m | ||
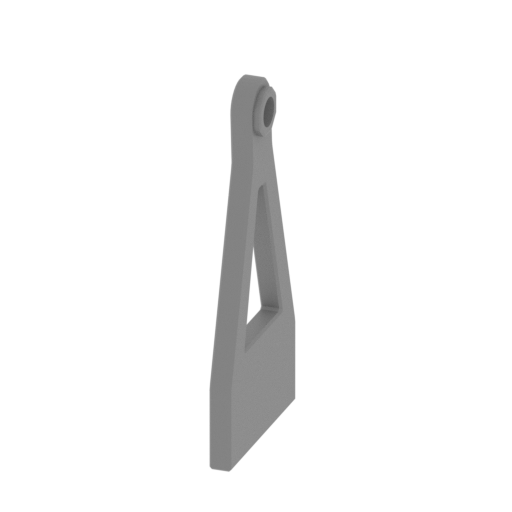 | _46_pelvis_wheel_base_L (repaired).stl 1.97 x 12.13 x 25.16 mm | 0.08 x 0.48 x 0.99 in | Size: 1.97 x 12.13 x 25.16 mm | 0.08 x 0.48 x 0.99 in | File size: 0.03 mb | Printing Time / Filament: 17 min / <1 m | ||
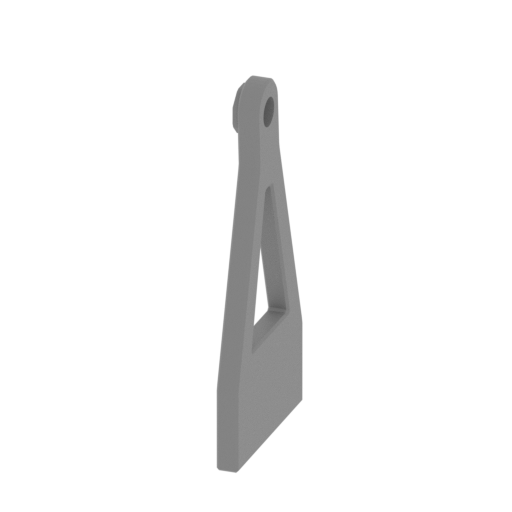 | _45_pelvis_wheel_base_R (repaired).stl 1.97 x 12.13 x 25.16 mm | 0.08 x 0.48 x 0.99 in | Size: 1.97 x 12.13 x 25.16 mm | 0.08 x 0.48 x 0.99 in | File size: 0.03 mb | Printing Time / Filament: 17 min / <1 m | ||
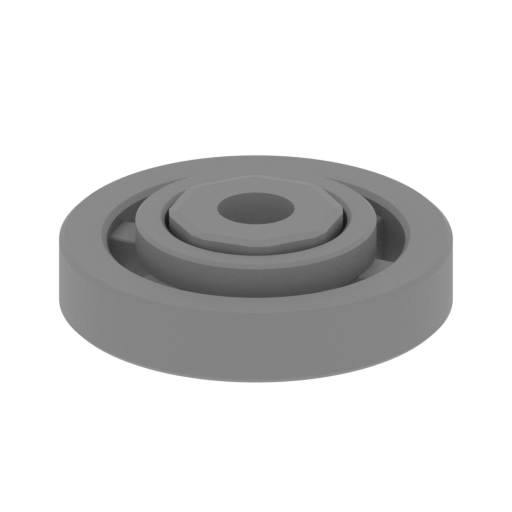 | _44_pelvis_wheel_R (repaired).stl 10.13 x 10.13 x 2.68 mm | 0.4 x 0.4 x 0.11 in | Size: 10.13 x 10.13 x 2.68 mm | 0.4 x 0.4 x 0.11 in | File size: 0.24 mb | Printing Time / Filament: 5 min / <1 m | ||
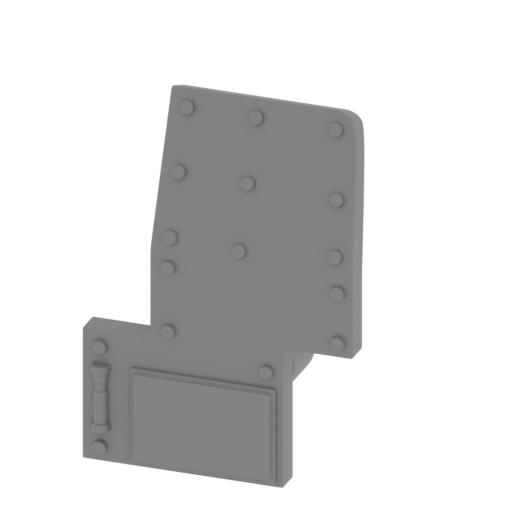 | _43_pelvis_flap_b_L (repaired).stl 11.76 x 10.02 x 16.09 mm | 0.46 x 0.39 x 0.63 in | Size: 11.76 x 10.02 x 16.09 mm | 0.46 x 0.39 x 0.63 in | File size: 1.61 mb | Printing Time / Filament: 13 min / <1 m | ||
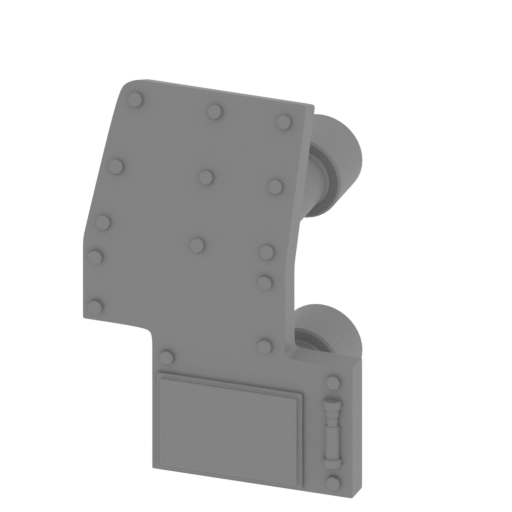 | _42_pelvis_flap_b_R (repaired).stl 12 x 10 x 16 mm | 0.47 x 0.39 x 0.63 in | Size: 12 x 10 x 16 mm | 0.47 x 0.39 x 0.63 in | File size: 1.61 mb | Printing Time / Filament: 13 min / <1 m | ||
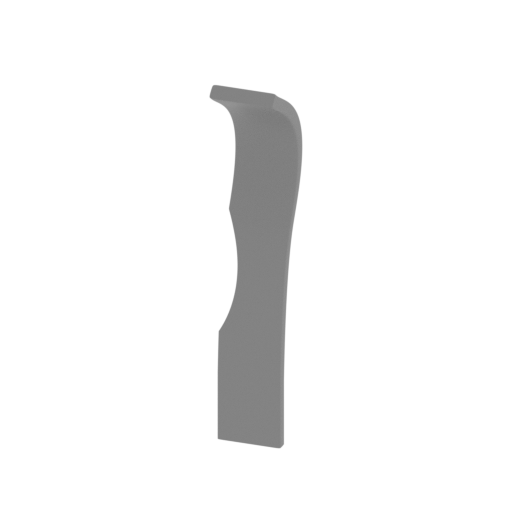 | _41_pelvis_flap_a_L (repaired).stl 6 x 7 x 33 mm | 0.24 x 0.28 x 1.3 in | Size: 6 x 7 x 33 mm | 0.24 x 0.28 x 1.3 in | File size: 1.14 mb | Printing Time / Filament: 18 min / <1 m | ||
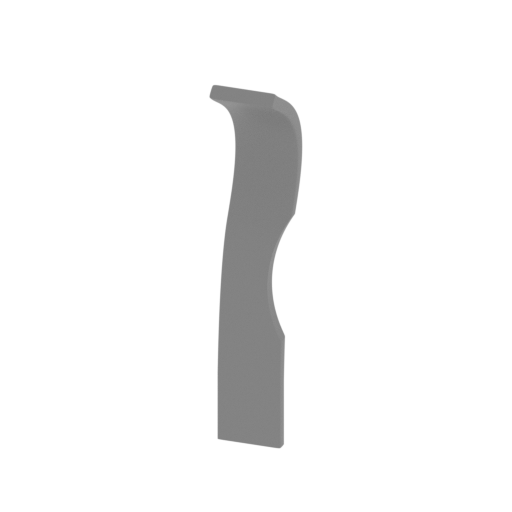 | _40_pelvis_flap_a_R (repaired).stl 6 x 7 x 33 mm | 0.24 x 0.28 x 1.3 in | Size: 6 x 7 x 33 mm | 0.24 x 0.28 x 1.3 in | File size: 1.14 mb | Printing Time / Filament: 18 min / <1 m | ||
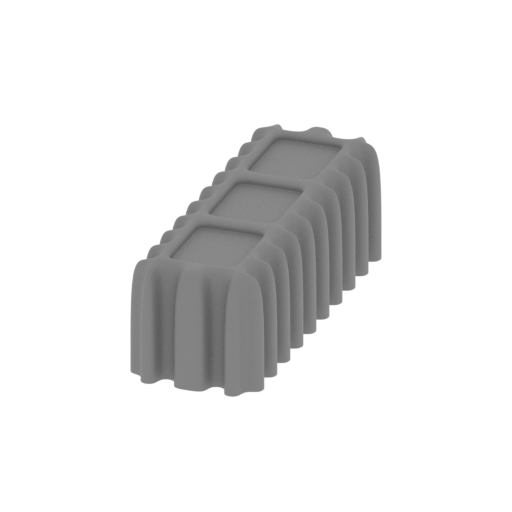 | _39_pelvis_radiator (repaired).stl 6 x 17 x 6 mm | 0.24 x 0.67 x 0.24 in | Size: 6 x 17 x 6 mm | 0.24 x 0.67 x 0.24 in | File size: 2.30 mb | Printing Time / Filament: 10 min / <1 m | ||
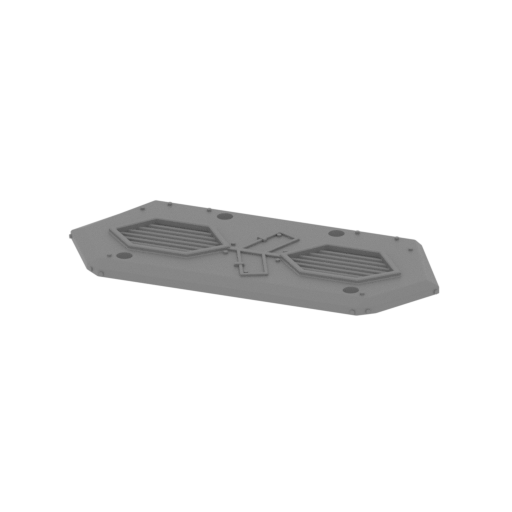 | _38_pelvis_cap (repaired).stl 47 x 21 x 2 mm | 1.85 x 0.83 x 0.08 in | Size: 47 x 21 x 2 mm | 1.85 x 0.83 x 0.08 in | File size: 0.26 mb | Printing Time / Filament: 21 min / <1 m | ||
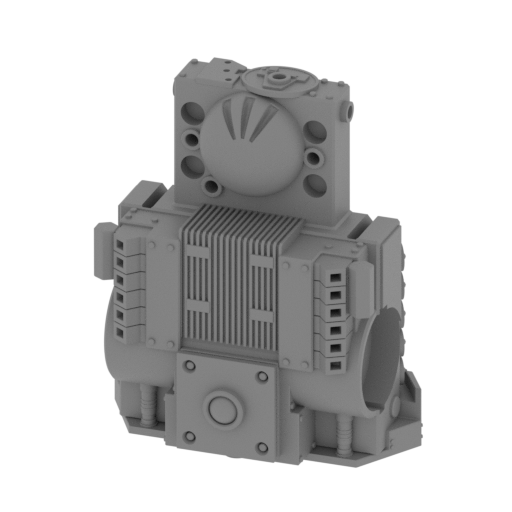 | _37_pelvis (repaired).stl 47.45 x 29.8 x 57.02 mm | 1.87 x 1.17 x 2.24 in | Size: 47.45 x 29.8 x 57.02 mm | 1.87 x 1.17 x 2.24 in | File size: 7.12 mb | Printing Time / Filament: 5 h 7 min / 2 m | ||
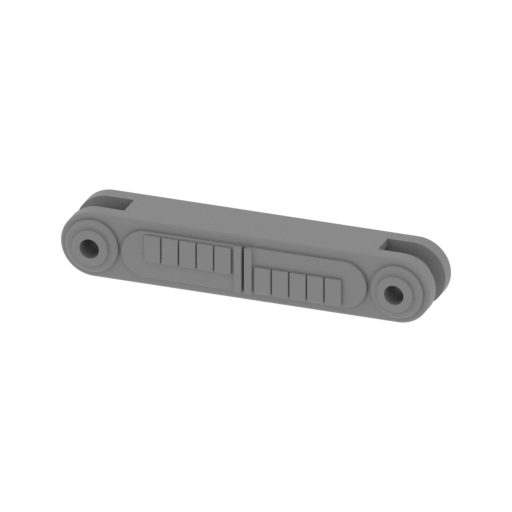 | _33_hip_b_L (repaired).stl 37 x 8 x 7 mm | 1.46 x 0.31 x 0.28 in | Size: 37 x 8 x 7 mm | 1.46 x 0.31 x 0.28 in | File size: 0.66 mb | Printing Time / Filament: 20 min / <1 m | ||
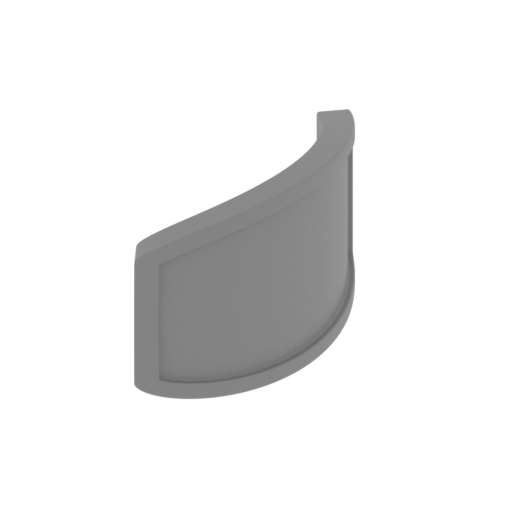 | _29_knee_L (repaired).stl 8 x 23 x 12 mm | 0.31 x 0.91 x 0.47 in | Size: 8 x 23 x 12 mm | 0.31 x 0.91 x 0.47 in | File size: 0.70 mb | Printing Time / Filament: 11 min / <1 m | ||
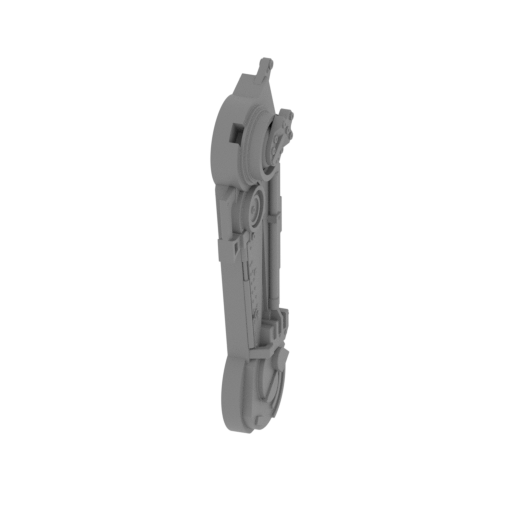 | _28_hip_a_L (repaired).stl 13.46 x 29.51 x 77.55 mm | 0.53 x 1.16 x 3.05 in | Size: 13.46 x 29.51 x 77.55 mm | 0.53 x 1.16 x 3.05 in | File size: 2.83 mb | Printing Time / Filament: 2 h 54 min / 1 m | ||
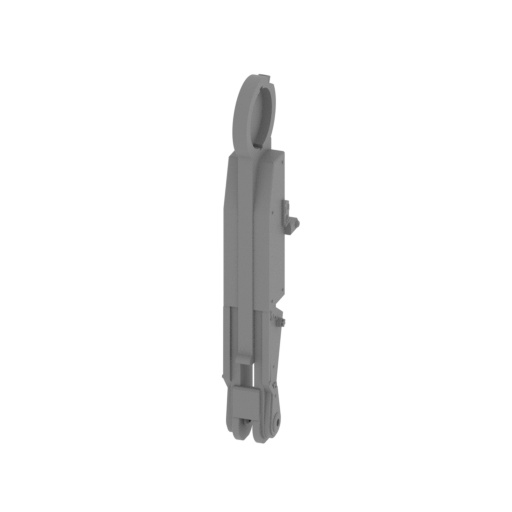 | _24_leg_L (repaired).stl 16.45 x 23.58 x 96.82 mm | 0.65 x 0.93 x 3.81 in | Size: 16.45 x 23.58 x 96.82 mm | 0.65 x 0.93 x 3.81 in | File size: 1.71 mb | Printing Time / Filament: 2 h 49 min / 1 m | ||
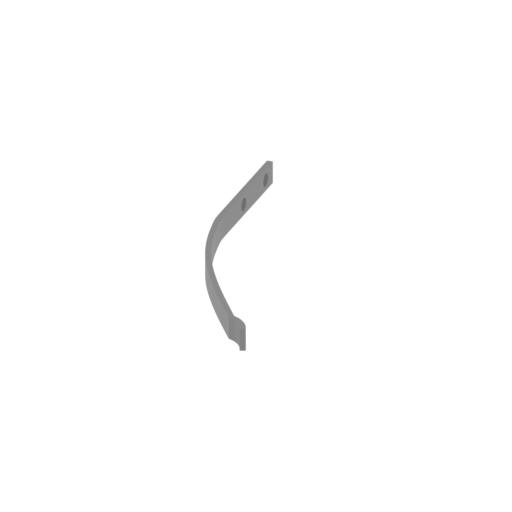 | _23_spring_L (repaired).stl 19 x 62 x 4 mm | 0.75 x 2.44 x 0.16 in | Size: 19 x 62 x 4 mm | 0.75 x 2.44 x 0.16 in | File size: 0.40 mb | Printing Time / Filament: 7 min / <1 m | ||
 | _22_shin_roll_L (repaired).stl 2 x 11 x 11 mm | 0.08 x 0.43 x 0.43 in | Size: 2 x 11 x 11 mm | 0.08 x 0.43 x 0.43 in | File size: 0.07 mb | Printing Time / Filament: 7 min / <1 m | ||
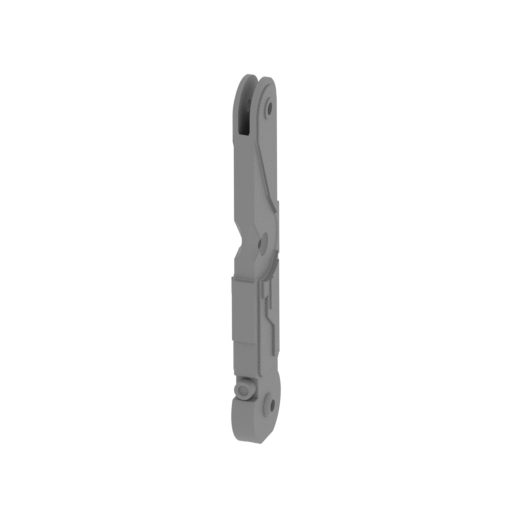 | _21_shin_L (repaired).stl 6 x 12 x 61 mm | 0.24 x 0.47 x 2.4 in | Size: 6 x 12 x 61 mm | 0.24 x 0.47 x 2.4 in | File size: 0.63 mb | Printing Time / Filament: 1 h 9 min / <1 m | ||
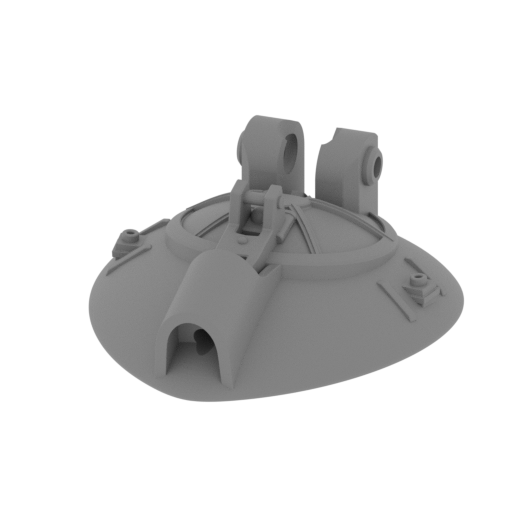 | _20_foot_L (repaired).stl 34 x 36 x 14 mm | 1.34 x 1.42 x 0.55 in | Size: 34 x 36 x 14 mm | 1.34 x 1.42 x 0.55 in | File size: 3.25 mb | Printing Time / Filament: 1 h 3 min / <1 m | ||
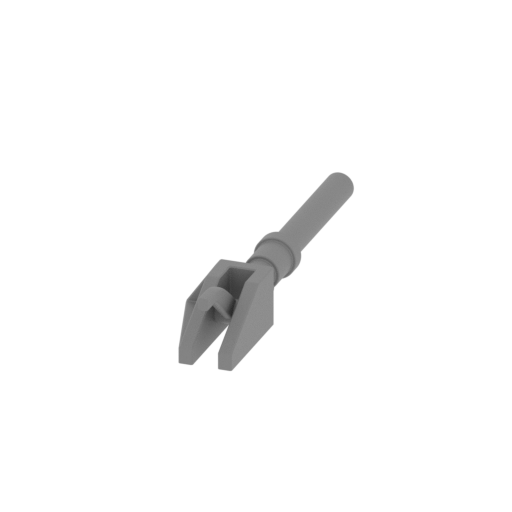 | _19_finger_L (repaired).stl 6 x 26 x 5 mm | 0.24 x 1.02 x 0.2 in | Size: 6 x 26 x 5 mm | 0.24 x 1.02 x 0.2 in | File size: 0.47 mb | Printing Time / Filament: 6 min / <1 m | ||
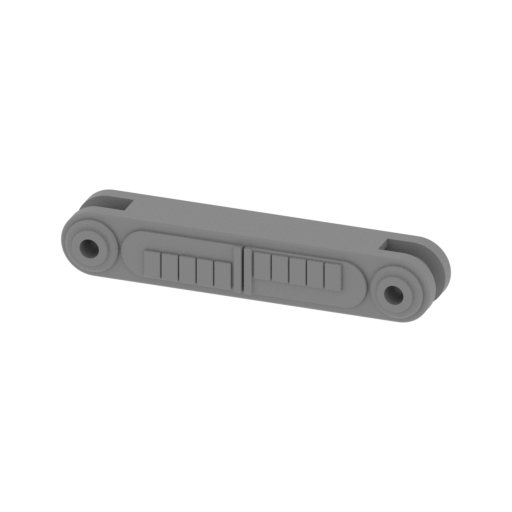 | _15_hip_b_R (repaired).stl 37 x 8 x 7 mm | 1.46 x 0.31 x 0.28 in | Size: 37 x 8 x 7 mm | 1.46 x 0.31 x 0.28 in | File size: 0.66 mb | Printing Time / Filament: 20 min / <1 m | ||
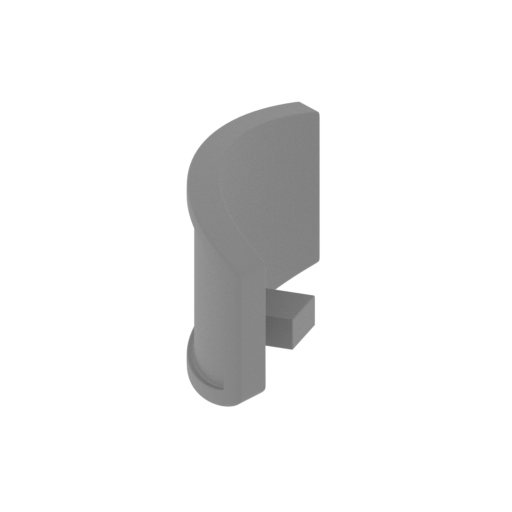 | _11_knee_R (repaired).stl 8 x 23 x 12 mm | 0.31 x 0.91 x 0.47 in | Size: 8 x 23 x 12 mm | 0.31 x 0.91 x 0.47 in | File size: 0.70 mb | Printing Time / Filament: 11 min / <1 m | ||
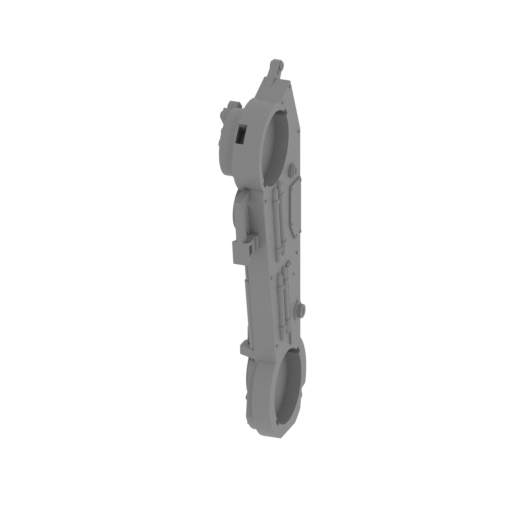 | _10_hip_a_R (repaired).stl 13 x 30 x 78 mm | 0.51 x 1.18 x 3.07 in | Size: 13 x 30 x 78 mm | 0.51 x 1.18 x 3.07 in | File size: 2.83 mb | Printing Time / Filament: 2 h 57 min / 1 m | ||
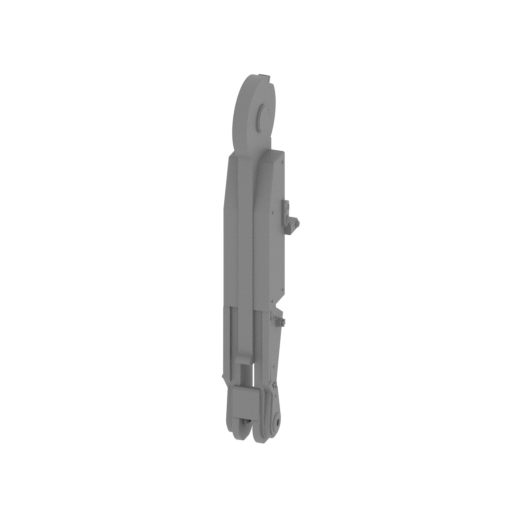 | _6_leg_R (repaired).stl 16 x 24 x 97 mm | 0.63 x 0.94 x 3.82 in | Size: 16 x 24 x 97 mm | 0.63 x 0.94 x 3.82 in | File size: 1.71 mb | Printing Time / Filament: 2 h 51 min / 1 m | ||
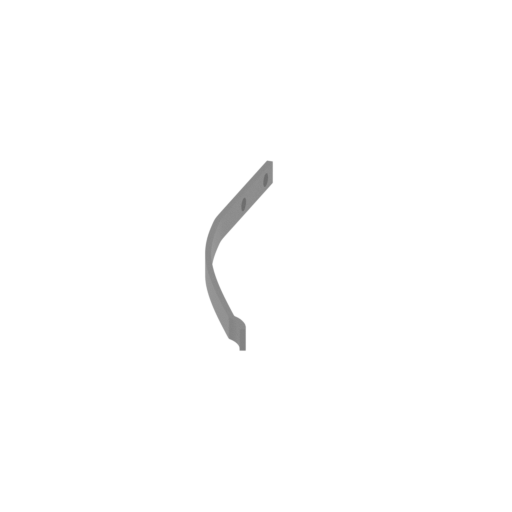 | _5_spring_R (repaired).stl 19 x 62 x 4 mm | 0.75 x 2.44 x 0.16 in | Size: 19 x 62 x 4 mm | 0.75 x 2.44 x 0.16 in | File size: 0.40 mb | Printing Time / Filament: 7 min / <1 m | ||
 | _4_shin_roll_R (repaired).stl 2 x 11 x 11 mm | 0.08 x 0.43 x 0.43 in | Size: 2 x 11 x 11 mm | 0.08 x 0.43 x 0.43 in | File size: 0.07 mb | Printing Time / Filament: 7 min / <1 m | ||
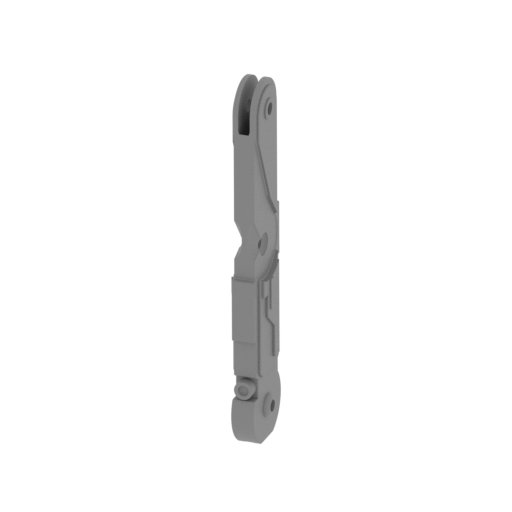 | _3_shin_R (repaired).stl 6 x 12 x 61 mm | 0.24 x 0.47 x 2.4 in | Size: 6 x 12 x 61 mm | 0.24 x 0.47 x 2.4 in | File size: 0.63 mb | Printing Time / Filament: 1 h 9 min / <1 m | ||
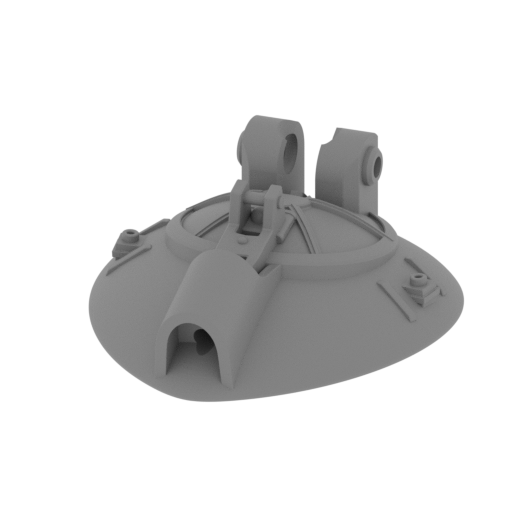 | _2_foot_R (repaired).stl 34 x 36 x 14 mm | 1.34 x 1.42 x 0.55 in | Size: 34 x 36 x 14 mm | 1.34 x 1.42 x 0.55 in | File size: 3.25 mb | Printing Time / Filament: 1 h 3 min / <1 m | ||
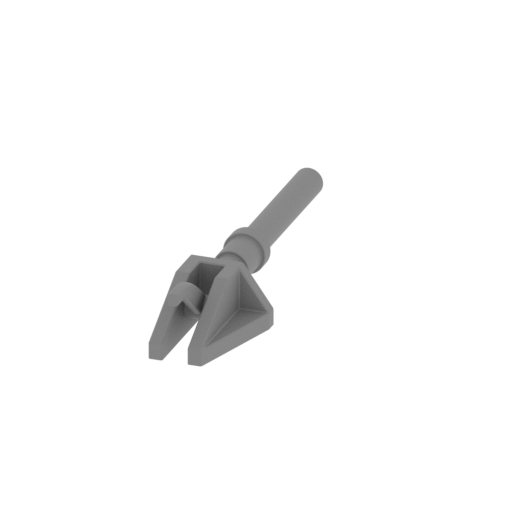 | _1_finger_R (repaired).stl 6 x 26 x 5 mm | 0.24 x 1.02 x 0.2 in | Size: 6 x 26 x 5 mm | 0.24 x 1.02 x 0.2 in | File size: 0.47 mb | Printing Time / Filament: 6 min / <1 m | ||
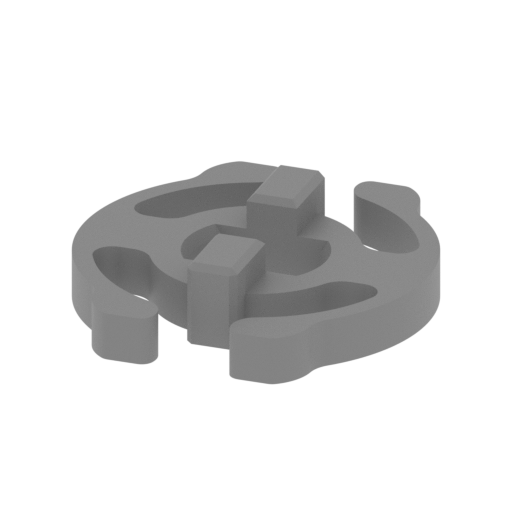 | _67_v2_hip_a_connector_b_lite_FDM_(repaired).stl 11 x 11.76 x 2.6 mm | 0.43 x 0.46 x 0.1 in | Size: 11 x 11.76 x 2.6 mm | 0.43 x 0.46 x 0.1 in | File size: 0.14 mb | Printing Time / Filament: 4 min / <1 m | ||
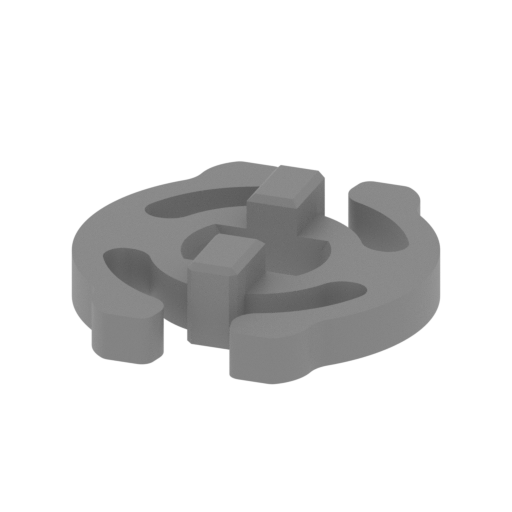 | _68_v3_hip_a_connector_b_mid_FDM_(repaired).stl 11 x 11.76 x 2.6 mm | 0.43 x 0.46 x 0.1 in | Size: 11 x 11.76 x 2.6 mm | 0.43 x 0.46 x 0.1 in | File size: 0.14 mb | Printing Time / Filament: 4 min / <1 m | ||
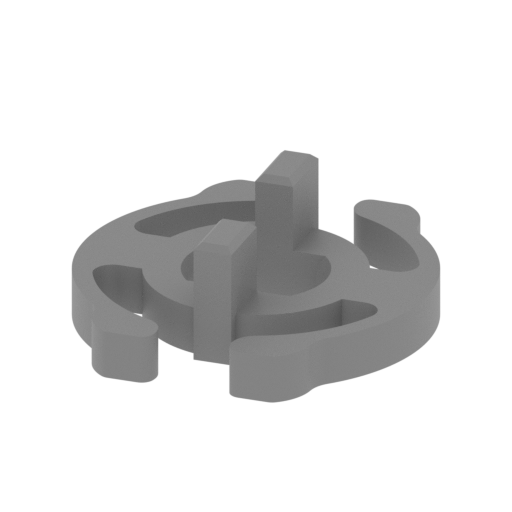 | _69_v2_pelvis_connector_b_lite_FDM_(repaired).stl 11 x 11.76 x 3.8 mm | 0.43 x 0.46 x 0.15 in | Size: 11 x 11.76 x 3.8 mm | 0.43 x 0.46 x 0.15 in | File size: 0.14 mb | Printing Time / Filament: 4 min / <1 m | ||
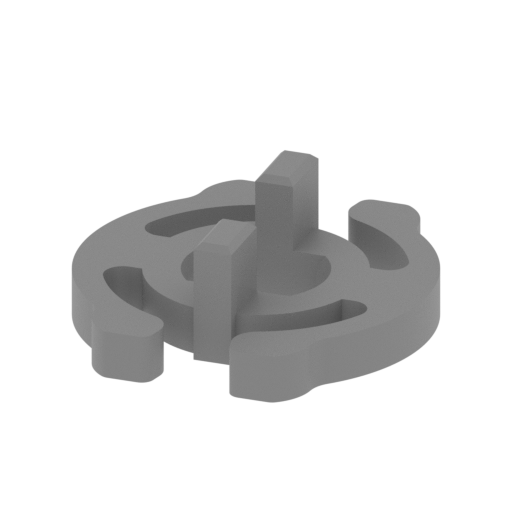 | _70_v3_pelvis_connector_b_mid_FDM_(repaired).stl 11 x 11.76 x 3.8 mm | 0.43 x 0.46 x 0.15 in | Size: 11 x 11.76 x 3.8 mm | 0.43 x 0.46 x 0.15 in | File size: 0.13 mb | Printing Time / Filament: 4 min / <1 m | ||
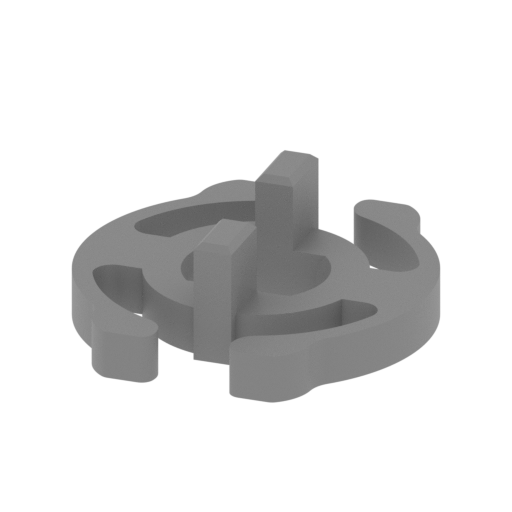 | _71_v2_leg_connector_b_lite_FDM_(repaired).stl 11 x 11.76 x 3.8 mm | 0.43 x 0.46 x 0.15 in | Size: 11 x 11.76 x 3.8 mm | 0.43 x 0.46 x 0.15 in | File size: 0.14 mb | Printing Time / Filament: 4 min / <1 m | ||
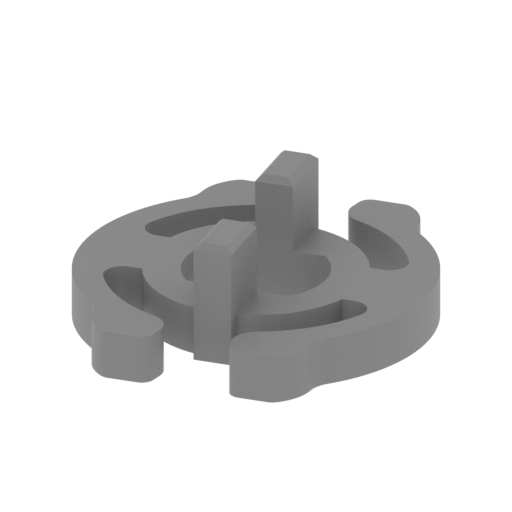 | _72_v3_leg_connector_b_mid_FDM_(repaired).stl 11 x 11.76 x 3.8 mm | 0.43 x 0.46 x 0.15 in | Size: 11 x 11.76 x 3.8 mm | 0.43 x 0.46 x 0.15 in | File size: 0.13 mb | Printing Time / Filament: 4 min / <1 m | ||
3D model history
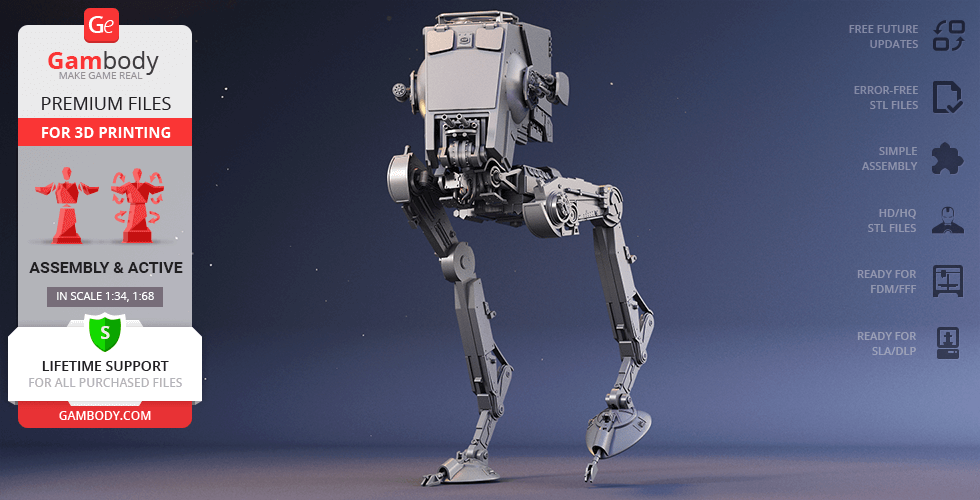
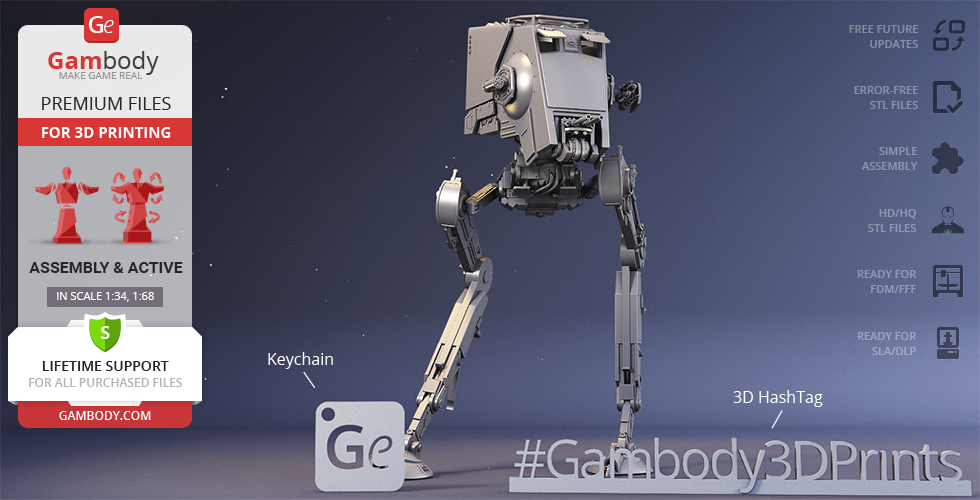
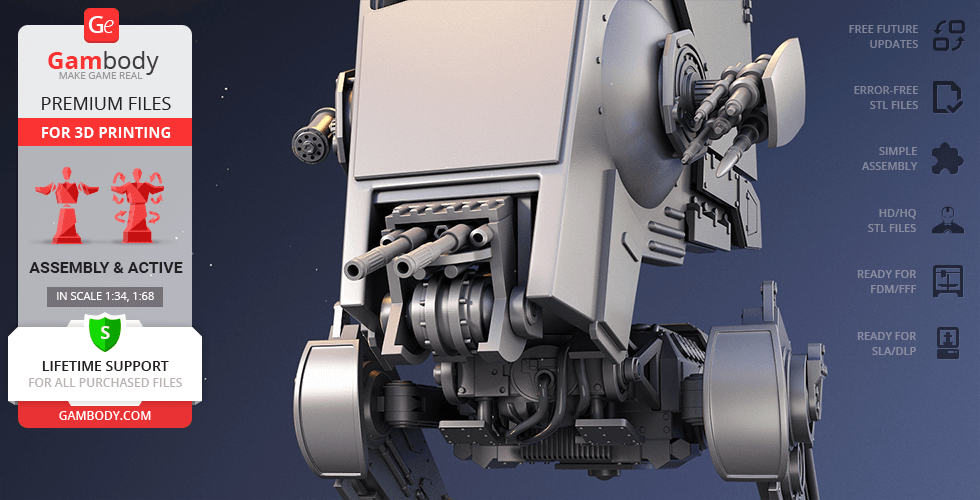
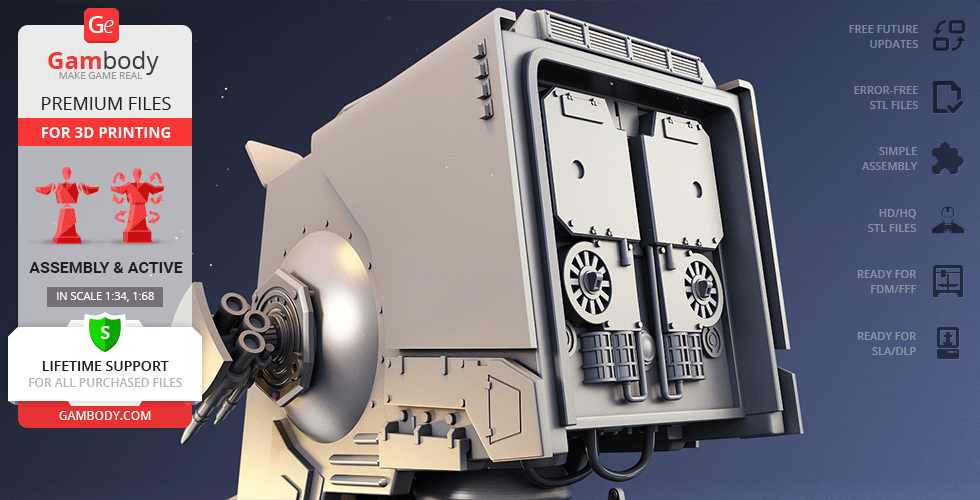
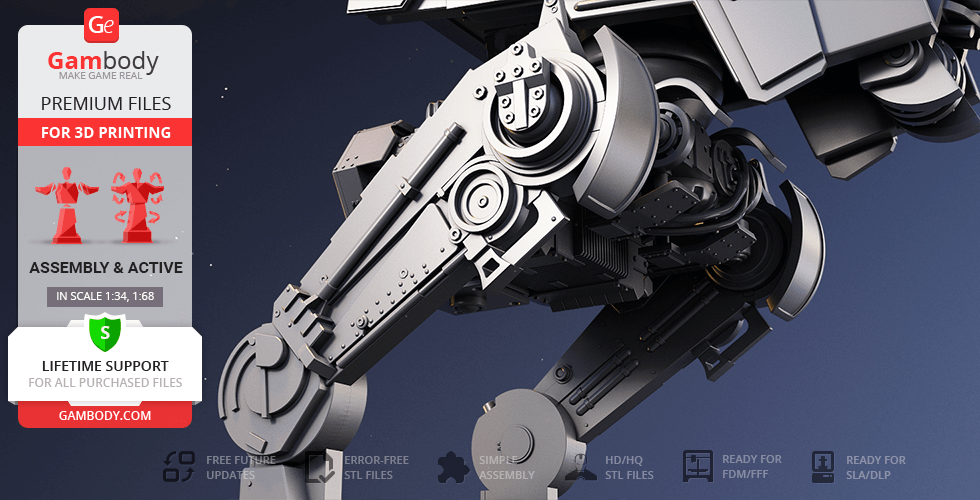
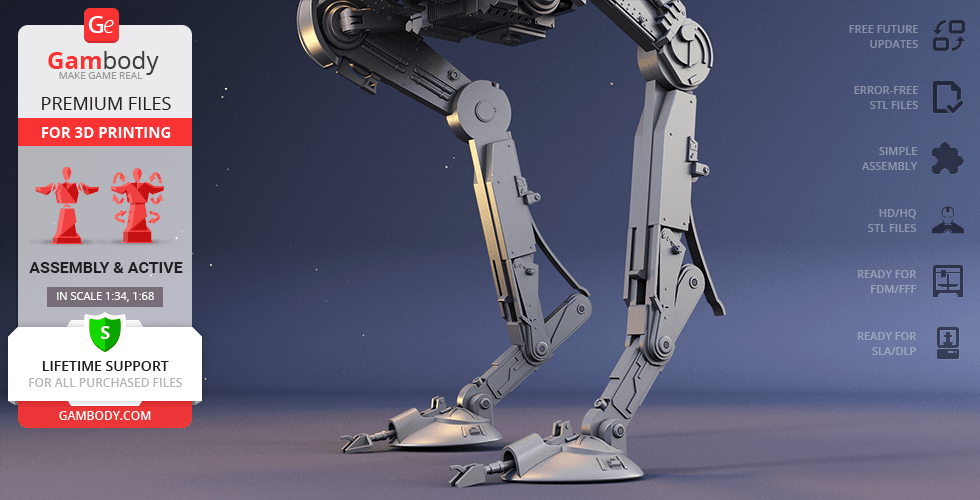
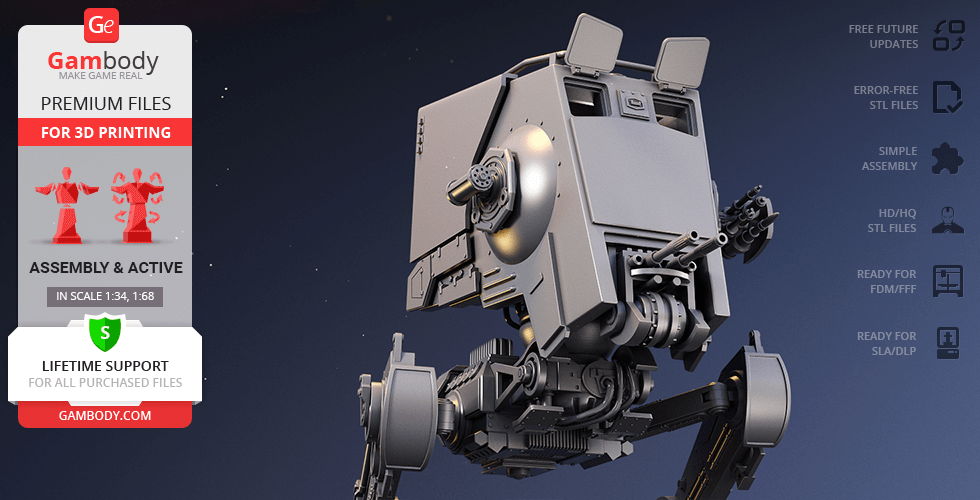
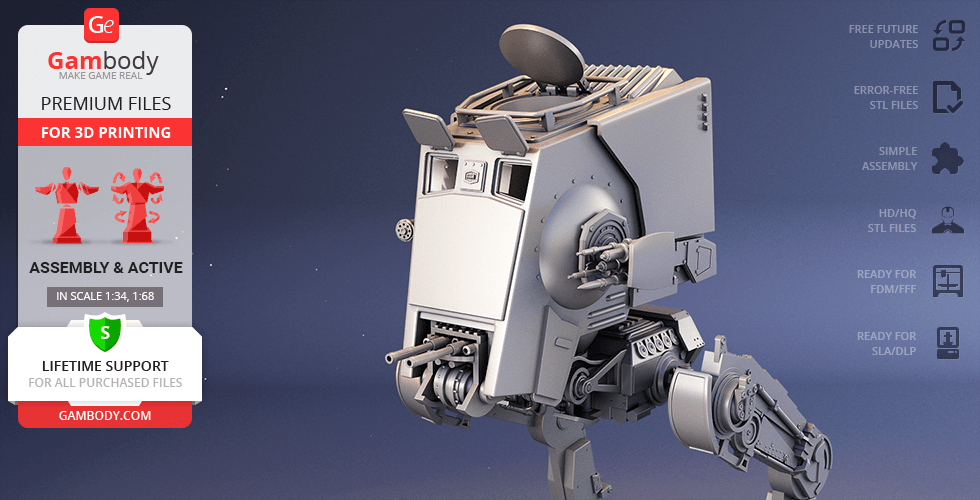
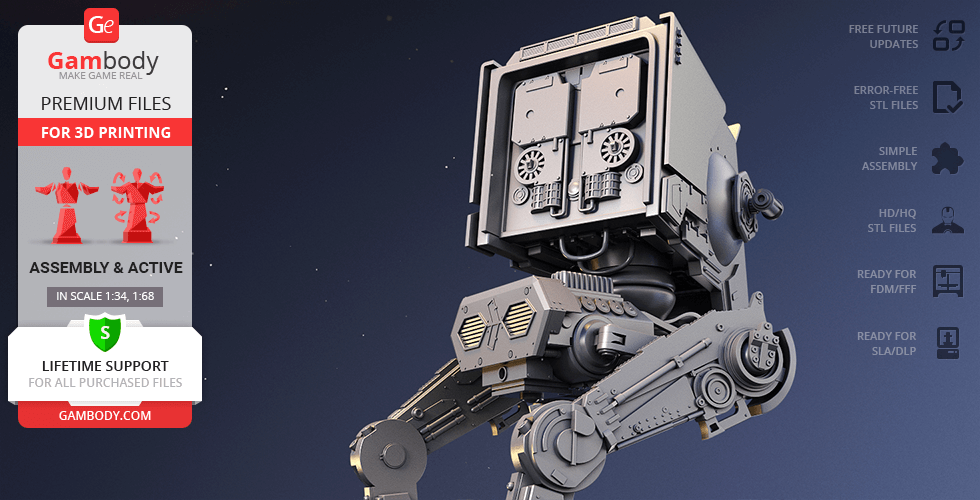
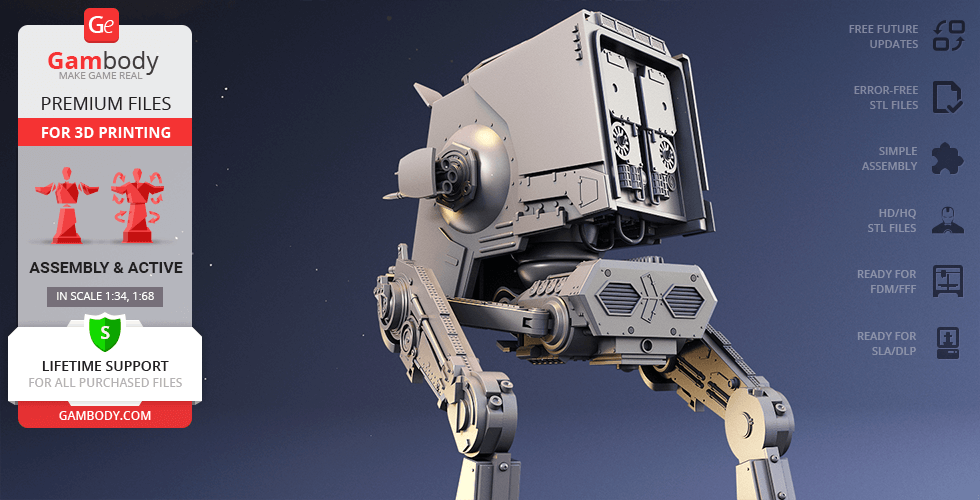
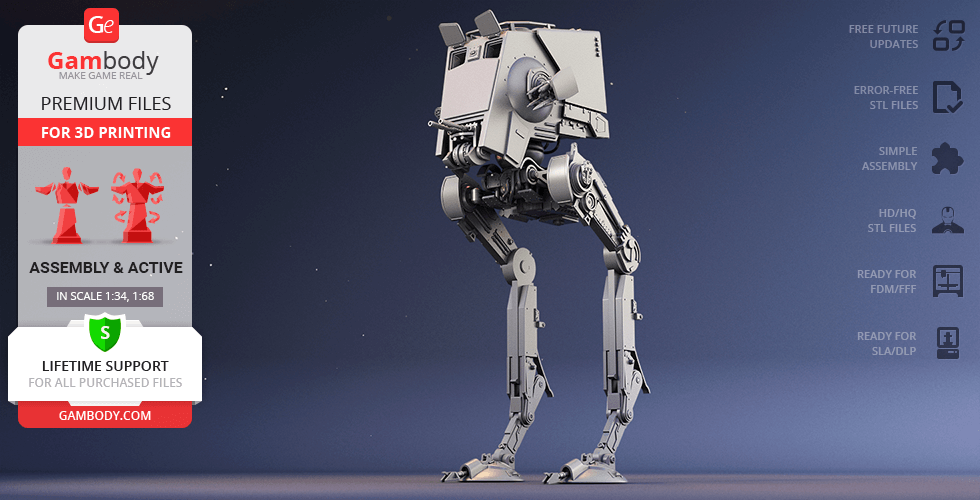
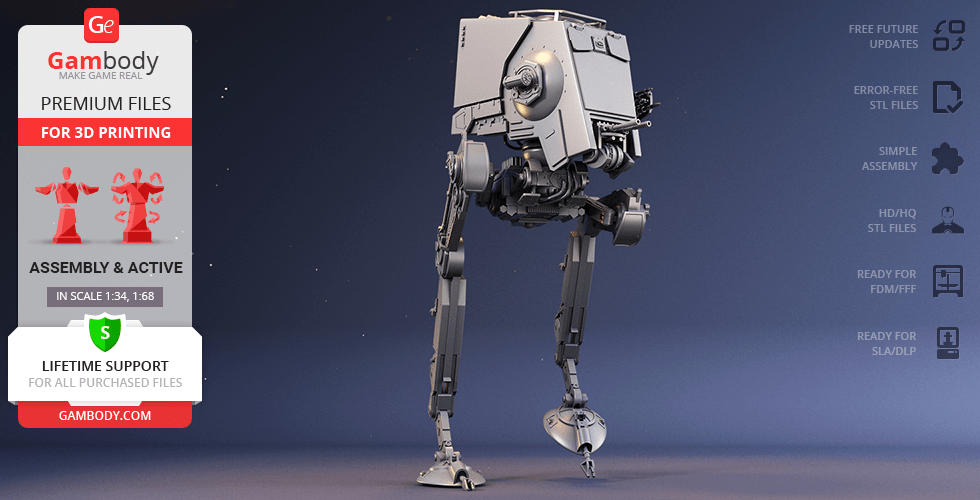
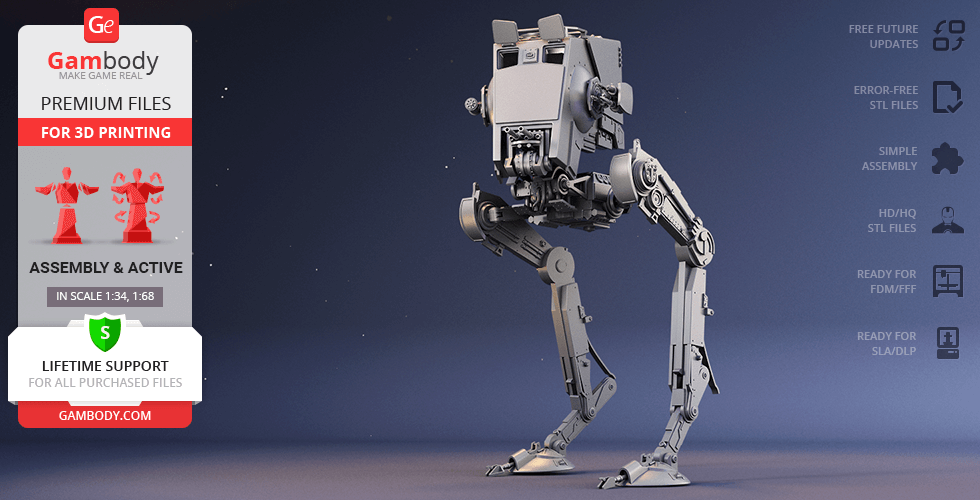
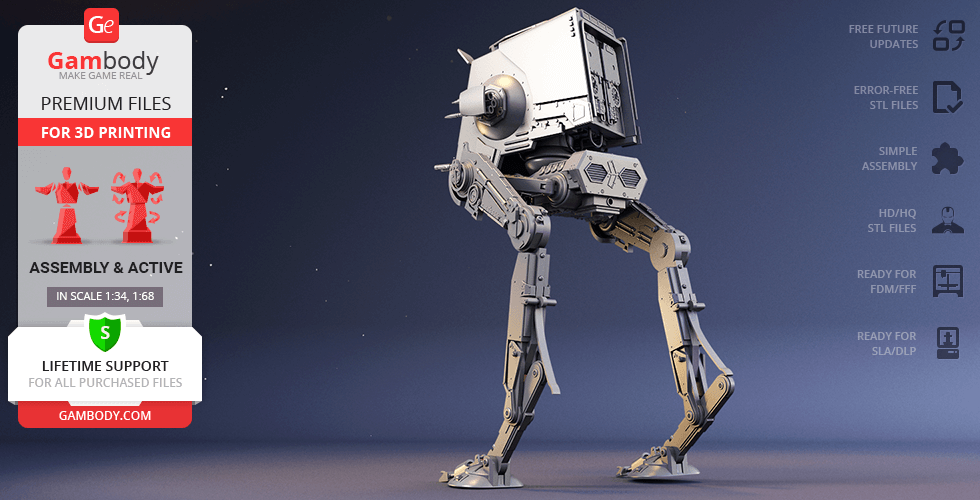
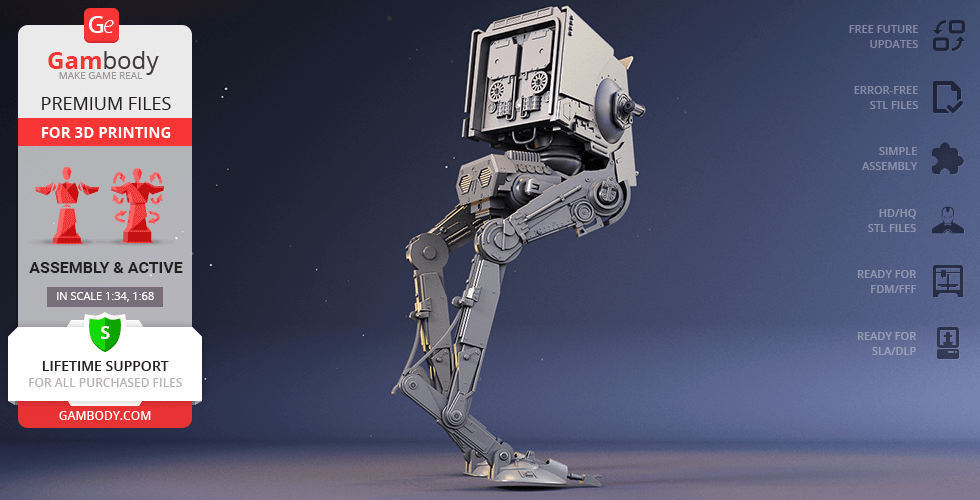
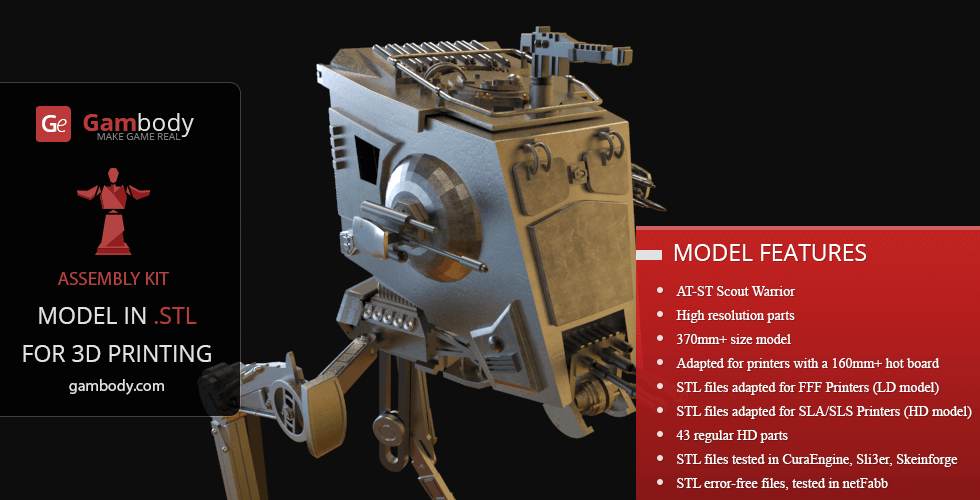
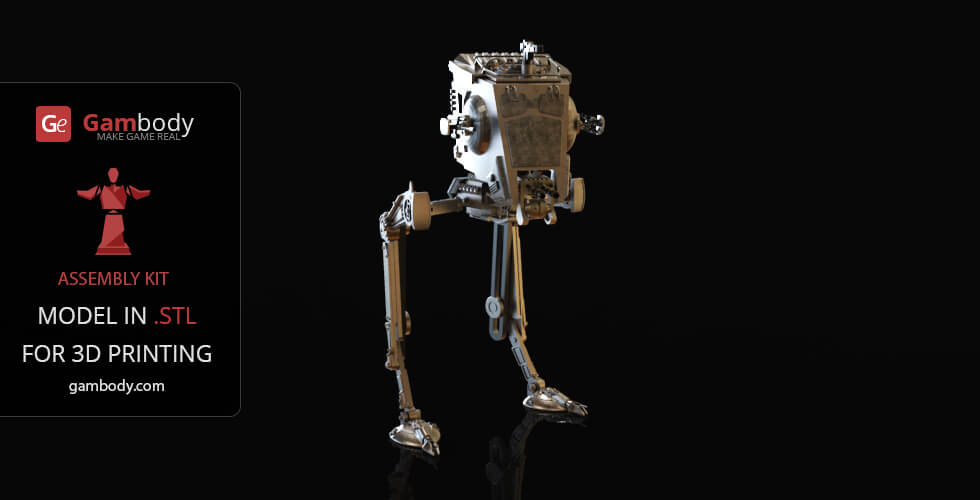
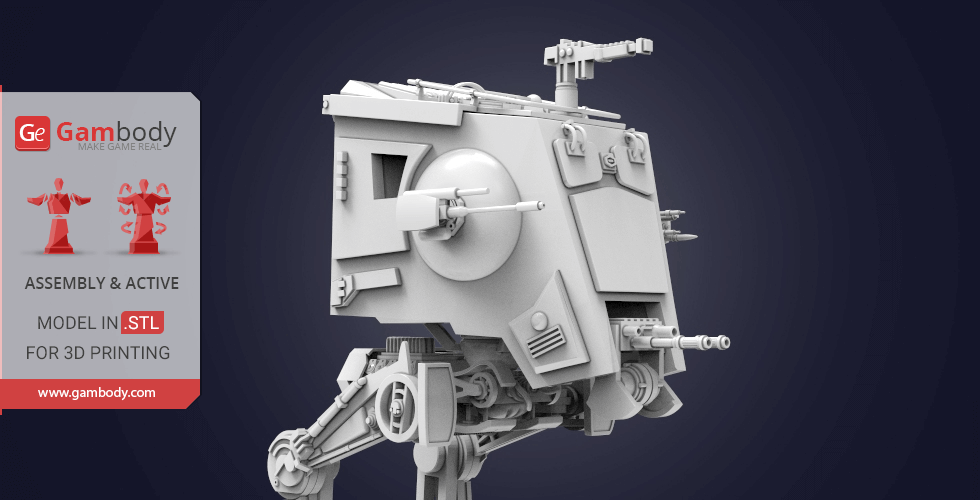
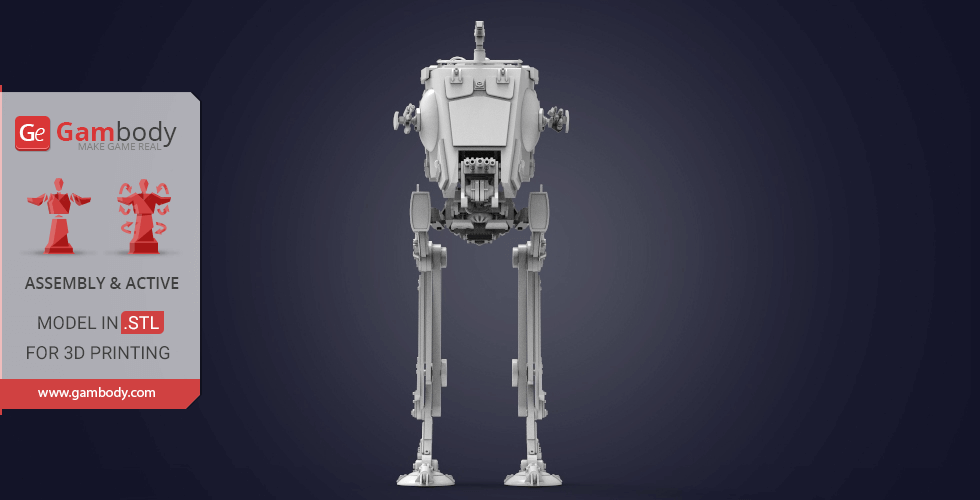
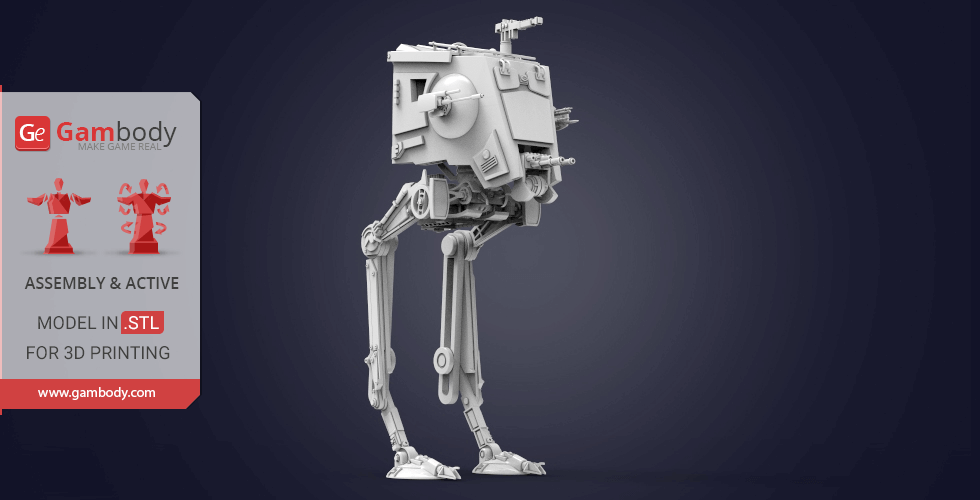
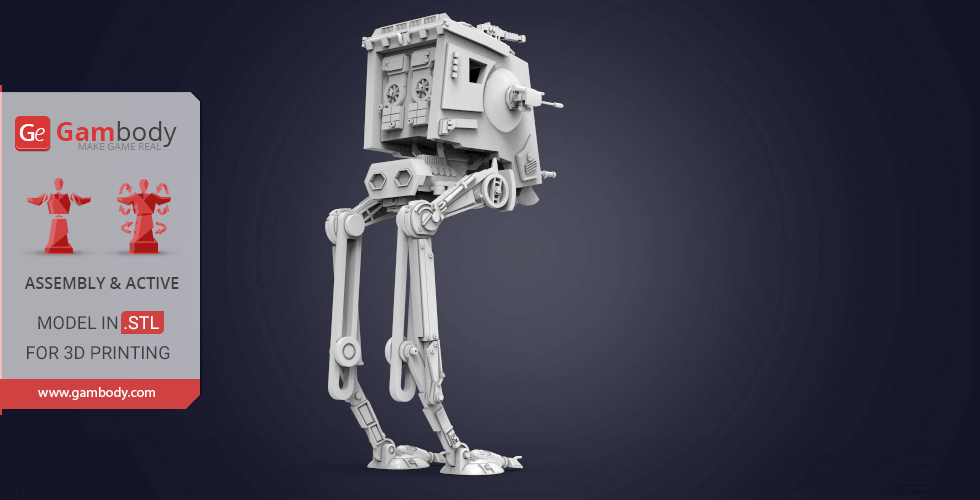
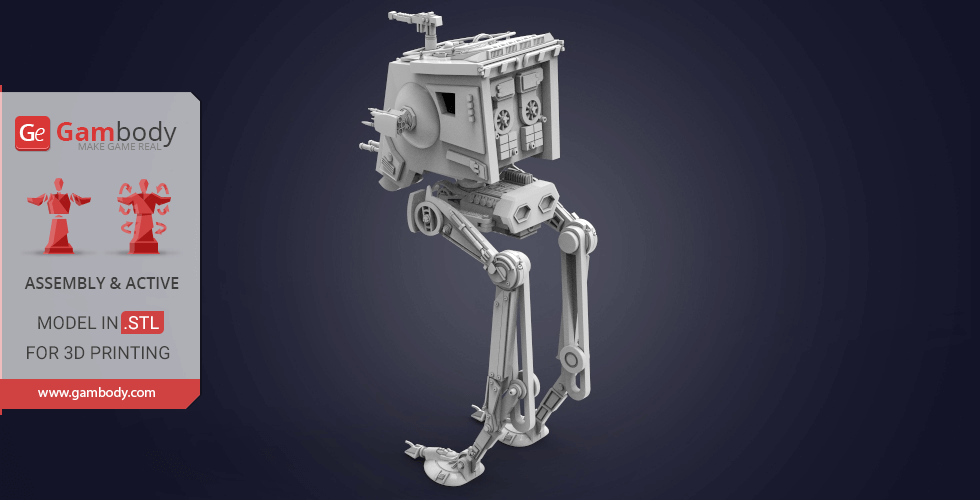
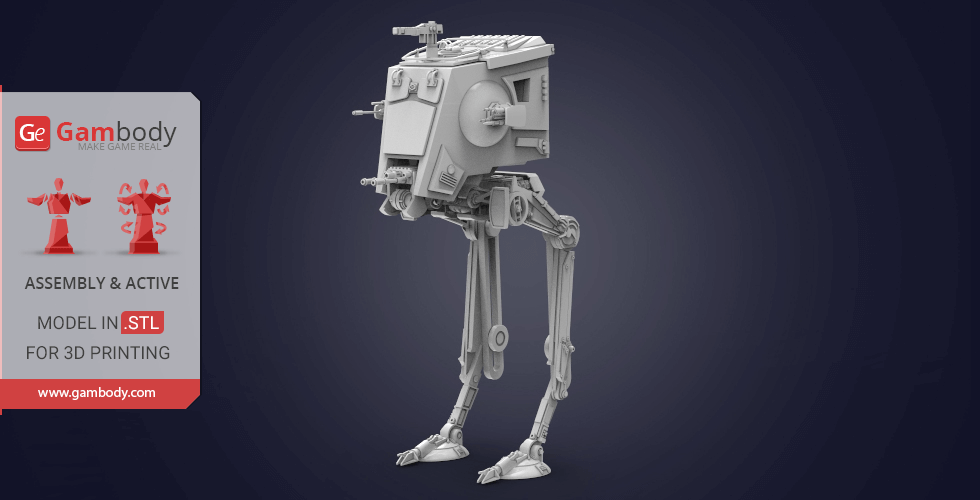
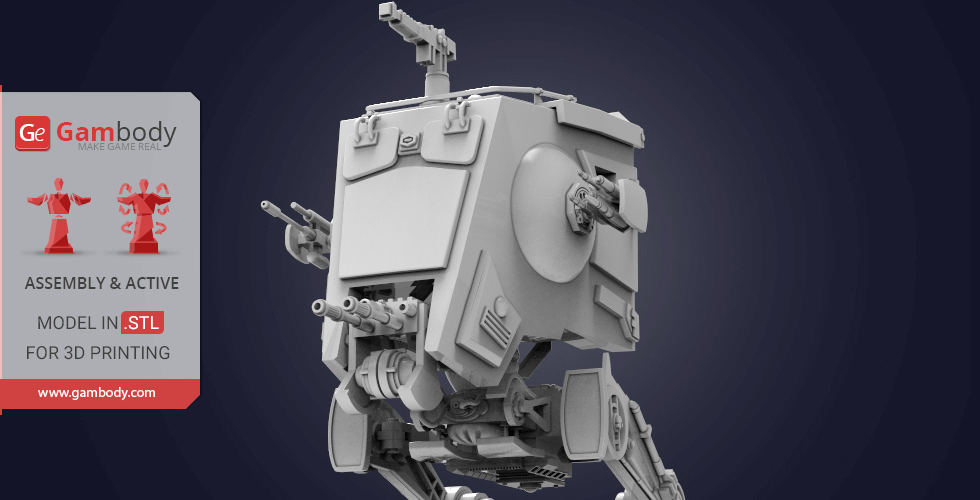
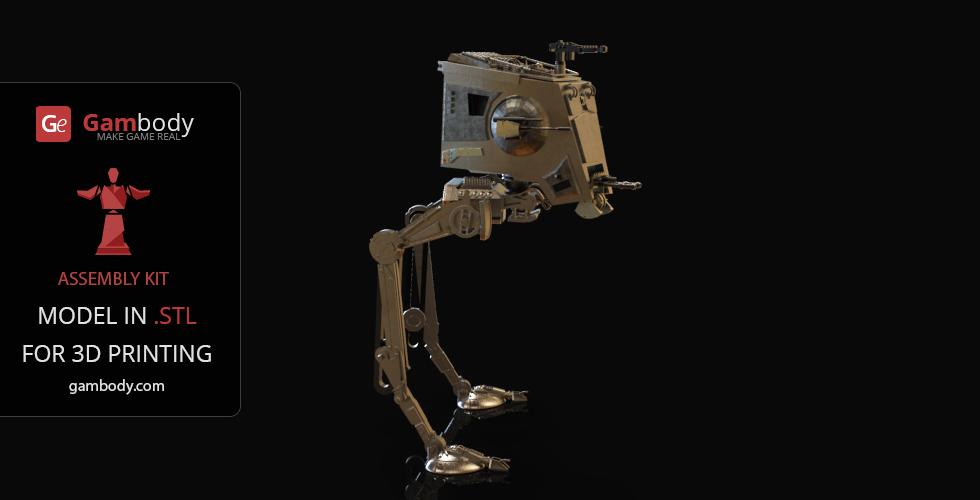
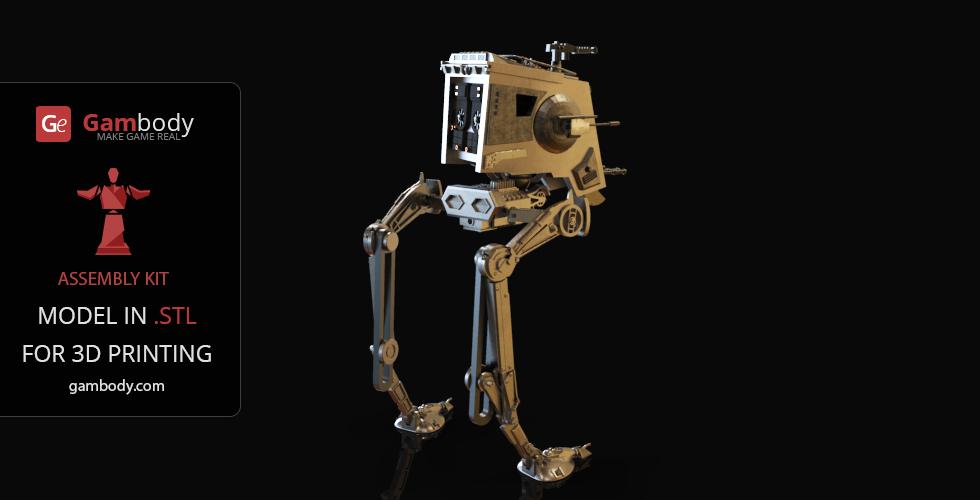
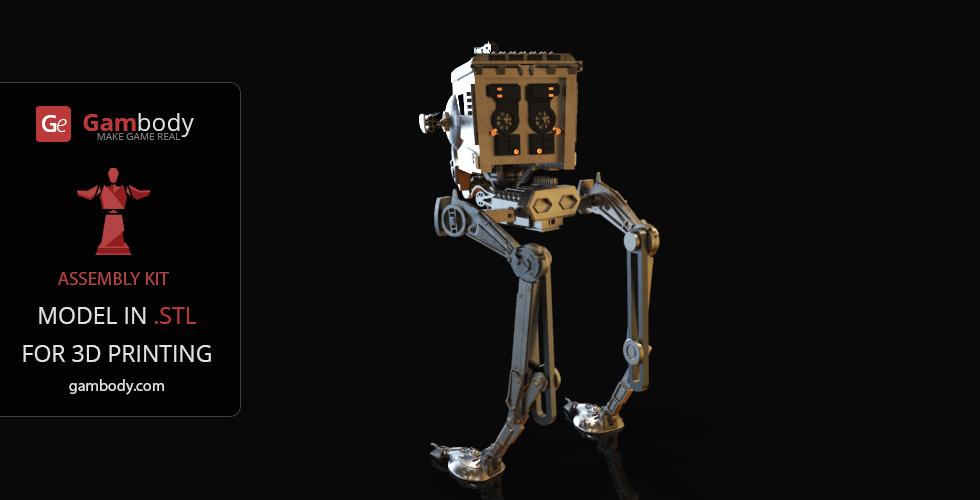
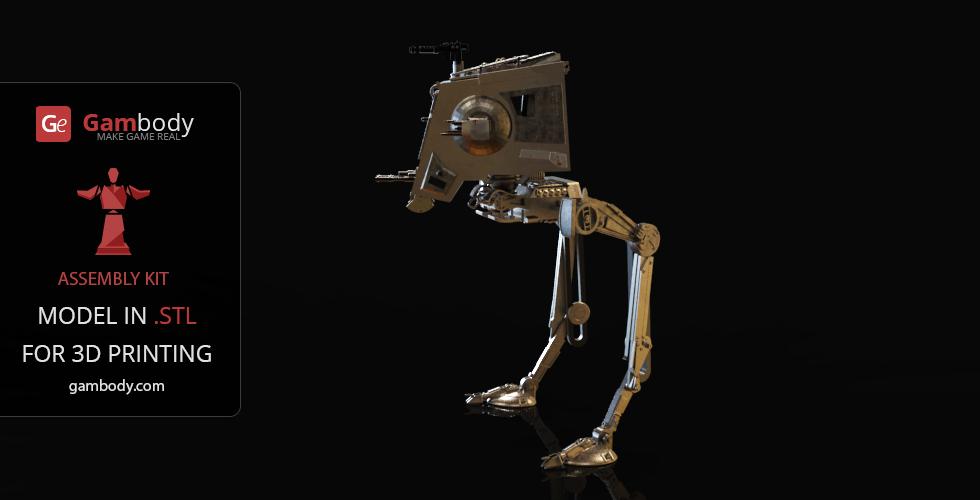
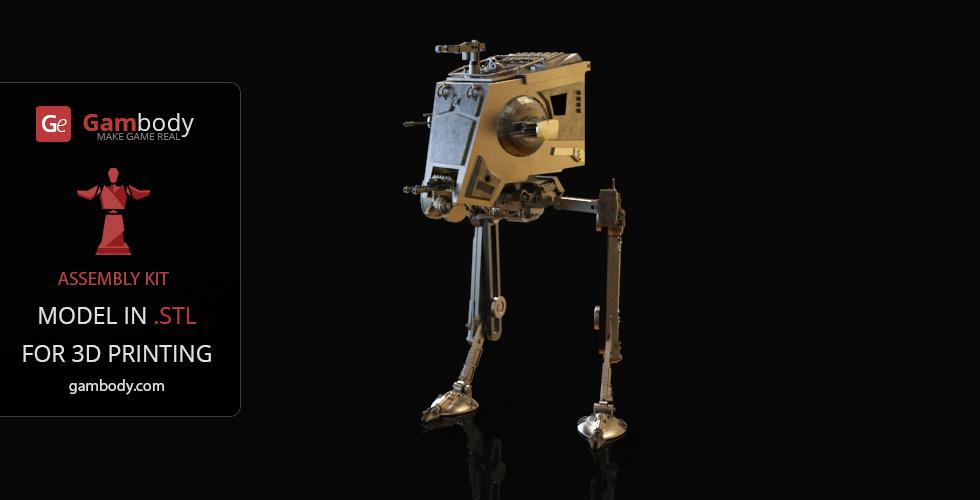
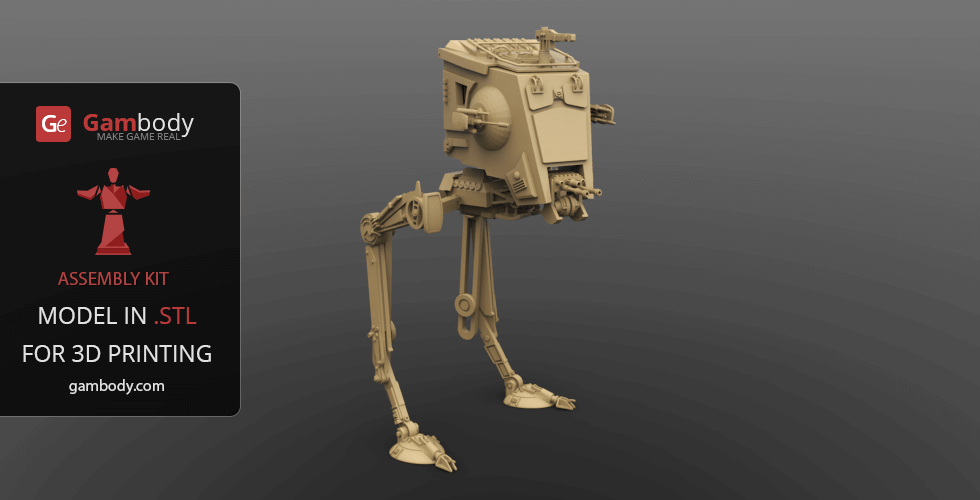
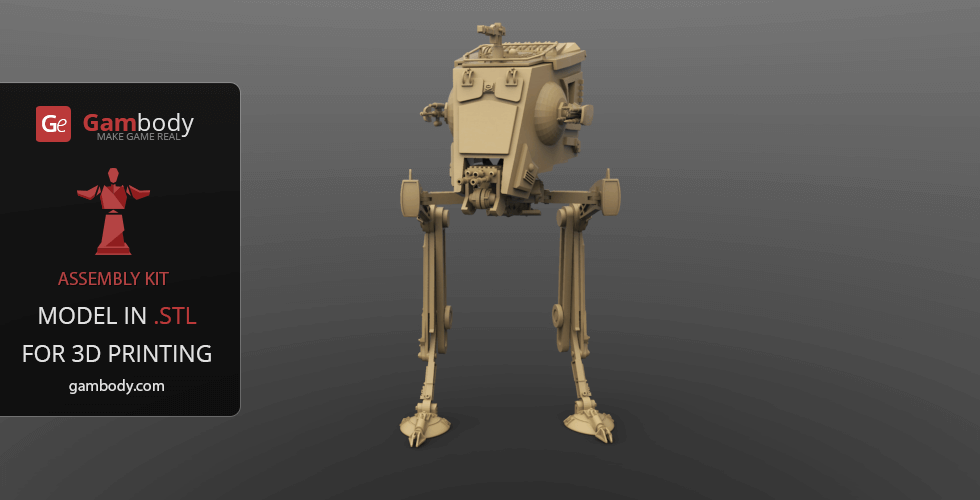
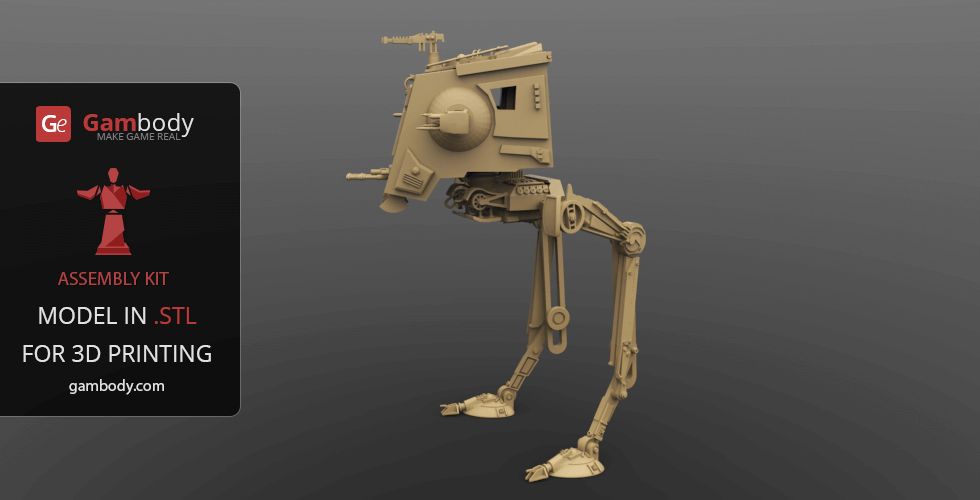
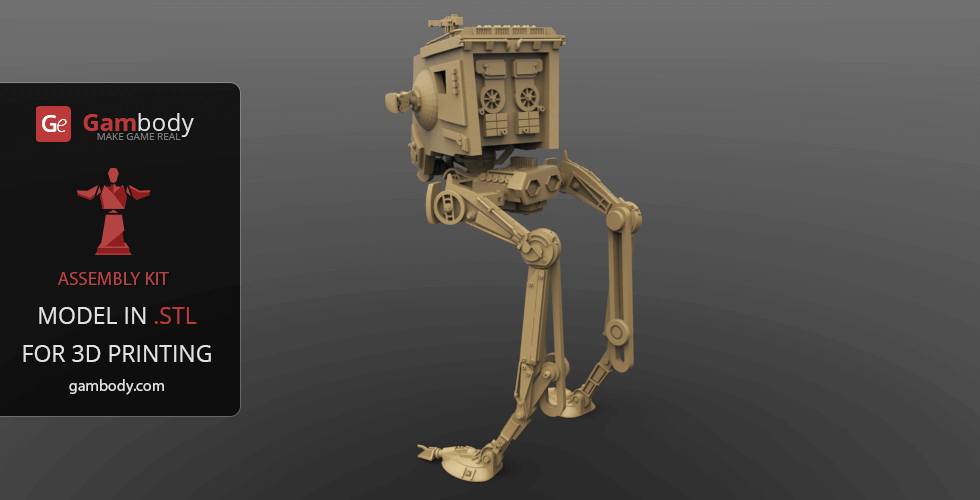
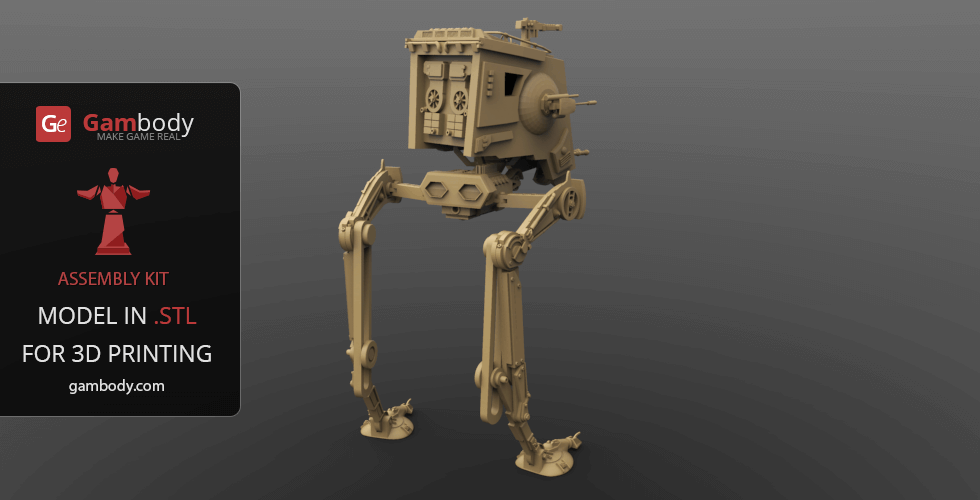
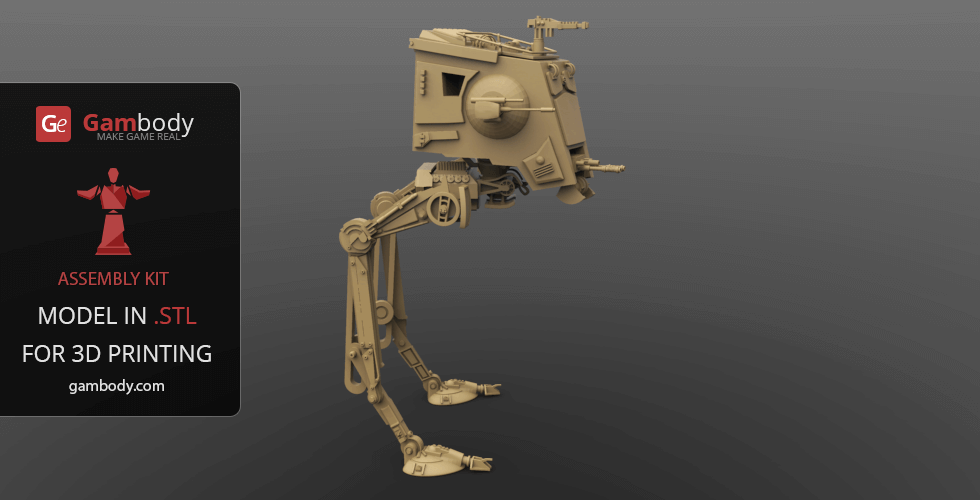
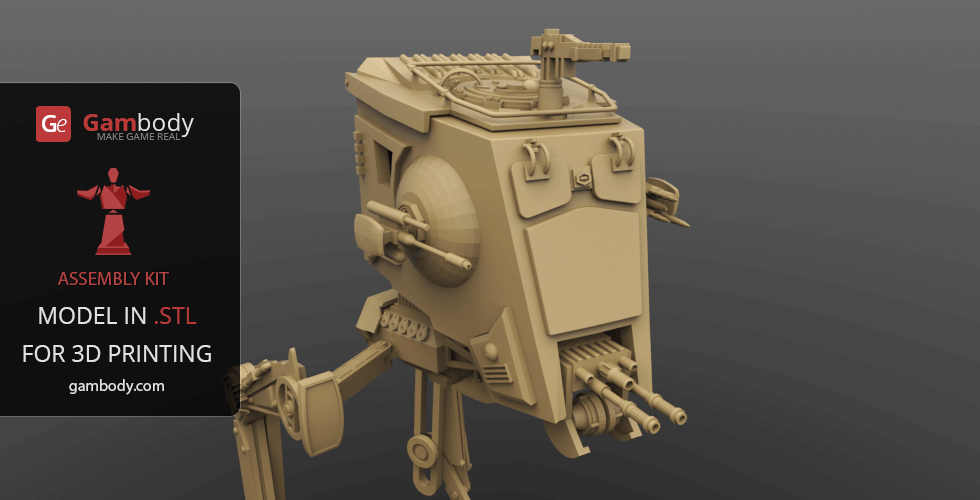
AT-ST, or All Terrain Scout Transport, is a nimble two-legged Walker that masterly screens the slower moving AT-AT and easily ferrets out minor resistance. Equipped for a standard crew of two, the Scout Walker carries a driver who analyses the terrain via AT-ST’s feet-mounted sensors and a gunner who is responsible for fighting small infantry units. Being the iconic military symbols of the Galactic Empire, all Terrain Walkers with their mechanical legs and intimidating appearance, have always fascinated not only the Star Wars fans but also the fictional vehicles enthusiasts. One of our contributing 3D artists has clearly set his mind on providing the 3D printing community with as many Walker representatives as possible and we couldn’t be happier! The execution of the AT-ST model for 3D printing leaves no doubt about the effectiveness of the Walker. The author of the model equipped the model’s cabin with twin blaster cannons on its chin, a concussion launcher on the left side, and a light blaster cannon on the right side. The 3D printing Walker’s armored “head” also has its two opening viewports that emphasize the scary image of a beastly droid staring at the enemy with two large eyes! The Imperial manufacturers behind the design of the Scout Transport would have been satisfied with the achieved frightening effect. The author of the Scout Walker for 3D printing paid particular attention to the tall legs of the model which gave the AT-ST a signature gait and earned it a nickname the “chicken walker”. The 3D printing model’s feet are equipped with seemingly useful fence-cutting blades and its knee joints are protected with special joint shields. AT-ST might not be the mightiest of the Terrain Walker family but its patrolling and reconnaissance skills have never been underestimated! Lightweight, agile, and quick, AT-ST Walker is a must-have for any 3D printed ground force of the Galactic Empire.
3D printing model features
Model-specific features:
- The updated version of the model with a significantly enhanced level of detail, completely reworked joints, and articulated elements;
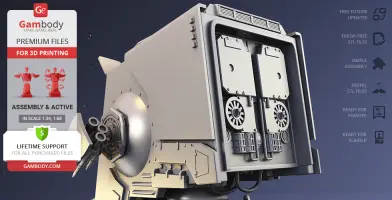
- The rotating hollow "head" of the AT-ST can be accessed via opening entry hatch and opening command viewport;
- The model's hip and knee connection allows Walker's legs to slide apart;
- The Walker's chin-mounted twin blaster cannons, cheek-mounted grenade launcher, and cheek-mounted light blaster cannon are movable;
- A pair of small wheels comprising Walker's gyro system is spinning.
Printing & assembly details:
- Provided as error-free STL files compatible with most 3D printers;
- Optimized part division minimizes support material and ensures smooth and precise surface detailing;
- The assembly parts in the FFF/FDM version come in the recommended print orientations for easy bed placement;
- Assembly manual in PDF and video formats is included for the FFF/FDM and DLP/SLA versions;
- The model is available in recommended scales – 1:34 for the FFF/FDM version and 1:68 for the DLP/SLA version.
What will you get after purchase?
- 4 versions of AT-ST Walker STL files for FFF/FDM and DLP/SLA – files for all versions are available for download after the purchase;
- STL files of high-poly AT-ST Walker model for 3D printing consist of 191 files;
- Sizes for:
- FFF/FDM Model size: 96 mm wide, 235 mm high, 134 mm deep;
- DLP/SLA Model size: 48 mm wide, 118 mm high, 67 mm deep;
- Assembly Manual for 3.0 FFF/FDM and 1.0 DLP/SLA versions in PDF and video formats;
- Detailed settings that we provide as a recommendation for Bambu Studio, Cura, Orca Slicer, PrusaSlicer, Simplify3D, and Slic3r for the best print;
- Full technical support from the Gambody Support Team.
Average customer rating (35 reviews)
4.1
Ratings breakdown
Click a star rating to filter reviews
Overall experience
Level of detail in the model
4.1
Model cut quality and assembly guide
4
Clarity and accuracy of the model page
4.1


 Verified purchase
 Level of detail in the model
4.3
Model cut quality and assembly guide
3.4
Clarity and accuracy of the model page
4.5


 Community Support Team
 To provide a bit more context, the leg assembly on this model is particularly complex, featuring a double-knee design and a shifted centre of gravity. Because the legs need to support a significant load, the joints were intentionally designed with tight tolerances to provide the necessary strength and stability at the intended scale.
However, our Moderation Team is always open to reviewing cases like this and making adjustments to the files when they can help accommodate larger-scale prints. If you're able to provide a bit more information, please contact our Support Team at support@gambody.com and include the part numbers of the affected joints, along with a few photos. This will allow us to review the issue in detail and make any necessary adjustments to the files or provide the most appropriate solution.
And don't forget that all Premium STL file purchases include lifetime technical support, so we're always here to assist with printing and assembly questions.
Thank you again for your feedback! Insights like this are always valuable and help us make the 3D printing experience better for the community!
Verified purchase Level of detail in the model
3
Model cut quality and assembly guide
0.9
Clarity and accuracy of the model page
1
 Community Support Team
 The AT-ST has a lot of interconnected parts and tight-fitting assembly areas, so small differences in printer calibration, slicer settings, filament condition, and material shrinkage can sometimes affect how certain parts fit together during assembly. However, the parts definitely should not be breaking repeatedly during normal fitting.
We’ve already seen many successful finished builds of this project from other community members, so it’s possible that in your particular case one of these factors may have affected the final fit and part strength. We also recommend checking the recommended printing settings on the model page under Printing Details and selecting the profile based on the slicer you use, since different settings can affect the final fit and print quality quite a lot.
Just a reminder that every Premium STL file purchase includes lifetime technical support from the Gambody team, so we’re always ready to assist and do our best to help you finish the project successfully. Please feel free to contact us at support@gambody.com and send a few photos of the problematic parts and assembly areas – we’ll gladly check everything together with the moderation team and help suggest possible fixes or adjustments.
We’re looking forward to hearing back from you!
Verified purchase Level of detail in the model
5
Model cut quality and assembly guide
4.5
Clarity and accuracy of the model page
5


 This feedback is from a user who hasn't purchased this model
 Level of detail in the model
5
Model cut quality and assembly guide
5
Clarity and accuracy of the model page
5

 This feedback is from a user who hasn't purchased this model
 Level of detail in the model
2
Model cut quality and assembly guide
2
Clarity and accuracy of the model page
2
This feedback is from a user who hasn't purchased this model Level of detail in the model
5
Model cut quality and assembly guide
5
Clarity and accuracy of the model page
5
 Verified purchase
 Level of detail in the model
2
Model cut quality and assembly guide
2
Clarity and accuracy of the model page
2
Verified purchase Level of detail in the model
2
Model cut quality and assembly guide
2
Clarity and accuracy of the model page
2
Verified purchase Level of detail in the model
5
Model cut quality and assembly guide
5
Clarity and accuracy of the model page
5
Verified purchase Level of detail in the model
4
Model cut quality and assembly guide
4
Clarity and accuracy of the model page
4
Verified purchase Level of detail in the model
3
Model cut quality and assembly guide
3
Clarity and accuracy of the model page
3
This feedback is from a user who hasn't purchased this model Level of detail in the model
5
Model cut quality and assembly guide
5
Clarity and accuracy of the model page
5
This feedback is from a user who hasn't purchased this model Level of detail in the model
1
Model cut quality and assembly guide
1
Clarity and accuracy of the model page
1

 Verified purchase
 Level of detail in the model
1
Model cut quality and assembly guide
1
Clarity and accuracy of the model page
1
Verified purchase Level of detail in the model
5
Model cut quality and assembly guide
5
Clarity and accuracy of the model page
5
Verified purchase Level of detail in the model
5
Model cut quality and assembly guide
5
Clarity and accuracy of the model page
5
Verified purchase Level of detail in the model
5
Model cut quality and assembly guide
5
Clarity and accuracy of the model page
5
This feedback is from a user who hasn't purchased this model Level of detail in the model
5
Model cut quality and assembly guide
5
Clarity and accuracy of the model page
5
This feedback is from a user who hasn't purchased this model Level of detail in the model
4
Model cut quality and assembly guide
4
Clarity and accuracy of the model page
4
Verified purchase Level of detail in the model
4
Model cut quality and assembly guide
4
Clarity and accuracy of the model page
4
Below you'll find detailed slicing settings for Bambu Studio 2.0+, Orca Slicer 2.0+, UltiMaker Cura 5.0+, PrusaSlicer 2.0+, Slic3r 1.3+, Simplify3D 5.0+ to help you get the best results when printing this model. These settings are optimized specifically for this 3D model, but please note they may need slight adjustments depending on your printer or filament. When in doubt, refer to your printer's user manual.
To avoid printing issues and achieve the best quality, we highly recommend applying the following settings:
 Bambu Studio 2.0+
 For better quality use 0.12 mm layer height, for fast printing use 0.2 mm layer height. For pins and the Ge connectors, use 0.2 layer height.
120-150% of your Layer Height
But you can paint the seam if you want.
You have to calibrate this parameter
You have to calibrate this parameter
You have to calibrate this parameter
For pins and power elements of the structure, such as the vehicle frame, use 3 loop
Disabled for vehicles and enabled for characters
For 0,2 Layer Height
The parameters in this tab vary greatly, it all depends on the quality of your printer. For example, if you have a classic Ender3, stick to the minimum parameters, but if you have a newer printer, for example Anycubic cobra 3 v2, you can select the maximum recommended values
Settings for advanced users, change these parameters only if you have sufficient 3D printing expertise
Enable this parameter if your model requires supports
We also recommend placing and removing supports manually in some places using special button
1-2 loops for more thick support
Top Z distance = 1-1.3 layer Height. If the supports are hard to remove, try increasing this setting by 0.1-0,4 mm
Bottom Z distance = 1-1.3 layer Height. If the supports are hard to remove, try increasing this setting by 0.1-0,4 mm
You have to calibrate this parameter which one is better for your filament
Increase this parameter if the supports are hard to remove from walls
For PLA and PETG filament types
5-8 mm is optional for small prints that have bad adhesion to the build plate
You have to calibrate this parameter
Read the description on your filament roll
Read the description on your filament roll and increase this parameter for fast printers
Read the description on your filament roll and increase this parameter for fast printers
 Orca Slicer 2.0+
 For better quality use 0.12 mm layer height, for fast printing use 0.2 mm layer height. For pins and the Ge connectors, use 0.2 layer height.
120-150% of your Layer Height
But you can paint the seam if you want.
0.01-0.05 You have to calibrate this parameter
0.01-0.05 You have to calibrate this parameter
0.1-0.2 You have to calibrate this parameter
For pins and power elements of the structure, such as the vehicle frame, use 3 loop
Disabled for vehicles and ships, enabled for characters
For 0,2 Layer Height
For 0,2 Layer Height
The parameters in this tab vary greatly, it all depends on the quality of your printer. For example, if you have a classic Ender3, stick to the minimum parameters, but if you have a newer printer, for example, Anycubic Kobra 3 Or Bambulab A1, you can select the maximum recommended values.
Settings for advanced users, change these parameters only if you have sufficient 3D printing expertise
Enable this parameter if your model requires supports
We also recommend placing and removing supports manually in some places using special button
Top Z distance = 1-1.3 layer Height. If the supports are hard to remove, try increasing this setting by 0.1-0,4 mm
Bottom Z distance = 1-1.3 layer Height. If the supports are hard to remove, try increasing this setting by 0.1-0,4 mm
Increase this parameter if the supports are hard to remove from walls
For PLA and PETG filament types
5-8 mm is optional for small prints that have bad adhesion to the build plate
Read the description on your filament roll
Read the description on your filament roll and increase this parameter for fast printers
You have to calibrate this parameter
Read the description on your filament roll and increase this parameter for fast printers
Read the description on your filament roll
This field is filled in according to your printer specifications when you add it to the slicer.
You can add custom G-code here for the start and end of the print. However, be careful - this is for advanced users only!
You have to calibrate your printer using Ge retraction test models
Retraction Length: For direct-drive setups use 0.5 mm to 2.5 mm; for Bowden extruders use 5 to 7 mm
This is how fast the filament is pulled back—40-60 mm/s for direct drive and 30-50 mm/s for Bowden setups.
You have to calibrate this parameter: Reduce it until the printer starts to hit the parts with the nozzle during printing, then increase it by 0.2.
 UltiMaker Cura 5.0+
 For better quality use 0.12 mm layer height, for fast printing use 0.2 mm layer height. For pins and the Ge connectors, use 0.2 layer height.
120-150% of your Layer Height
To increase the strength of the print parts, use wall line count: 3
For pins and connectors use 50% Infill
These parameters are for standard PLA plastic. If you are using a different type of plastic, check the printing temperature recommended by the manufacturer. Also, read the description on your filament spool. For fast printers, add +30 °C to the current parameters.
The parameters in this tab vary greatly, it all depends on the quality of your printer. For example, if you have a classic Ender3, stick to the minimum parameters, but if you have a newer printer, for example Anycubic cobra 3 v3, you can select the maximum recommended values
Settings for advanced users, change these parameters only if you have sufficient 3D printing expertise.
You need to calibrate this parameter using Gambody test models. These values are average values for a Direct Drive extruder; for a Bowden extruder, the values should be increased.
You need to calibrate this parameter using Gambody test models. These values are average values for a Direct Drive extruder; for a Bowden extruder, the values should be increased.
Use this value other than 0 if your nozzle catches on the internal infill during travel moves. Try to keep this value as low as possible in height.
Use normal supports to support large, straight surfaces (most mechanical or technical parts).
You have to calibrate this parameter according to the capabilities of your printer and your filament, using a Gambody test models.
Use 1 instead of 0 if your supports are thin and tall. They will be harder to remove, but much stronger.
Top Z distance = 1-1.3 layer Height. If the supports are hard to remove, try increasing this setting by 0.1-0,4 mm
Increase this parameter if the supports are hard to remove from walls
Use tree supports to support complex objects, such as characters.
You have to calibrate this parameter according to the capabilities of your printer and your filament, using a Gambody test models.
Top Z distance = 1-1.3 layer Height. If the supports are hard to remove, try increasing this setting by 0.1-0,4 mm
Increase this parameter if the supports are hard to remove from walls
Use a skirt for all parts when printing on outdated printers.
Use a brim when printing thin but tall parts, as well as parts with a small bed adhesion area.
 PrusaSlicer 2.0+
 For better quality use 0.12 mm layer height, for fast printing use 0.2 mm layer height. For pins and the Ge connectors, use 0.2 layer height.
120-150% of your Layer Height
for 0.2 Layer Height
But you can paint the seam if you want.
(for PLA and PETG)
(5-8 mm is optional for small prints that have bad adhesion to the build plate)
Enable this parameter if your model requires supports
(45-50 degree)You have to calibrate this parameter according to the capabilities of your printer
and your filament, using a Gambody test models.
Top contact Z distance = 1-1.3 layer Height. If the supports are hard to remove, try
increasing this setting by 0.1-0,4 mm
Top contact Z distance = 1-1.3 layer Height. If the supports are hard to remove, try
increasing this setting by 0.1-0,4 mm
Increase this parameter if the supports are hard to remove from walls
The parameters in this tab vary greatly, it all depends on the quality of your printer. For example, if you have a classic Ender3, stick to the minimum parameters, but if you have a newer printer, for example Anycubic cobra 3 v3, you can select the maximum recommended values
Settings for advanced users, change these parameters only if you have sufficient 3D printing expertise. Use the minimum value for outdated printers without acceleration calibration, and the maximum value for modern printers if you need it.
These settings only work for 3D printers with multiple extruders
You can try setting all parameters in this section, except the First layer, to values between 0.75% of your nozzle diameter and 1.25% of your nozzle diameter. Adjusting them will help you work out the optimal parameters for the best quality for your print. As for the First layer, you can set it to 150% of the diameter of your nozzle for better adhesion to the build plate (for a nozzle with a diameter of 0.4 mm, the First layer extrusion width can be from 0.3 mm to 0.5 mm)
For better printing quality you have to calibrate this parameter using Gambody test model.
Check your filament manufacturer's temperature recommendations on the spool.
Cooling parameters depends on the material you use for printing.
*for PLA
 Slic3r 1.3+
 For better quality use 0.12 mm layer height, for fast printing use 0.2 mm layer height. For pins and the Ge connectors, use 0.2 layer height.
120-150% of your Layer Height
For 0.12 Layer Height
For 0.12 Layer Height
For pins and connectors use 50% Infill
Use skirt for outdated 3d printers
(5-8 mm is optional for small prints that have bad adhesion to the build plate)
Enable this parameter if your model requires supports
(45-60 degree)You have to calibrate this parameter according to the capabilities of your printer and your filament, using a Gambody test models
Contact Z distance = 1-1.3 layer Height. If the supports are hard to remove, try increasing this setting by 0.1-0,4 mm
The parameters in this tab vary greatly, it all depends on the quality of your printer. For example, if you have a classic Ender3, stick to the minimum parameters, but if you have a newer printer, for example Anycubic cobra 3 v3, you can select the maximum recommended values
Settings for advanced users, change these parameters only if you have sufficient 3D printing expertise. Use the minimum value for outdated printers without acceleration calibration, and the maximum value for modern printers if you need it.
You have to calibrate this parameter from 0.9 to 1.1 according to the capabilities of your printer and your filament, using a Gambody test models.
Check your filament manufacturer's temperature recommendations on the spool.
Cooling parameters depends on the material you use for printing.
Calibrate this value if you need to reduce or improve the adhesion between the plastic and the heat bed
Your current nozzle diameter
You need to calibrate this parameter using Gambody test models. These values are average values for a Direct Drive extruder; for a Bowden extruder, the values should be increased.
 Simplify3D 5.0+
 Your current nozzle diameter
You have to calibrate this parameter using Gambody test models.
You need to calibrate this parameter using Gambody test models. These values are average values for a Direct Drive extruder; for a Bowden extruder, the values should be increased.
For better quality use 0.12 mm layer height, for fast printing use 0.2 mm layer height. For pins and the Ge connectors, use 0.2 layer height.
For 0,2 Layer Height
For 0,2 Layer Height
To increase the strength of the print parts, use Outline Perimeters: 3
You can enable this parameter to print rounded or spherical models, as well as character models.
Use this option only if your parts are too tight. but better calibrate your printer extrusion
Use this option only if your parts are too tight. but better calibrate your printer extrusion
Use 2 and more if you want to create skirt instead brim
1-2 for skirt and 10-20 for brim
Use for wipe nozzle if you need
Use For ABS filament
For pins and connectors use 50% Infill
Top Z distance = 1-1.3 layer Height. If the supports are hard to remove, try increasing this setting by 0.1-0,4 mm
Calibrate your filament and detect optimal temperature for it
Average temperature for PLA filament
The parameters in this tab vary greatly, it all depends on the quality of your printer. For example, if you have a classic Ender3, stick to the minimum parameters, but if you have a newer printer, for example Anycubic cobra 3 v3, you can select the maximum recommended values
Settings for advanced users, change these parameters only if you have sufficient 3D printing expertise.
DLP/SLA
- The Walker's cheek-mounted grenade launcher and cheek-mounted light blaster cannon are movable;
- The rotating hollow "head" of the AT-ST can be accessed via opening entry hatch;
- Walker's legs are static but you can assemble them in various positions;
- All parts are divided in such a way to fit the build plates and to ensure that support structures are generated where needed.
FFF/FDM
- The updated version of the model with a significantly enhanced level of detail, completely reworked joints, and articulated elements;
- Assembly kit includes one lock 52_Ge_lock_10H to attach the Walker's "head" to the gyro system securely without glue;
- The rotating hollow "head" of the AT-ST can be accessed via opening entry hatch and opening command viewport;
- Made with several sets of special joints to ensure the model's articulation (foot, ankle, elbow, knee, hip and pelvis joints are movable);
- For the highly articulated Walker to stand firmly in any position you may choose there was a ratchet mechanism introduced into the model’s main joints (elbow, knee, hip, and pelvis);
- Additional joint options for upscaled prints are included in the package as parts #67–72. As the print scale increases, we recommend using a lighter joint option to ensure smoother movement and proper functionality.
- The model's hip and knee connection allows Walker's legs to slide apart;
- The Walker's chin-mounted twin blaster cannons, cheek-mounted grenade launcher, and cheek-mounted light blaster cannon are movable;
- A pair of small wheels comprising Walker's gyro system is spinning;
- Decorative hydraulic cables that connect Walker's parts do not come in STL files but can be made out of short pieces of regular 1.75 PLA;
- The assembly of some of the articulated parts of AT-ST requires additional “pins”. These pins do not come in STL files but can be made out of short pieces of regular 1.75 PLA;
- It is highly recommended that you watch "Assembly Video" in the photo preview section and read "Assembly Manual" in PDF before assembling the Walker;
- It is recommended that you print all parts of the connectors at 50% of your standard printing and travel speed with 100% Infill;
- All parts are divided in such a way that you will print them with the smallest number of support structures.
FFF/FDM
- The updated version of the AT-ST 3D printing model released in 2017;
- The scale of the model is indeterminate.
FFF/FDM
- The initial low-poly version of the AT-ST 3D printing model released in 2015;
- The scale of the model is indeterminate.