Community


 es
 ua











Files
3D model format
Stereolithography (.stl)
Total files

Slicer settings
Mesh error check
Netfabb
Support
Lifetime support from Gambody team
Update requests
Available to verified buyers
Model complexity
Standard: balanced printing difficulty and moderate part count with assembly steps.
Model versions
FFF/FDM
Assembly method
Connectors, Ge-Locks, Glue
Features
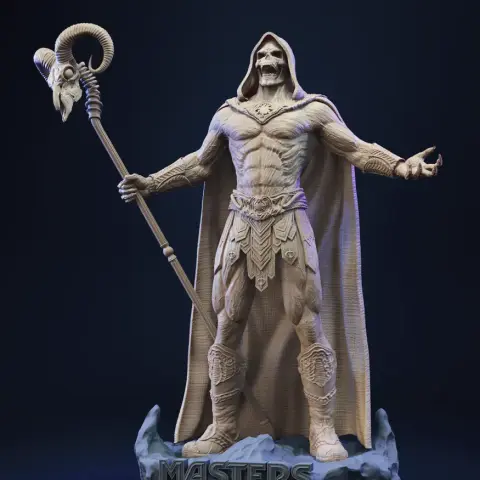
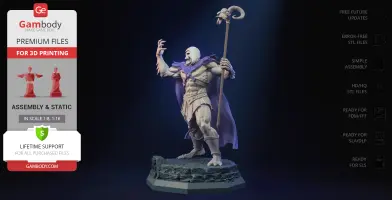
- Features a detailed Skeletor model in a dynamic stance atop the inscribed diorama base.
- The assembly parts are connected using specially designed integrated connectors that fit securely into the corresponding slots. Optionally, for added strength and rigidity, the static connections can be glued together.
- Some model parts use separate connectors (part "17_ge_lock_10H(X12)_FDM" requires 12 copies).
DLP/SLA
Eco parts
Assembly method
Connectors, Glue
Features
- Features a detailed Skeletor model in a dynamic stance atop the inscribed diorama base.
- The assembly parts are connected using specially designed integrated connectors that fit securely into the corresponding slots. Optionally, for added strength and rigidity, the static connections can be glued together.
SLS
Assembly method
Connectors, Glue, Solid
Features
- Contains 3 parts: a solid-piece version of Skeletor MOTU Revelation model merged with the platform, and a separate version for display flexibility.
- The assembly parts are connected using specially designed integrated connectors that fit securely into the corresponding slots. Optionally, for added strength and rigidity, the static connections can be glued together.
DLP/SLA
Eco parts
Assembly method
Connectors, Glue
Features
- Contains some hollowed out parts to save resin.
- Features a detailed Skeletor model in a dynamic stance atop the inscribed diorama base.
- The assembly parts are connected using specially designed integrated connectors that fit securely into the corresponding slots. Optionally, for added strength and rigidity, the static connections can be glued together.
Additional details
Part of diorama
No
Add-on pack available
No
You will get instant access to the STL files of Skeletor MOTU Revelation 3D Printer Files | Assembly after completing your purchase. Simply add the model to your cart and check out using PayPal, credit or debit card, Apple Pay, Google Pay, Alipay, or other available payment methods.
Watch the assembly video for Skeletor MOTU Revelation 3D Printer Files | Assembly, and explore more tutorials, behind-the-scenes content, 3D printing timelapses, and painting guides on the official Gambody YouTube channel.
This 3D model comes with StereoLithography (.STL) files optimized for 3D printing. You'll get digital files, not a physical product
Before printing, take a look at Printing Details for recommended settings and tips to achieve better results.
Skeletor MOTU Revelation 3D Printer Files | Assembly includes 3 version(s) for the supported 3D printer type(s): FFF/FDM, DLP/SLA, SLS. Files are available for download after purchase.
See the Description and Specifications sections for more details about this model.
| File name | Size (mm | in) | Size(mb) | Printing Time / Filament | |||
|---|---|---|---|---|---|---|
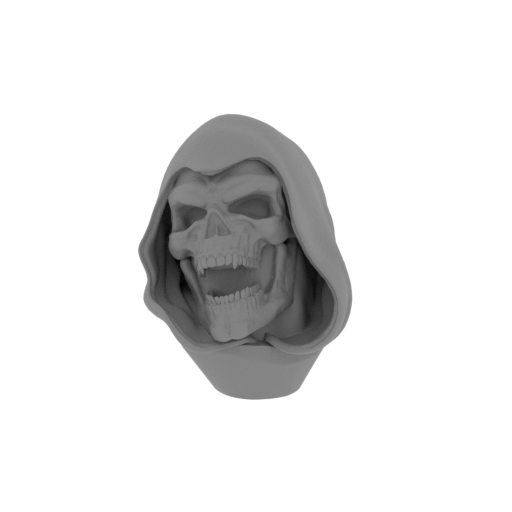 | 1_head_FDM(repaired).stl 37.9 x 43 x 42.3 mm | 1.49 x 1.69 x 1.67 in | Size: 37.9 x 43 x 42.3 mm | 1.49 x 1.69 x 1.67 in | File size: 26.82 mb | Printing Time / Filament: 54 min / 4 m Slicer: prusa v2.9.2 Printer: prusa_xl Non default settings Layer height: 0.2 Fill density: 20% Support material: 1 Support material buildplate only: 1 | ||
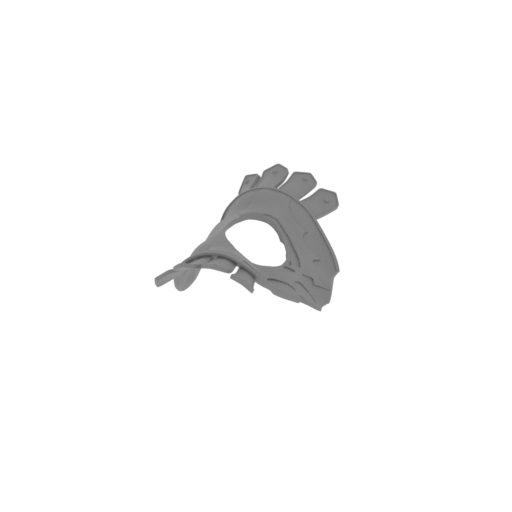 | 2_armor_collar_FDM(repaired).stl 58.5 x 98.6 x 34.1 mm | 2.3 x 3.88 x 1.34 in | Size: 58.5 x 98.6 x 34.1 mm | 2.3 x 3.88 x 1.34 in | File size: 21.64 mb | Printing Time / Filament: 1 h 55 min / 9 m Slicer: prusa v2.9.2 Printer: prusa_xl Non default settings Layer height: 0.2 Fill density: 20% Support material: 1 Support material buildplate only: 1 | ||
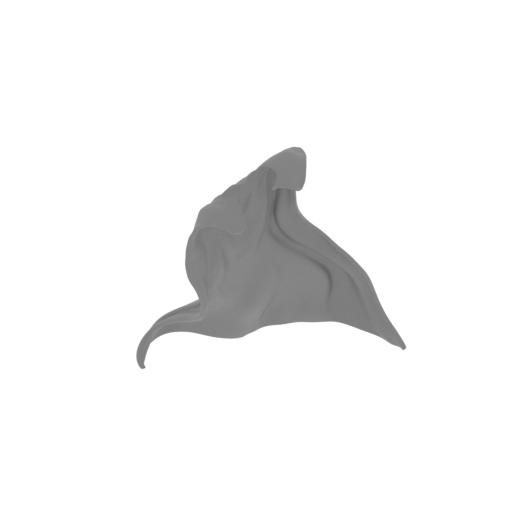 | 3_cloak_FDM(repaired).stl 170.3 x 170.3 x 180.1 mm | 6.7 x 6.7 x 7.09 in | Size: 170.3 x 170.3 x 180.1 mm | 6.7 x 6.7 x 7.09 in | File size: 45.56 mb | Printing Time / Filament: 8 h 39 min / 54 m Slicer: prusa v2.9.2 Printer: prusa_xl Non default settings Layer height: 0.2 Fill density: 20% Support material: 1 Support material buildplate only: 1 | ||
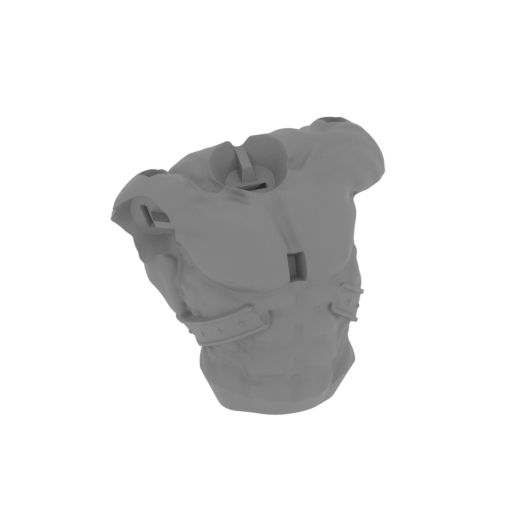 | 4_body_FDM(repaired).stl 75.1 x 80.8 x 78.7 mm | 2.96 x 3.18 x 3.1 in | Size: 75.1 x 80.8 x 78.7 mm | 2.96 x 3.18 x 3.1 in | File size: 40.71 mb | Printing Time / Filament: 3 h 15 min / 23 m Slicer: prusa v2.9.2 Printer: prusa_xl Non default settings Layer height: 0.2 Fill density: 20% Support material: 1 Support material buildplate only: 1 | ||
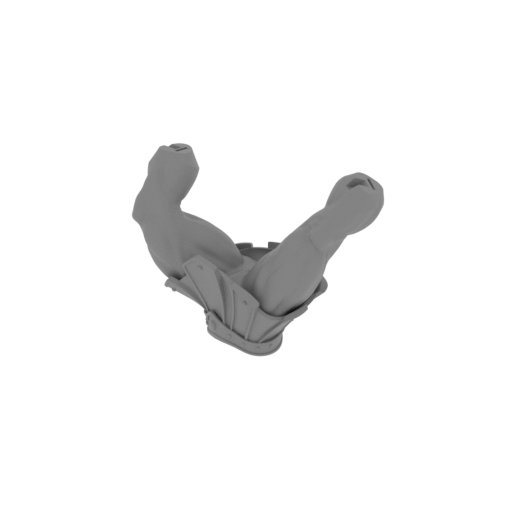 | 5_legs_FDM(repaired).stl 143.3 x 62.6 x 110.4 mm | 5.64 x 2.46 x 4.35 in | Size: 143.3 x 62.6 x 110.4 mm | 5.64 x 2.46 x 4.35 in | File size: 40.35 mb | Printing Time / Filament: 4 h 30 min / 30 m Slicer: prusa v2.9.2 Printer: prusa_xl Non default settings Layer height: 0.2 Fill density: 20% Support material: 1 Support material buildplate only: 1 | ||
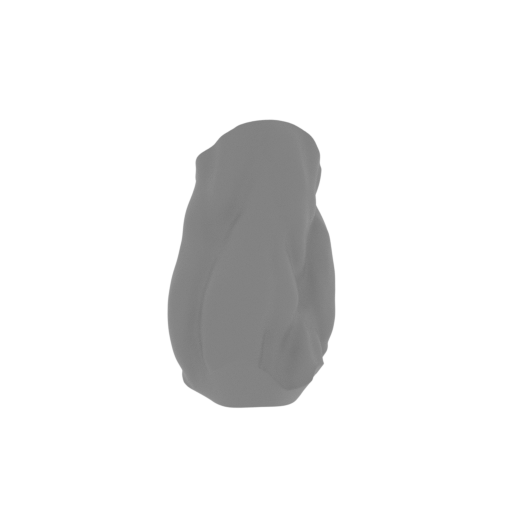 | 6_arm_R_1_FDM(repaired).stl 25.3 x 35.8 x 39.8 mm | 1 x 1.41 x 1.57 in | Size: 25.3 x 35.8 x 39.8 mm | 1 x 1.41 x 1.57 in | File size: 17.58 mb | Printing Time / Filament: 35 min / 2 m Slicer: prusa v2.9.2 Printer: prusa_xl Non default settings Layer height: 0.2 Fill density: 20% Support material: 1 Support material buildplate only: 1 | ||
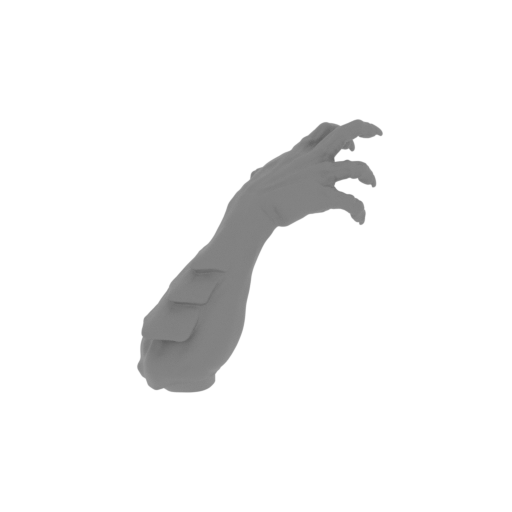 | 7_arm_R_2_FDM(repaired).stl 48 x 62.7 x 60.1 mm | 1.89 x 2.47 x 2.37 in | Size: 48 x 62.7 x 60.1 mm | 1.89 x 2.47 x 2.37 in | File size: 17.27 mb | Printing Time / Filament: 1 h 5 min / 5 m Slicer: prusa v2.9.2 Printer: prusa_xl Non default settings Layer height: 0.2 Fill density: 20% Support material: 1 Support material buildplate only: 1 | ||
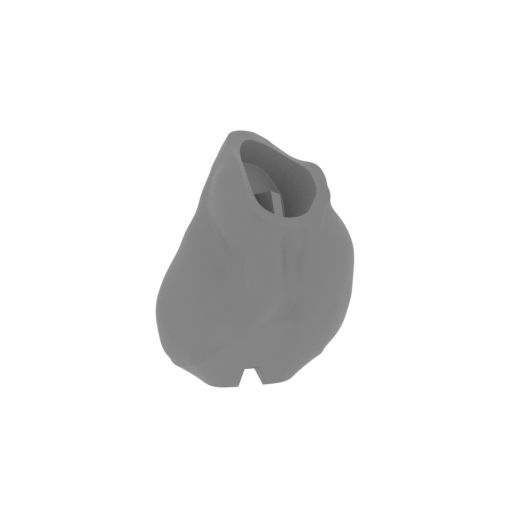 | 8_arm_L_1_FDM(repaired).stl 31 x 26.3 x 41.6 mm | 1.22 x 1.04 x 1.64 in | Size: 31 x 26.3 x 41.6 mm | 1.22 x 1.04 x 1.64 in | File size: 15.74 mb | Printing Time / Filament: 36 min / 2 m Slicer: prusa v2.9.2 Printer: prusa_xl Non default settings Layer height: 0.2 Fill density: 20% Support material: 1 Support material buildplate only: 1 | ||
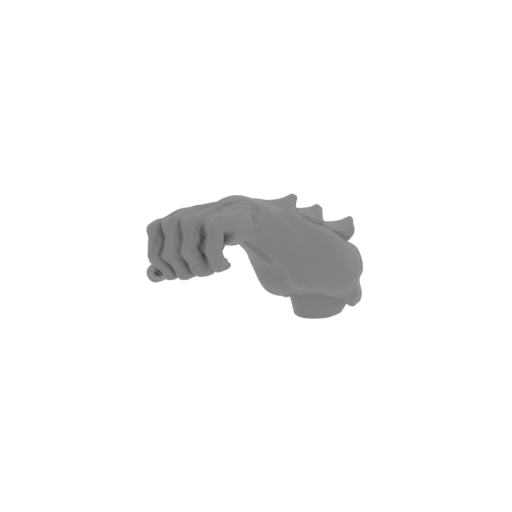 | 9_arm_L_2_FDM(repaired).stl 42.9 x 63.9 x 40.6 mm | 1.69 x 2.52 x 1.6 in | Size: 42.9 x 63.9 x 40.6 mm | 1.69 x 2.52 x 1.6 in | File size: 14.69 mb | Printing Time / Filament: 53 min / 4 m Slicer: prusa v2.9.2 Printer: prusa_xl Non default settings Layer height: 0.2 Fill density: 20% Support material: 1 Support material buildplate only: 1 | ||
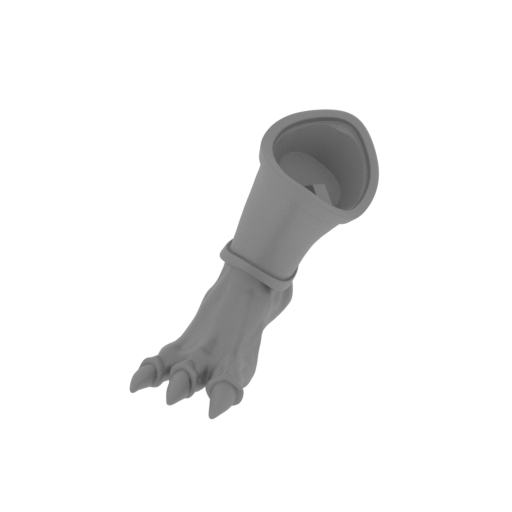 | 10_foot_R_FDM(repaired).stl 53.5 x 64.4 x 66.4 mm | 2.11 x 2.54 x 2.61 in | Size: 53.5 x 64.4 x 66.4 mm | 2.11 x 2.54 x 2.61 in | File size: 17.33 mb | Printing Time / Filament: 1 h 21 min / 6 m Slicer: prusa v2.9.2 Printer: prusa_xl Non default settings Layer height: 0.2 Fill density: 20% Support material: 1 Support material buildplate only: 1 | ||
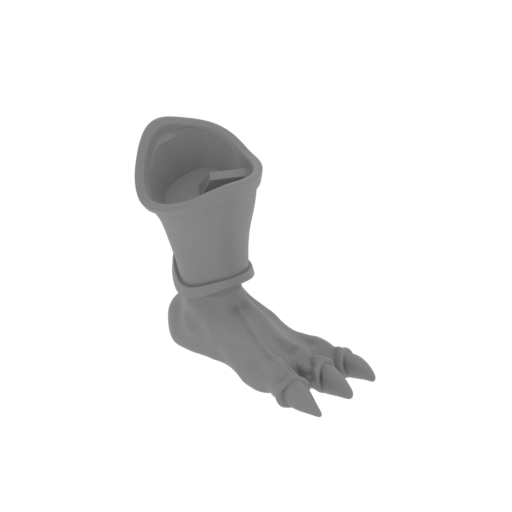 | 11_foot_L_FDM(repaired).stl 61.8 x 42.5 x 65.5 mm | 2.43 x 1.67 x 2.58 in | Size: 61.8 x 42.5 x 65.5 mm | 2.43 x 1.67 x 2.58 in | File size: 17.74 mb | Printing Time / Filament: 1 h 11 min / 5 m Slicer: prusa v2.9.2 Printer: prusa_xl Non default settings Layer height: 0.2 Fill density: 20% Support material: 1 Support material buildplate only: 1 | ||
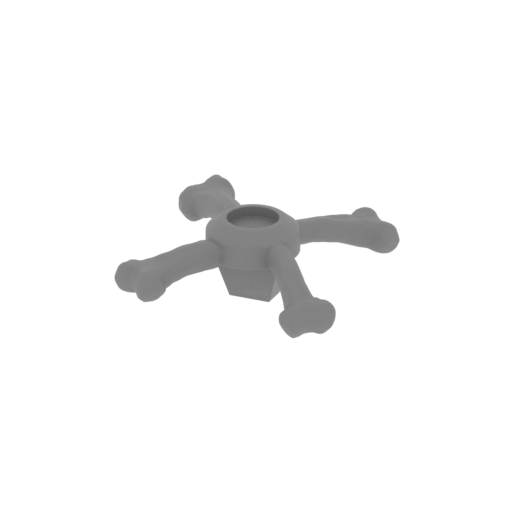 | 12_chest_harness_FDM(repaired).stl 32.8 x 36 x 12 mm | 1.29 x 1.42 x 0.47 in | Size: 32.8 x 36 x 12 mm | 1.29 x 1.42 x 0.47 in | File size: 11.51 mb | Printing Time / Filament: 15 min / 1 m Slicer: prusa v2.9.2 Printer: prusa_xl Non default settings Layer height: 0.2 Fill density: 20% Support material: 1 Support material buildplate only: 1 | ||
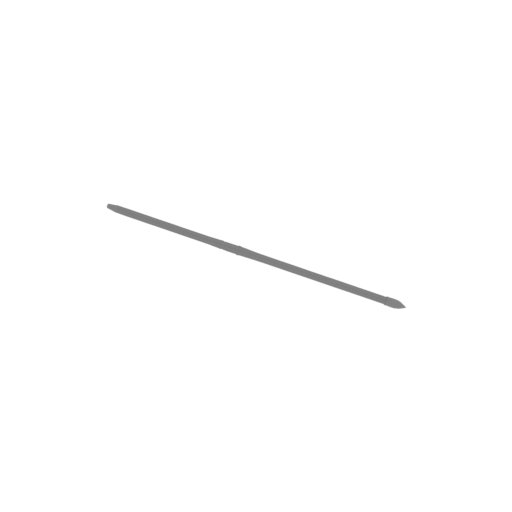 | 13_Havoc_staff_1_FDM(repaired).stl 181.4 x 122.7 x 103.5 mm | 7.14 x 4.83 x 4.07 in | Size: 181.4 x 122.7 x 103.5 mm | 7.14 x 4.83 x 4.07 in | File size: 15.48 mb | Printing Time / Filament: 1 h 47 min / 7 m Slicer: prusa v2.9.2 Printer: prusa_xl Non default settings Layer height: 0.2 Fill density: 20% Support material: 1 Support material buildplate only: 1 | ||
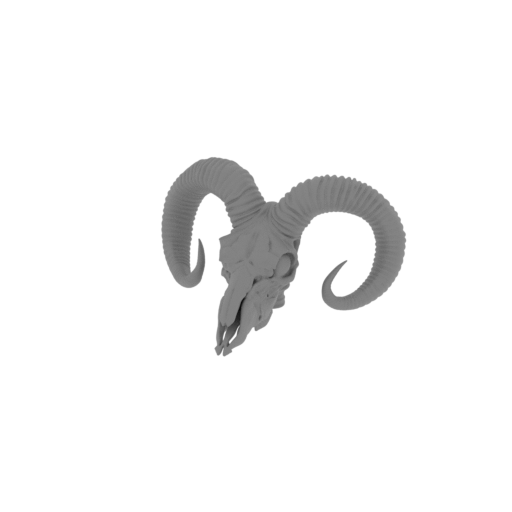 | 14_Havoc_staff_2_FDM(repaired).stl 69.9 x 57.2 x 38.9 mm | 2.75 x 2.25 x 1.53 in | Size: 69.9 x 57.2 x 38.9 mm | 2.75 x 2.25 x 1.53 in | File size: 17.75 mb | Printing Time / Filament: 1 h 18 min / 5 m Slicer: prusa v2.9.2 Printer: prusa_xl Non default settings Layer height: 0.2 Fill density: 20% Support material: 1 Support material buildplate only: 1 | ||
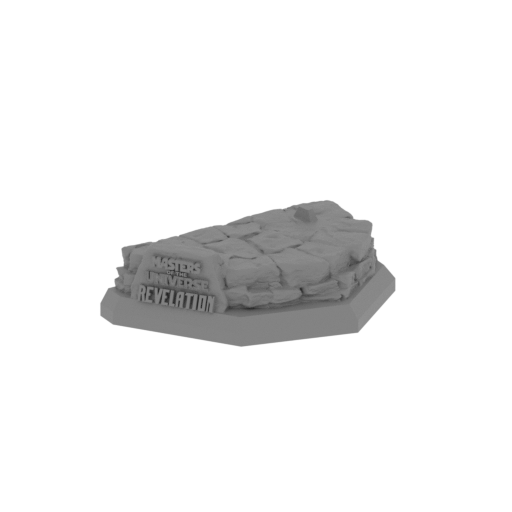 | 15_platform_1_FDM(repaired).stl 194 x 188.1 x 64 mm | 7.64 x 7.41 x 2.52 in | Size: 194 x 188.1 x 64 mm | 7.64 x 7.41 x 2.52 in | File size: 31.99 mb | Printing Time / Filament: 6 h 60 min / 83 m Slicer: prusa v2.9.2 Printer: prusa_xl Non default settings Layer height: 0.2 Fill density: 20% Support material: 1 Support material buildplate only: 1 | ||
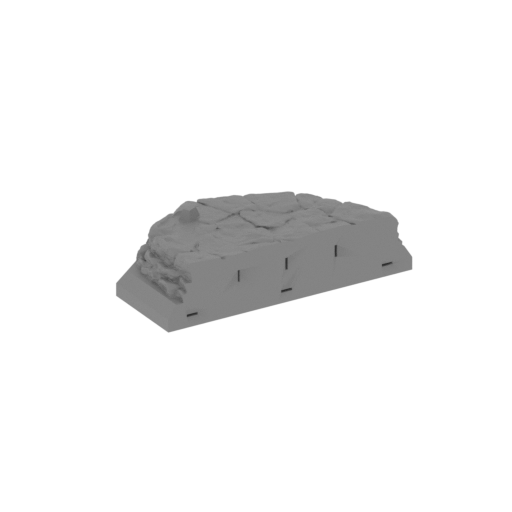 | 16_platform_2_FDM(repaired).stl 192.2 x 186.6 x 58.4 mm | 7.57 x 7.35 x 2.3 in | Size: 192.2 x 186.6 x 58.4 mm | 7.57 x 7.35 x 2.3 in | File size: 30.75 mb | Printing Time / Filament: 6 h 9 min / 77 m Slicer: prusa v2.9.2 Printer: prusa_xl Non default settings Layer height: 0.2 Fill density: 20% Support material: 1 Support material buildplate only: 1 | ||
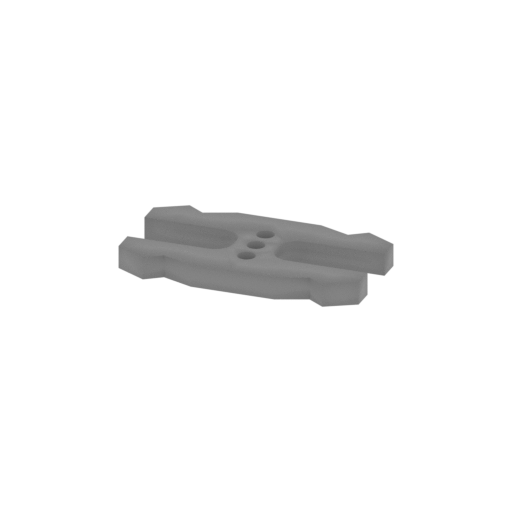 | 17_ge_lock_10H(X12)_FDM (repaired).stl 18.2 x 9.6 x 1.7 mm | 0.72 x 0.38 x 0.07 in | Size: 18.2 x 9.6 x 1.7 mm | 0.72 x 0.38 x 0.07 in | File size: 0.03 mb | Printing Time / Filament: 2 min / <1 m Slicer: prusa v2.9.2 Printer: prusa_xl Non default settings Layer height: 0.2 Fill density: 20% Support material: 1 Support material buildplate only: 1 | ||
 | Keychain (repaired).stl 29.7 x 29.7 x 2.4 mm | 1.17 x 1.17 x 0.09 in | Size: 29.7 x 29.7 x 2.4 mm | 1.17 x 1.17 x 0.09 in | File size: 0.37 mb | Printing Time / Filament: 6 min / 1 m Slicer: prusa v2.9.2 Printer: prusa_xl Non default settings Layer height: 0.2 Fill density: 20% Support material: 1 Support material buildplate only: 1 | ||
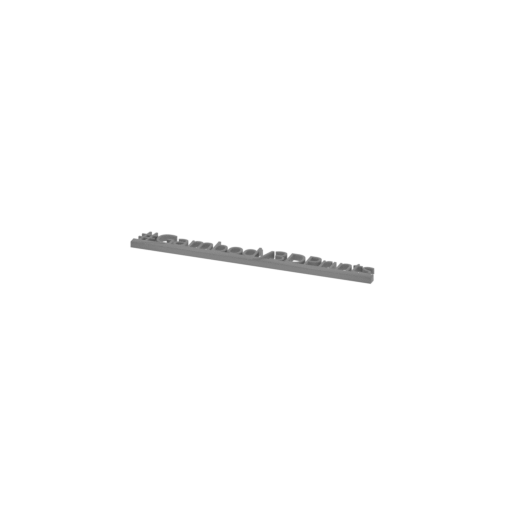 | Tag (repaired).stl 150.1 x 18.2 x 4.6 mm | 5.91 x 0.72 x 0.18 in | Size: 150.1 x 18.2 x 4.6 mm | 5.91 x 0.72 x 0.18 in | File size: 1.78 mb | Printing Time / Filament: 18 min / 2 m Slicer: prusa v2.9.2 Printer: prusa_xl Non default settings Layer height: 0.2 Fill density: 20% Support material: 1 Support material buildplate only: 1 | ||
3D model history
Masters of the Universe: Revelation continues the classic Eternia mythology by focusing on the fractured Power of Grayskull and the enduring feud between He-Man and Skeletor. In this series, the skull-faced sorcerer orchestrates a major shift across the realm, pushing his ambition past simple villainy into a high-stakes power struggle. This Skeletor MOTU Revelation release captures that refined look, blending vintage toy nostalgia with a muscular, commanding presence for collectors of fantasy STL projects.
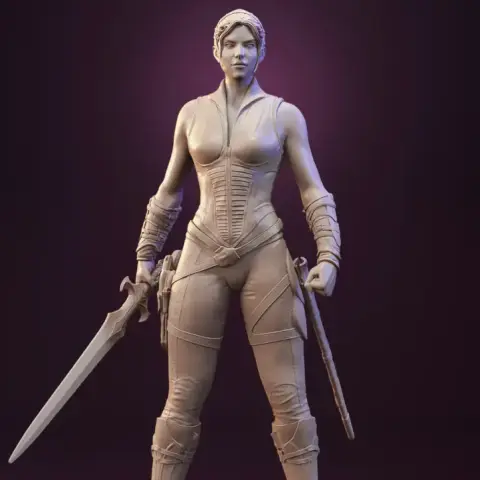
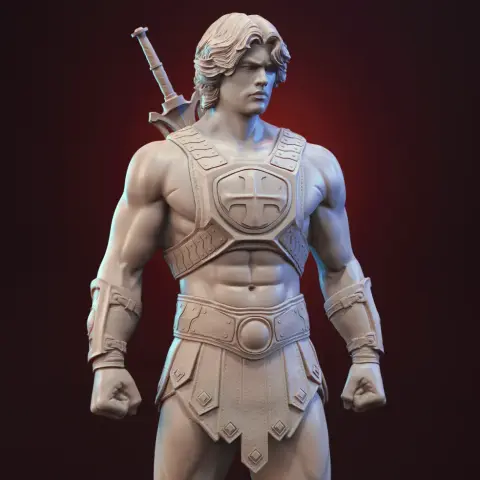
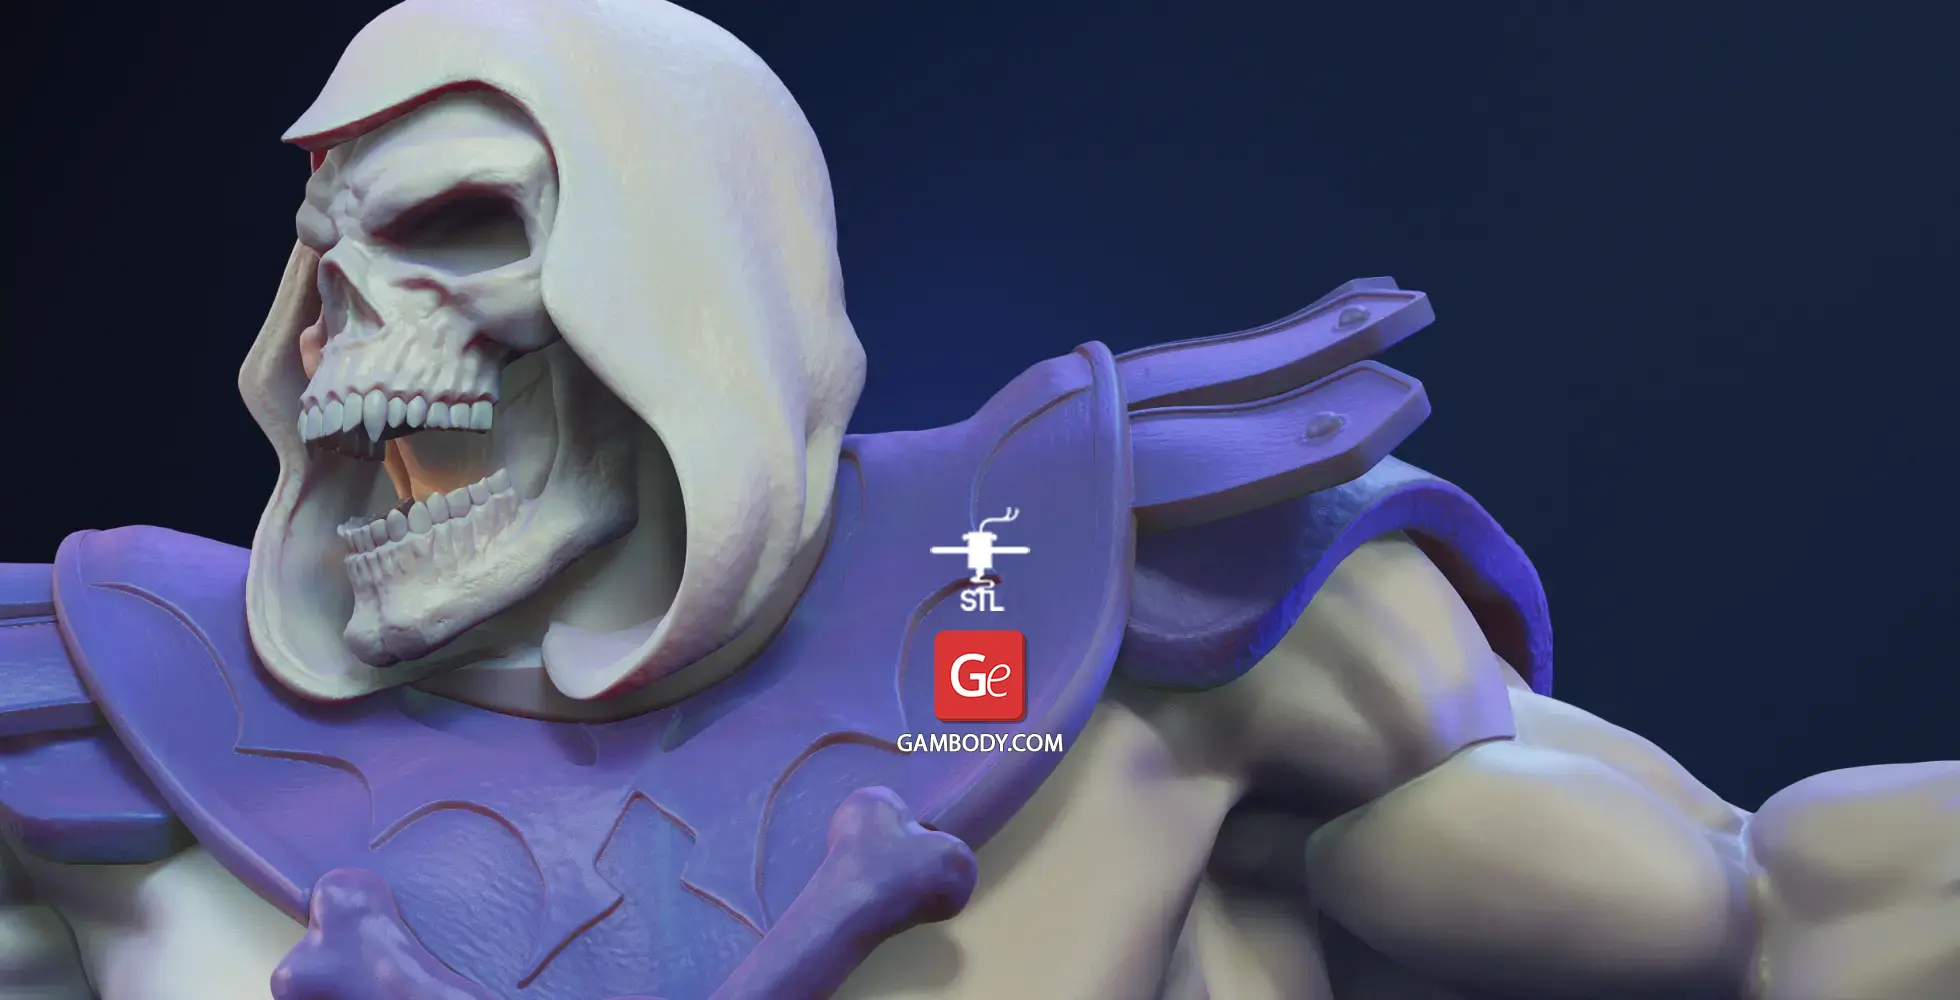
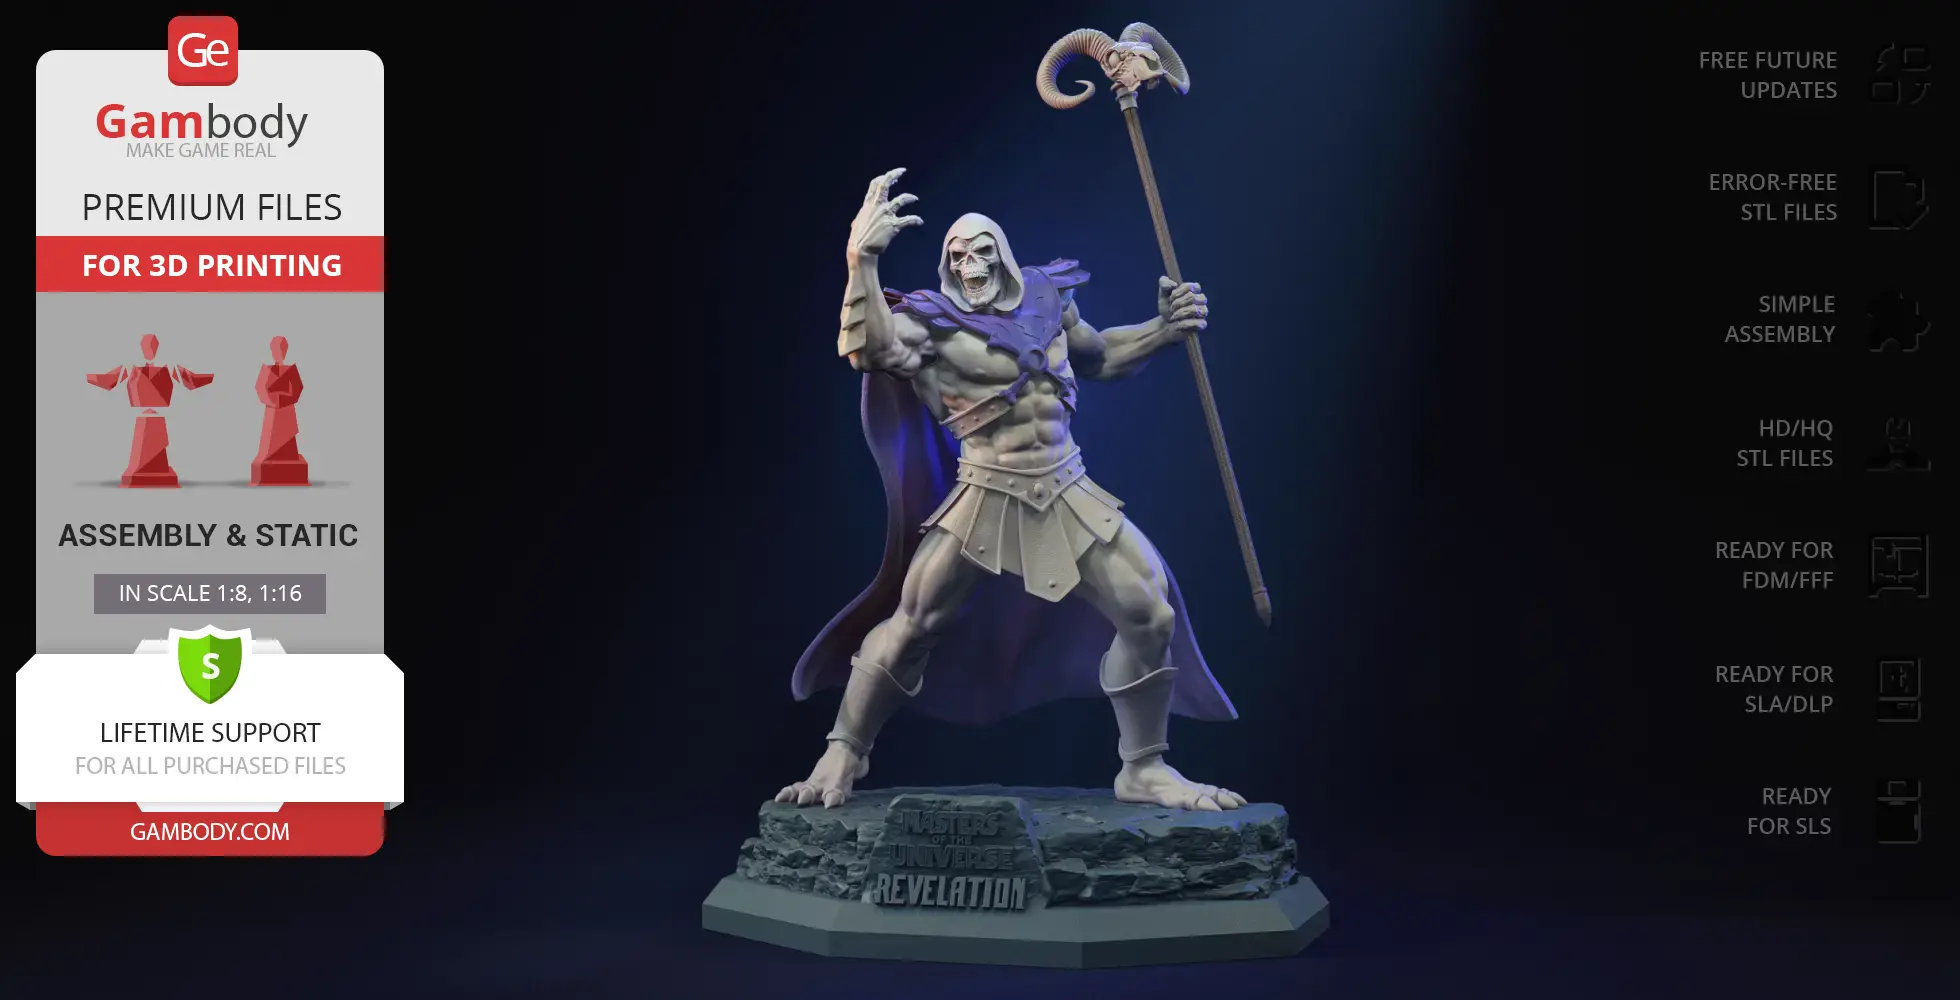
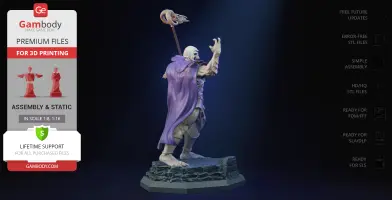
This Skeletor 3D model brings the character to life as a detailed character STL standing on a rugged, hexagonal diorama base featuring the official series nameplate. The sculpt features a dynamic, forward-leaning stance with a tight hooded cowl framing his skeletal face, traditional cross-bone chest armor, a flowing cape, and the iconic ram-skulled Havoc Staff. Ideal as a standout villain 3D print, this Skeletor STL fits naturally into any collection of Masters of the Universe STL files. Pair it with the Teela Masters of the Universe 3D print, He-Man Masters of the Universe 3D print, and Skeletor Masters of the Universe 3D Print to complete your display of movie 3D prints.
3D printing model features
Model-specific features:
- This highly detailed model captures Skeletor in a dynamic, forward-leaning stance atop a rugged, hexagonal display base featuring the sculpted series logo.
- The design features an integrated nameplate on the diorama base, a classic hooded cowl framing his skeletal face, and the iconic ram-skulled Havoc Staff held firmly in his left hand.
Printing & assembly details:
- Provided as error-free STL files compatible with most 3D printers;
- Optimized part division minimizes support material and ensures smooth and precise surface detailing;
- The assembly parts in the FFF/FDM version come in the recommended print orientations for easy bed placement;
- Assembly manual in PDF and video formats is included for the FFF/FDM and DLP/SLA versions;
- The model is available in recommended scales — 1:8 for the FFF/FDM version and 1:16 for the DLP/SLA/SLS versions.
What will you get after purchase?
- 4 versions of Skeletor MOTU RevelationSTL files for FFF/FDM, DLP/SLA, DLP/SLA Eco, and SLS — files for all versions are available for download after the purchase;
- STL files of high-poly Skeletor MOTU Revelation model for 3D printing consist of 42 files;
- Sizes for:
- FFF/FDM Model Size: 207 mm wide, 335 mm high, 174 mm deep;
- FFF/FDM Platform Size: 255 mm wide, 64 mm high, 203 mm deep;
- DLP/SLA/SLS Model Size: 103 mm wide, 168 mm high, 87 mm deep;
- DLP/SLA/SLS Platform Size: 128 mm wide, 32 mm high, 102 mm deep;
- Assembly Manual for 1.0 FFF/FDM and 1.0 DLP/SLA versions in PDF and video formats;
- Detailed settings that we provide as a recommendation for Bambu Studio, Cura, Orca Slicer, PrusaSlicer, Simplify3D, and Slic3r for the best print;
- Full technical support from the Gambody Support Team.
Below you'll find detailed slicing settings for Bambu Studio 2.0+, Orca Slicer 2.0+, UltiMaker Cura 5.0+, PrusaSlicer 2.0+, Slic3r 1.3+, Simplify3D 5.0+ to help you get the best results when printing this model. These settings are optimized specifically for this 3D model, but please note they may need slight adjustments depending on your printer or filament. When in doubt, refer to your printer's user manual.
To avoid printing issues and achieve the best quality, we highly recommend applying the following settings:
 Bambu Studio 2.0+
For better quality use 0.12 mm layer height, for fast printing use 0.2 mm layer height. For pins and the Ge connectors, use 0.2 layer height.
120-150% of your Layer Height
But you can paint the seam if you want.
You have to calibrate this parameter
You have to calibrate this parameter
You have to calibrate this parameter
For pins and power elements of the structure, such as the vehicle frame, use 3 loop
Disabled for vehicles and enabled for characters
For 0,2 Layer Height
The parameters in this tab vary greatly, it all depends on the quality of your printer. For example, if you have a classic Ender3, stick to the minimum parameters, but if you have a newer printer, for example Anycubic cobra 3 v2, you can select the maximum recommended values
Settings for advanced users, change these parameters only if you have sufficient 3D printing expertise
Enable this parameter if your model requires supports
We also recommend placing and removing supports manually in some places using special button
1-2 loops for more thick support
Top Z distance = 1-1.3 layer Height. If the supports are hard to remove, try increasing this setting by 0.1-0,4 mm
Bottom Z distance = 1-1.3 layer Height. If the supports are hard to remove, try increasing this setting by 0.1-0,4 mm
You have to calibrate this parameter which one is better for your filament
Increase this parameter if the supports are hard to remove from walls
For PLA and PETG filament types
5-8 mm is optional for small prints that have bad adhesion to the build plate
You have to calibrate this parameter
Read the description on your filament roll
Read the description on your filament roll and increase this parameter for fast printers
Read the description on your filament roll and increase this parameter for fast printers
 Orca Slicer 2.0+
For better quality use 0.12 mm layer height, for fast printing use 0.2 mm layer height. For pins and the Ge connectors, use 0.2 layer height.
120-150% of your Layer Height
But you can paint the seam if you want.
0.01-0.05 You have to calibrate this parameter
0.01-0.05 You have to calibrate this parameter
0.1-0.2 You have to calibrate this parameter
For pins and power elements of the structure, such as the vehicle frame, use 3 loop
Disabled for vehicles and ships, enabled for characters
For 0,2 Layer Height
For 0,2 Layer Height
The parameters in this tab vary greatly, it all depends on the quality of your printer. For example, if you have a classic Ender3, stick to the minimum parameters, but if you have a newer printer, for example, Anycubic Kobra 3 Or Bambulab A1, you can select the maximum recommended values.
Settings for advanced users, change these parameters only if you have sufficient 3D printing expertise
Enable this parameter if your model requires supports
We also recommend placing and removing supports manually in some places using special button
Top Z distance = 1-1.3 layer Height. If the supports are hard to remove, try increasing this setting by 0.1-0,4 mm
Bottom Z distance = 1-1.3 layer Height. If the supports are hard to remove, try increasing this setting by 0.1-0,4 mm
Increase this parameter if the supports are hard to remove from walls
For PLA and PETG filament types
5-8 mm is optional for small prints that have bad adhesion to the build plate
Read the description on your filament roll
Read the description on your filament roll and increase this parameter for fast printers
You have to calibrate this parameter
Read the description on your filament roll and increase this parameter for fast printers
Read the description on your filament roll
This field is filled in according to your printer specifications when you add it to the slicer.
You can add custom G-code here for the start and end of the print. However, be careful - this is for advanced users only!
You have to calibrate your printer using Ge retraction test models
Retraction Length: For direct-drive setups use 0.5 mm to 2.5 mm; for Bowden extruders use 5 to 7 mm
This is how fast the filament is pulled back—40-60 mm/s for direct drive and 30-50 mm/s for Bowden setups.
You have to calibrate this parameter: Reduce it until the printer starts to hit the parts with the nozzle during printing, then increase it by 0.2.
 UltiMaker Cura 5.0+
For better quality use 0.12 mm layer height, for fast printing use 0.2 mm layer height. For pins and the Ge connectors, use 0.2 layer height.
120-150% of your Layer Height
To increase the strength of the print parts, use wall line count: 3
For pins and connectors use 50% Infill
These parameters are for standard PLA plastic. If you are using a different type of plastic, check the printing temperature recommended by the manufacturer. Also, read the description on your filament spool. For fast printers, add +30 °C to the current parameters.
The parameters in this tab vary greatly, it all depends on the quality of your printer. For example, if you have a classic Ender3, stick to the minimum parameters, but if you have a newer printer, for example Anycubic cobra 3 v3, you can select the maximum recommended values
Settings for advanced users, change these parameters only if you have sufficient 3D printing expertise.
You need to calibrate this parameter using Gambody test models. These values are average values for a Direct Drive extruder; for a Bowden extruder, the values should be increased.
You need to calibrate this parameter using Gambody test models. These values are average values for a Direct Drive extruder; for a Bowden extruder, the values should be increased.
Use this value other than 0 if your nozzle catches on the internal infill during travel moves. Try to keep this value as low as possible in height.
Use normal supports to support large, straight surfaces (most mechanical or technical parts).
You have to calibrate this parameter according to the capabilities of your printer and your filament, using a Gambody test models.
Use 1 instead of 0 if your supports are thin and tall. They will be harder to remove, but much stronger.
Top Z distance = 1-1.3 layer Height. If the supports are hard to remove, try increasing this setting by 0.1-0,4 mm
Increase this parameter if the supports are hard to remove from walls
Use tree supports to support complex objects, such as characters.
You have to calibrate this parameter according to the capabilities of your printer and your filament, using a Gambody test models.
Top Z distance = 1-1.3 layer Height. If the supports are hard to remove, try increasing this setting by 0.1-0,4 mm
Increase this parameter if the supports are hard to remove from walls
Use a skirt for all parts when printing on outdated printers.
Use a brim when printing thin but tall parts, as well as parts with a small bed adhesion area.
 PrusaSlicer 2.0+
For better quality use 0.12 mm layer height, for fast printing use 0.2 mm layer height. For pins and the Ge connectors, use 0.2 layer height.
120-150% of your Layer Height
for 0.2 Layer Height
But you can paint the seam if you want.
(for PLA and PETG)
(5-8 mm is optional for small prints that have bad adhesion to the build plate)
Enable this parameter if your model requires supports
(45-50 degree)You have to calibrate this parameter according to the capabilities of your printer
and your filament, using a Gambody test models.
Top contact Z distance = 1-1.3 layer Height. If the supports are hard to remove, try
increasing this setting by 0.1-0,4 mm
Top contact Z distance = 1-1.3 layer Height. If the supports are hard to remove, try
increasing this setting by 0.1-0,4 mm
Increase this parameter if the supports are hard to remove from walls
The parameters in this tab vary greatly, it all depends on the quality of your printer. For example, if you have a classic Ender3, stick to the minimum parameters, but if you have a newer printer, for example Anycubic cobra 3 v3, you can select the maximum recommended values
Settings for advanced users, change these parameters only if you have sufficient 3D printing expertise. Use the minimum value for outdated printers without acceleration calibration, and the maximum value for modern printers if you need it.
These settings only work for 3D printers with multiple extruders
You can try setting all parameters in this section, except the First layer, to values between 0.75% of your nozzle diameter and 1.25% of your nozzle diameter. Adjusting them will help you work out the optimal parameters for the best quality for your print. As for the First layer, you can set it to 150% of the diameter of your nozzle for better adhesion to the build plate (for a nozzle with a diameter of 0.4 mm, the First layer extrusion width can be from 0.3 mm to 0.5 mm)
For better printing quality you have to calibrate this parameter using Gambody test model.
Check your filament manufacturer's temperature recommendations on the spool.
Cooling parameters depends on the material you use for printing.
*for PLA
 Slic3r 1.3+
For better quality use 0.12 mm layer height, for fast printing use 0.2 mm layer height. For pins and the Ge connectors, use 0.2 layer height.
120-150% of your Layer Height
For 0.12 Layer Height
For 0.12 Layer Height
For pins and connectors use 50% Infill
Use skirt for outdated 3d printers
(5-8 mm is optional for small prints that have bad adhesion to the build plate)
Enable this parameter if your model requires supports
(45-60 degree)You have to calibrate this parameter according to the capabilities of your printer and your filament, using a Gambody test models
Contact Z distance = 1-1.3 layer Height. If the supports are hard to remove, try increasing this setting by 0.1-0,4 mm
The parameters in this tab vary greatly, it all depends on the quality of your printer. For example, if you have a classic Ender3, stick to the minimum parameters, but if you have a newer printer, for example Anycubic cobra 3 v3, you can select the maximum recommended values
Settings for advanced users, change these parameters only if you have sufficient 3D printing expertise. Use the minimum value for outdated printers without acceleration calibration, and the maximum value for modern printers if you need it.
You have to calibrate this parameter from 0.9 to 1.1 according to the capabilities of your printer and your filament, using a Gambody test models.
Check your filament manufacturer's temperature recommendations on the spool.
Cooling parameters depends on the material you use for printing.
Calibrate this value if you need to reduce or improve the adhesion between the plastic and the heat bed
Your current nozzle diameter
You need to calibrate this parameter using Gambody test models. These values are average values for a Direct Drive extruder; for a Bowden extruder, the values should be increased.
 Simplify3D 5.0+
Your current nozzle diameter
You have to calibrate this parameter using Gambody test models.
You need to calibrate this parameter using Gambody test models. These values are average values for a Direct Drive extruder; for a Bowden extruder, the values should be increased.
For better quality use 0.12 mm layer height, for fast printing use 0.2 mm layer height. For pins and the Ge connectors, use 0.2 layer height.
For 0,2 Layer Height
For 0,2 Layer Height
To increase the strength of the print parts, use Outline Perimeters: 3
You can enable this parameter to print rounded or spherical models, as well as character models.
Use this option only if your parts are too tight. but better calibrate your printer extrusion
Use this option only if your parts are too tight. but better calibrate your printer extrusion
Use 2 and more if you want to create skirt instead brim
1-2 for skirt and 10-20 for brim
Use for wipe nozzle if you need
Use For ABS filament
For pins and connectors use 50% Infill
Top Z distance = 1-1.3 layer Height. If the supports are hard to remove, try increasing this setting by 0.1-0,4 mm
Calibrate your filament and detect optimal temperature for it
Average temperature for PLA filament
The parameters in this tab vary greatly, it all depends on the quality of your printer. For example, if you have a classic Ender3, stick to the minimum parameters, but if you have a newer printer, for example Anycubic cobra 3 v3, you can select the maximum recommended values
Settings for advanced users, change these parameters only if you have sufficient 3D printing expertise.
DLP/SLA
- Contains some hollowed out parts to save resin.
- Features a detailed Skeletor model in a dynamic stance atop the inscribed diorama base.
- The assembly parts are connected using specially designed integrated connectors that fit securely into the corresponding slots. Optionally, for added strength and rigidity, the static connections can be glued together.
SLS
- Contains 3 parts: a solid-piece version of Skeletor MOTU Revelation model merged with the platform, and a separate version for display flexibility.
- The assembly parts are connected using specially designed integrated connectors that fit securely into the corresponding slots. Optionally, for added strength and rigidity, the static connections can be glued together.
DLP/SLA
- Features a detailed Skeletor model in a dynamic stance atop the inscribed diorama base.
- The assembly parts are connected using specially designed integrated connectors that fit securely into the corresponding slots. Optionally, for added strength and rigidity, the static connections can be glued together.
FFF/FDM
- Features a detailed Skeletor model in a dynamic stance atop the inscribed diorama base.
- The assembly parts are connected using specially designed integrated connectors that fit securely into the corresponding slots. Optionally, for added strength and rigidity, the static connections can be glued together.
- Some model parts use separate connectors (part "17_ge_lock_10H(X12)_FDM" requires 12 copies).