

 es
 ua



Noah is a class act and a pleasure to build his creations. The models are the best I’ve come Across for any Tron related model. His passion comes through his designs and the models are very well thought out. MUST BUY’S if your a fan of Tron or any futuristic vehicle design.
While still waiting for resin stock to print this I was very impressed with the detail of the model and have since purchased the Hyper jump ring to go with it.
I think this build has more detail than the original studio model (LOL). It made me happy to find the Heart of Gold and now it sits with pride on my desk at work.
I actually scaled this one down to roughly 1:1000 and even though it's smallish even the tiny windows printed out well.
The fit and finish is phenomenal. The pieces fit together very, very well. That said, the recommended print settings are *very* slow; I would probably experiment with speeding them up if I were to reprint this (not a negative; for anyone that sees this later).


This was my frist big 3D print on my Bambu Labs H2S. Rafael3D was very helpful with helping me at parts that I was confused about. I will provide some feedback in some areas that I noticed in the assmebly guide. Rafael3D also gave me some convex lenses for the eyes, but I have not tried them out yet. I need to figure out how to dial in settings for transparent filament. Pretty happy!

Das Teil war nicht einfach und ein bisschen Erfahrung mit Modellbau wäre hier sehr von Vorteil. Am Ende realisiert man erst, wie groß das Teil eigentlich ist. Ein großes Lob an die oder den Künstler, jedoch habe ich trotzdem eine kleine Kritik. Es wurde die Toilette vergessen?! Ich konnte das so nicht stehen lassen und musste notgedrungen eine Dixi Toilette mit in den Frachtraum nehmen.
Given this is one of my favourite starships, I absolutely had to make it! I spent a looooong time (far longer than I'd like to admit) in Orca recolouring everything so this could be printed in full multi colour on the Snapmaker U1 :) This takes 105 hours in full colour with a tool changer, I would not recommend printing in colour on a none tool changing printer, but well worth putting the time in, as it took less time than masking and painting would have to get this just perfect :) I've added photo's of the build to feedback so you can see for yourself how well this build works :) ... Couldn't be happier with this!
Amazing model. Not 100% screen accurate but very close. Printed nicely with resin and the pieces went together smoothly. I made him about 35cm tall. I didn't print the base as I wanted him to be free standing. Keep up the good work.
Still building this, keep coming up with different ways of printing parts🤪 having great results using "Painting" multicolor parts in Bambu to bring greater detail ..see pics.
Ran into small problem, but the creator promptly corrected got back to me with an update to the part file 👍

Meant to add photos to the review.
Overall very nice model, do wish the thruster pods on the sides were not attached, but otherwise no real complaints at all.
Weathering and decals not done yet, but otherwise finished, if a model is ever really finished.

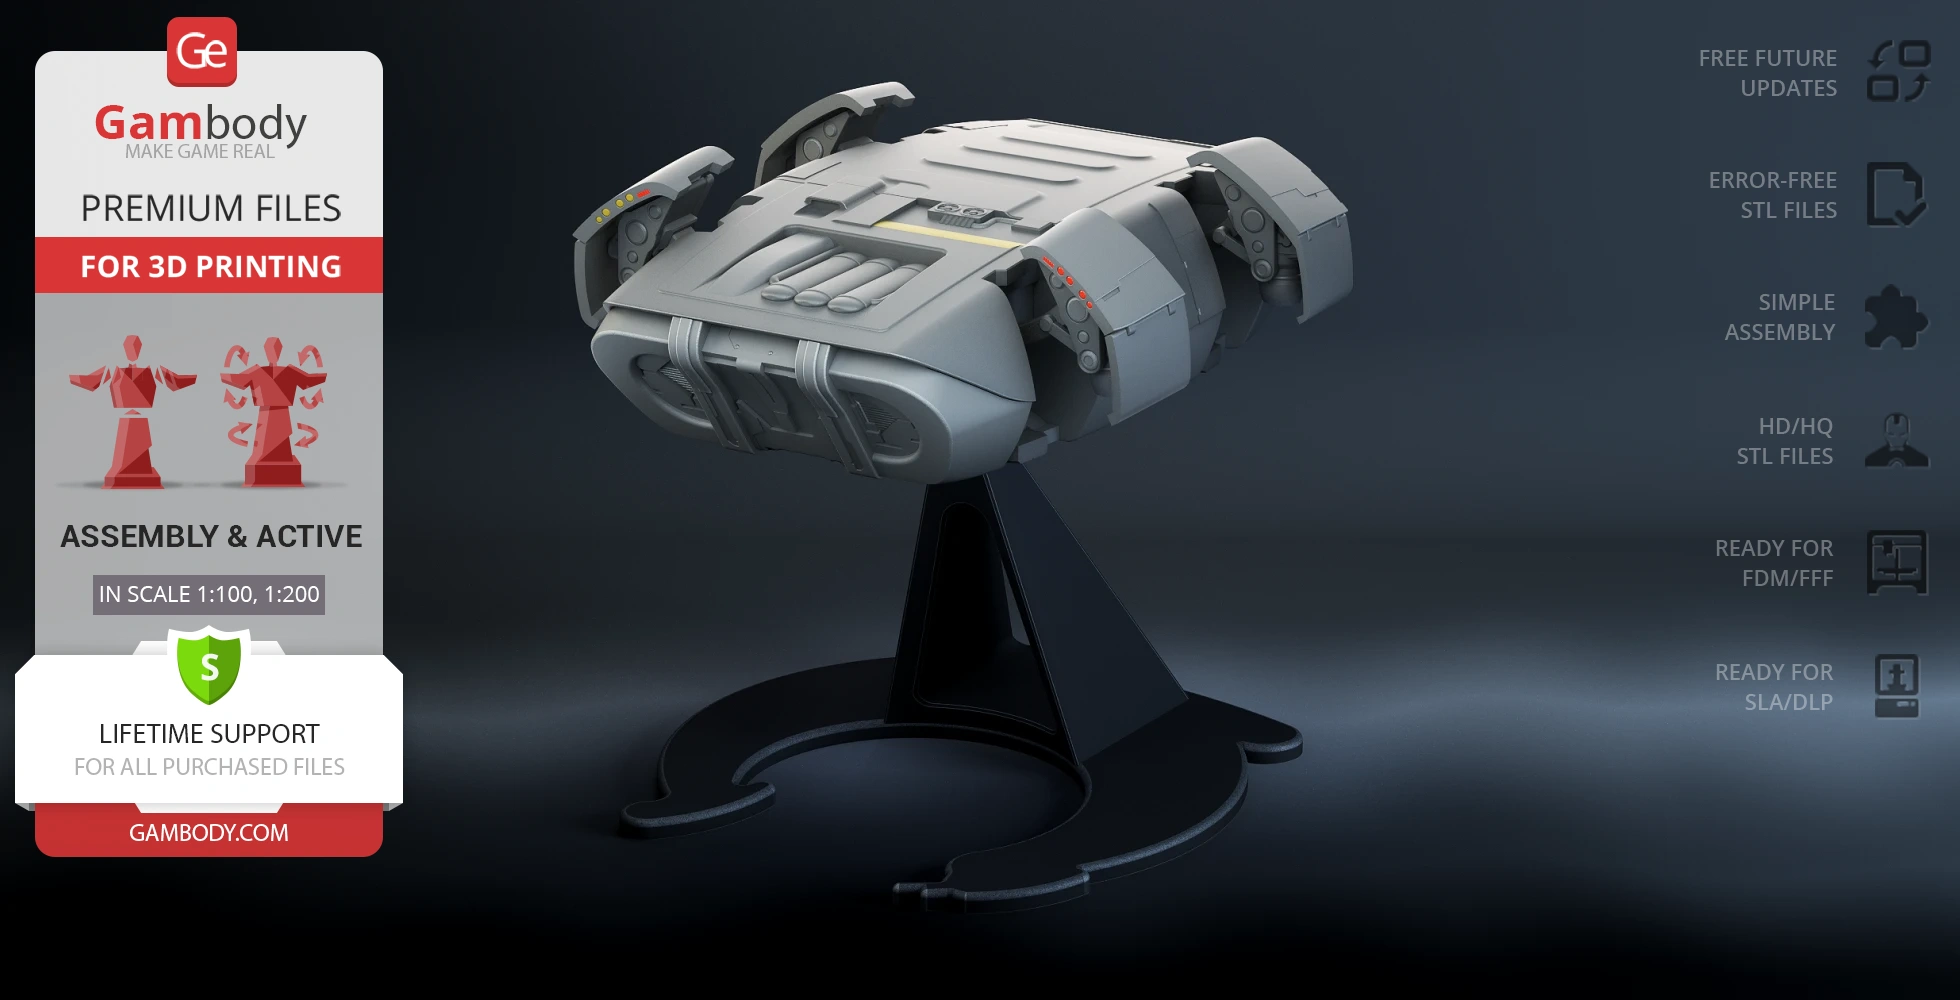
Honestly what drew me to this model the most was the stand that comes with the elite add-on. Admittedly this was not a favorite TIE model in general, but as i built it it rapidly became one of my favorite ships! I'm working on an elite version and will post pix once those are done. all in all a great experience; well done!


Amazing file to work with, the model was a real pleasure to print and paint. Everything fits perfectly and the final result is very satisfying.

The model is absolutely beautiful, and I truly appreciate the hard work that went into creating it. I do have one suggestion that I hope the designer might consider. I love adding fiber-optic lighting to my builds. my Star Destroyer has over 700 individual lights, and people always comment on how incredible it looks. It would be amazing if the sides of the model could be opened up or designed with accessible sections so fiber-optic lighting can be installed throughout. Having that flexibility would take the build to another level, and I’d love to be able to exibit next to the star destroyer.


I was a bit leery about printing something like this. But after the front body and cockpit was printed I knew it will be good looking.
Here it is in pre-paint. Not sure of the colour scheme, yet.

Did it with Bambulab P2S and black PLA, using the parameters for Bambulab.
First printed the head top with transparent filament but it was not has clear has in the picture here so painted glossy black making it more realistic.
Everything fit 100% no sanding or grinding but I stil used cryacinate liquid glue.
Thanks for this well done


The print files are perfectly prepared and beautifully sliced, making the 3D‑printing process smooth and trouble‑free. I was especially impressed by the level of detail – every little fold, contour, and expression comes out beautifully and gives the final model a truly high‑quality look.
I can 100% recommend this file. Anyone looking to print a Baby Yoda model that not only looks great but is also technically well‑designed will be more than satisfied.
This was a great build from start to finish with clear instruction notes, there was a few parts that had to be printed at different orientations to get the best results but overall a very detailed model. I have printed 2 time machines now and would recommend this model to anyone who is into classic sci fi.


I have just finsihed with Saimons SR-1 and half way through the SR-2 and I cant tell you enough just how good these models are, The thought and effort put into them is just AWESOME. I have been looking for a long time for a good model of the Normandy and when i saw this one i just had to have it. If he makes any more models from the ME Uni i will be there buying them up for sure.
This a an awesome model so much nostalgia. I spent a few hours in painting it in Bambu Studios. It was well worth the effort and time printing this model. This is my favorite project so far.
OK, this is awesome! the print is long and it does take a while to custom pain to get the cool look, but with my H2D made printing it easy. No waste with the dual colors. I was thinking of lighting this up but could not find a good way to do it with one battery source.
One note to anyone else, follow the directions. I used 15% infill and it suggests 5 to 6 percent. This made this model almost 7lbs. I had to do a very solid mount. Great print!