

 es
es  ua
ua 

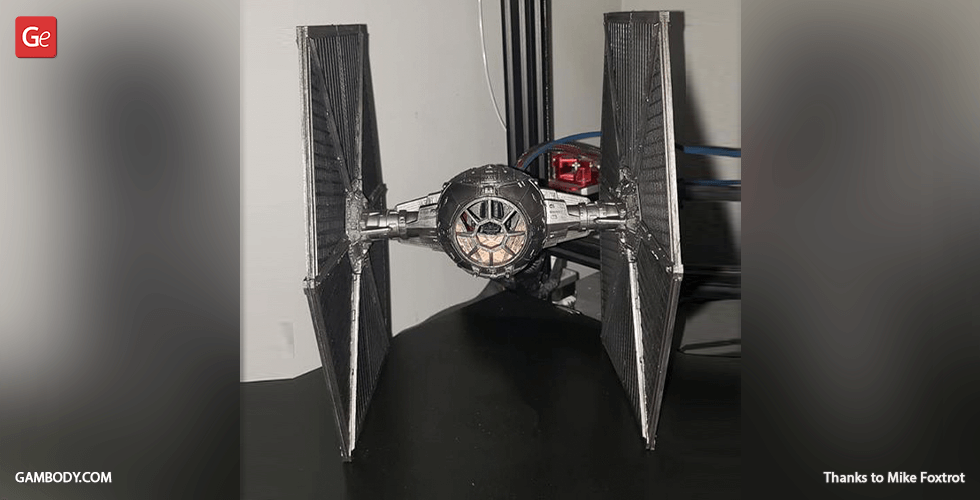
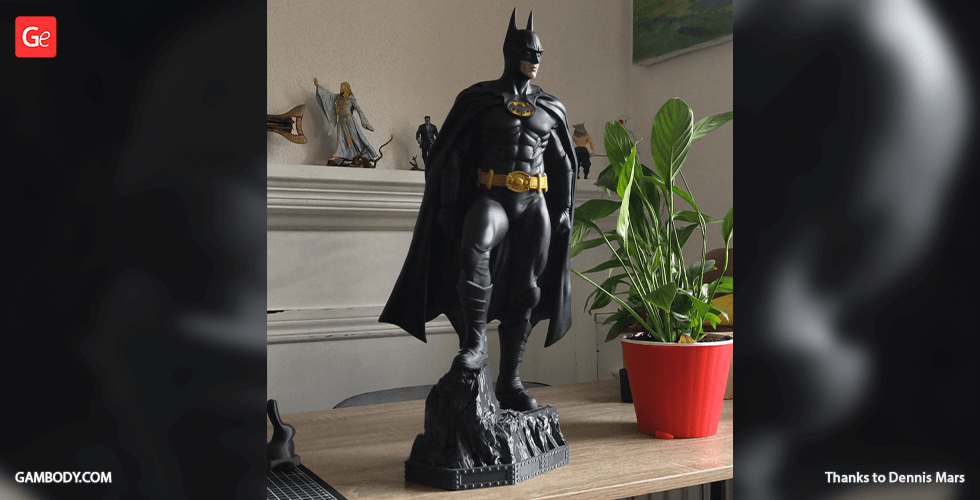
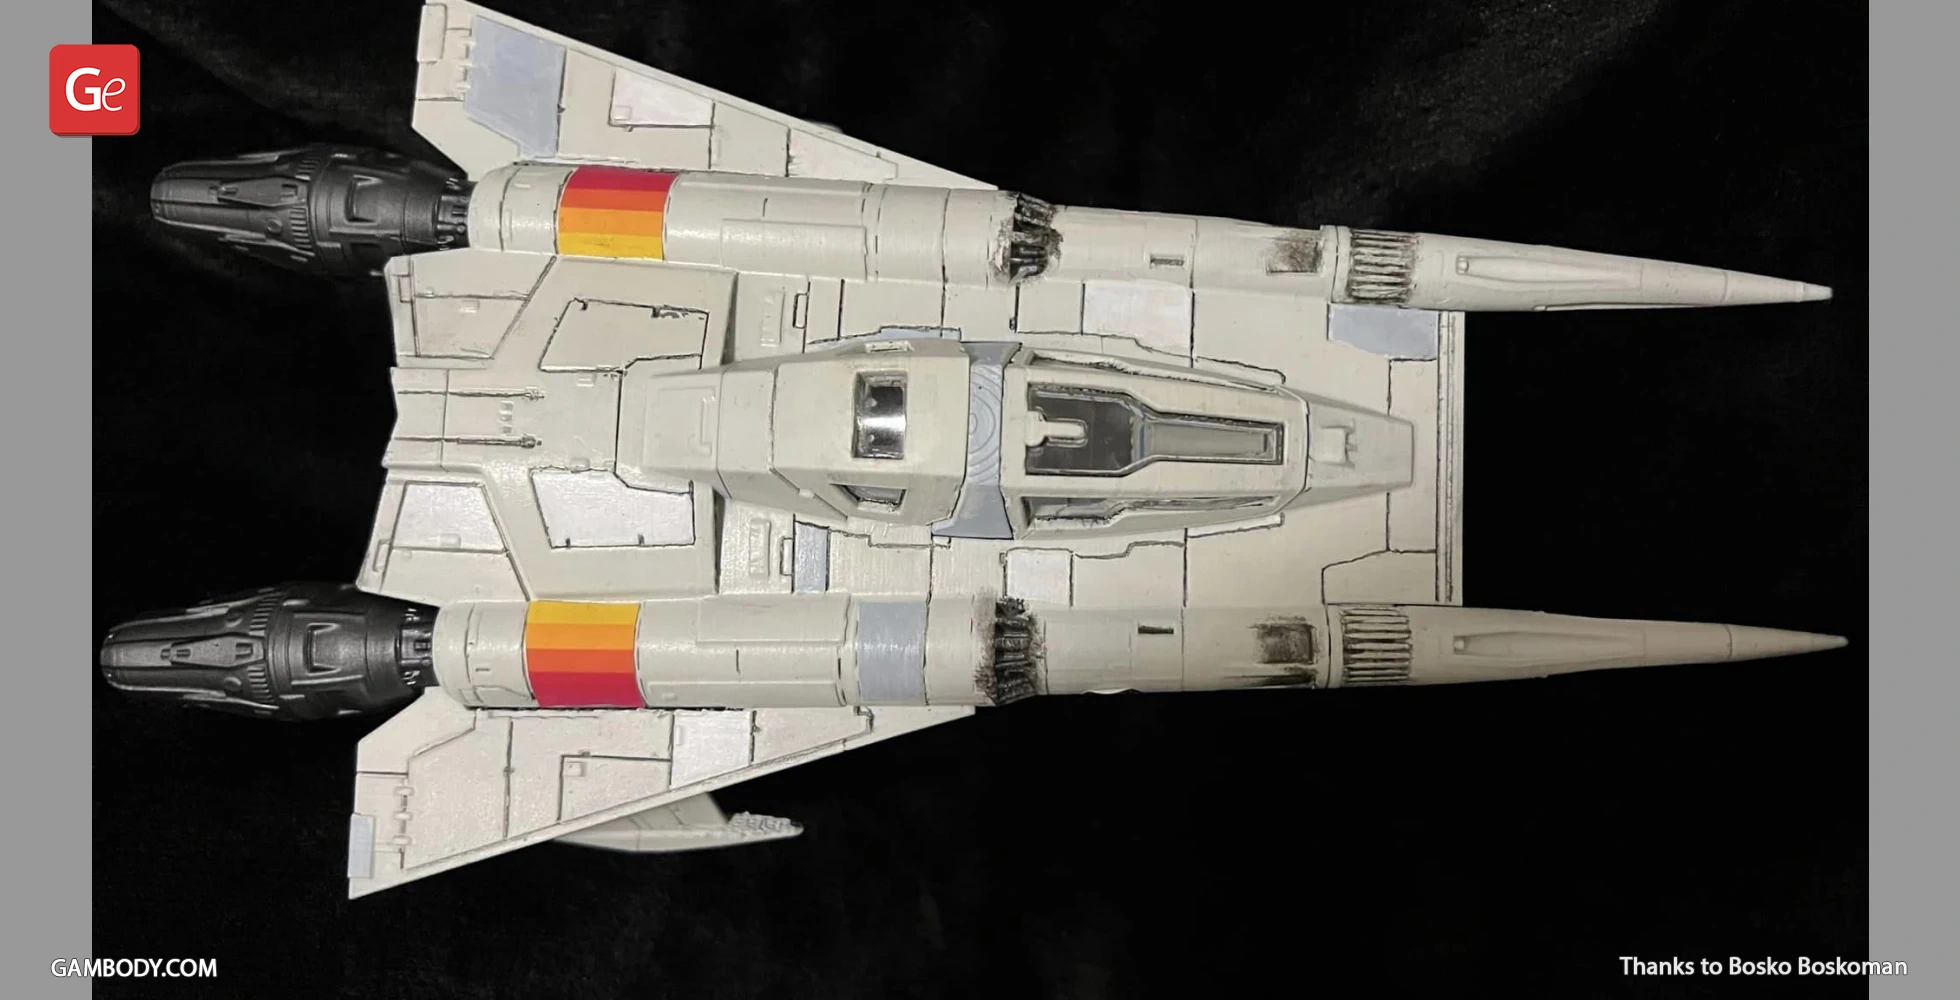


Understand I'm not _that_ old (at least in my own mind), but when I was a kid, I was a big model builder. Had all sorts of SciFi models like the Flying Sub, Spindrift, Orion, Enterprise Bridge, Moonbase Alpha, and more. So now I get to be an adult re-living my childhood! The original scale was too big for my room, so I scaled it to 60%. And I must say, the details remained very visible. I used my Snapmaker U1 to colorize the print (used my Bambu P1S for the solid colors) – not a single dab of paint was used. Looks freaking awesome.


This is my first entry into 3d printing a model. I usually work with styrene kits. I'm very impressed the quality and detail of the print. The parts need minimal post print processing to create really good fit and finish. Question for the modelling team, is there any opportunity to get a new version of part 27/28? One that say ROCINANTE on it like in season six of the show?


Jak dla mnie absolutnie niesamowity model, jego szczegółowe przygotowanie i odwzorowanie. W pierwszej wersji miał to być model wydrukowany w skali 150%, jednak w wyniku mojej pomyłki zostały wydrukowane dwie wersje: 150 % i 225%. Obie wyszły fantastycznie. Model wart każdego centa i każdego grama filamentu.
Just thumbing through the files. Good lord. Extremely high poly with quality surfaces. Im pretty sure i could upscale these and print out very close to a 1:350 scale. Please jesus pay this guy to do an s rank enterprise E model.

This was my frist big 3D print on my Bambu Labs H2S. Rafael3D was very helpful with helping me at parts that I was confused about. I will provide some feedback in some areas that I noticed in the assmebly guide. Rafael3D also gave me some convex lenses for the eyes, but I have not tried them out yet. I need to figure out how to dial in settings for transparent filament. Pretty happy!
Very detailed model, accurately made but the best bit..... I scaled it to 1:1 and all files held perfectly and now I enjoy a full size light up terminator. In addition it is not too hard to slightly mod the files to add servos or motors. I love it when people come round it scares the living soul out of them LOL. You cant ask for a better file, ive seen many terminator files and this by far is the best.

Printed most of the model (at 200 odd pieces, I may have missed a few bits lol). Roughly put together, it looks amazing, not to mention much bugger than I imagined. I'm also currently programming up an Arduino mega for lighting, which is working out well, but not perfect due to limitations of both my knowledge , and limitations of the Arduino programming. The only thing I see that is missing is the fact that the instructions could be a little clearer as to if pieces should be glued together or not, obviously user choice works too though :). Pictures will come at some point when its completed, but its slow going due to the fact that I'm using a battery operated air brush, and only get about 20 mins at a time to paint it.


I loved UFO as a kid so I just had to get this model when I ordered my new Anycubic Kobra X. The model was so easy to print and for the most part very easy to colour. Final Result came out great!
Given this is one of my favourite starships, I absolutely had to make it! I spent a looooong time (far longer than I'd like to admit) in Orca recolouring everything so this could be printed in full multi colour on the Snapmaker U1 :) This takes 105 hours in full colour with a tool changer, I would not recommend printing in colour on a none tool changing printer, but well worth putting the time in, as it took less time than masking and painting would have to get this just perfect :) I've added photo's of the build to feedback so you can see for yourself how well this build works :) ... Couldn't be happier with this!
Noah is a class act and a pleasure to build his creations. The models are the best I’ve come Across for any Tron related model. His passion comes through his designs and the models are very well thought out. MUST BUY’S if your a fan of Tron or any futuristic vehicle design.
OK, this is awesome! the print is long and it does take a while to custom pain to get the cool look, but with my H2D made printing it easy. No waste with the dual colors. I was thinking of lighting this up but could not find a good way to do it with one battery source. One note to anyone else, follow the directions. I used 15% infill and it suggests 5 to 6 percent. This made this model almost 7lbs. I had to do a very solid mount. Great print!
Printed this first version and was completely satisfied. Month later returned to download, so as I could improve my first attempt. Surprise! The model had been improved and it's amazing. I love this model. Many thanks!

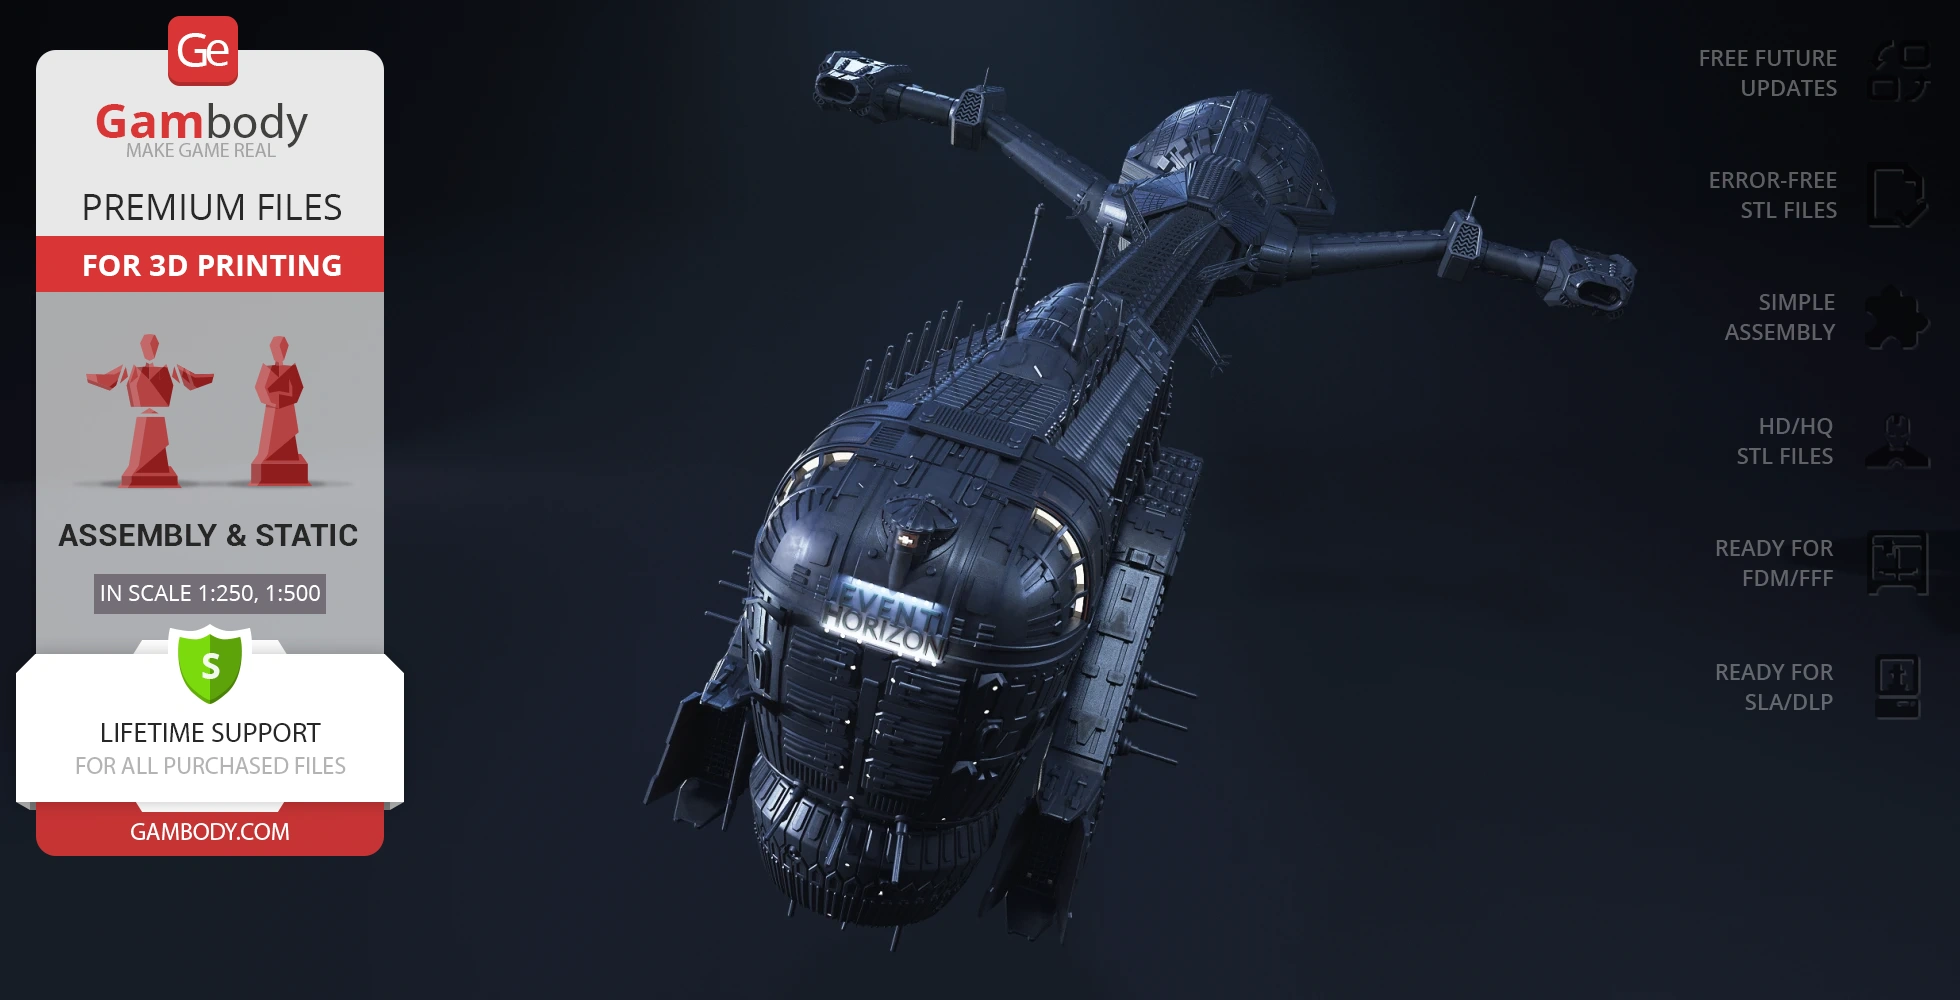
I have always been a Event Horizon fan, loved the film and the ship was just brillant. When i saw this model I just had to buy it,, some advice DONT do what I did, I print everything out in Resin as it makes the models feel more of a thing for me, so I printed it out at 40% bigger then the print was meant to be, I now have a 5ft long Event Horizon model in my office and i dont know what to do with her,, lol Apart from that model is perfect easy to add lights, easy to put together,, just a perfect model. Leo is a very talented designer.
Awesome model - makes for a great display piece. Printed everything full size on my Ender 3 S1-Plus. Pieces fit together nicely and any imperfections from joining pieces aren't visibly noticeable. One design flaw was found in the joining wing pieces - the alignment holes don't all line up. Not a big deal as there are two and it holds it together until you glue in the panels just fine. Need to go back and watch Rebels now!
Amazing model. Not 100% screen accurate but very close. Printed nicely with resin and the pieces went together smoothly. I made him about 35cm tall. I didn't print the base as I wanted him to be free standing. Keep up the good work.
Been meaning to print this for a while but too tiny as standard so printing it at 200% and it is huge lol. Only snag I came to is the socket fittings dont screw in properly. Overall though epic model to print. Once I have more free printer time I will 500% this model. I like how the chest and the back fit together with pegs, I modded my file to take 5x2mm magnets instead to make it easier for battery replacement and repairs without having to hope it stays ion place or glue. If like me obsessed with pacific rim & robots then buy it dont hesitate lol
as per normal from this designer top quality and well worth the money. this is the second model i've had and definitely not the last
I upscaled the FFF model from 100 to 150. Detail turned out amazing. I still have to add the antennas. But these should provide a good idea.
very well supported, hollowed, etc. nicely detailed as well. wish the instructions were a little more clear on the assembly options but they were enough to figure it out

after building a few different models from Gambody, this one is my favorite. it is without a doubt the coolest model i have built, and i have been building models my whole life thanks for the enjoyment. cheers.