Some 3D printing enthusiasts love to experiment with their device settings and materials. Thus, crazyfilament discussed his fantastic experiments with filament in the interview with Gambody. And in case you are thinking of adding some upgrades to your TEVO Tornado, Creality CR-10, Ultimaker or another machine, it is handy to learn about nozzle replacement. Gambody decided to share a simple guide on how to change a nozzle on a 3D printer from 0.4mm to 0.8mm.
But before you get into the details, it is best to look closer at both options and compare 0.4 vs 0.8 mm nozzle. This way, you will know the difference and figure out for yourself whether you need this 3D printer HotEnd tip change or not.
0.4 vs 0.8 mm Nozzle
When it comes to replacing the 0.4mm diameter for 0.8mm, it is best to compare these two HotEnd tip options:
As you might know, the layer height depends a lot on the HotEnd tip diameter. Hobbyists believe that for best 3D printing experience, the height should be up to 80 per cent of the tip width. In other words, if you are using the standard 0.4mm nozzle, the maximum layer height you can go with is 0.32mm. With a 0.8mm diameter, this parameter can grow up to 0.64mm.
The grown layer height also increases print speed. You can make models on your 3D printer much faster, and your projects can be way more massive than before.

0.4 mm Nozzle Replacement: How to
Follow the instruction on how to change HotEnd tip on a 3D printer from 0.4mm to 0.8mm. Everything seems to be very straightforward.
It is possible to perform this change on different 3D printers, including Creality Ender-3, Creality CR-10, CR-10S, TEVO Tornado and other machines. Just be sure to find the correct kits, be patient and extra careful.
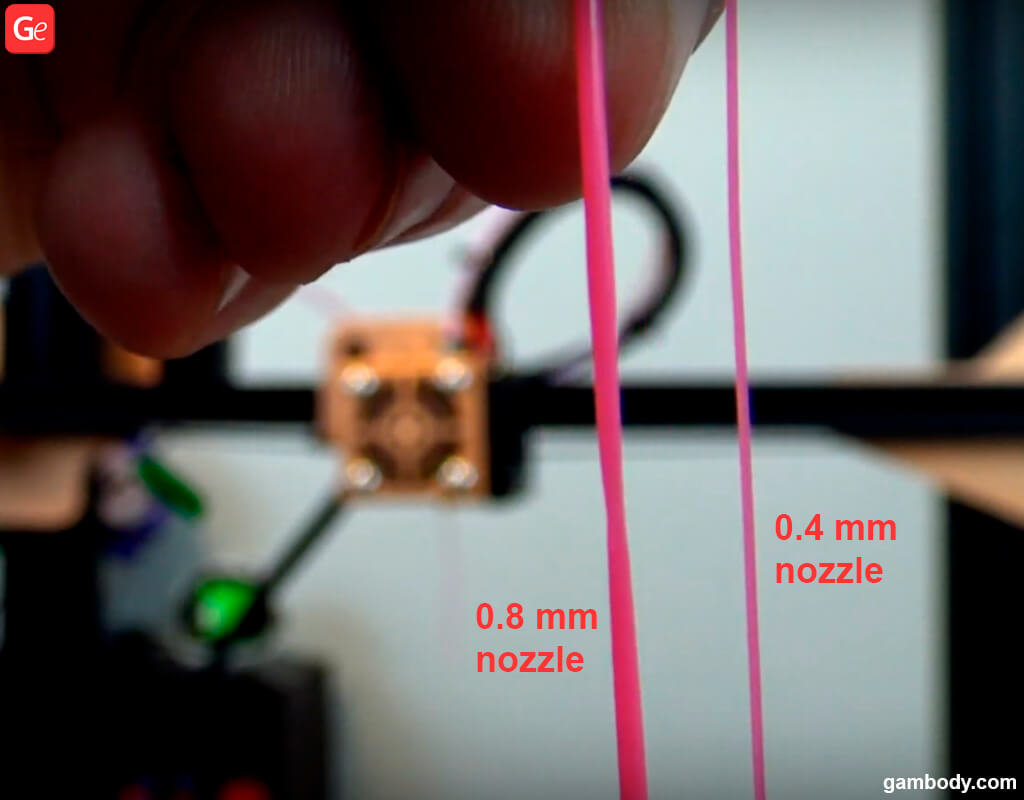
Step 1. Find a Nozzle Kit
Firstly, it is a must to get a replacement kit for your 3D printer. Most printers use standard size thread for the nozzle. Thus, it should not matter if you have a Creality CR-10 or TEVO Tornado. You can go with any standard kit by SIQUK, Glarks, LUTER or any other company you trust. Read reviews shared by other customers and find the equipment you will like the most.
Many kits come with a storage box, cleaning needles and other little extras.
It is probably better to get high-quality materials and avoid using cheap products. Still, even affordable replacement equipment can often be suitable.
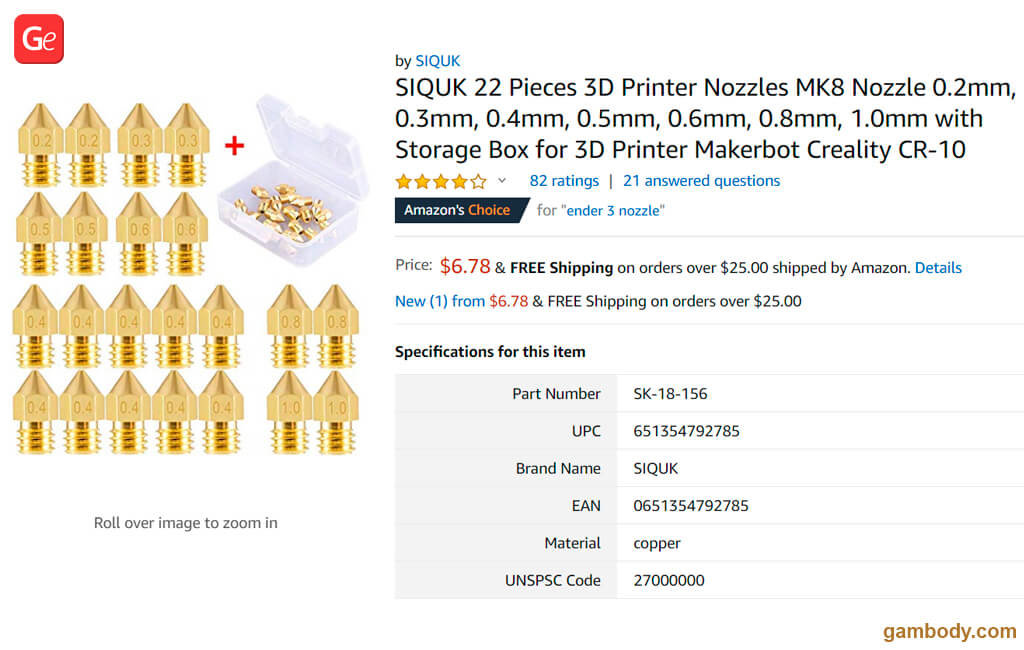
Step 2. Tools
3D printer nozzle change requires you getting to the HotEnd. Thus, you have to get a set of tools for your device, including wrench for the size of your HotEnd tip (a 6mm tool is excellent for this how-to guide).
It is also a great idea to get Kapton tape for this project. It is perfect for sealing everything and keeping the details isolated when needed.
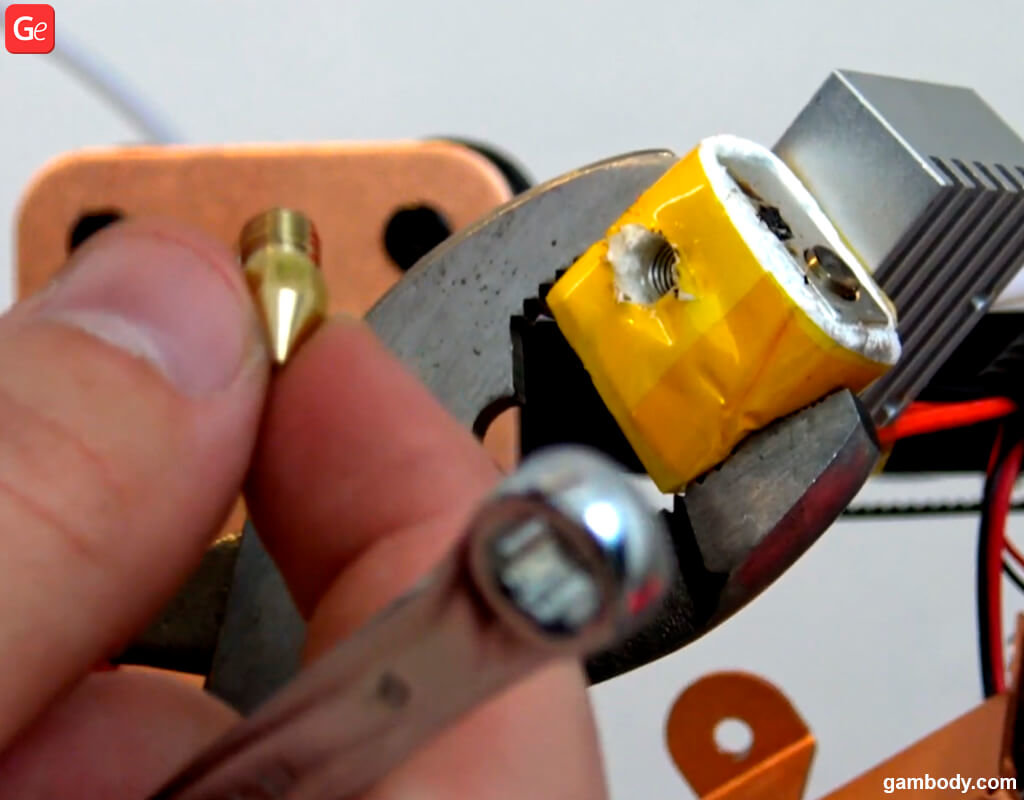
Step 3. Get Access to the HotEnd
Before you can change a nozzle on a 3D printer, it is a must to access the device’s HotEnd by undoing screws and disassembling some parts of the machine.
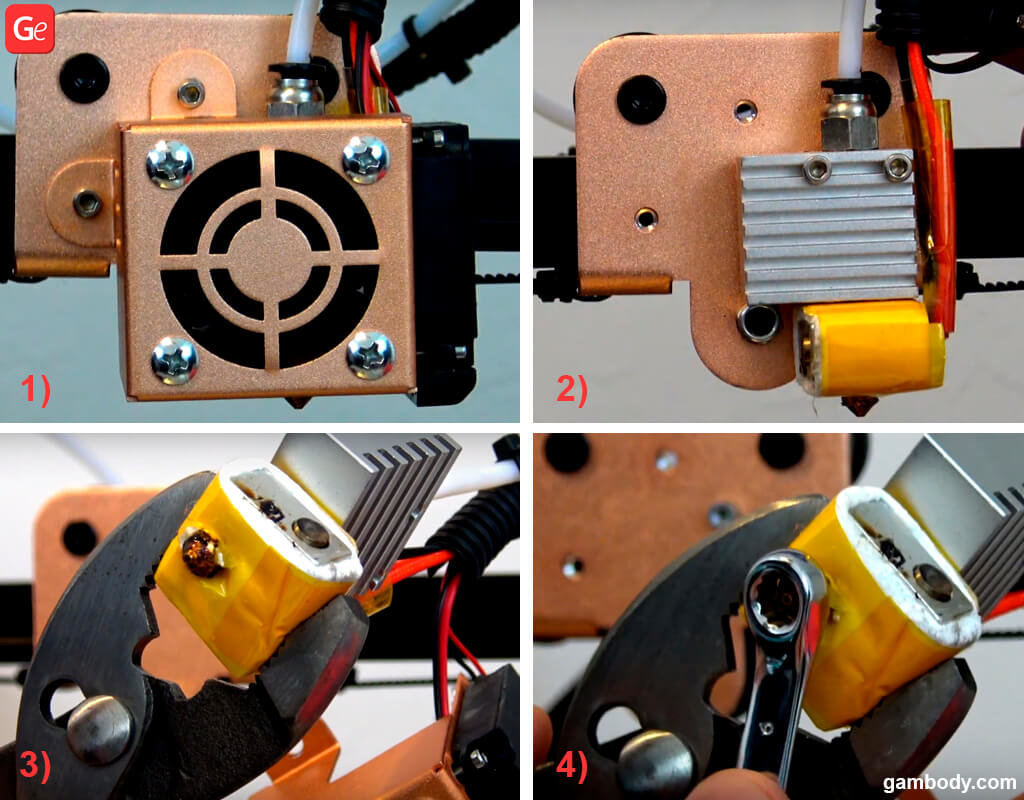
Once you get to the heater block, you should be extra careful. Do not scratch the block. Try to keep isolation on its place (if this is possible).
It is also required to heat the HotEnd to help loosen the old tip and remove it. You are highly advised to perform such manipulations only if you are familiar with how the 3D printer works and if you know how to work with high temperatures.
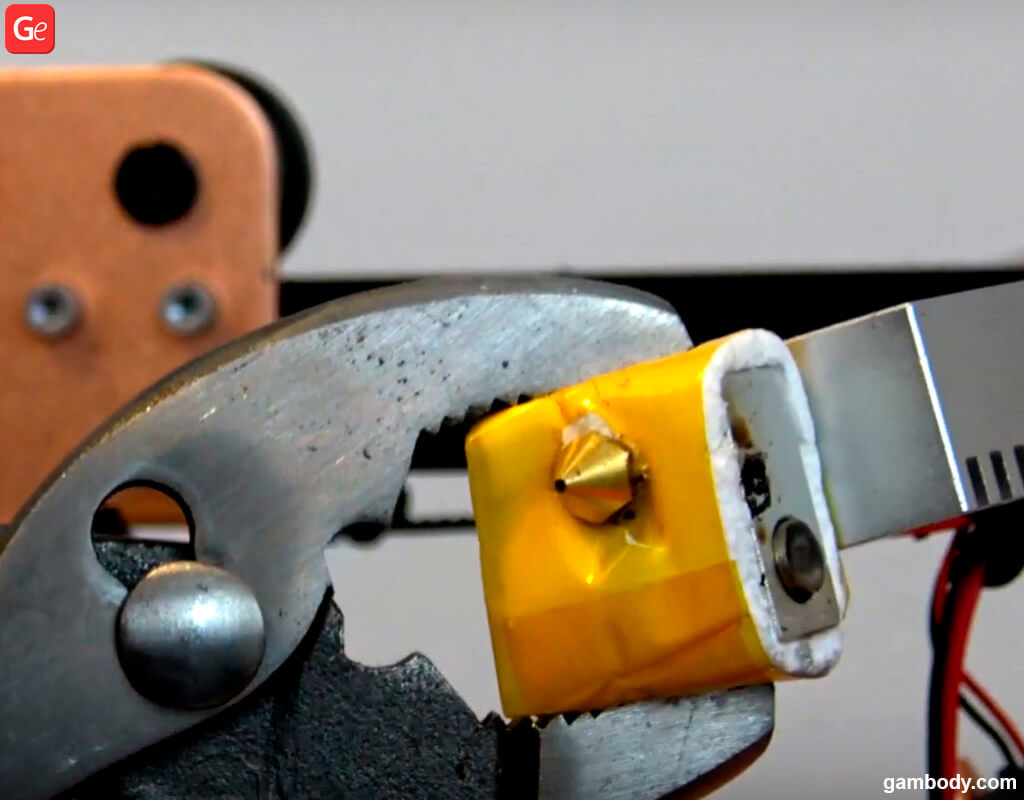
Step 4. 0.4 mm Nozzle Replacement
Use the wrench to remove the old 0.4mm tip. It should not be too difficult.
Now take the new 0.8mm nozzle and gently twist it on. If you are doing this with your hand, avoid getting a burn from the heated block. Make sure to tighten the tip.
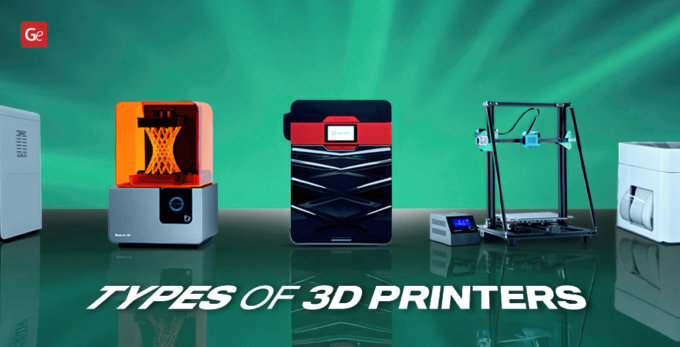
Step 5. Reassemble the HotEnd
Screw everything back on with the new 0.8mm nozzle already replaced.
Test the way the filament is running. Make sure you have no leaks.
Step 6. Enjoy Your Upgrade
In Cure software (if you are using it), go to Advanced Settings and set up your new nozzle size to 0.8mm diameter. Adjust the Z-axis, layer height, and you can start 3D printing your new projects.
The process of how to change a nozzle on a 3D printer from 0.4mm to 0.8mm is best described on the video by Hoffman Engineering:
Sometimes, when you choose to change a tip for a bigger diameter, it is best to perform a couple of actions. You should increase your layer height, rise printing temperature and lower the print speed a bit. This way, you will give plastic enough time and temperature to melt and avoid possible 3D printing troubles.
As you can see, 3D printer nozzle change is a bit challenging but surely worth your time and nerves.
Ideas What to 3D Print with 0.8mm Nozzle
There are many fantastic 3D printing models on Gambody – Premium 3D printing marketplace. Different designers add their masterpieces for you to craft.
These are some fantastic STL files to download:
- Game of Thrones STL files
- Warhammer 40000 STL 3D printing files
- World of Warcraft 3D printing models
- Mortal Kombat STL files
- Witcher STL files
- Joker STL files
- MechWarrior Online models to craft on a 3D printer
- Other popular STL files to craft
It takes up to 30 minutes to change a nozzle on a 3D printer from 0.4mm to 0.8mm, and the same guide can be used to change 0.2mm, 0.3mm, 0.5mm, 0.6mm, 0.7mm tips as well. The new diameter offers higher printing speed, thicker layers and its max layer height is much better. Enjoy your new print speed, create new figurines and share your projects with Gambody community on Facebook.

Most Popular Types of 3D Printers & How They Work
Read Article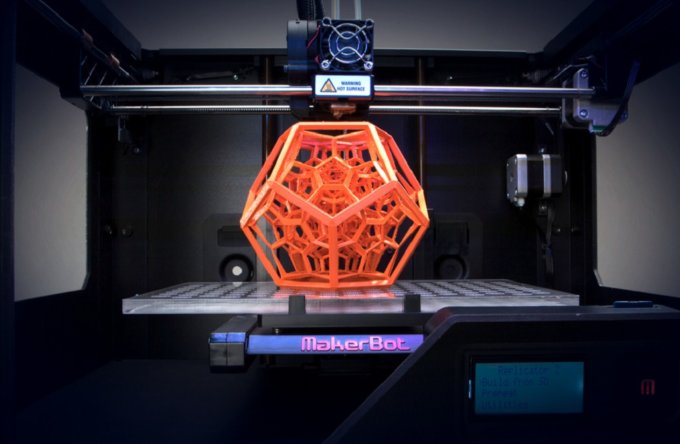
How to Get Started with 3D Printing
Read Article