Many users of FDM 3D printers come across unpleasant issues while working with PLA, ABS, and other materials. The finished parts are covered with thin hair-like threads of plastic. Learn what causes stringing in 3D prints and how to reduce and prevent 3D printing string problems.
Gambody’s user-friendly guide covers the five most popular methods to fix 3D printer string issues. The solutions are simple, fast, and require no special skills.

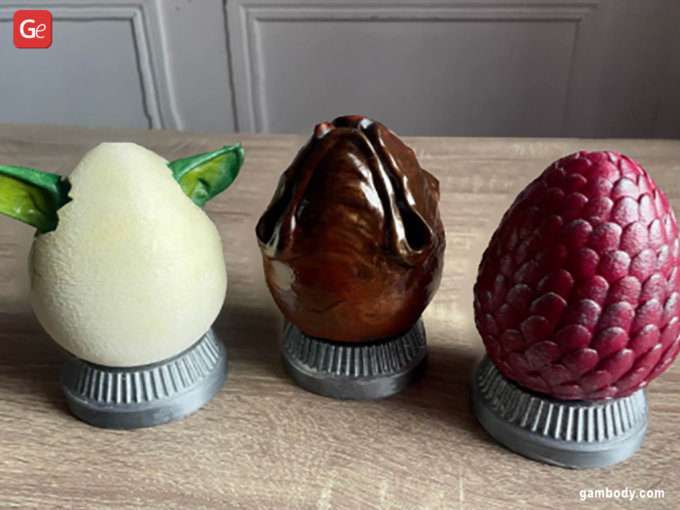
3D Printing String
The most common situations occur when a nozzle, during travel moves, deposits some melted 3D printing material, which must not happen. It gets stuck to your project’s surface and reminds you of tiny cobwebs.
What causes stringing in 3D prints? Usually, you deal with incorrect hot end temperature and retraction settings, whether you are printing with PLA, ABS, or PETG. Any material can create “whiskers.” You must learn to reduce and prevent them from appearing and hurting your model.
Tip 1. Retraction Settings to Fix Stringing
To fix 3D printing stringing, many users choose to enable retraction, which makes the feeder slightly pull the filament back while the extruder crosses the empty spaces.
Such a trick helps to fight oozing issues. With enabled retraction, your 3D printer head will move without the strings of plastic, and the filament will extrude only when the next location is reached.
Different 3D printing software turns on retraction by default to prevent stringing. For example, Cura users should not worry about adjusting this setting as long as they are happy with the final result. But sometimes, even with enabled retraction, the 3D print stringing continues.
Read also: Tips for Making Clear 3D Prints in Transparent Filament and Resin
Tip 2: Manual Settings for PLA, ABS, PETG
Default retraction settings might not reduce stringing. If it is the case, you can manually play with settings to find the best distance and speed for your filament type, ABS, PTEG, PLA, etc.

Setting retraction distance
Choose how far your 3D printing material should travel. Ideally, choose the number that allows the nozzle to retract further but still gives the filament enough time to resume your 3D print.
Performing a retraction test print is an excellent idea because it helps to determine your best distance while preserving the printing material. Usually, the bigger the distance between your drive gear and nozzle, the more significant number you can set.
Some standard retraction distance settings for different filaments:
- PLA, ABS – from 0.5 to 1.0 mm (if direct driver setups);
- PLA, ABS – approximately 2.0 mm (if Bowden extruder setups);
- PTEG – from 2.0-3.0 to 6.0-7.0 mm (depending if the direct driver or Bowden extruder setups).
Setting retraction speed
Once you find your best ABS, PTEG, or PLA retraction settings for distance, you need to figure out the speed of filament retraction. While a faster speed is preferred, every hobbyist should not set up this option too high because you might “disconnect” your 3D printing material while avoiding a stringy 3D print that will fail.
For everyone who wishes to avoid filament stringing, it is best to play with different speed settings and see which is the best option for you. Some slicers come with pre-configured profiles that offer good retraction speed to test.
Some standard retraction speed settings for different filaments:
- PLA, ABS – from 40 to 60 mm/s (if direct driver setups);
- PLA, ABS – from 30 to 50 mm/s (if Bowden extruder setups);
- PETG – from 25 mm/s to 80 mm/s (depending if the direct driver or Bowden extruder setups).
Tip 3: Printing Speed
To avoid 3D printing string issues, you should adjust your 3D printer speed. When the extruder travels slowly, the melted plastic has enough time to ooze and create spaghetti hangs on your model’s walls.

For most filaments, manufacturers recommend using a printing speed between 190 and 200 mm/s. Still, hobbyists who create many beautiful models and are well experienced in 3D printing believe that the perfect speed for a big range of 3D printers is approximately 150 mm/s.
Of course, you can lessen the amount of stringy 3D prints by adjusting your machine speed through testing and finding your best Y-axis and X-axis movement speed. 3D printers differ, and so do your settings.
The good news for users taking advantage of 3D printing software such as Simplify3D is that most slicers set the nozzle speed higher for non-printing movements by default.
Read also: Popular 3D Printing Infills: Your Guide to Best Results
Tip 4: Timely Nozzle Cleaning
Another way to cope with 3D printing string problems is to clean your nozzle in time. You can learn more about cleaning nozzles at home to ensure using the best practices.

Users who print with the same kind of filament all the time can clog their nozzle. And even if it is not blocked, it could have some residue inside, causing 3D prints to be stringy.
Changing filament types also requires having a clean nozzle. It can fix stringing and help you create beautiful and smooth projects.
Read also: How to Change Nozzle on 3D Printer from 0.4mm to 0.8mm
Tip 5: Nozzle Temperature
3D printing string issue can be affected by the wrong nozzle temperature that melts your filament so much it starts to drip and cause cobwebs and spaghetti.
It is essential to keep an eye on the temperature if you wish to reduce stringing for PLA, ABS, and other filaments. You can’t go too high, and you cannot keep it too low. If higher numbers can lead to a 3D printer stringy effect, low figures might not let the 3D printing material melt.
Use the standard temperature settings and decrease the numbers by 5-10 points if needed:
- ABS – from 400 to 482 °F (from 200 to 250 °C);
- PLA – from 356 to 428 °F (from 180 to 220 °C);
- PETG – from 410 to 482 °F (from 210 to 250 °C);
- PET – from 419 to 455 °F (from 215 to 235 °C);
- PVA – from 320 to 374 °F (from 160 to 190 °C);
- TPE – from 410 to 464 °F (from 210 to 240 °C);
- TPU – from 446 to 482 °F (from 230 to 250 °C).
FAQ
What causes stringing in 3D printing?
The two most common causes of stringing in 3D printing are incorrect hot end temperature and retraction settings.
How to fix stringing in 3D printing?
There are numerous ways to reduce stringing. You can set up the correct retraction settings, 3D printer speed, and nozzle temperature and test the settings to find the best figures that suit your needs.
How to prevent stringing while 3D printing?
If you want to stop or prevent stringing, try to download different slicers and test their profiles. You can find great settings this way and avoid many issues.
How to reduce stringing PLA?
If different methods don’t help much, you can reduce stringing while printing with PLA by keeping this material free of moisture. Learn to store your filament correctly and ensure that no excess moisture turns into steam as your machine heats the plastic, and there will be fewer “whiskers” as you work on your next 3D print.
How to get rid of stringing on 3D prints?
You can adjust your retraction settings and reduce stringing for PLA, ABS, PTEG, and other filaments. But different materials, 3D printers, and slicers require different figures that change on multiple variables and are usually figured out through testing.


Best 3D Printed Christmas Ornaments and Gifts for People You Love: Download STL Files
Read Article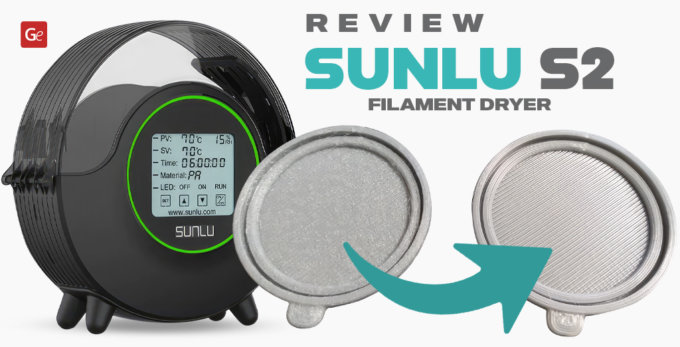
New SUNLU Filament Dryer Review: Filadryer S2 2023 Edition
Read Article