

 es
es  ua
ua 

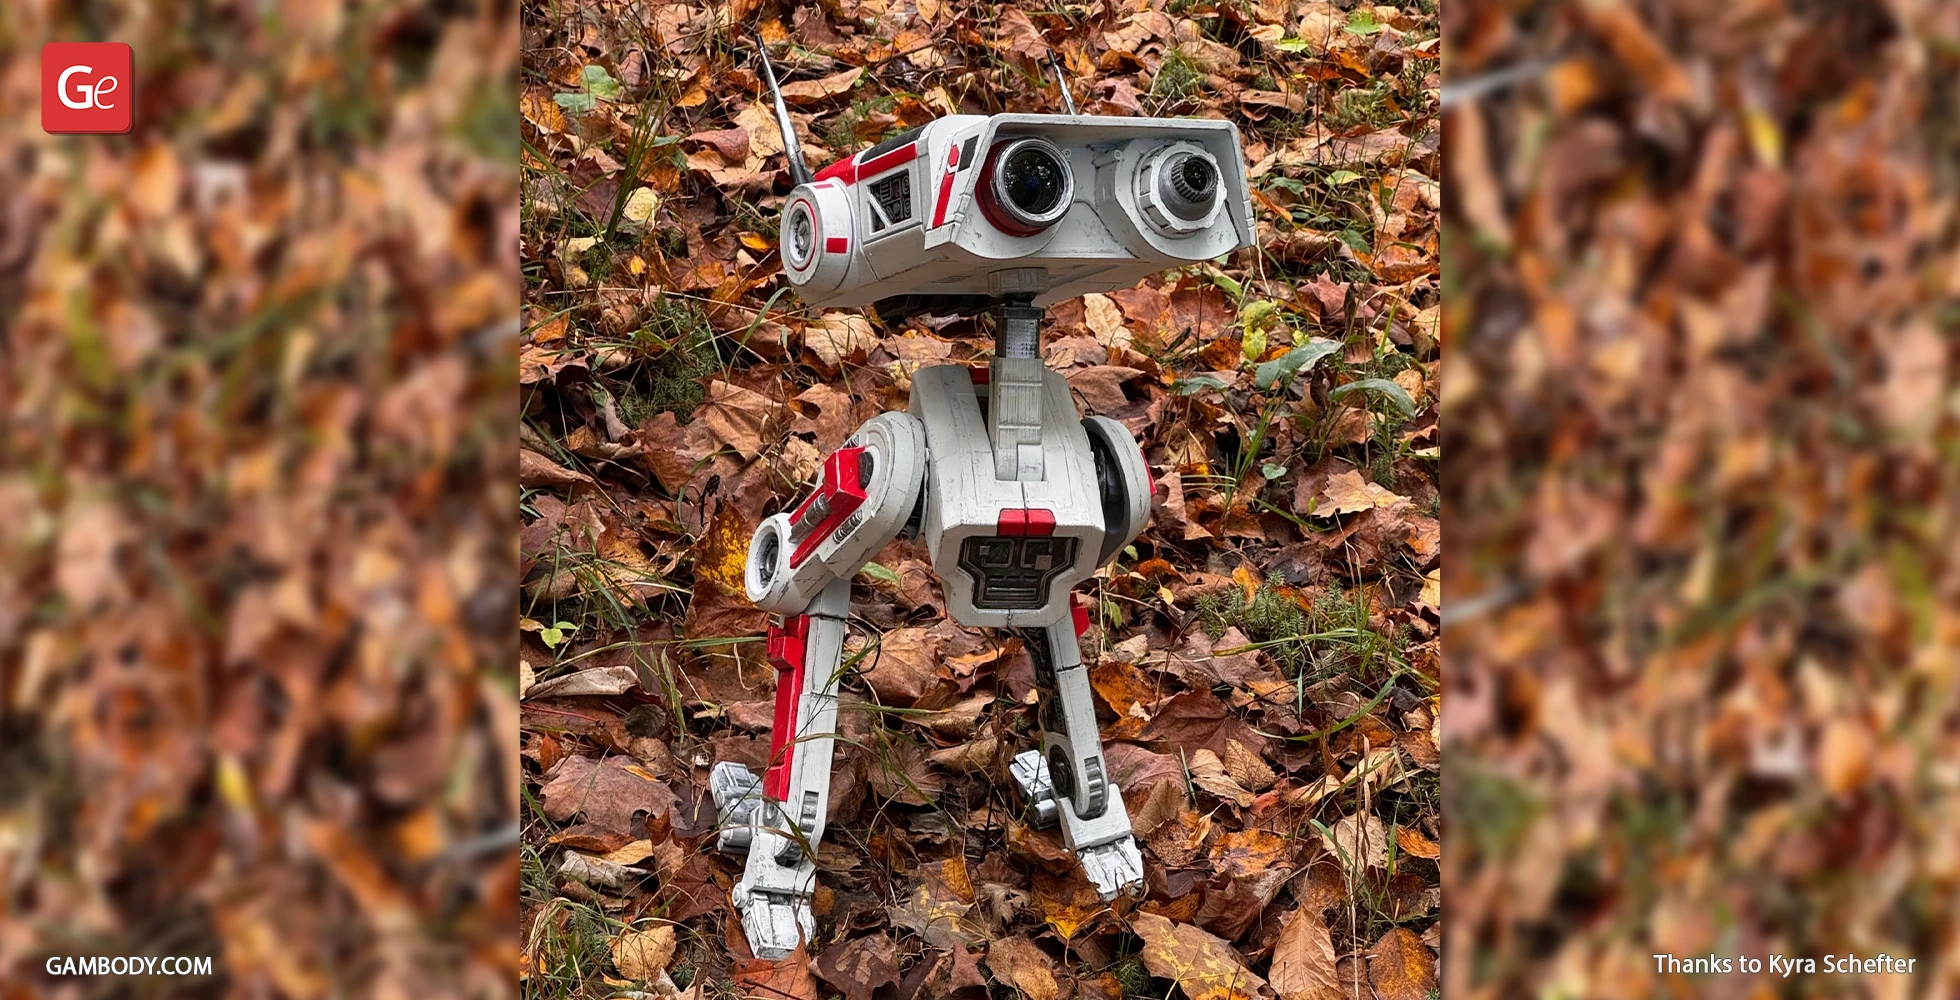
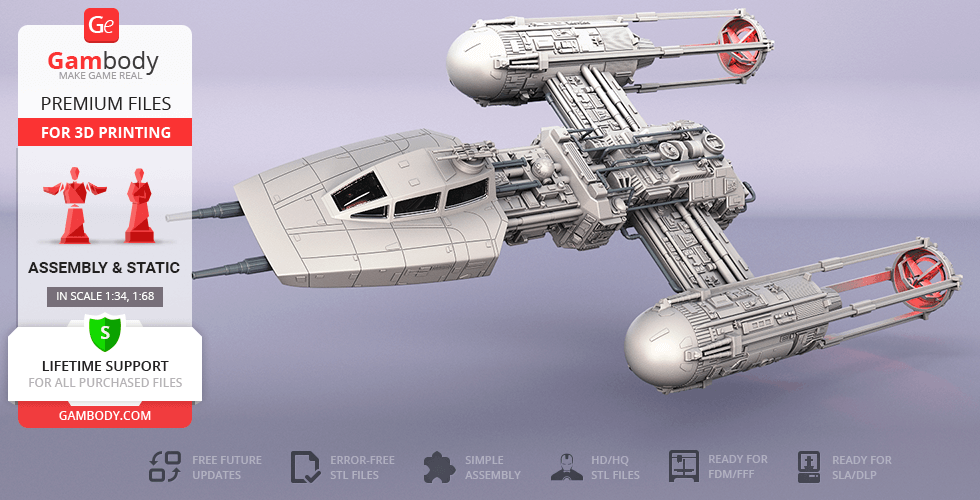
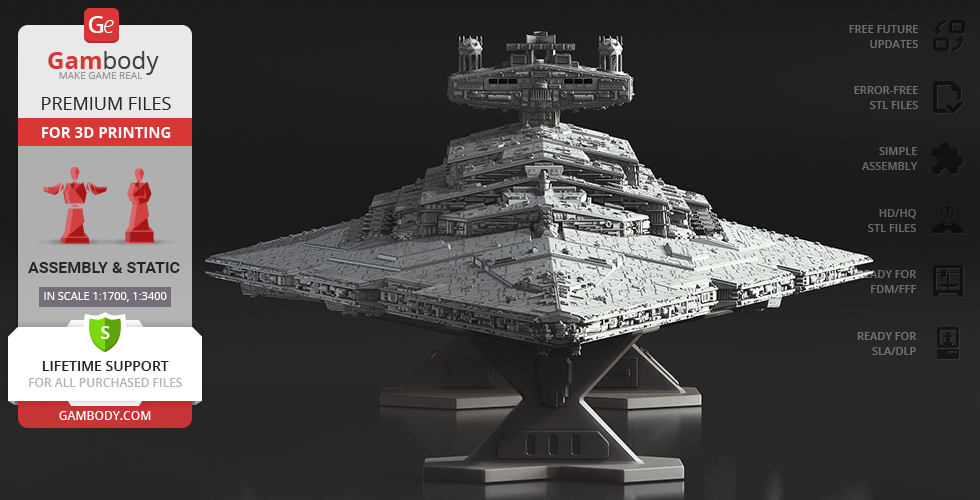
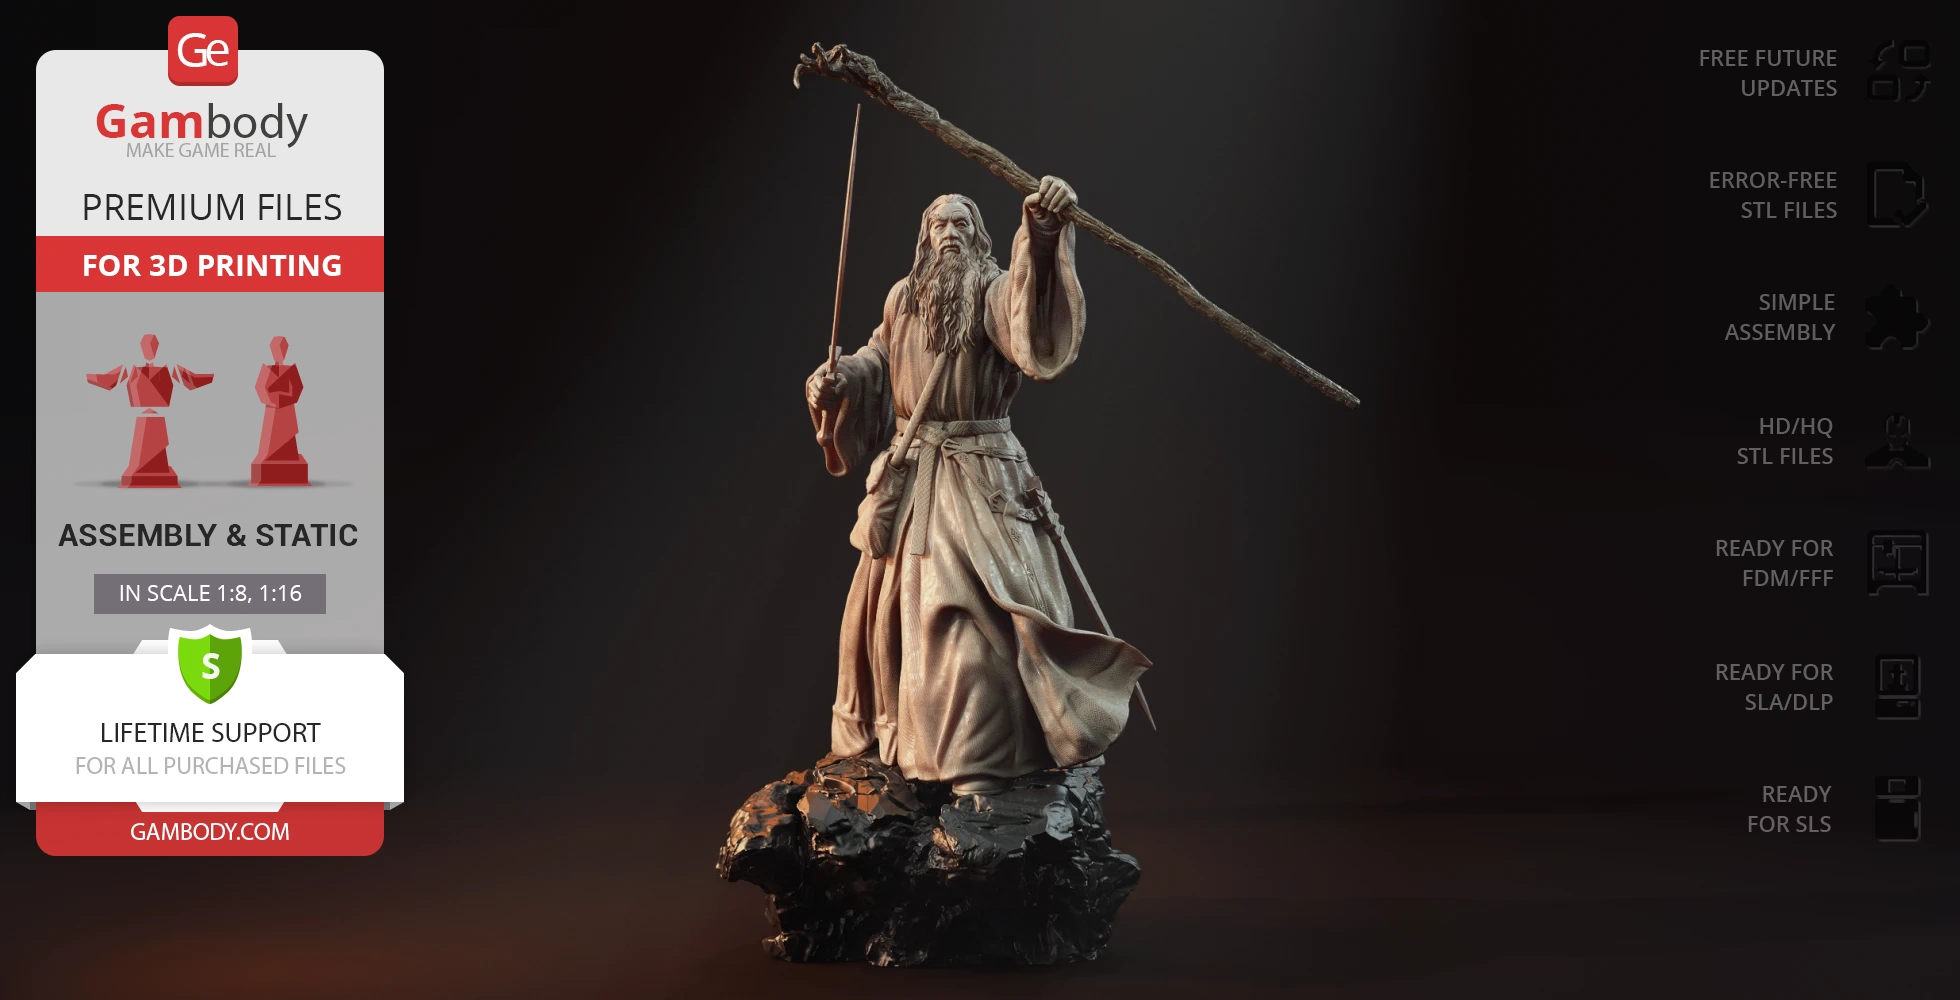

While still waiting for resin stock to print this I was very impressed with the detail of the model and have since purchased the Hyper jump ring to go with it.
Noah is a class act and a pleasure to build his creations. The models are the best I’ve come Across for any Tron related model. His passion comes through his designs and the models are very well thought out. MUST BUY’S if your a fan of Tron or any futuristic vehicle design.


I have always been a Event Horizon fan, loved the film and the ship was just brillant. When i saw this model I just had to buy it,, some advice DONT do what I did, I print everything out in Resin as it makes the models feel more of a thing for me, so I printed it out at 40% bigger then the print was meant to be, I now have a 5ft long Event Horizon model in my office and i dont know what to do with her,, lol Apart from that model is perfect easy to add lights, easy to put together,, just a perfect model. Leo is a very talented designer.


Did it with Bambulab P2S and black PLA, using the parameters for Bambulab.
First printed the head top with transparent filament but it was not has clear has in the picture here so painted glossy black making it more realistic.
Everything fit 100% no sanding or grinding but I stil used cryacinate liquid glue.
Thanks for this well done
very well supported, hollowed, etc. nicely detailed as well. wish the instructions were a little more clear on the assembly options but they were enough to figure it out


An absolute monster of a build. And it has great details And the addon packages makes this exceptional detailed an fun print. I is estimated to use 11kg of filament and 750 hours of print time on my Bambu A1.

Meant to add photos to the review.
Overall very nice model, do wish the thruster pods on the sides were not attached, but otherwise no real complaints at all.
Weathering and decals not done yet, but otherwise finished, if a model is ever really finished.
I’m done with printing this model now, I had some small issues. Part of it did not fit, but they are correct it now and you can download them. I will share some details later on.For the lead trip, a 3 m length will be great. Maybe you should put this in explanation.
I’m full attempt to make this model with more LED lightning. Therefore, I need to adjust some pieces.
More to come later happy printing.
OK, this is awesome! the print is long and it does take a while to custom pain to get the cool look, but with my H2D made printing it easy. No waste with the dual colors. I was thinking of lighting this up but could not find a good way to do it with one battery source.
One note to anyone else, follow the directions. I used 15% infill and it suggests 5 to 6 percent. This made this model almost 7lbs. I had to do a very solid mount. Great print!
This has always been one of my favorite star ships. This print went well and no real issues. Stick with the recommended settings and things will go smooth. this was printed on a P1S and my H2D for the multi color. Thank you for such a awesome model!
Very detailed model, accurately made but the best bit..... I scaled it to 1:1 and all files held perfectly and now I enjoy a full size light up terminator. In addition it is not too hard to slightly mod the files to add servos or motors. I love it when people come round it scares the living soul out of them LOL. You cant ask for a better file, ive seen many terminator files and this by far is the best.

This is my first entry into 3d printing a model. I usually work with styrene kits. I'm very impressed the quality and detail of the print. The parts need minimal post print processing to create really good fit and finish.
Question for the modelling team, is there any opportunity to get a new version of part 27/28? One that say ROCINANTE on it like in season six of the show?


I finally finished this Liberator print and assembly using my 420x420x500 Anycubic Kobra 3 Max and 3v2from to colour print all of the external pieces so no manual painting would be required. I also blew the scale up as high as I could go with these machines so that it finally measured 58" Long x 36" wide and 36" tall (approx). Due to the weight, I couldn't use the supplied optional stand, so I had to make my own using TinkerCAD.
I've linked to a series of Youtube videos showing how it was built. I love the detail on this and it is the best available Liberator model I've found online. If you do scale this up like I have then remember to increase the infill to provide additional strength. I had a problem where my original struts snapped and I had to reprint them 75% infill to take the strain from the weight and angle from the nacelles. There is almost a whole 1Kg spool of filament used in each strut, so they are as solid as rock.
Unfortunately, the main body was done with a mixture of 10-15% infill in an attempt to keep it light, but it turned out to be too little to support a model of this size and you can year the PLA creaking when the model is handled and the area around the orange/yellow panels is the weak point for the model. I'm worried that hanging it from the ceiling could cause the model to snap at this point, so I grabbed a pen, paper and ruler, loaded up TinkerCAD and started designing a table mount that would take the strain. After a few prototypes, I came up with something that supports the body from underneath and also takes some of the weight off the lower struts. In addition, I made 2 large tubes to insert into the model's main body from the engine side which added a lot of structural support and provided a way to mount a light source for the green globes.
I'm going to give some credit to my trusty Elegoo Neptune 4 Max for making the majority of the display stand, which also utilized a stand I had made for an ACE Pro to save time. The internal tubes were done on my Centauri Carbon and FLSun T1 for speed. PVC pipe glue was used for the assembly.
If you decide to print in colour like I did then remember you're going to need to "paint" the parts in Orca yourself. If you're going to paint it in the traditional way then printing time will be way less. If you do decide to go big then consider where you will display it. This model is almost 5 foot long and stretches almost 3 foot wide and tall. In hindsight, I think I should have done it at 75% of that scale, but I love a good challenge.
Remember, Series 3 is due soon on BluRay!!! Here's the video link and a picture of the final model:
https://www.youtube.com/playlist?list=PLxHXVKY50McOLQnnYB183dVTBRoHMFI3G

Saw this on Andor and loved it! I printed this out quickly and chose the in-flight view.. going to double the size and print this out in landed mode which should be cool. might have to buy a bigger house to keep all of these things in! :) Awesome job! anyways I wanted to post pics but this site is very particular about size, so maybe later..
I upscaled the FFF model from 100 to 150. Detail turned out amazing. I still have to add the antennas. But these should provide a good idea.
Very good STL model for print. It was a fun to make it and paint. Finished model is a great add on to my home cinema room and Alien's movies collection.
Still building this, keep coming up with different ways of printing parts🤪 having great results using "Painting" multicolor parts in Bambu to bring greater detail ..see pics.
Ran into small problem, but the creator promptly corrected got back to me with an update to the part file 👍

The model is absolutely beautiful, and I truly appreciate the hard work that went into creating it. I do have one suggestion that I hope the designer might consider. I love adding fiber-optic lighting to my builds. my Star Destroyer has over 700 individual lights, and people always comment on how incredible it looks. It would be amazing if the sides of the model could be opened up or designed with accessible sections so fiber-optic lighting can be installed throughout. Having that flexibility would take the build to another level, and I’d love to be able to exibit next to the star destroyer.
Awesome model - makes for a great display piece. Printed everything full size on my Ender 3 S1-Plus. Pieces fit together nicely and any imperfections from joining pieces aren't visibly noticeable. One design flaw was found in the joining wing pieces - the alignment holes don't all line up. Not a big deal as there are two and it holds it together until you glue in the panels just fine. Need to go back and watch Rebels now!

after building a few different models from Gambody, this one is my favorite. it is without a doubt the coolest model i have built, and i have been building models my whole life
thanks for the enjoyment. cheers.