Community (fb)

 ua
ua 











Files
3D model format
Stereolithography (.stl)
Total files

Slicer settings
Mesh error check
Netfabb
Support
Lifetime support from Gambody team
Update requests
Available to verified buyers
Model complexity
Advanced: may require tuning print settings or support placement, plus precise fitting, gluing, or sanding.
Model versions
FFF/FDM
Assembly method
Connectors, Glue
Features
- Exterior detailing refined to better reflect The Orville – Season 3 design;
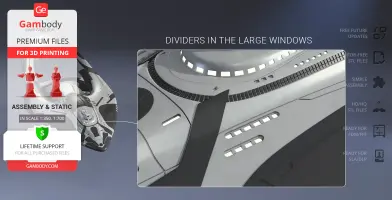
- Large window sections updated with internal dividers;
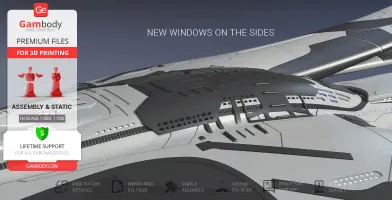
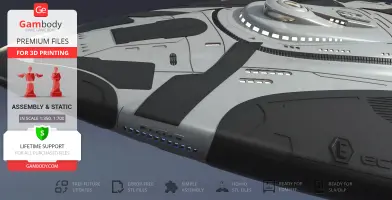
- Additional side windows incorporated into the model;
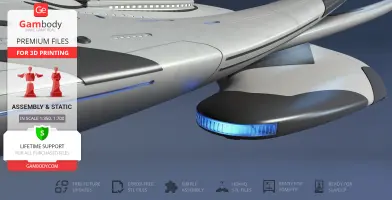
- Simulated position lights added on the pylons.
DLP/SLA
Assembly method
Connectors, Glue
Features
- Exterior detailing refined to better reflect The Orville – Season 3 design;
- Large window sections updated with internal dividers;
- Additional side windows incorporated into the model;
- Simulated position lights added on the pylons.
FFF/FDM
Assembly method
Connectors, Glue
Features
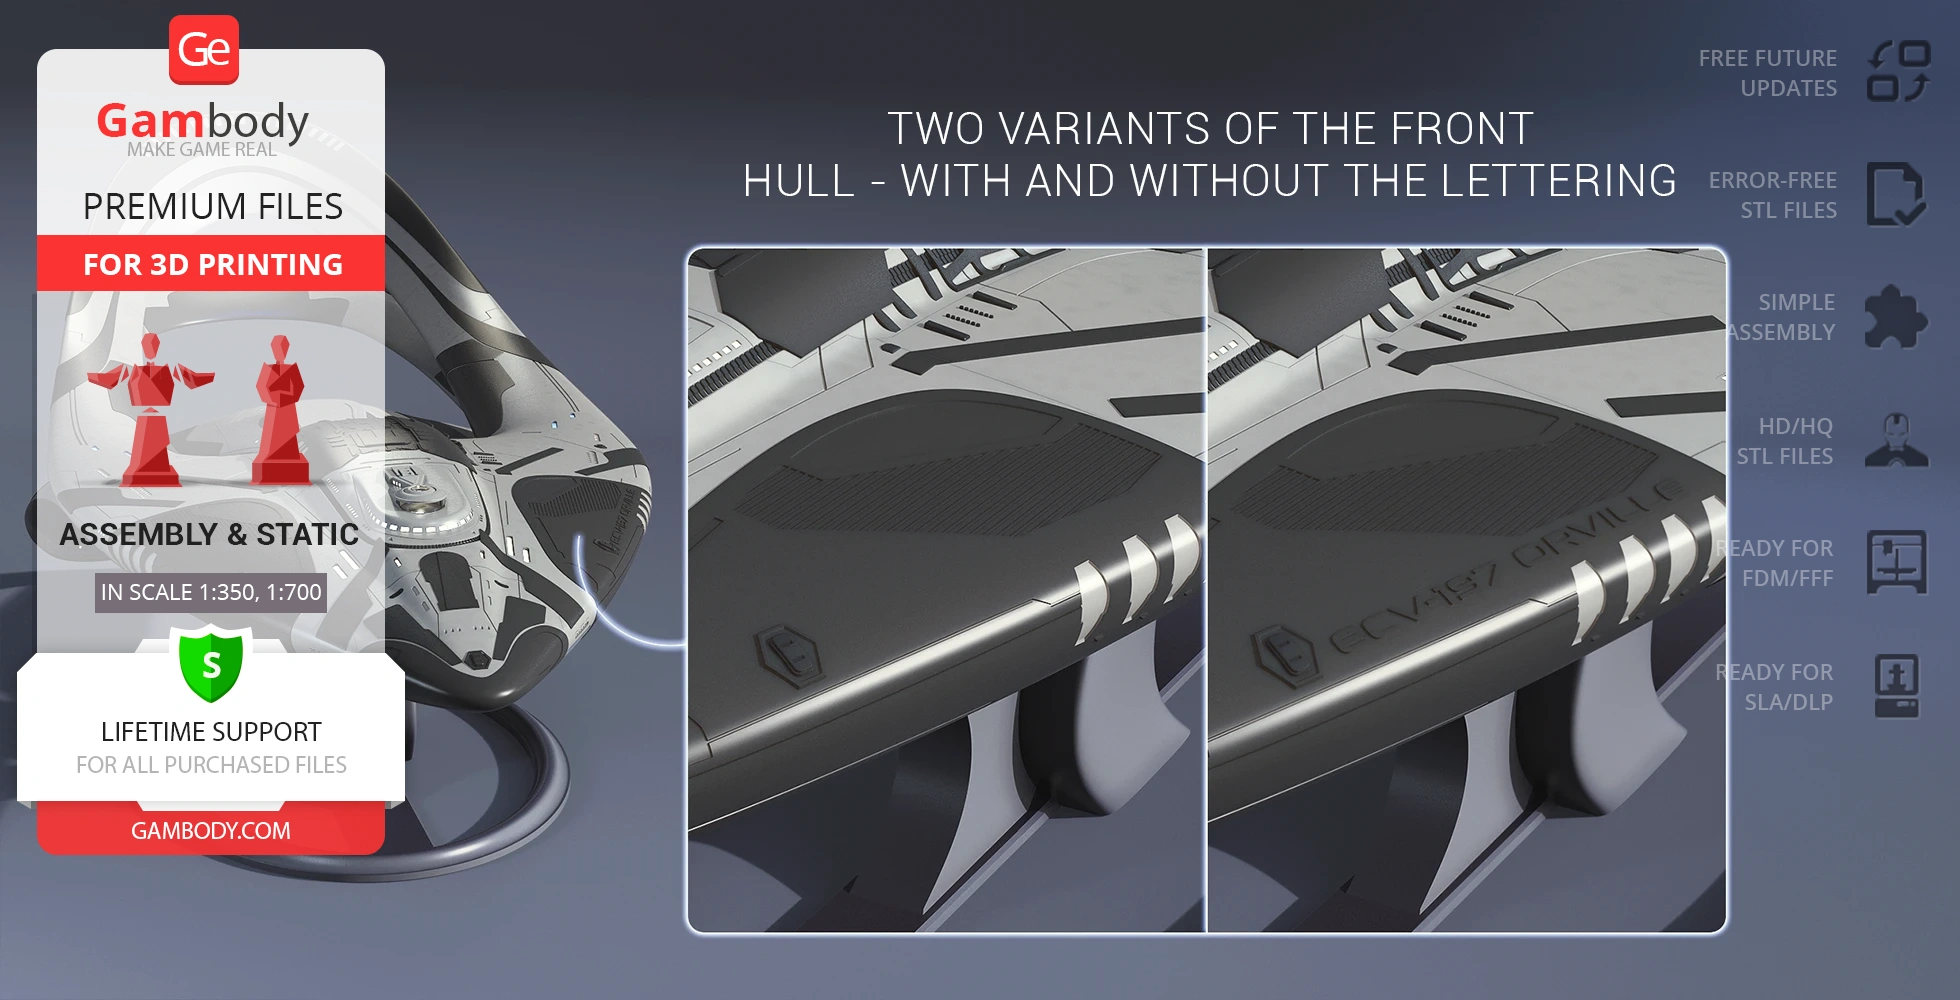
- Two variants of the front hull - with and without the lettering;
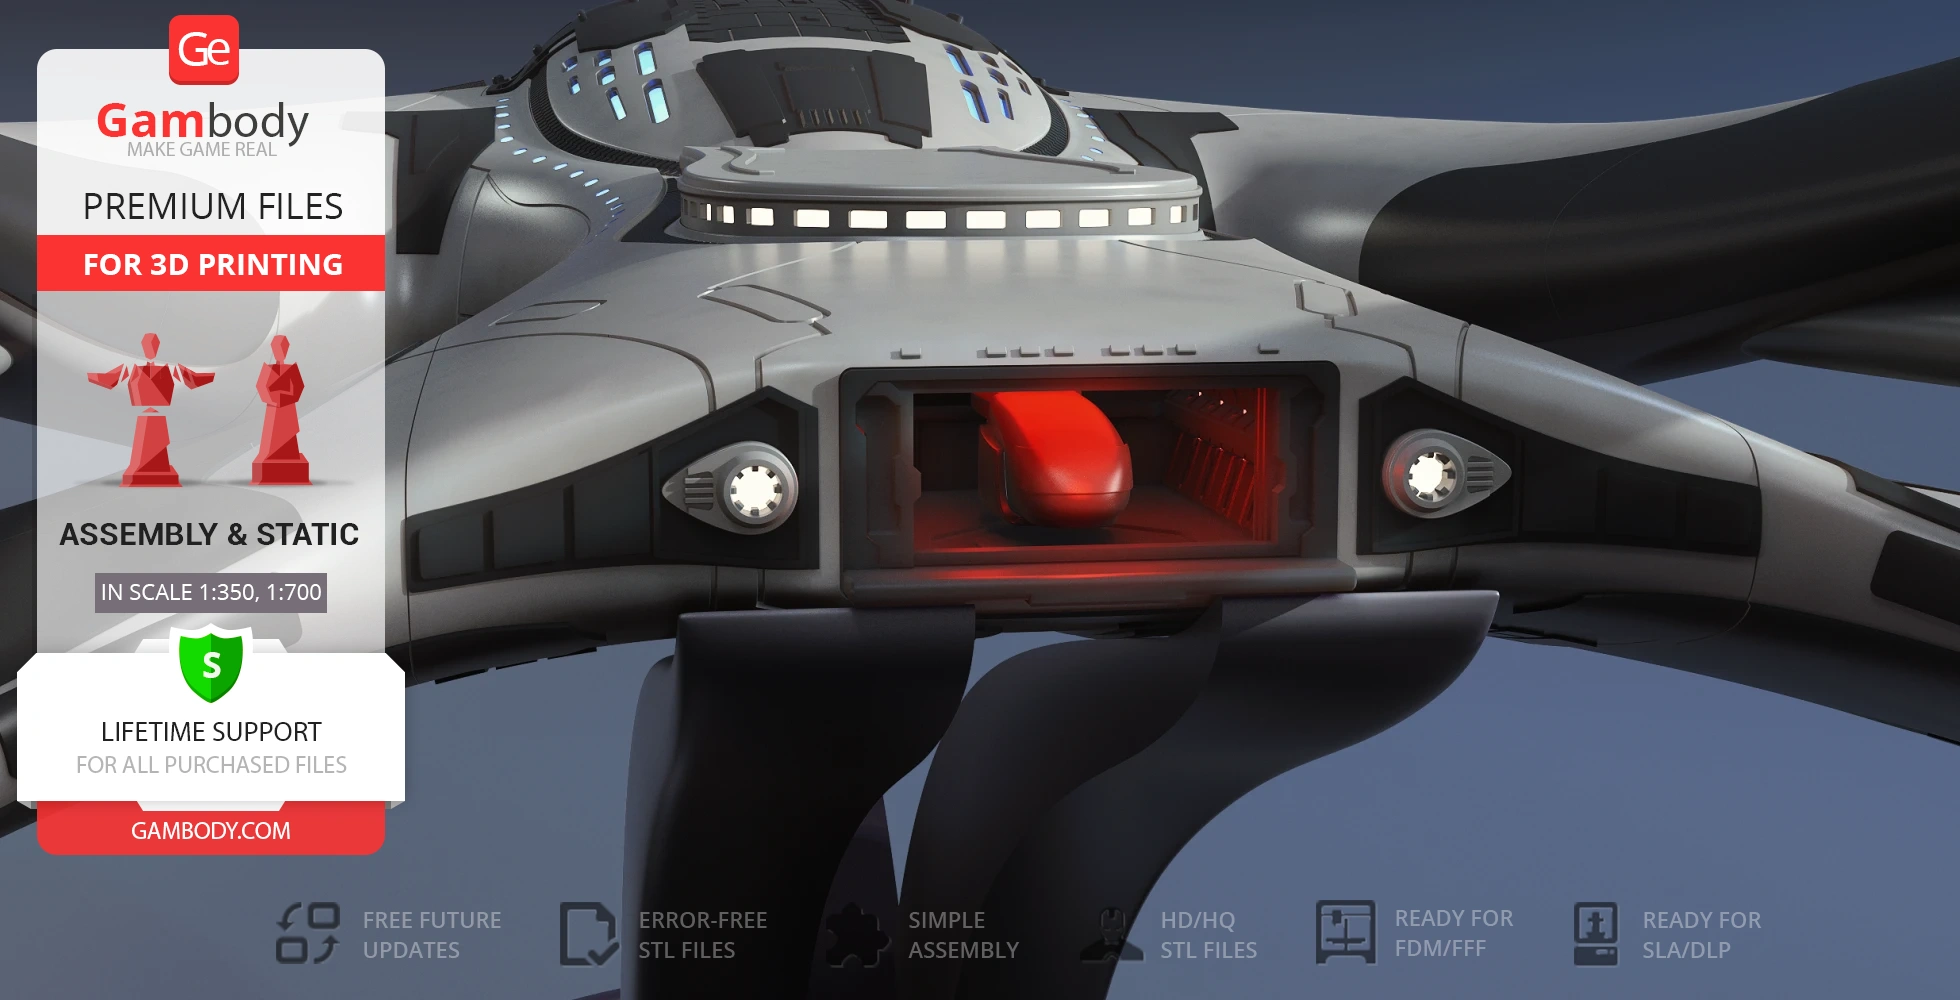
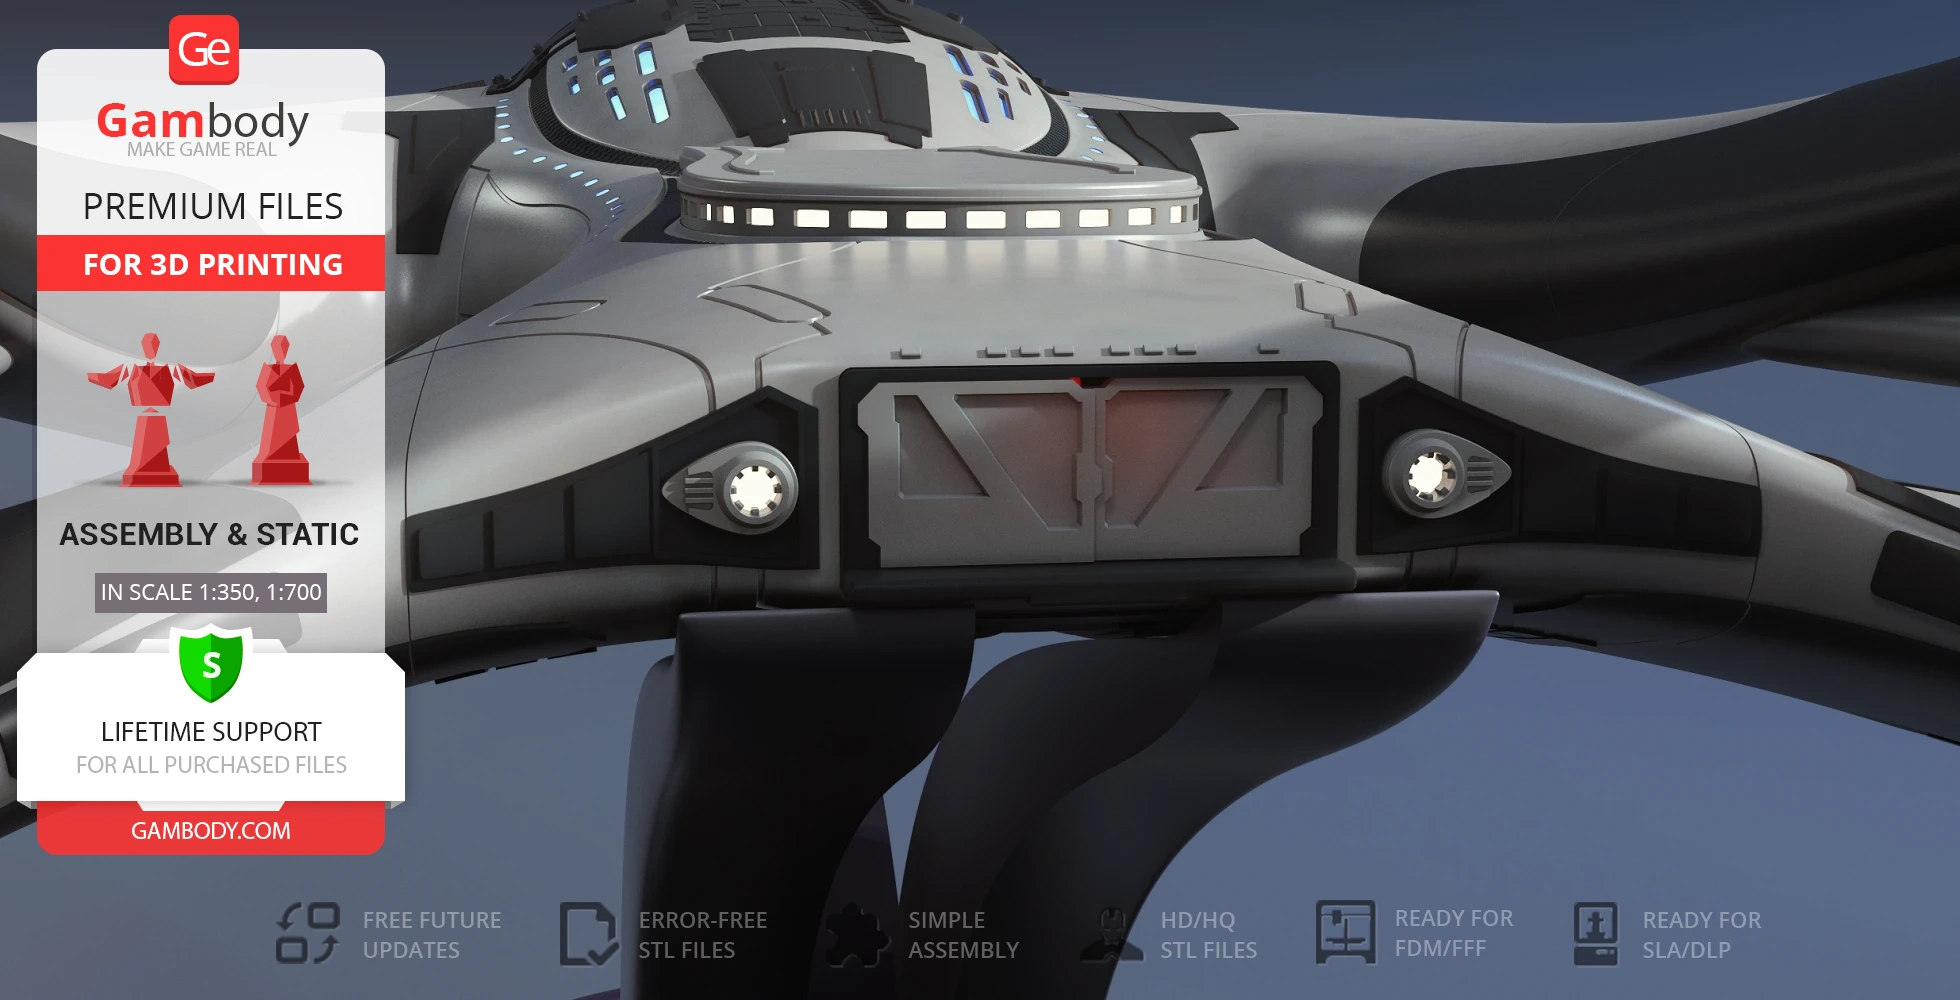
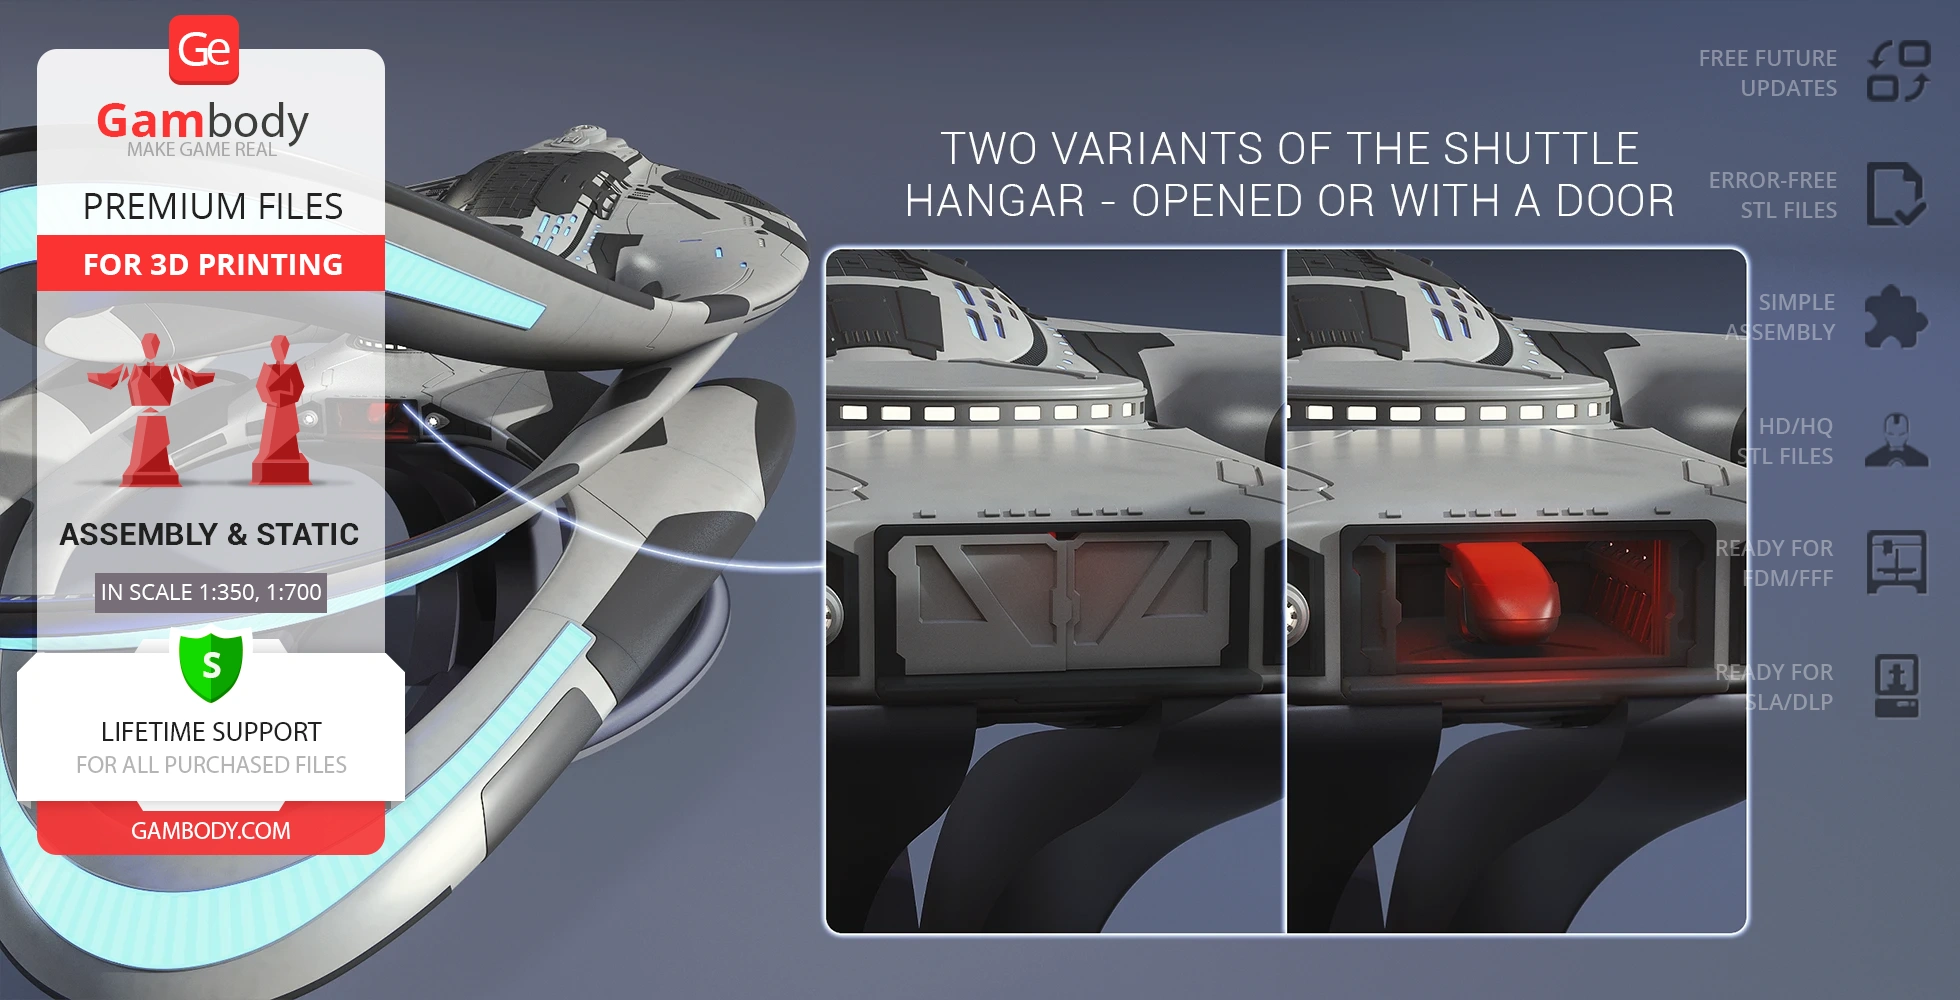
- Two variants of the shuttle hangar - opened and with a door;
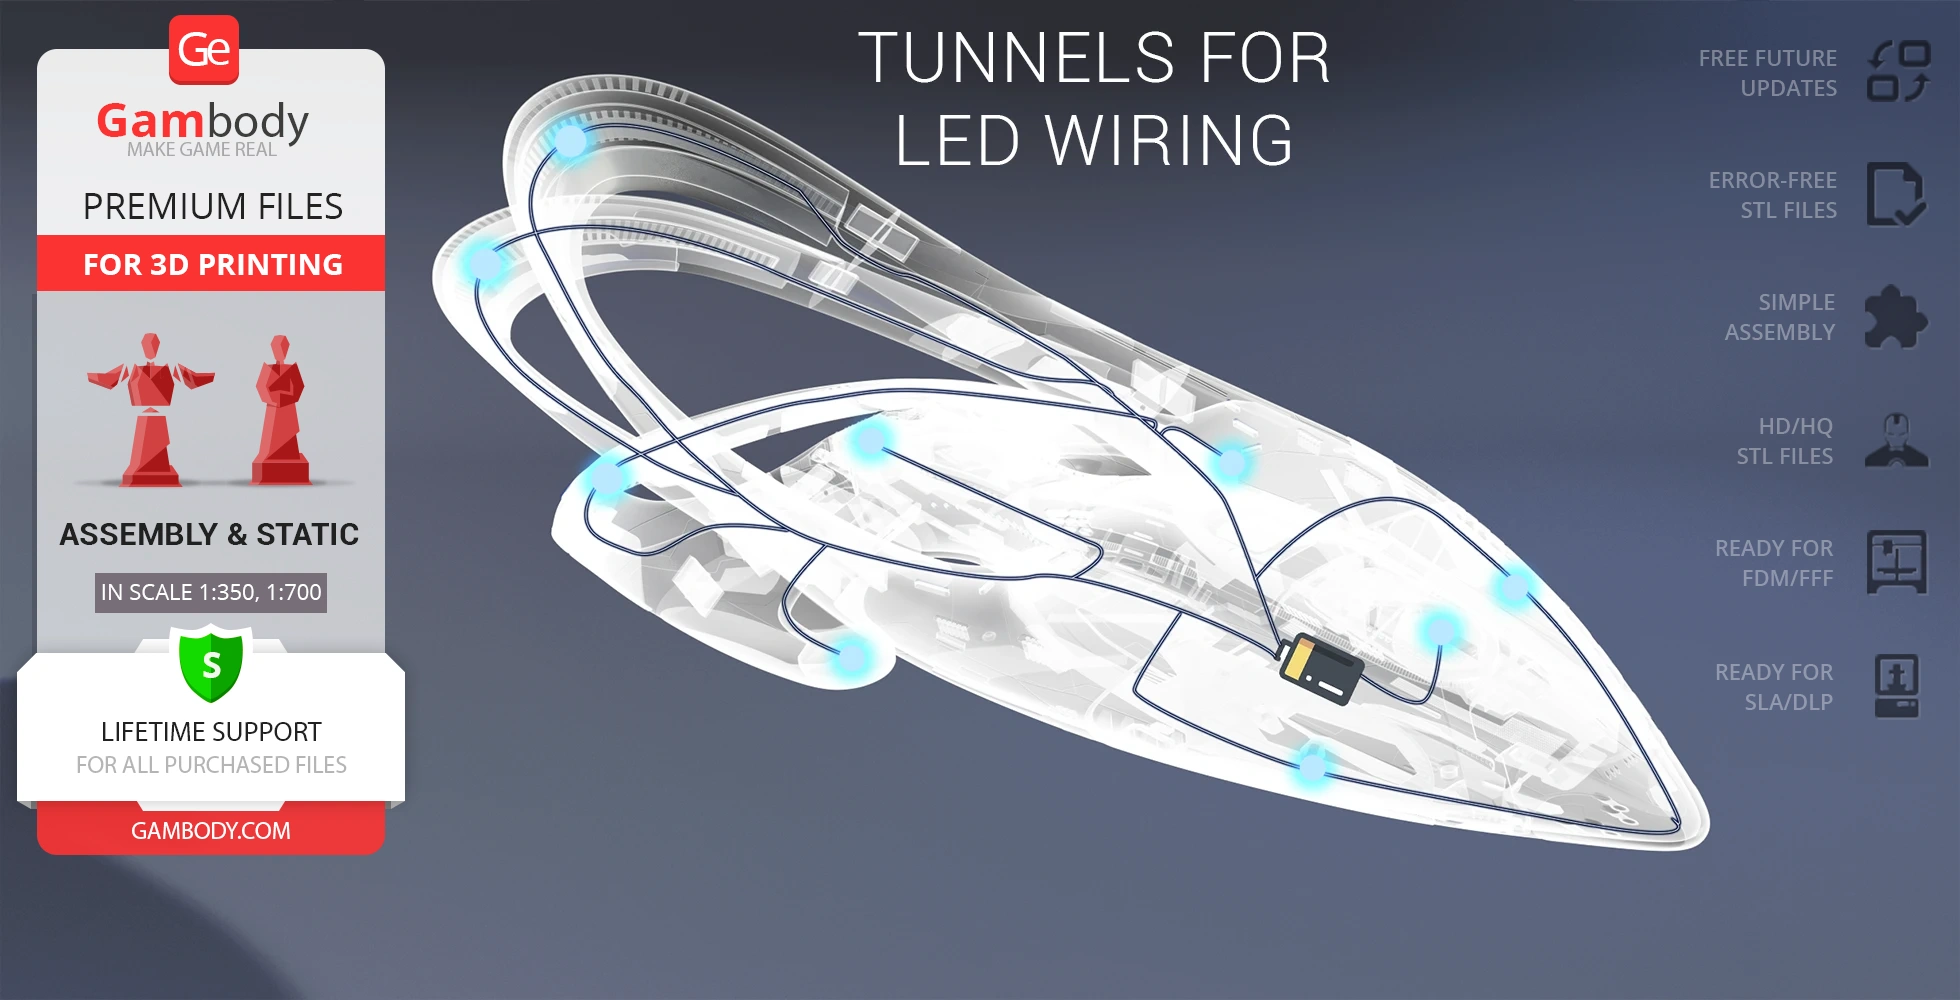
- Tunnels for LED wiring to light up the hull and the engines.
DLP/SLA
Assembly method
Connectors, Glue
Features
- Two variants of the front hull - with and without the lettering;
- Two variants of the shuttle hangar - opened and with a door;
- Tunnels for LED wiring to light up the hull and the engines.
Additional details
Part of diorama
No
Special pack included
No
You will get instant access to the STL files of USS Orville 3D Printing Model | Assembly after completing your purchase. Simply add the model to your cart and check out using PayPal, credit or debit card, Apple Pay, Google Pay, Alipay, or other available payment methods.
Watch the assembly video for USS Orville 3D Printing Model | Assembly, and explore more tutorials, behind-the-scenes content, 3D printing timelapses, and painting guides on the official Gambody YouTube channel.
This 3D model of USS Orville consists of files in StereoLithography (.Stl) format that is optimized for 3D printing.
Before printing the files, we strongly recommend reading the PRINTING DETAILS section.
WHAT WILL YOU GET AFTER PURCHASE?
- 2 versions of USS Orville STL files for FFF/FDM and DLP/SLA - files for all versions are available for download after the purchase;
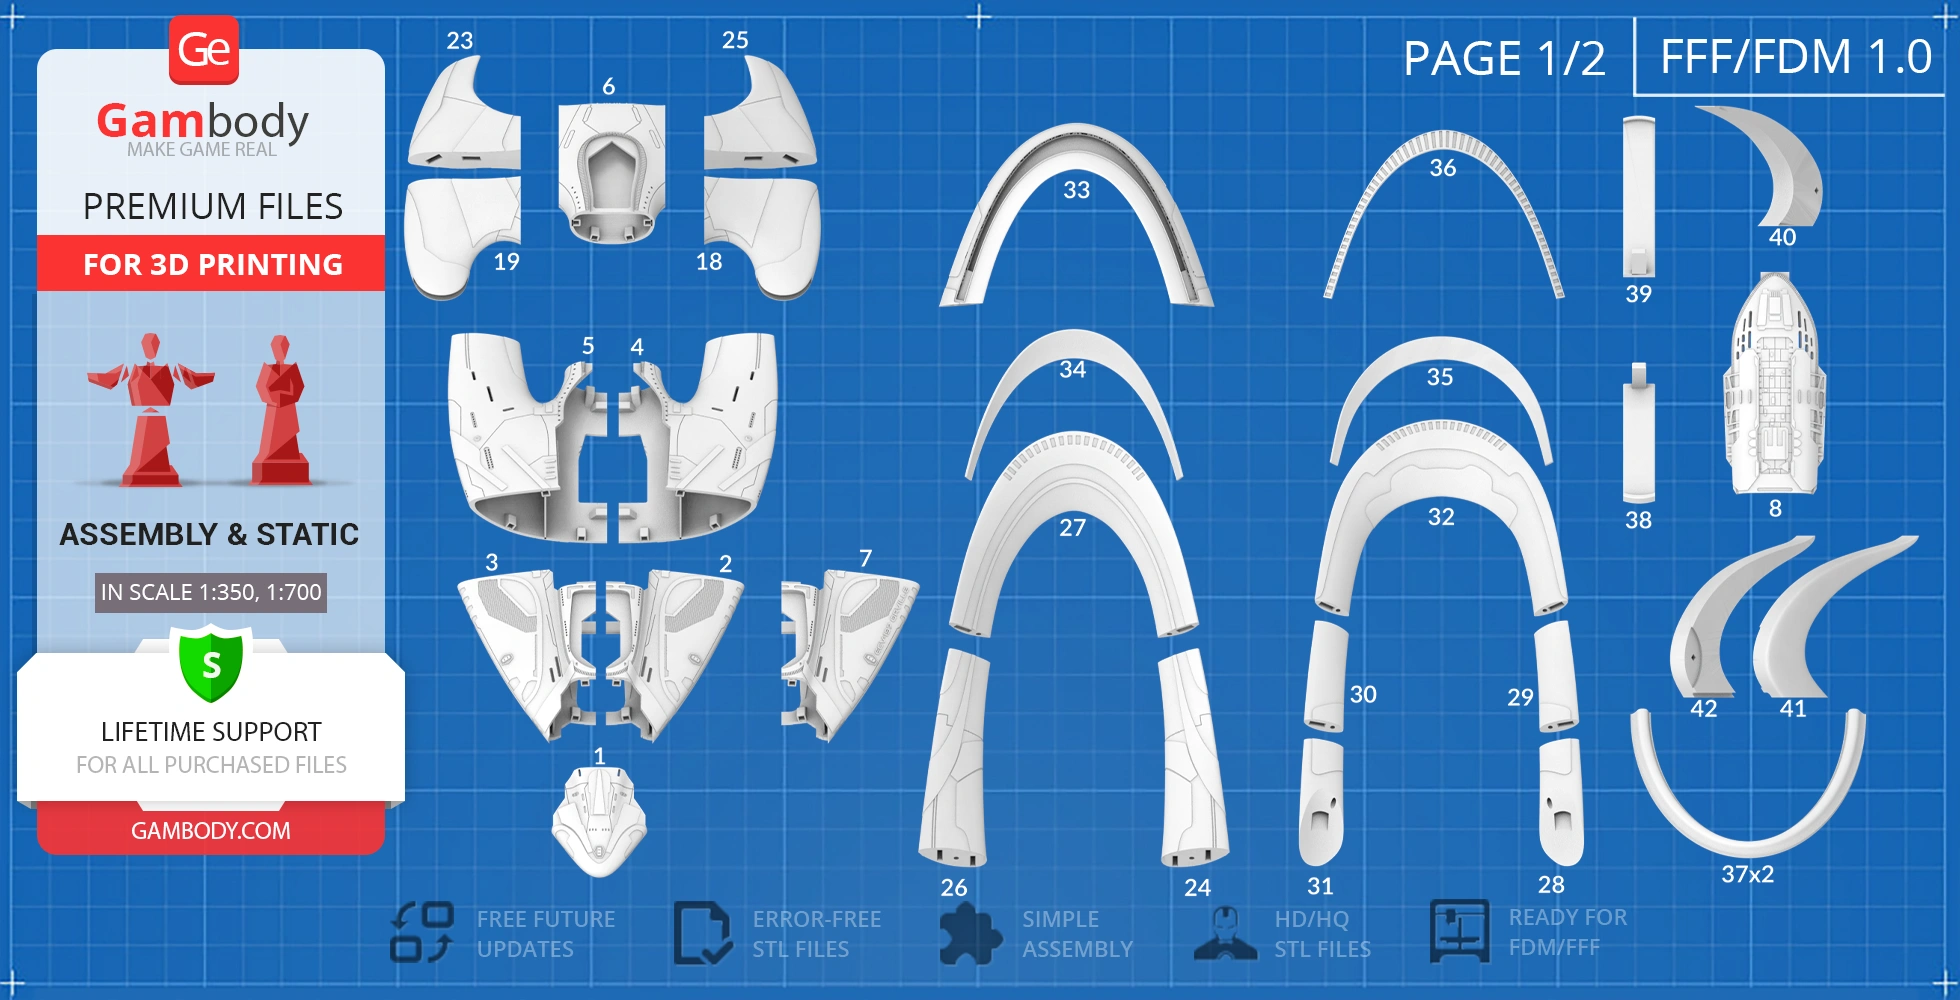
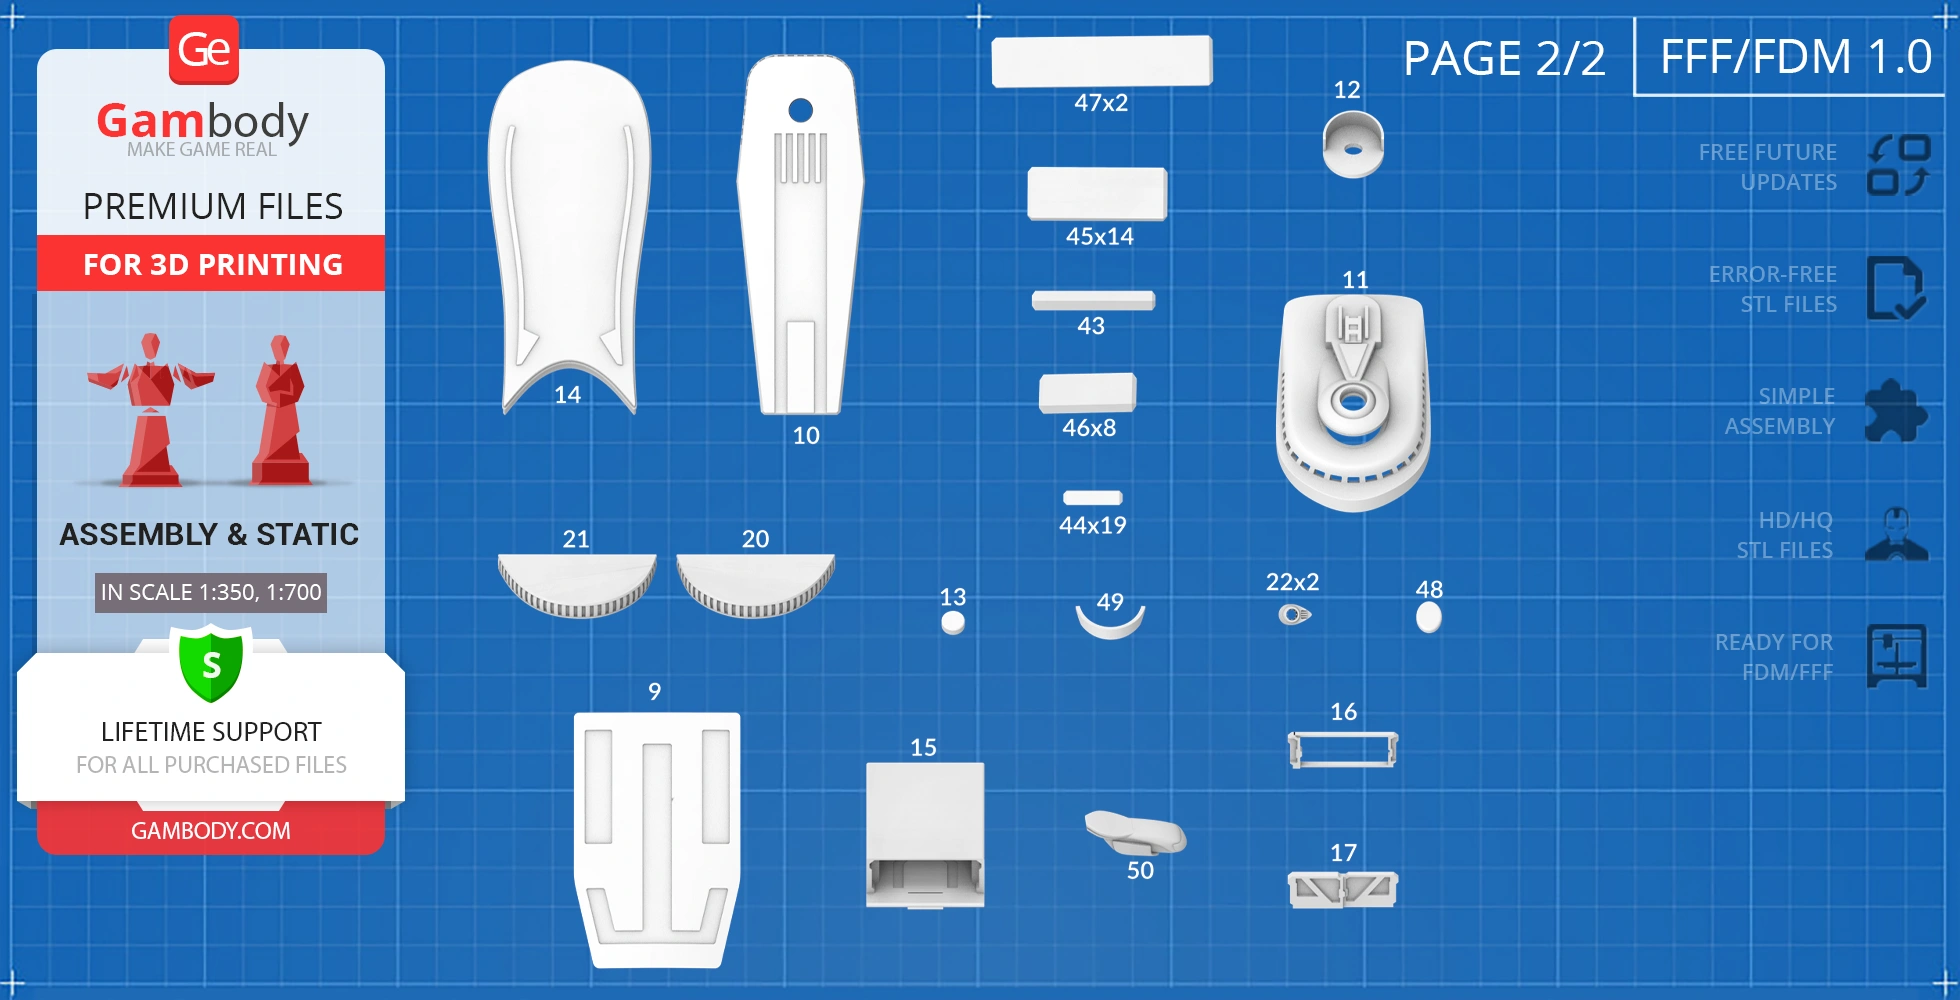
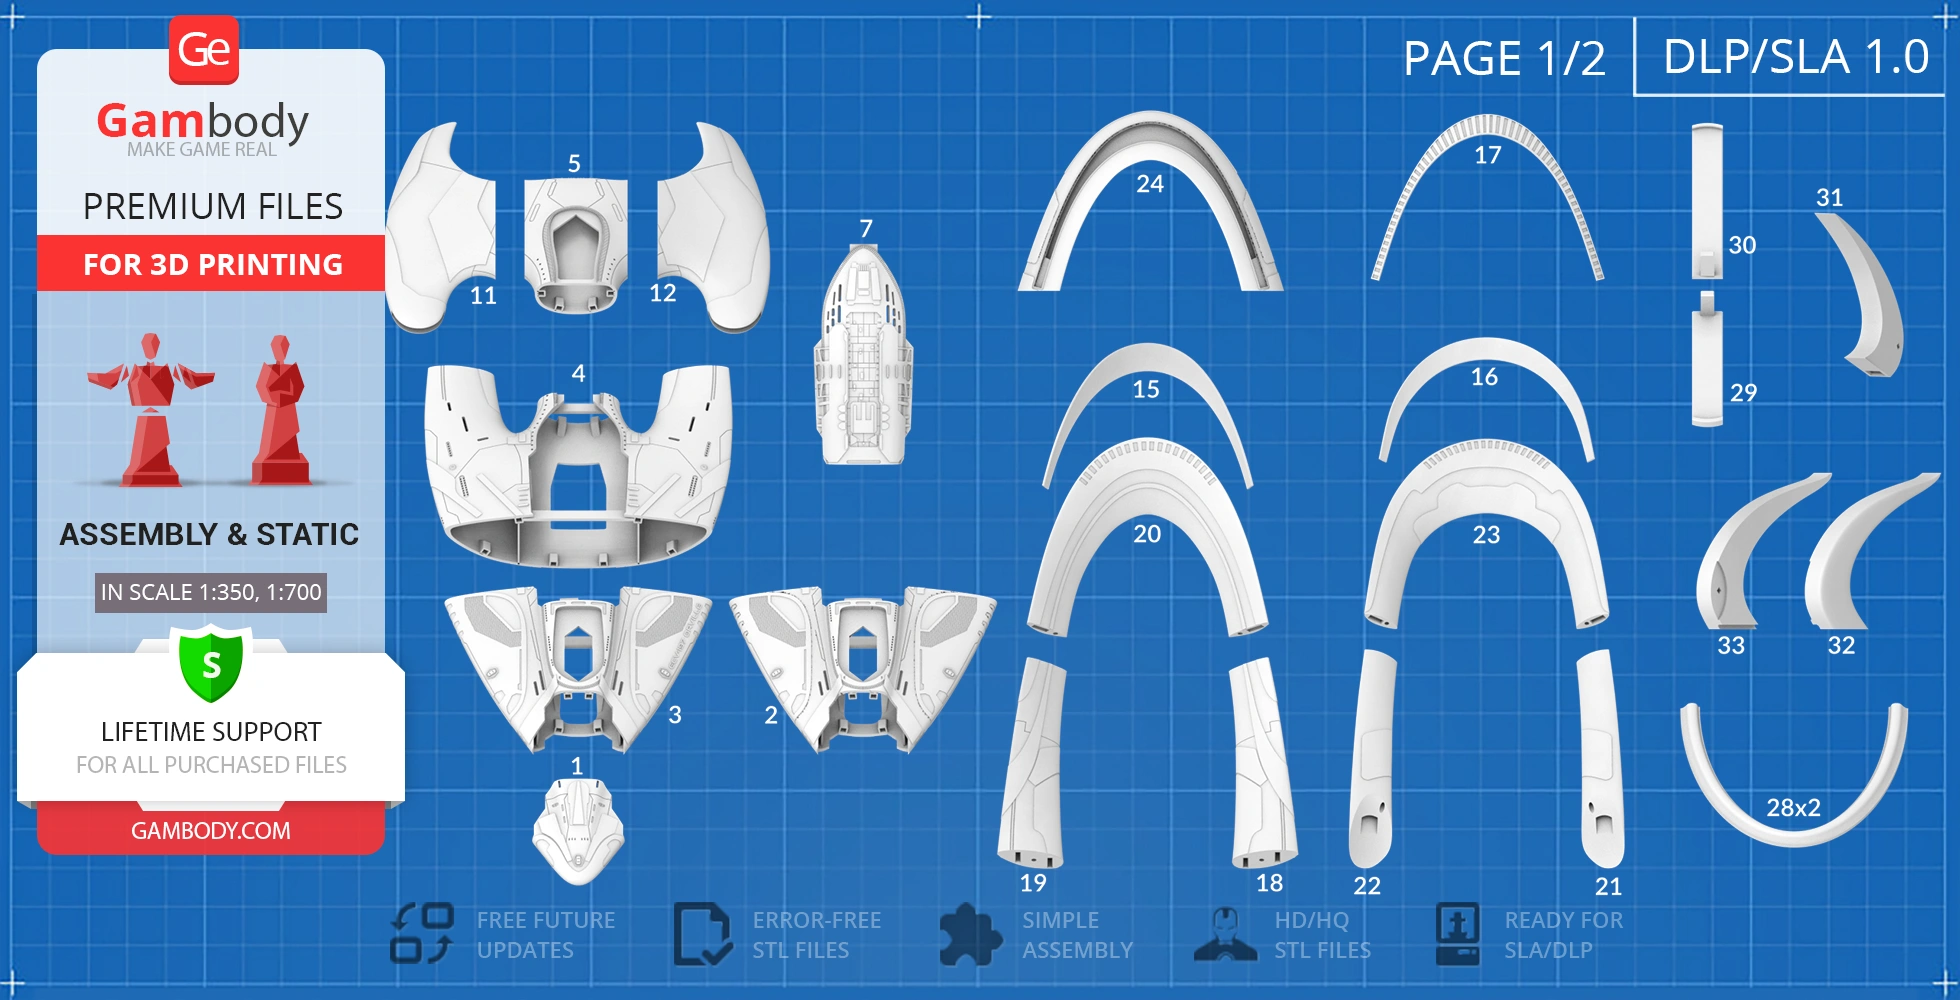
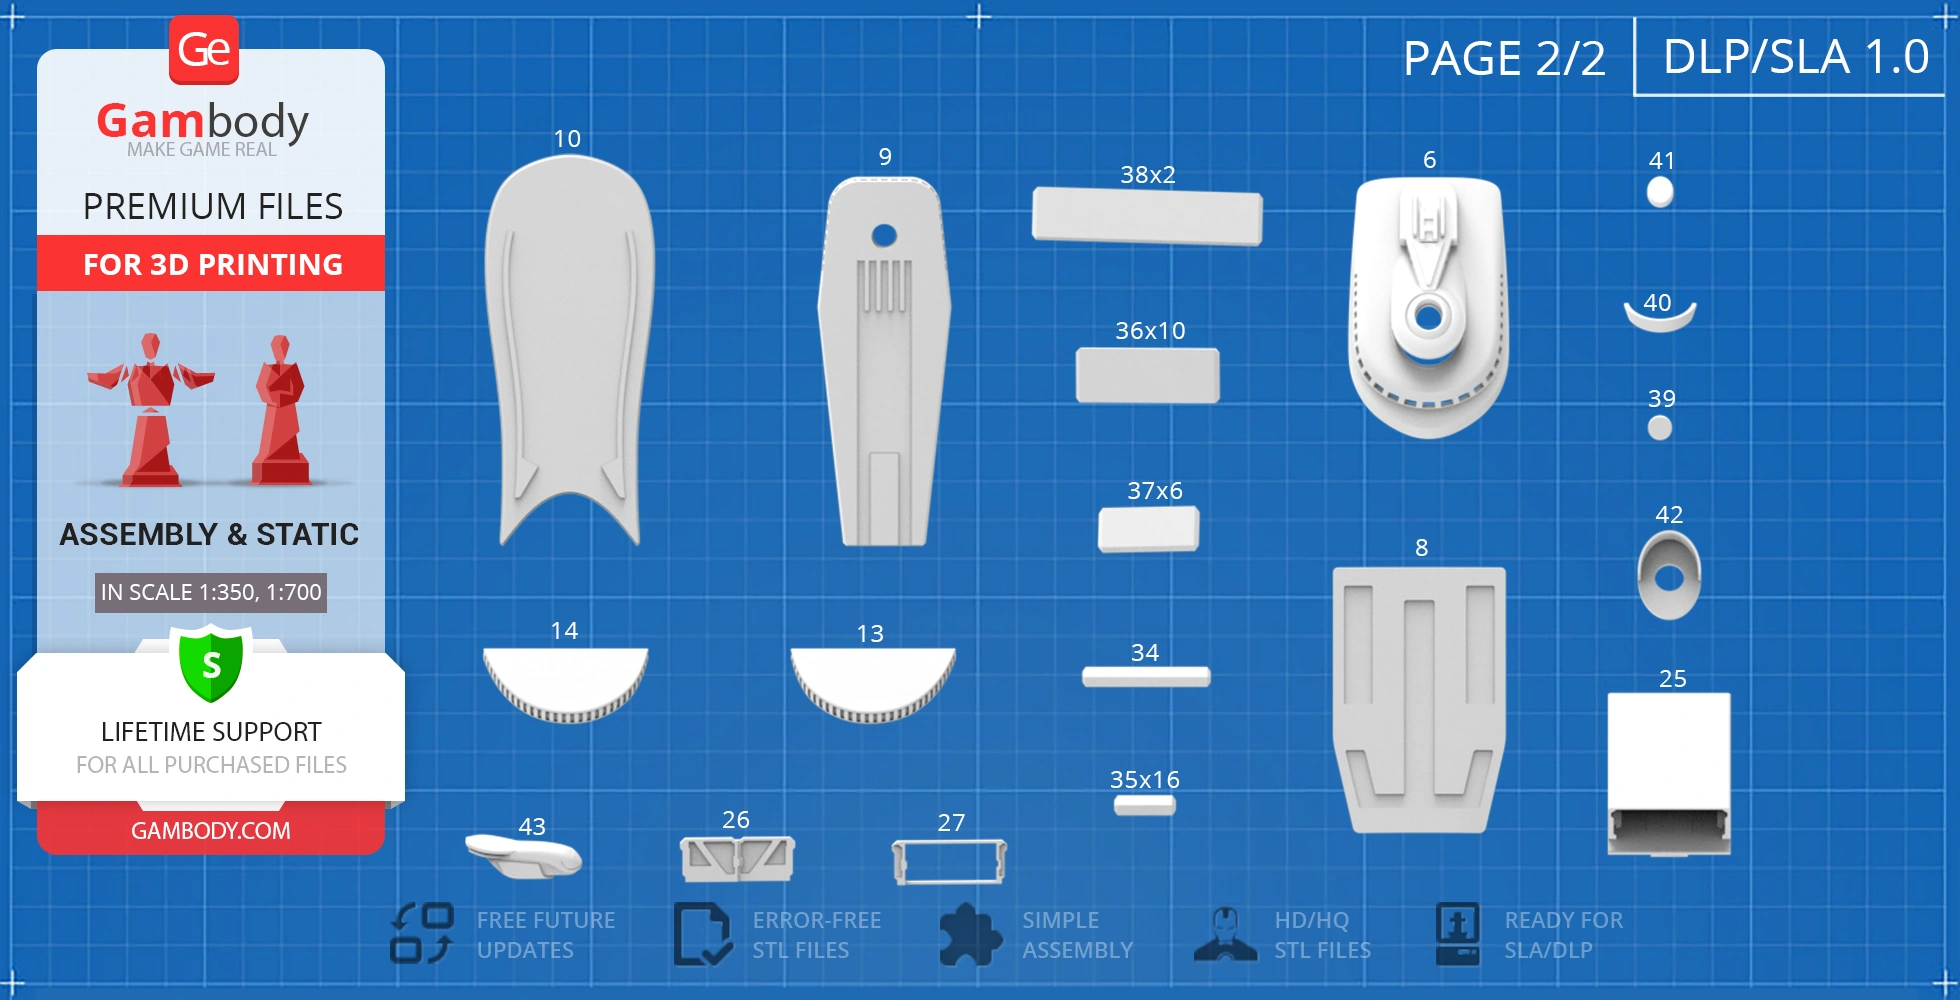
- STL files of high-poly USS Orville Model for 3D printing consist of 93 files;
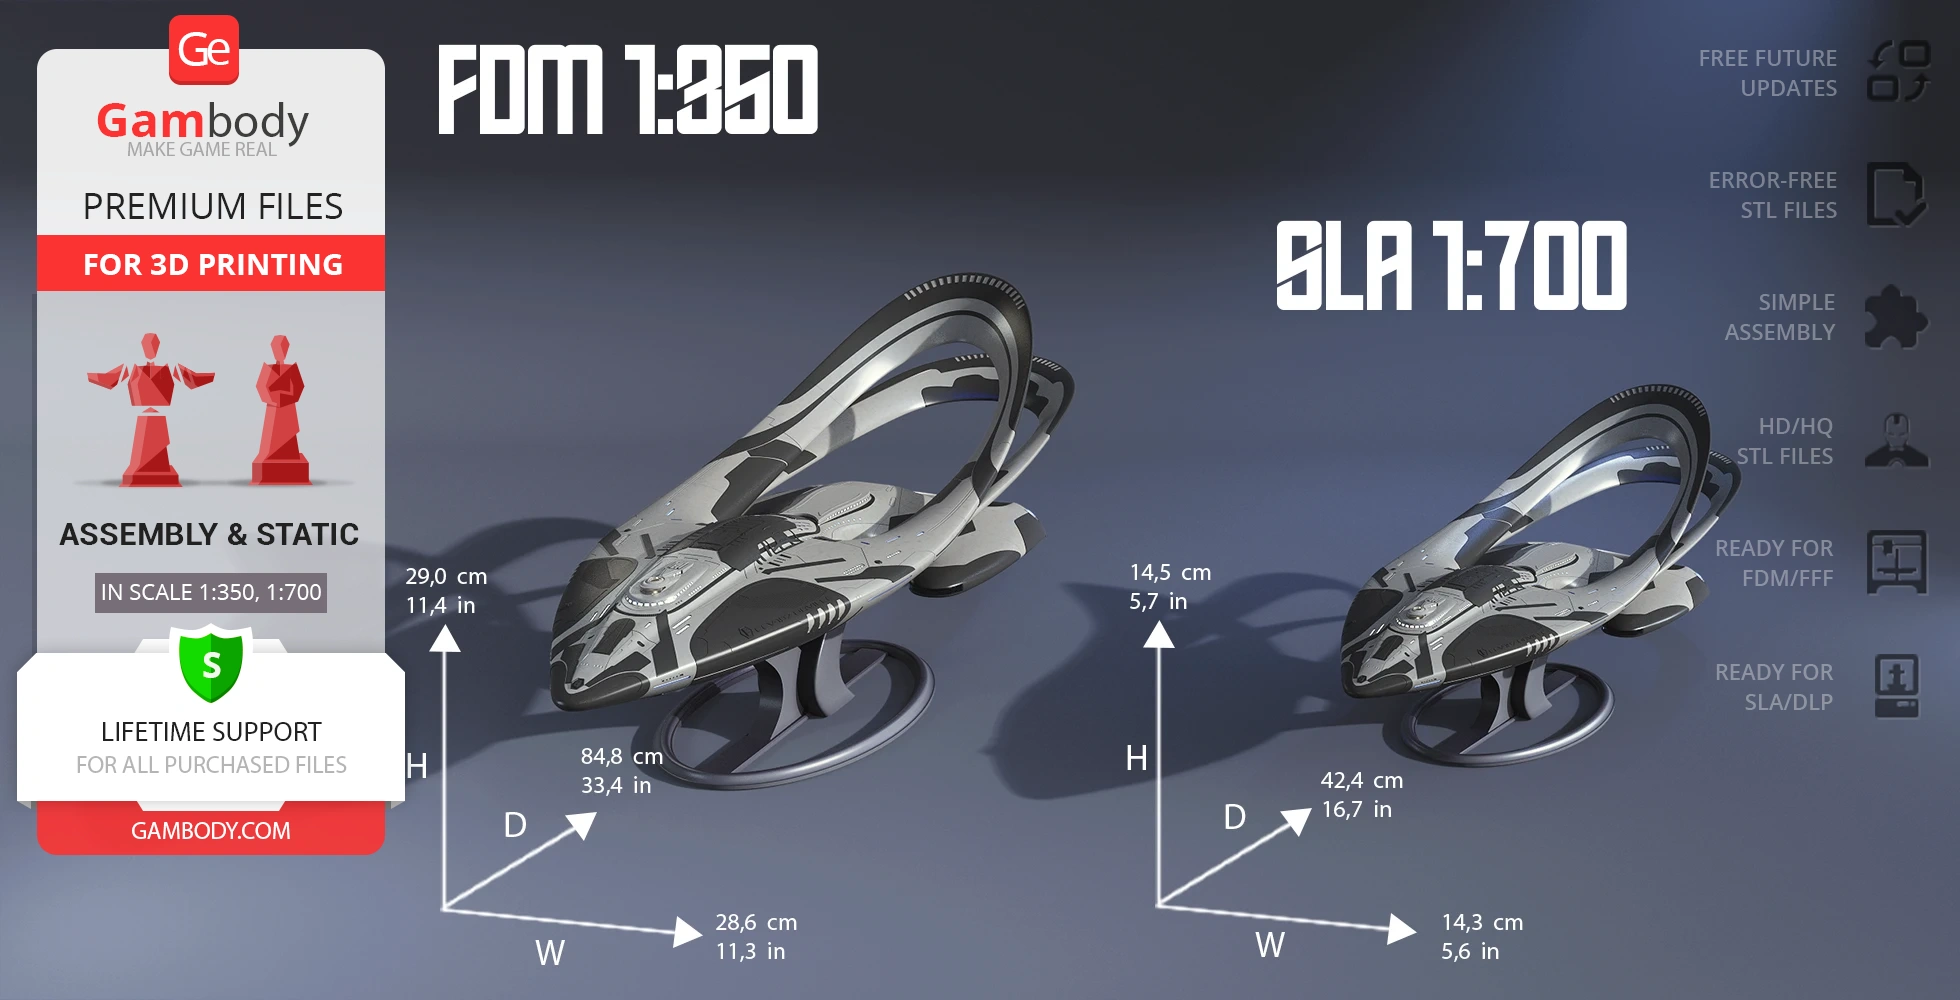
- Sizes for:
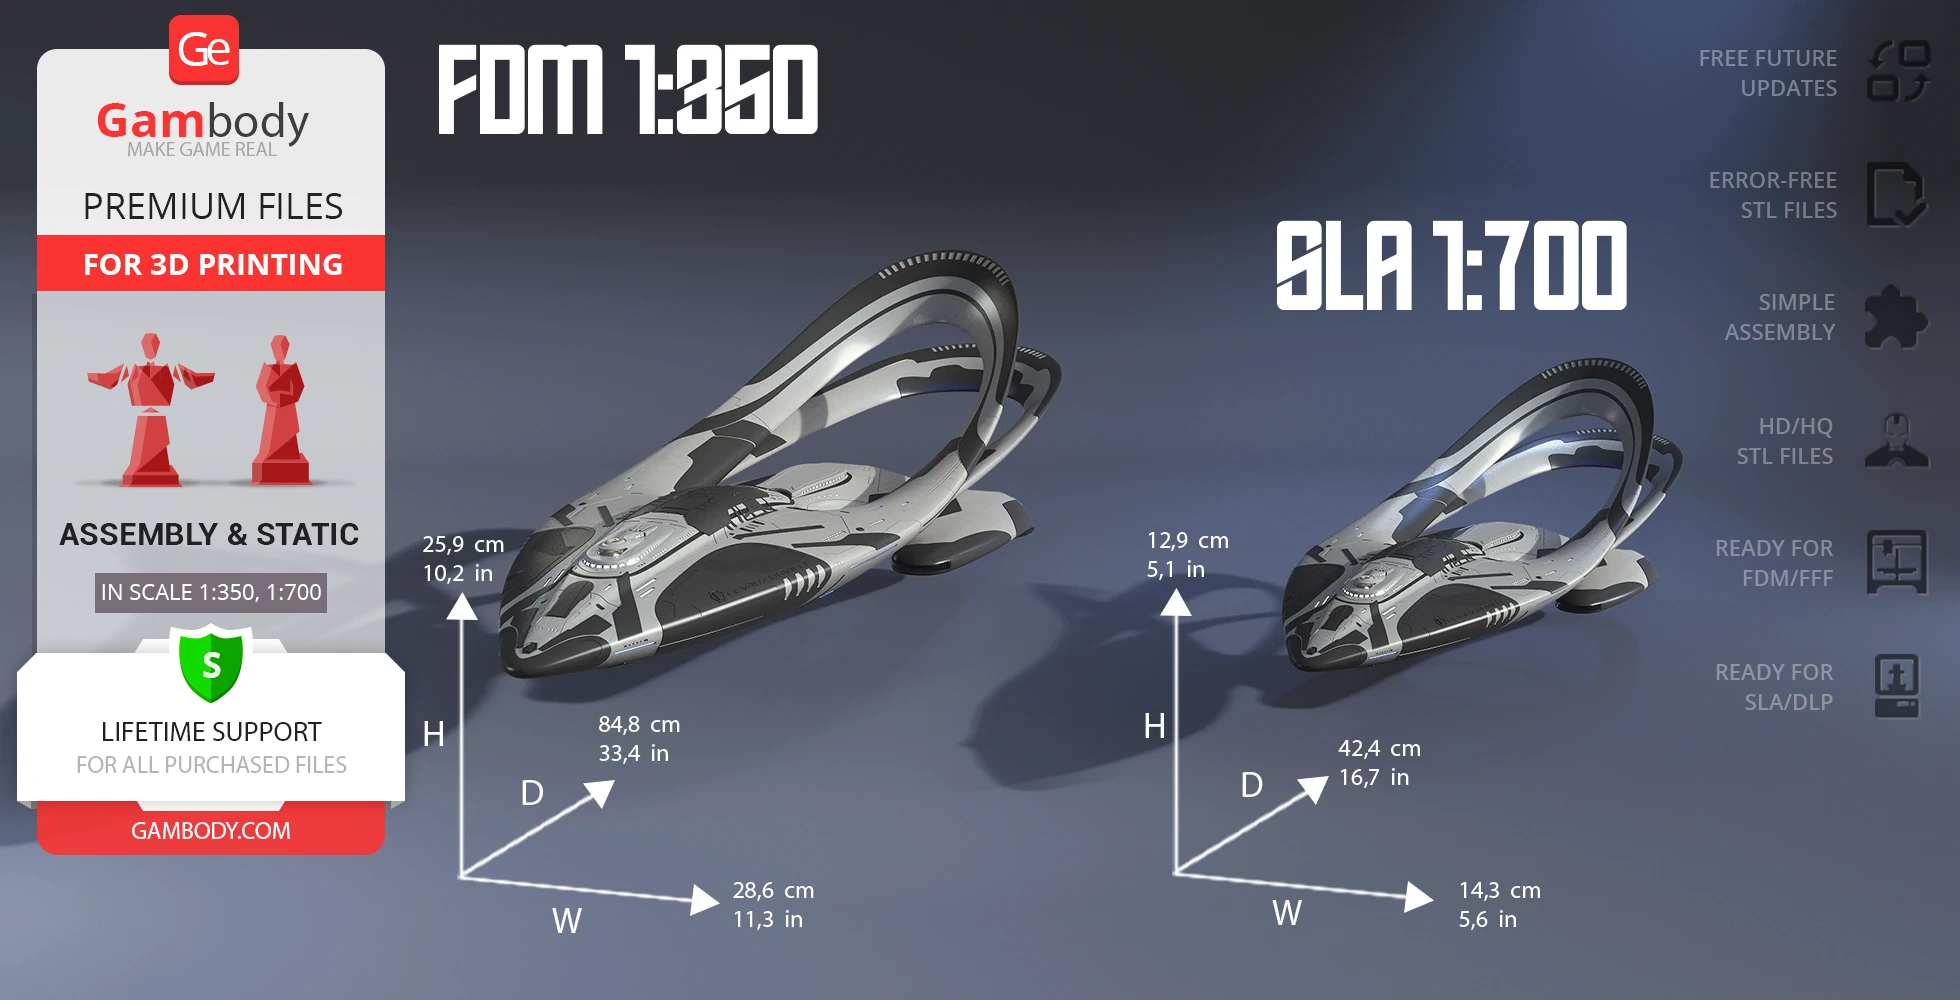
- FFF/FDM: 259 mm tall, 286 mm wide, 848 mm deep;
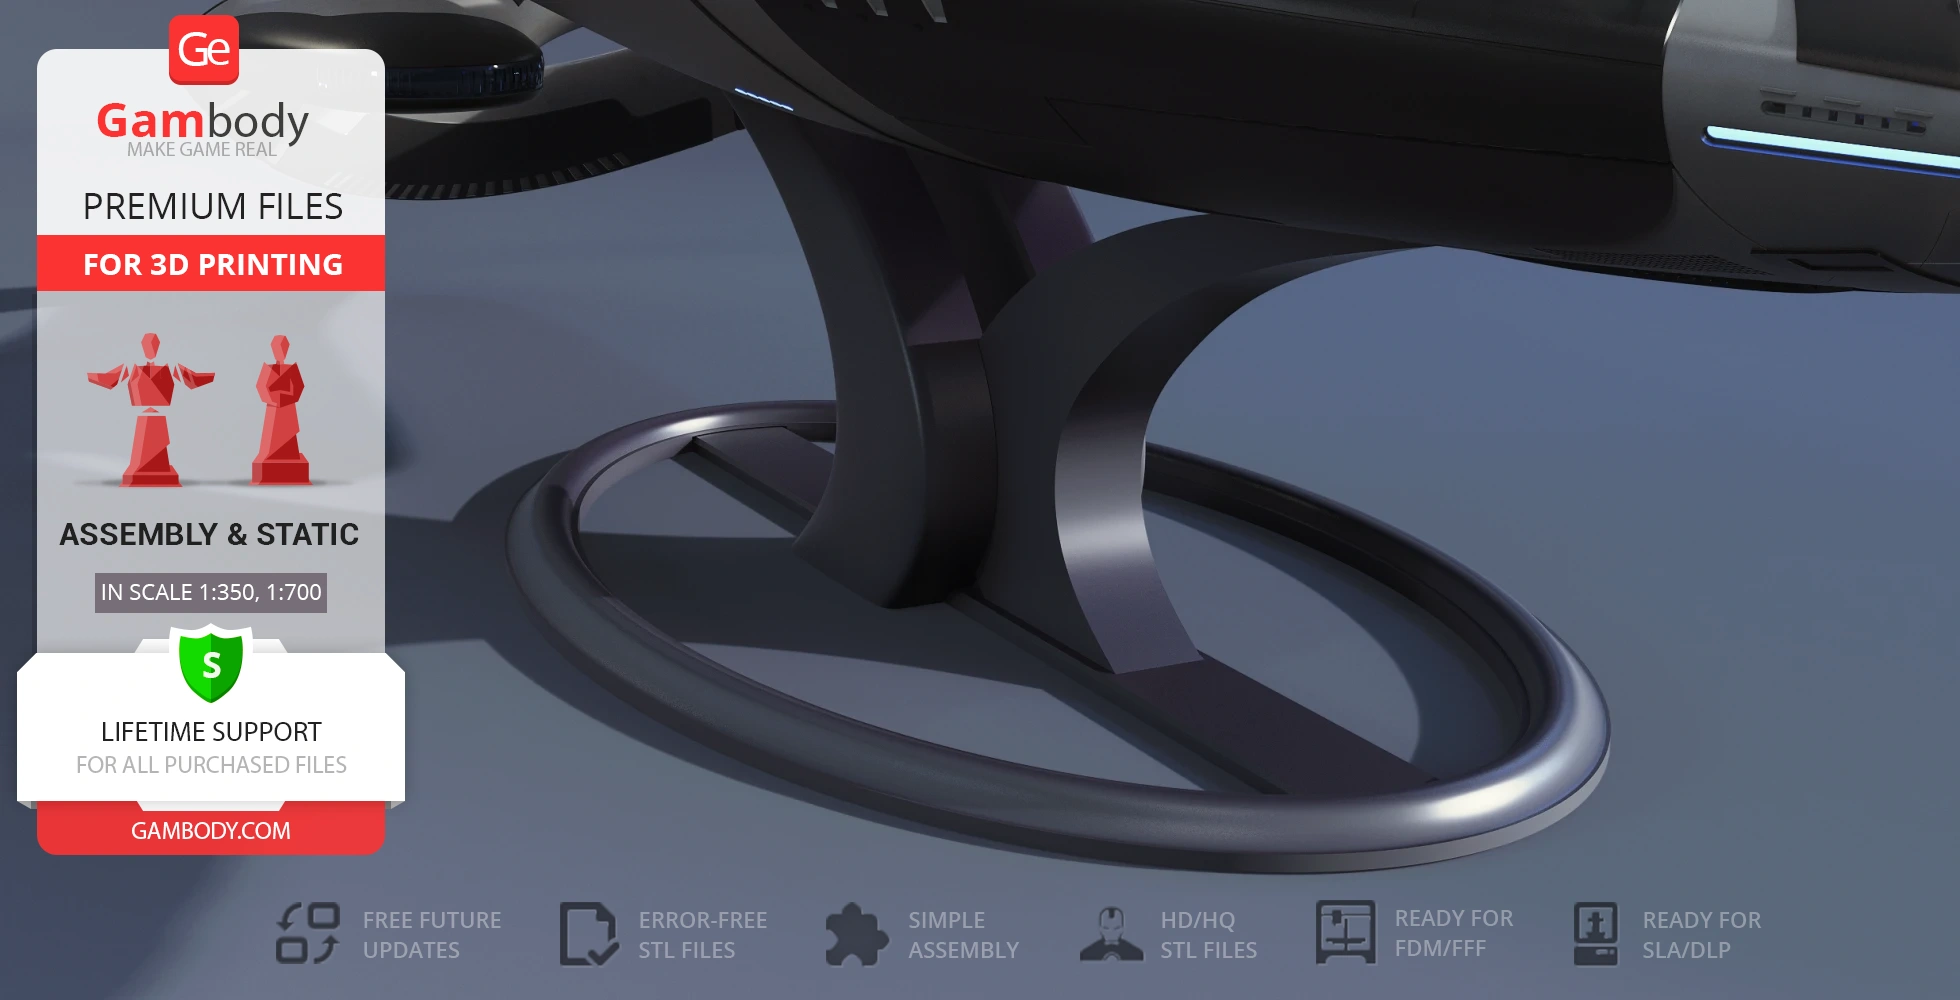
- FFF/FDM on a stand: 290 mm tall, 286 mm wide, 848 mm deep;
- DLP/SLA: 129 mm tall, 143 mm wide, 424 mm deep;
- DLP/SLA on a stand: 145 mm tall, 143 mm wide, 424 mm deep
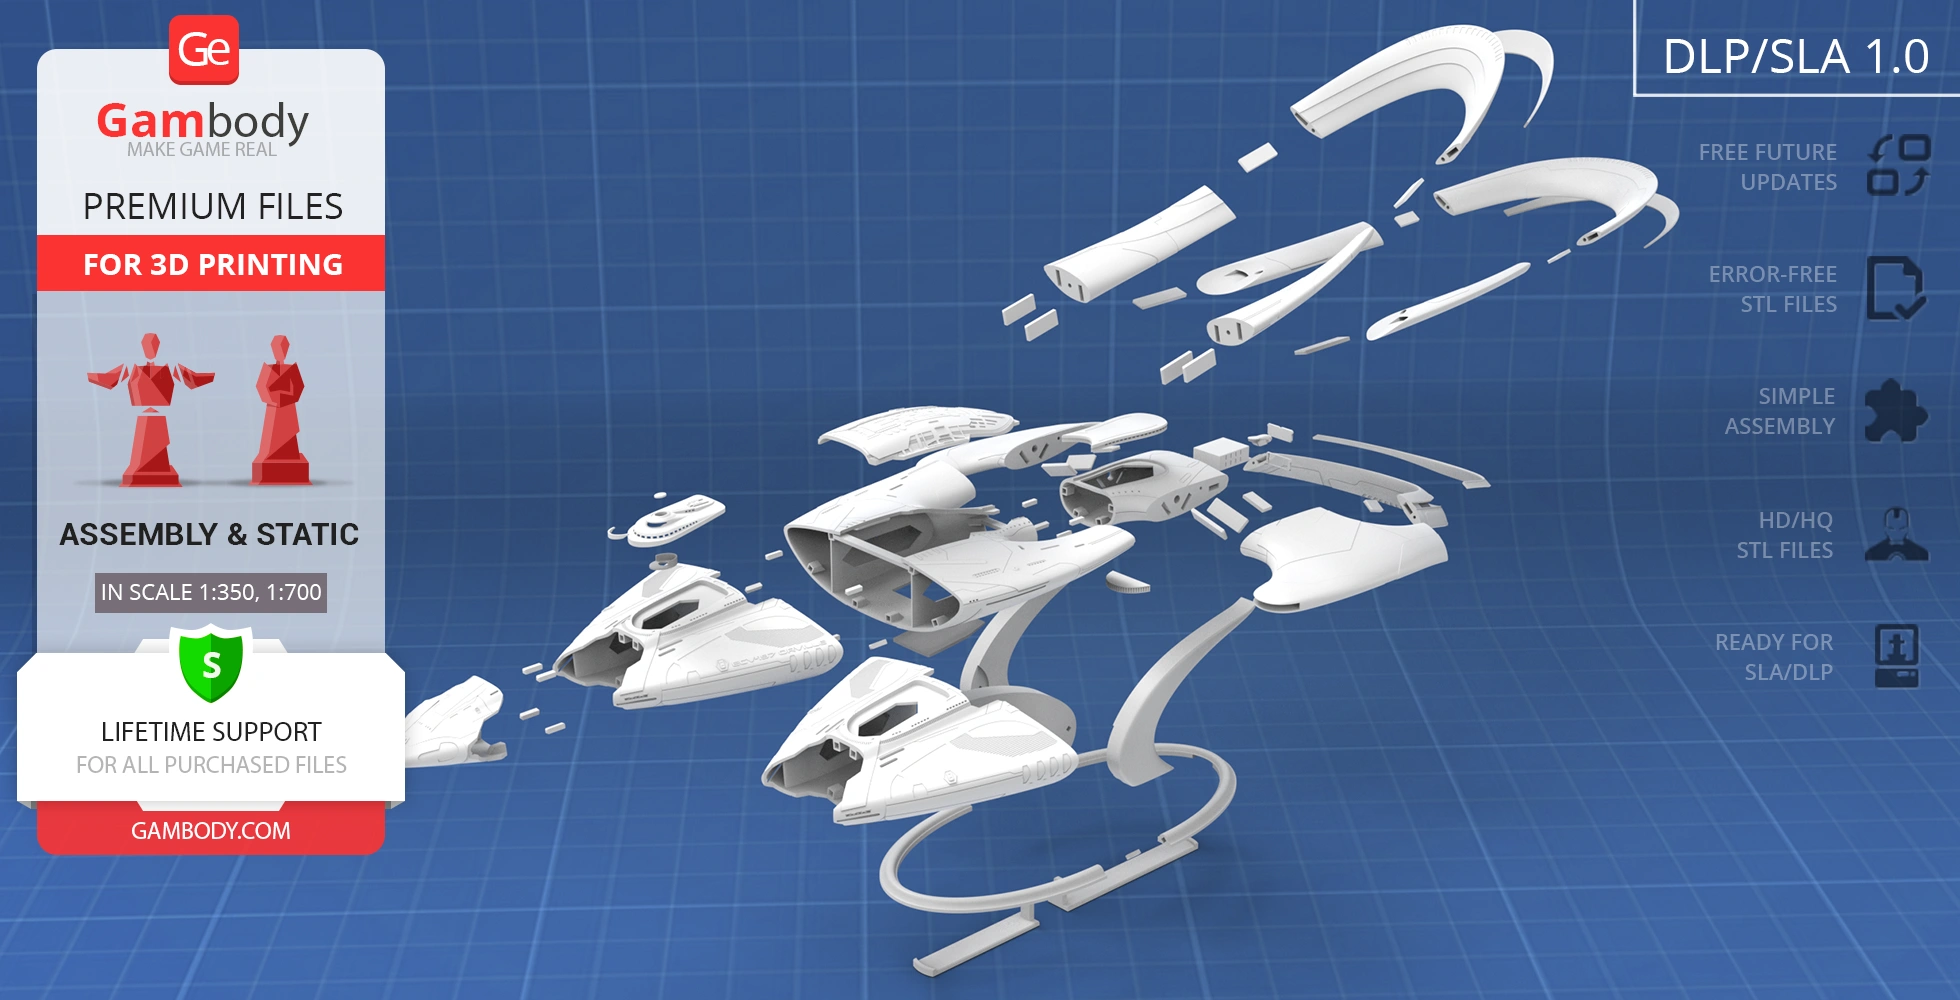
- Assembly Manual for FFF/FDM 1.0 and DLP/SLA 1.0 versions in PDF and video formats;
- Detailed settings that we provide as a recommendation for Cura, Simplify3D, Slic3r and PrusaSlicer for the best print;
- Full technical support from the Gambody Support Team.
Detailed information about this 3D printing model is available in the DESCRIPTION section.
Before printing, take a look at Printing Details for recommended settings and tips to achieve better results.
| File name | Size (mm | in) | Size(mb) | Printing Time / Filament | |||
|---|---|---|---|---|---|---|
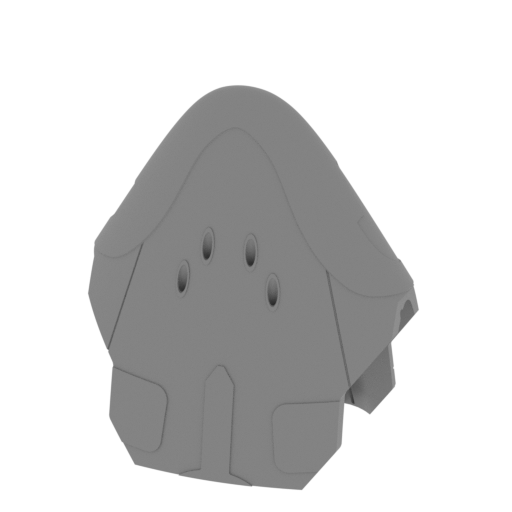 | _01_bodyPart_a_F_FDM (repaired).stl 80.5 x 57.3 x 94.3 mm | 3.17 x 2.26 x 3.71 in | Size: 80.5 x 57.3 x 94.3 mm | 3.17 x 2.26 x 3.71 in | File size: 11.18 mb | Printing Time / Filament: 1 h 29 min / 11 m Slicer: prusa v2.9.2 Printer: mk4s Non default settings Layer height: 0.2 Support material: 0 | ||
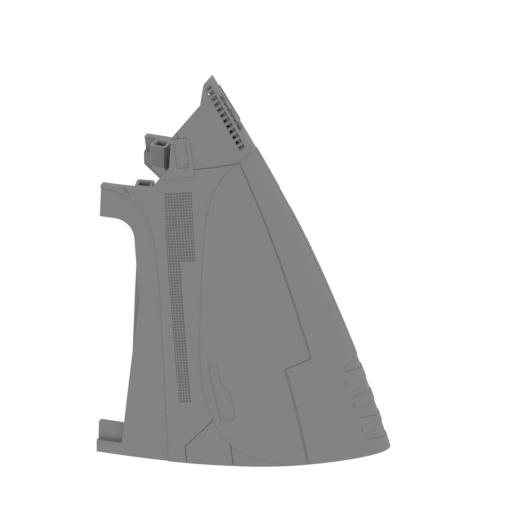 | _02_bodyPart_b_V2_L_FDM (repaired).stl 116.2 x 78.2 x 168.3 mm | 4.57 x 3.08 x 6.63 in | Size: 116.2 x 78.2 x 168.3 mm | 4.57 x 3.08 x 6.63 in | File size: 7.24 mb | Printing Time / Filament: 3 h 30 min / 26 m Slicer: prusa v2.9.2 Printer: mk4s Non default settings Layer height: 0.2 Support material: 0 | ||
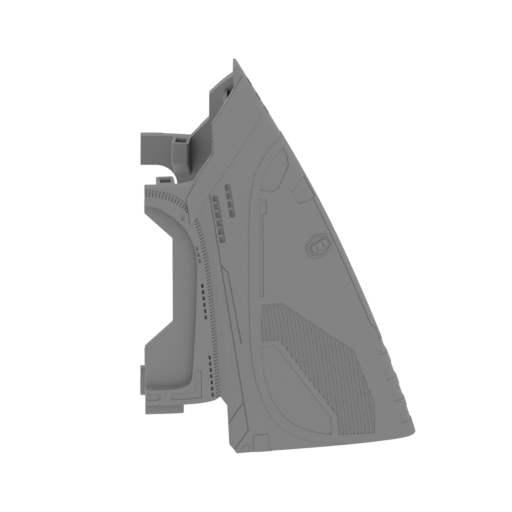 | _03_bodyPart_c_R_FDM (repaired).stl 125.6 x 90.8 x 168.3 mm | 4.94 x 3.57 x 6.63 in | Size: 125.6 x 90.8 x 168.3 mm | 4.94 x 3.57 x 6.63 in | File size: 7.22 mb | Printing Time / Filament: 3 h 29 min / 26 m Slicer: prusa v2.9.2 Printer: mk4s Non default settings Layer height: 0.2 Support material: 0 | ||
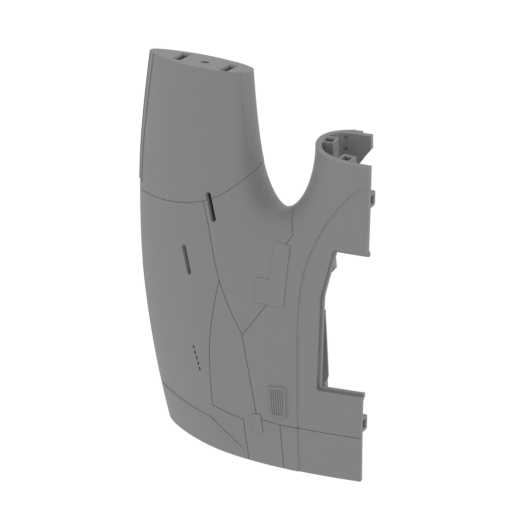 | _04_bodyPart_d_L_FDM (repaired).stl 133.8 x 67.9 x 192.3 mm | 5.27 x 2.67 x 7.57 in | Size: 133.8 x 67.9 x 192.3 mm | 5.27 x 2.67 x 7.57 in | File size: 5.51 mb | Printing Time / Filament: 4 h 32 min / 41 m Slicer: prusa v2.9.2 Printer: mk4s Non default settings Layer height: 0.2 Support material: 0 | ||
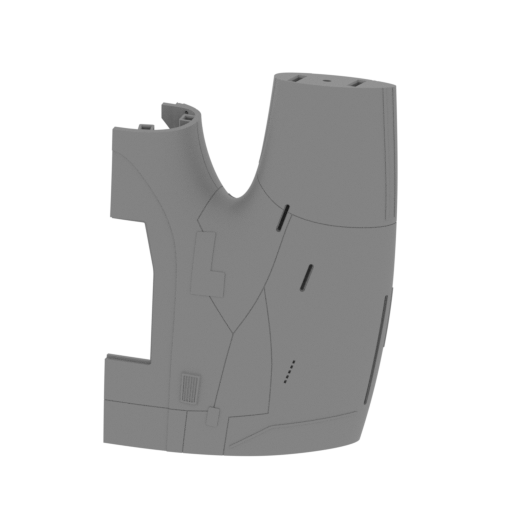 | _05_bodyPart_e_R_FDM (repaired).stl 133.7 x 67.9 x 192.3 mm | 5.26 x 2.67 x 7.57 in | Size: 133.7 x 67.9 x 192.3 mm | 5.26 x 2.67 x 7.57 in | File size: 5.49 mb | Printing Time / Filament: 4 h 32 min / 41 m Slicer: prusa v2.9.2 Printer: mk4s Non default settings Layer height: 0.2 Support material: 0 | ||
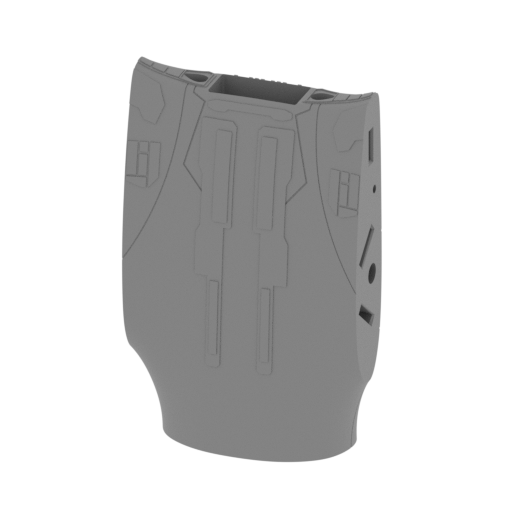 | _06_bodyPart_f_Mid_FDM (repaired).stl 89.6 x 41.1 x 141.5 mm | 3.53 x 1.62 x 5.57 in | Size: 89.6 x 41.1 x 141.5 mm | 3.53 x 1.62 x 5.57 in | File size: 7.09 mb | Printing Time / Filament: 3 h 2 min / 25 m Slicer: prusa v2.9.2 Printer: mk4s Non default settings Layer height: 0.2 Support material: 0 | ||
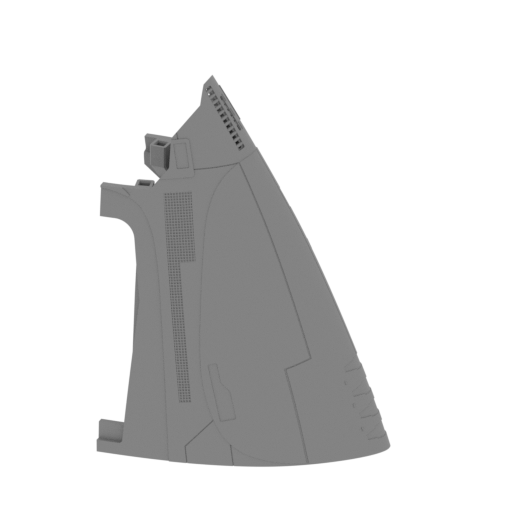 | _07_bodyPart_b_V1_L_FDM (repaired).stl 116.2 x 78.2 x 168.3 mm | 4.57 x 3.08 x 6.63 in | Size: 116.2 x 78.2 x 168.3 mm | 4.57 x 3.08 x 6.63 in | File size: 7.67 mb | Printing Time / Filament: 3 h 31 min / 26 m Slicer: prusa v2.9.2 Printer: mk4s Non default settings Layer height: 0.2 Support material: 0 | ||
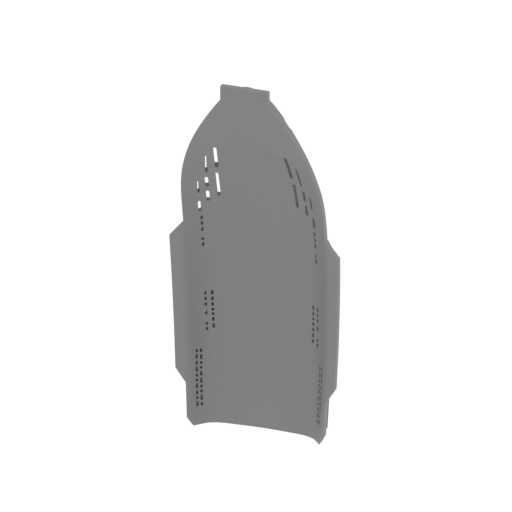 | _08_bodyCap_a_T_FDM (repaired).stl 86.8 x 33.8 x 190.4 mm | 3.42 x 1.33 x 7.5 in | Size: 86.8 x 33.8 x 190.4 mm | 3.42 x 1.33 x 7.5 in | File size: 7.84 mb | Printing Time / Filament: 2 h 24 min / 15 m Slicer: prusa v2.9.2 Printer: mk4s Non default settings Layer height: 0.2 Support material: 0 | ||
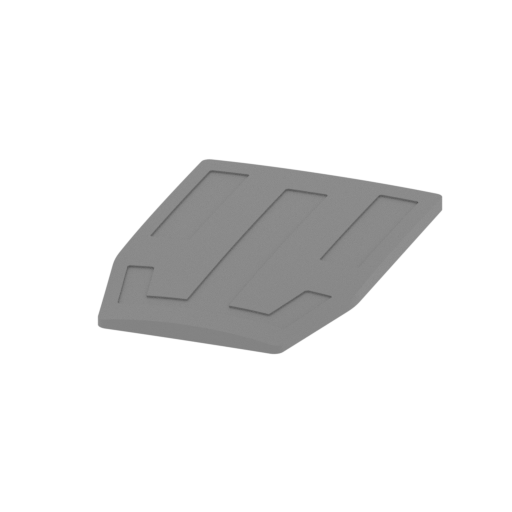 | _09_bodyCap_b_Bot_FDM (repaired).stl 47.6 x 73.1 x 3.7 mm | 1.87 x 2.88 x 0.15 in | Size: 47.6 x 73.1 x 3.7 mm | 1.87 x 2.88 x 0.15 in | File size: 0.30 mb | Printing Time / Filament: 19 min / 3 m Slicer: prusa v2.9.2 Printer: mk4s Non default settings Layer height: 0.2 Support material: 0 | ||
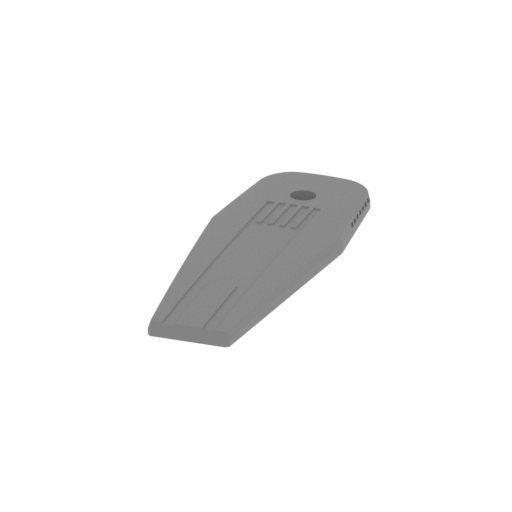 | _10_bodyCap_c_Bot_FDM (repaired).stl 36.8 x 103 x 5.5 mm | 1.45 x 4.06 x 0.22 in | Size: 36.8 x 103 x 5.5 mm | 1.45 x 4.06 x 0.22 in | File size: 0.50 mb | Printing Time / Filament: 20 min / 3 m Slicer: prusa v2.9.2 Printer: mk4s Non default settings Layer height: 0.2 Support material: 0 | ||
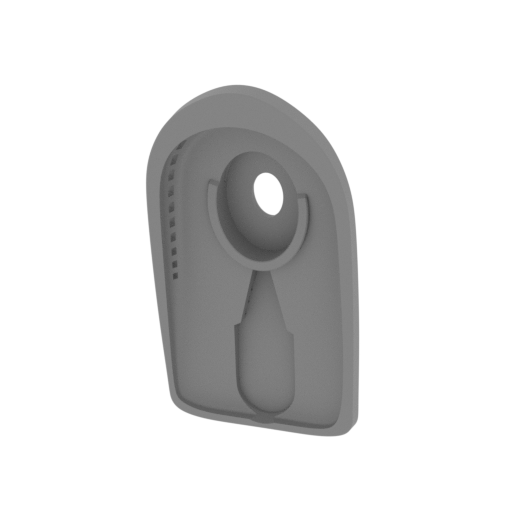 | _11_cockpitCap_FDM (repaired).stl 44.2 x 18.9 x 80.2 mm | 1.74 x 0.74 x 3.16 in | Size: 44.2 x 18.9 x 80.2 mm | 1.74 x 0.74 x 3.16 in | File size: 4.47 mb | Printing Time / Filament: 47 min / 3 m Slicer: prusa v2.9.2 Printer: mk4s Non default settings Layer height: 0.2 Support material: 0 | ||
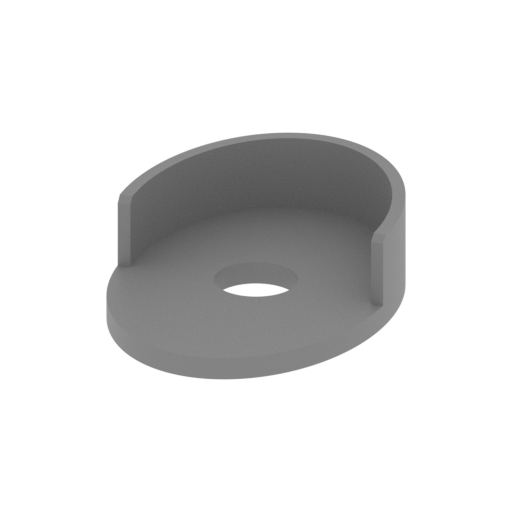 | _12_cockkpiPart_FDM (repaired).stl 17.5 x 24.3 x 6.1 mm | 0.69 x 0.96 x 0.24 in | Size: 17.5 x 24.3 x 6.1 mm | 0.69 x 0.96 x 0.24 in | File size: 0.14 mb | Printing Time / Filament: 3 min / <1 m Slicer: prusa v2.9.2 Printer: mk4s Non default settings Layer height: 0.2 Support material: 0 | ||
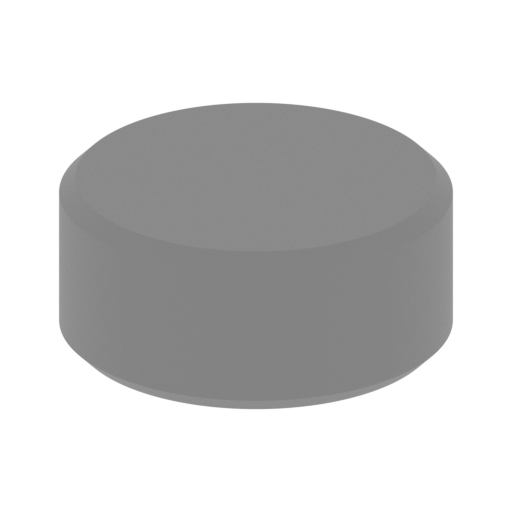 | _13_bodyGalss_Bot_FDM (repaired).stl 6.7 x 6.7 x 3 mm | 0.26 x 0.26 x 0.12 in | Size: 6.7 x 6.7 x 3 mm | 0.26 x 0.26 x 0.12 in | File size: 0.06 mb | Printing Time / Filament: 1 min / <1 m Slicer: prusa v2.9.2 Printer: mk4s Non default settings Layer height: 0.2 Support material: 0 | ||
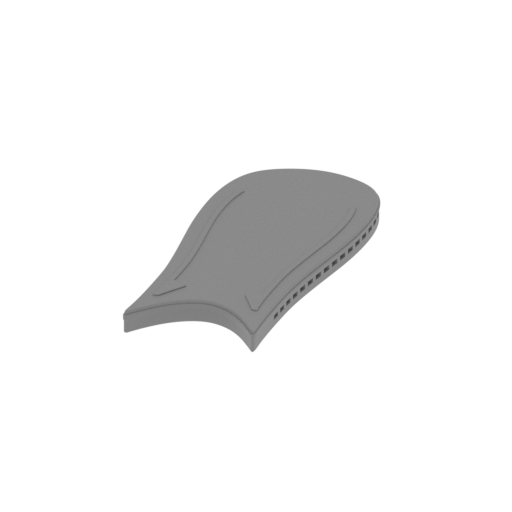 | _14_bodyMidCap_FDM (repaired).stl 46.8 x 107.6 x 7 mm | 1.84 x 4.24 x 0.28 in | Size: 46.8 x 107.6 x 7 mm | 1.84 x 4.24 x 0.28 in | File size: 2.20 mb | Printing Time / Filament: 19 min / 3 m Slicer: prusa v2.9.2 Printer: mk4s Non default settings Layer height: 0.2 Support material: 0 | ||
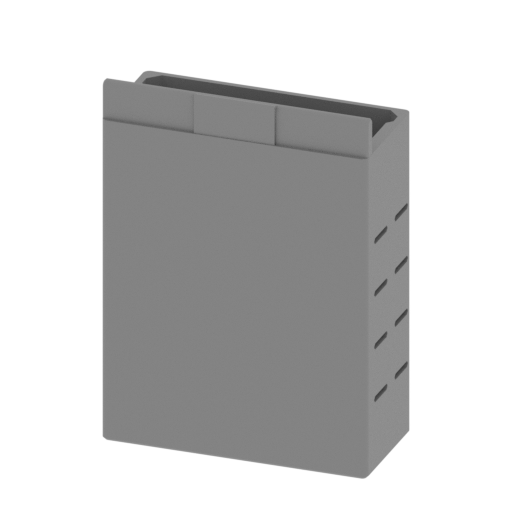 | _15_tailHangar_FDM (repaired).stl 33.8 x 15.4 x 47 mm | 1.33 x 0.61 x 1.85 in | Size: 33.8 x 15.4 x 47 mm | 1.33 x 0.61 x 1.85 in | File size: 0.46 mb | Printing Time / Filament: 31 min / 3 m Slicer: prusa v2.9.2 Printer: mk4s Non default settings Layer height: 0.2 Support material: 0 | ||
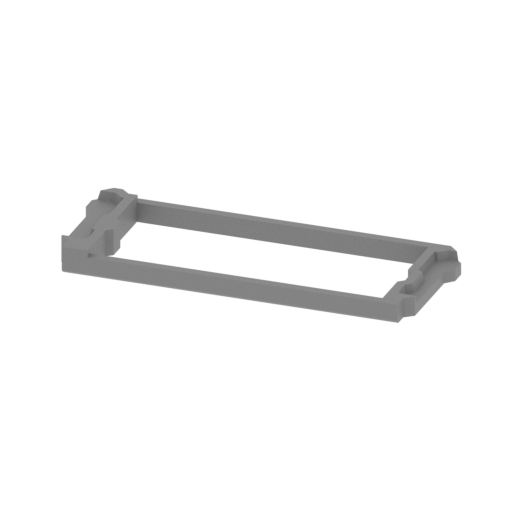 | _16_hangarDoorOpen_FDM (repaired).stl 31.7 x 12.3 x 2.3 mm | 1.25 x 0.48 x 0.09 in | Size: 31.7 x 12.3 x 2.3 mm | 1.25 x 0.48 x 0.09 in | File size: 0.04 mb | Printing Time / Filament: 1 min / <1 m Slicer: prusa v2.9.2 Printer: mk4s Non default settings Layer height: 0.2 Support material: 0 | ||
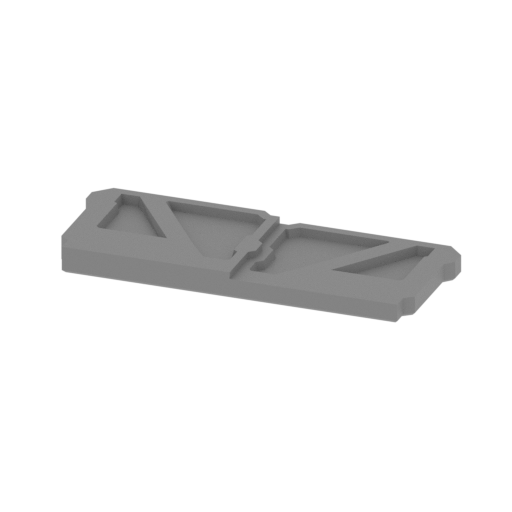 | _17_hangarDoorClose_FDM (repaired).stl 31.7 x 12.3 x 2.3 mm | 1.25 x 0.48 x 0.09 in | Size: 31.7 x 12.3 x 2.3 mm | 1.25 x 0.48 x 0.09 in | File size: 0.03 mb | Printing Time / Filament: 3 min / <1 m Slicer: prusa v2.9.2 Printer: mk4s Non default settings Layer height: 0.2 Support material: 0 | ||
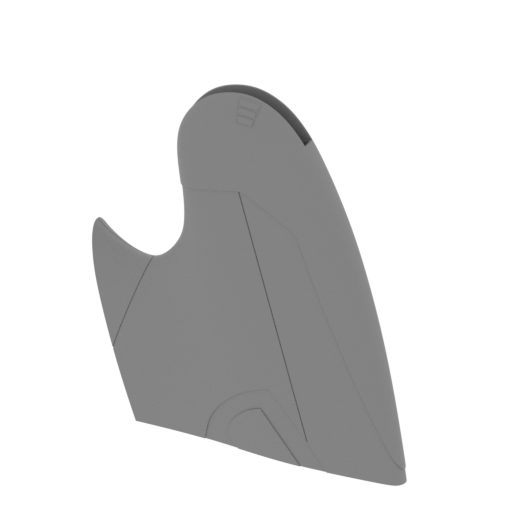 | _18_engineFrontPart_a_L_FDM (repaired).stl 116.3 x 43.7 x 127 mm | 4.58 x 1.72 x 5 in | Size: 116.3 x 43.7 x 127 mm | 4.58 x 1.72 x 5 in | File size: 4.78 mb | Printing Time / Filament: 2 h 9 min / 20 m Slicer: prusa v2.9.2 Printer: mk4s Non default settings Layer height: 0.2 Support material: 0 | ||
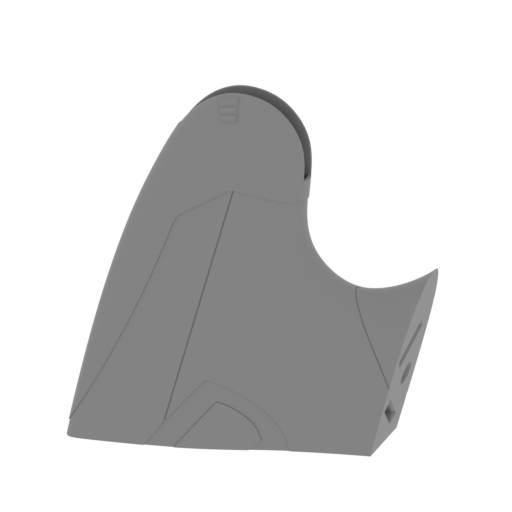 | _19_engineFrontPart_b_R_FDM (repaired).stl 116.2 x 43.6 x 126.9 mm | 4.57 x 1.72 x 5 in | Size: 116.2 x 43.6 x 126.9 mm | 4.57 x 1.72 x 5 in | File size: 4.78 mb | Printing Time / Filament: 2 h 8 min / 20 m Slicer: prusa v2.9.2 Printer: mk4s Non default settings Layer height: 0.2 Support material: 0 | ||
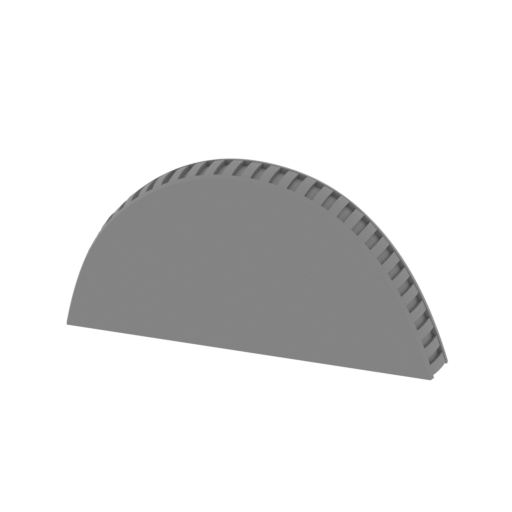 | _20_engineGlassFront_a_L_FDM (repaired).stl 45.5 x 5.9 x 22 mm | 1.79 x 0.23 x 0.87 in | Size: 45.5 x 5.9 x 22 mm | 1.79 x 0.23 x 0.87 in | File size: 0.91 mb | Printing Time / Filament: 13 min / 1 m Slicer: prusa v2.9.2 Printer: mk4s Non default settings Layer height: 0.2 Support material: 0 | ||
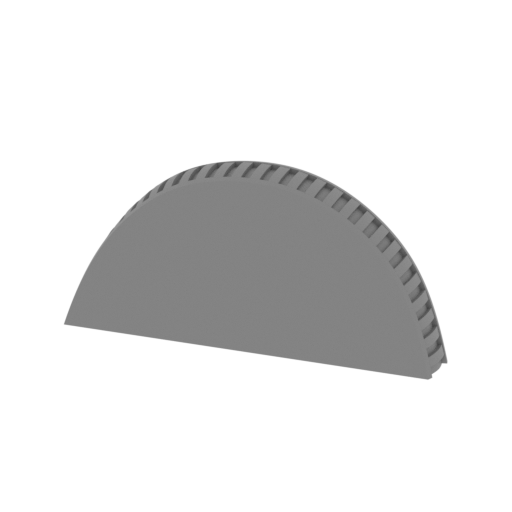 | _21_engineGlassFront_b_R_FDM (repaired).stl 45.5 x 5.9 x 22 mm | 1.79 x 0.23 x 0.87 in | Size: 45.5 x 5.9 x 22 mm | 1.79 x 0.23 x 0.87 in | File size: 0.91 mb | Printing Time / Filament: 13 min / 1 m Slicer: prusa v2.9.2 Printer: mk4s Non default settings Layer height: 0.2 Support material: 0 | ||
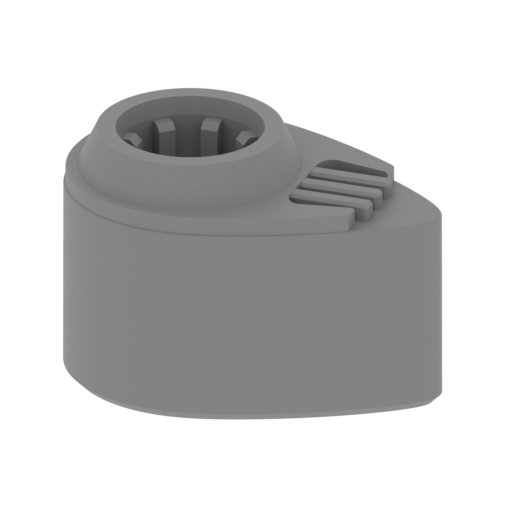 | _22_tailTorpedoLauncher_X2_FDM (repaired).stl 8.9 x 6 x 5.9 mm | 0.35 x 0.24 x 0.23 in | Size: 8.9 x 6 x 5.9 mm | 0.35 x 0.24 x 0.23 in | File size: 0.25 mb | Printing Time / Filament: 2 min / <1 m Slicer: prusa v2.9.2 Printer: mk4s Non default settings Layer height: 0.2 Support material: 0 | ||
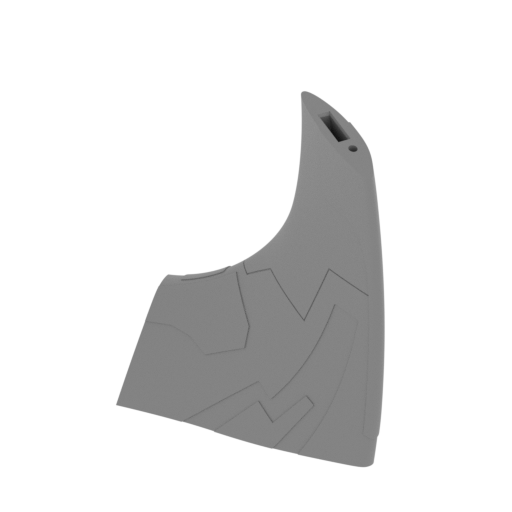 | _23_tailPart_j_R_FDM (repaired).stl 106.3 x 62.3 x 133.5 mm | 4.19 x 2.45 x 5.26 in | Size: 106.3 x 62.3 x 133.5 mm | 4.19 x 2.45 x 5.26 in | File size: 3.11 mb | Printing Time / Filament: 1 h 55 min / 16 m Slicer: prusa v2.9.2 Printer: mk4s Non default settings Layer height: 0.2 Support material: 0 | ||
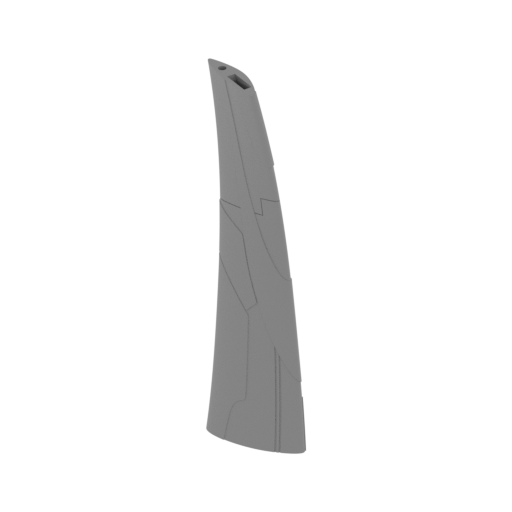 | _24_tailPart_a_L_FDM (repaired).stl 60.6 x 33.5 x 199.9 mm | 2.39 x 1.32 x 7.87 in | Size: 60.6 x 33.5 x 199.9 mm | 2.39 x 1.32 x 7.87 in | File size: 3.18 mb | Printing Time / Filament: 2 h 21 min / 18 m Slicer: prusa v2.9.2 Printer: mk4s Non default settings Layer height: 0.2 Support material: 0 | ||
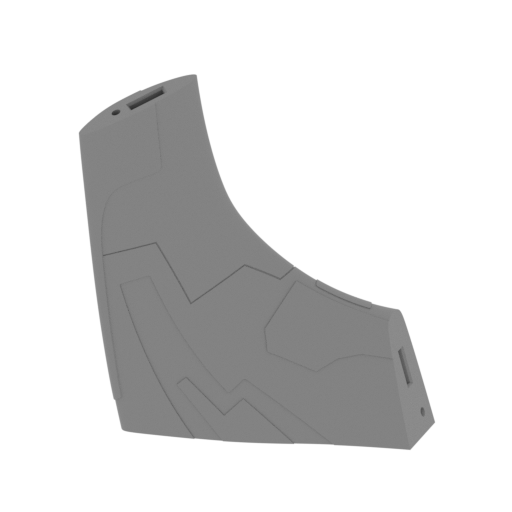 | _25_tailPart_i_L_FDM (repaired).stl 106.3 x 62.3 x 133.5 mm | 4.19 x 2.45 x 5.26 in | Size: 106.3 x 62.3 x 133.5 mm | 4.19 x 2.45 x 5.26 in | File size: 3.11 mb | Printing Time / Filament: 1 h 55 min / 16 m Slicer: prusa v2.9.2 Printer: mk4s Non default settings Layer height: 0.2 Support material: 0 | ||
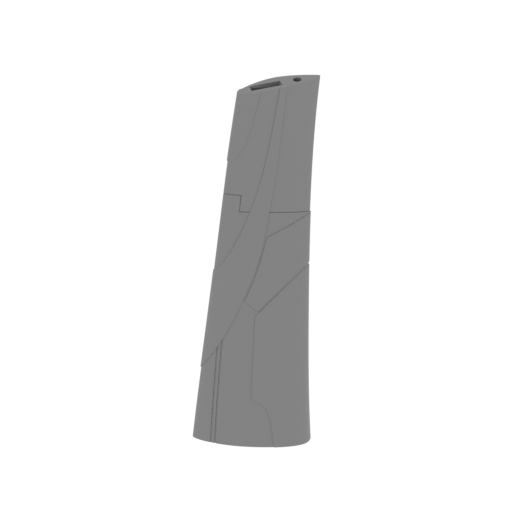 | _26_tailPart_b_R_FDM (repaired).stl 60.6 x 33.5 x 199.9 mm | 2.39 x 1.32 x 7.87 in | Size: 60.6 x 33.5 x 199.9 mm | 2.39 x 1.32 x 7.87 in | File size: 3.18 mb | Printing Time / Filament: 2 h 21 min / 18 m Slicer: prusa v2.9.2 Printer: mk4s Non default settings Layer height: 0.2 Support material: 0 | ||
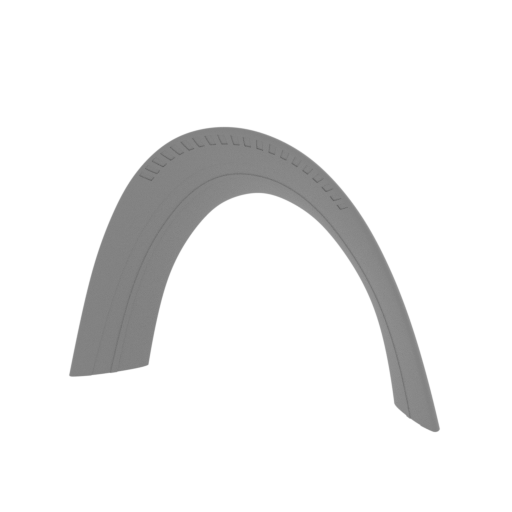 | _27_tailPart_c_rearT_FDM (repaired).stl 210.1 x 50.2 x 169.2 mm | 8.27 x 1.98 x 6.66 in | Size: 210.1 x 50.2 x 169.2 mm | 8.27 x 1.98 x 6.66 in | File size: 7.18 mb | Printing Time / Filament: 3 h 22 min / 26 m Slicer: prusa v2.9.2 Printer: mk4s Non default settings Layer height: 0.2 Support material: 0 | ||
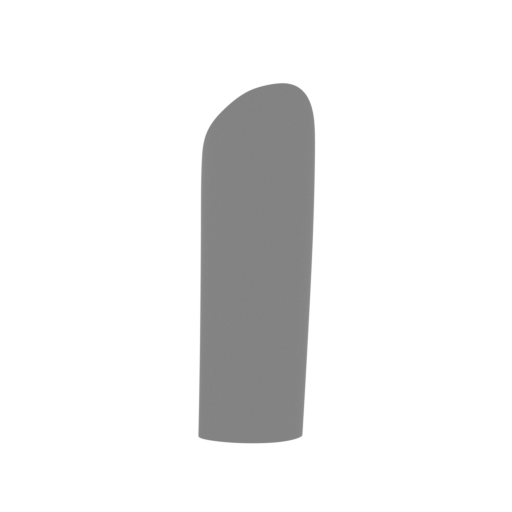 | _28_tailPart_d_L_FDM (repaired).stl 37.7 x 18.4 x 133.9 mm | 1.48 x 0.72 x 5.27 in | Size: 37.7 x 18.4 x 133.9 mm | 1.48 x 0.72 x 5.27 in | File size: 1.07 mb | Printing Time / Filament: 1 h 13 min / 6 m Slicer: prusa v2.9.2 Printer: mk4s Non default settings Layer height: 0.2 Support material: 0 | ||
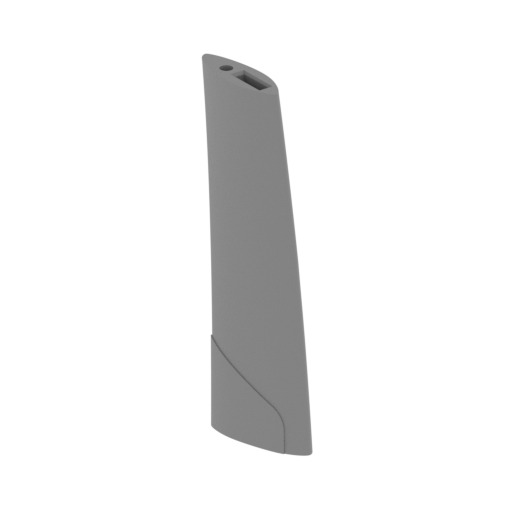 | _29_tailPart_e_L_FDM (repaired).stl 38 x 19.7 x 110.5 mm | 1.5 x 0.78 x 4.35 in | Size: 38 x 19.7 x 110.5 mm | 1.5 x 0.78 x 4.35 in | File size: 0.90 mb | Printing Time / Filament: 1 h 4 min / 6 m Slicer: prusa v2.9.2 Printer: mk4s Non default settings Layer height: 0.2 Support material: 0 | ||
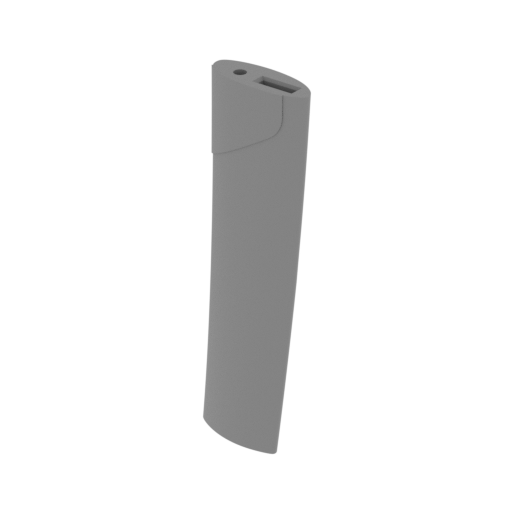 | _30_tailPart_f_R_FDM (repaired).stl 37.5 x 20.6 x 110.5 mm | 1.48 x 0.81 x 4.35 in | Size: 37.5 x 20.6 x 110.5 mm | 1.48 x 0.81 x 4.35 in | File size: 0.90 mb | Printing Time / Filament: 1 h 4 min / 6 m Slicer: prusa v2.9.2 Printer: mk4s Non default settings Layer height: 0.2 Support material: 0 | ||
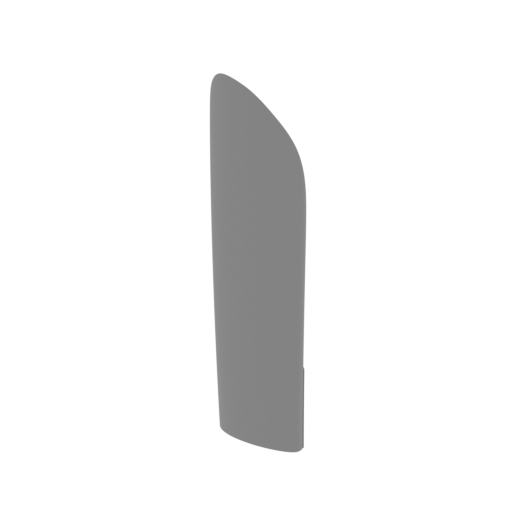 | _31_tailPart_g_R_FDM (repaired).stl 37.7 x 18.4 x 133.9 mm | 1.48 x 0.72 x 5.27 in | Size: 37.7 x 18.4 x 133.9 mm | 1.48 x 0.72 x 5.27 in | File size: 1.07 mb | Printing Time / Filament: 1 h 13 min / 6 m Slicer: prusa v2.9.2 Printer: mk4s Non default settings Layer height: 0.2 Support material: 0 | ||
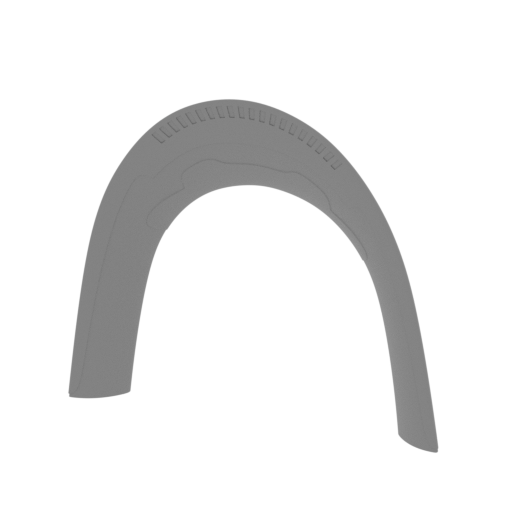 | _32_tailPart_h_rearMId_FDM (repaired).stl 212.9 x 30.8 x 195.9 mm | 8.38 x 1.21 x 7.71 in | Size: 212.9 x 30.8 x 195.9 mm | 8.38 x 1.21 x 7.71 in | File size: 6.99 mb | Printing Time / Filament: 3 h 19 min / 27 m Slicer: prusa v2.9.2 Printer: mk4s Non default settings Layer height: 0.2 Support material: 0 | ||
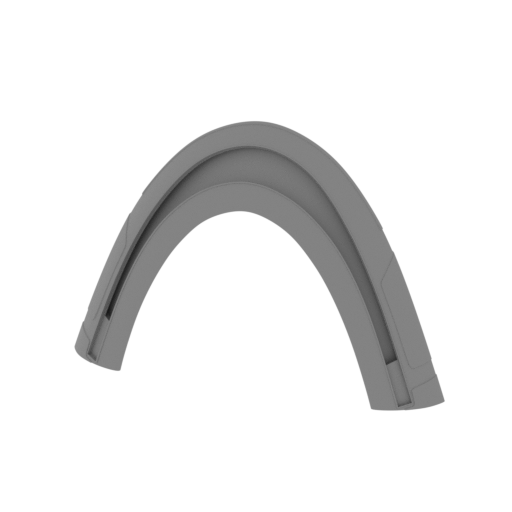 | _33_tailPart_k_rearBot_FDM (repaired).stl 231.3 x 39.2 x 156.8 mm | 9.11 x 1.54 x 6.17 in | Size: 231.3 x 39.2 x 156.8 mm | 9.11 x 1.54 x 6.17 in | File size: 9.47 mb | Printing Time / Filament: 3 h / 24 m Slicer: prusa v2.9.2 Printer: mk4s Non default settings Layer height: 0.2 Support material: 0 | ||
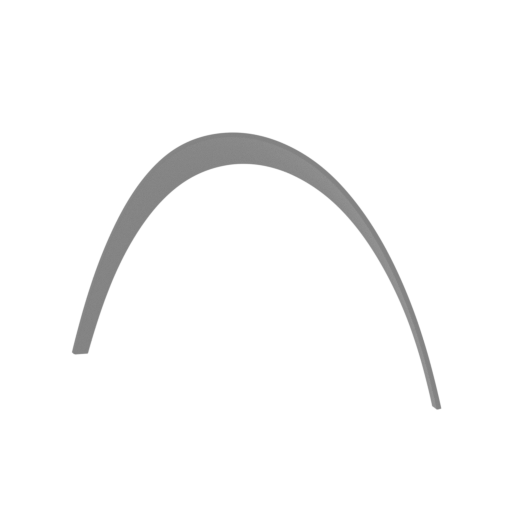 | _34_engineTailGlass_a_T_FDM (repaired).stl 183.7 x 17.2 x 131.2 mm | 7.23 x 0.68 x 5.17 in | Size: 183.7 x 17.2 x 131.2 mm | 7.23 x 0.68 x 5.17 in | File size: 4.07 mb | Printing Time / Filament: 1 h 10 min / 3 m Slicer: prusa v2.9.2 Printer: mk4s Non default settings Layer height: 0.2 Support material: 0 | ||
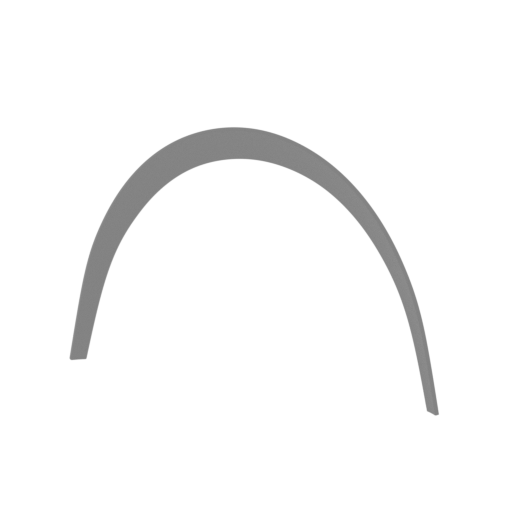 | _35_engineTailGlass_b_Mid_FDM (repaired).stl 187.8 x 9.7 x 135.5 mm | 7.39 x 0.38 x 5.33 in | Size: 187.8 x 9.7 x 135.5 mm | 7.39 x 0.38 x 5.33 in | File size: 4.58 mb | Printing Time / Filament: 1 h 7 min / 3 m Slicer: prusa v2.9.2 Printer: mk4s Non default settings Layer height: 0.2 Support material: 0 | ||
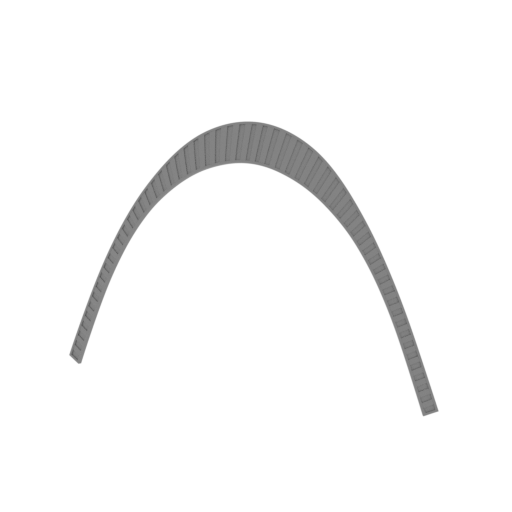 | _36_engineTailGlass_c_Bot_FDM (repaired).stl 203 x 16.2 x 145.6 mm | 7.99 x 0.64 x 5.73 in | Size: 203 x 16.2 x 145.6 mm | 7.99 x 0.64 x 5.73 in | File size: 4.68 mb | Printing Time / Filament: 1 h 22 min / 4 m Slicer: prusa v2.9.2 Printer: mk4s Non default settings Layer height: 0.2 Support material: 0 | ||
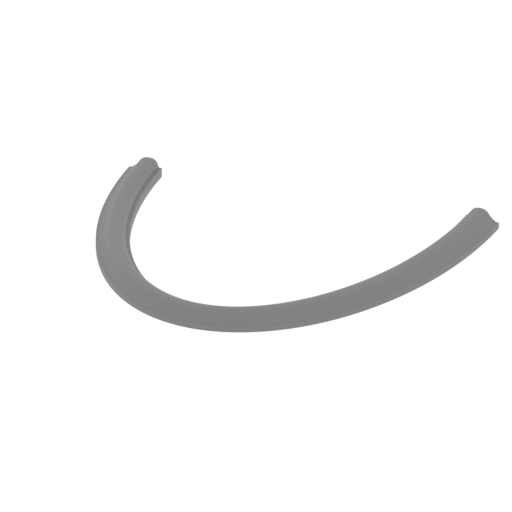 | _37_standPart_a_X2_FDM (repaired).stl 197.6 x 168.1 x 9.6 mm | 7.78 x 6.62 x 0.38 in | Size: 197.6 x 168.1 x 9.6 mm | 7.78 x 6.62 x 0.38 in | File size: 1.87 mb | Printing Time / Filament: 42 min / 9 m Slicer: prusa v2.9.2 Printer: mk4s Non default settings Layer height: 0.2 Support material: 0 | ||
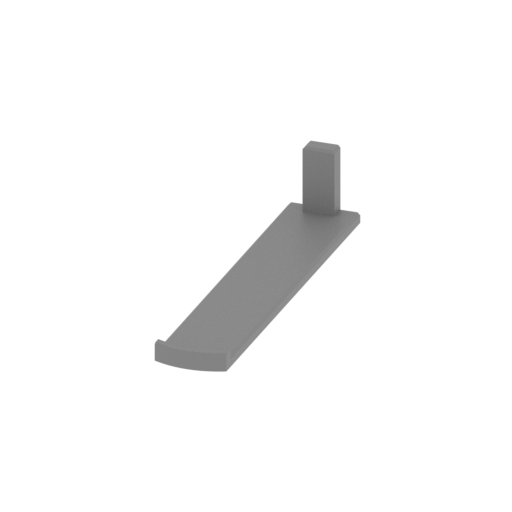 | _38_standPart_b_FDM (repaired).stl 26.9 x 138.7 x 28.8 mm | 1.06 x 5.46 x 1.13 in | Size: 26.9 x 138.7 x 28.8 mm | 1.06 x 5.46 x 1.13 in | File size: 0.06 mb | Printing Time / Filament: 26 min / 4 m Slicer: prusa v2.9.2 Printer: mk4s Non default settings Layer height: 0.2 Support material: 0 | ||
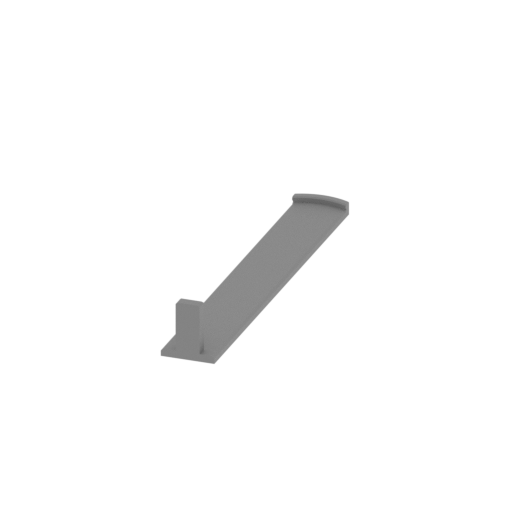 | _39_standPart_c_FDM (repaired).stl 26.9 x 185.8 x 28.8 mm | 1.06 x 7.31 x 1.13 in | Size: 26.9 x 185.8 x 28.8 mm | 1.06 x 7.31 x 1.13 in | File size: 0.06 mb | Printing Time / Filament: 30 min / 5 m Slicer: prusa v2.9.2 Printer: mk4s Non default settings Layer height: 0.2 Support material: 0 | ||
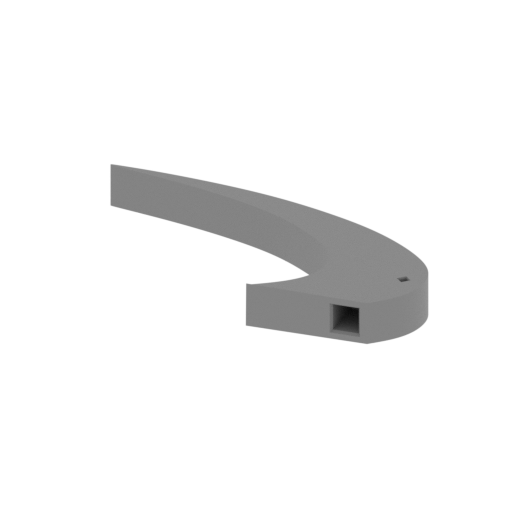 | _40_standPart_d_FDM (repaired).stl 174.3 x 100.9 x 20.4 mm | 6.86 x 3.97 x 0.8 in | Size: 174.3 x 100.9 x 20.4 mm | 6.86 x 3.97 x 0.8 in | File size: 0.15 mb | Printing Time / Filament: 53 min / 12 m Slicer: prusa v2.9.2 Printer: mk4s Non default settings Layer height: 0.2 Support material: 0 | ||
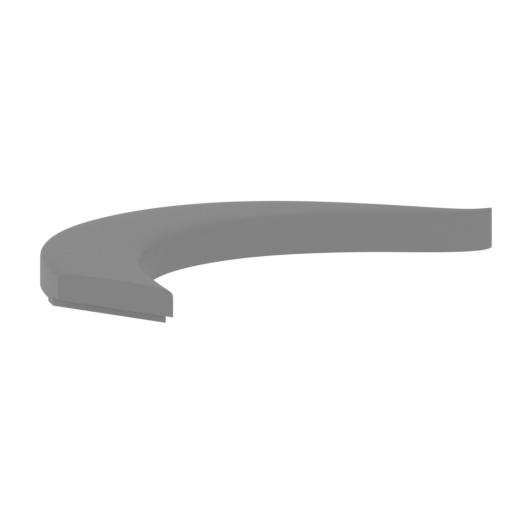 | _41_standPart_e_L_FDM (repaired).stl 180.5 x 135.9 x 19.5 mm | 7.11 x 5.35 x 0.77 in | Size: 180.5 x 135.9 x 19.5 mm | 7.11 x 5.35 x 0.77 in | File size: 1.13 mb | Printing Time / Filament: 1 h 2 min / 14 m Slicer: prusa v2.9.2 Printer: mk4s Non default settings Layer height: 0.2 Support material: 0 | ||
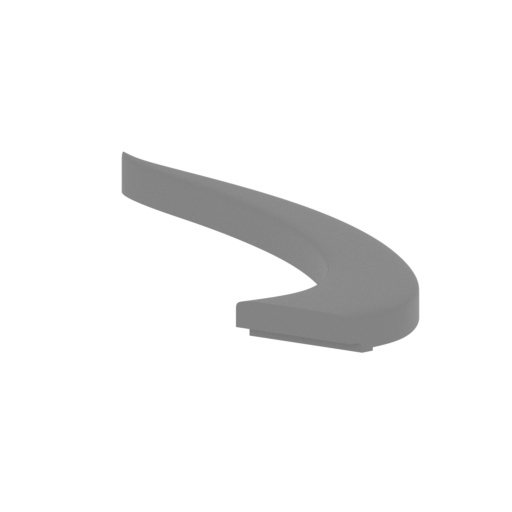 | _42_standPart_f_R_FDM (repaired).stl 180.5 x 135.9 x 19.5 mm | 7.11 x 5.35 x 0.77 in | Size: 180.5 x 135.9 x 19.5 mm | 7.11 x 5.35 x 0.77 in | File size: 1.13 mb | Printing Time / Filament: 1 h 3 min / 14 m Slicer: prusa v2.9.2 Printer: mk4s Non default settings Layer height: 0.2 Support material: 0 | ||
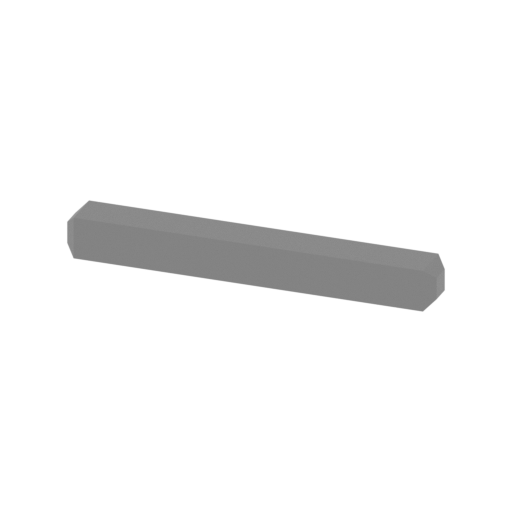 | _43_standPin_FDM (repaired).stl 35.3 x 4 x 4 mm | 1.39 x 0.16 x 0.16 in | Size: 35.3 x 4 x 4 mm | 1.39 x 0.16 x 0.16 in | File size: 0.00 mb | Printing Time / Filament: 2 min / <1 m Slicer: prusa v2.9.2 Printer: mk4s Non default settings Layer height: 0.2 Support material: 0 | ||
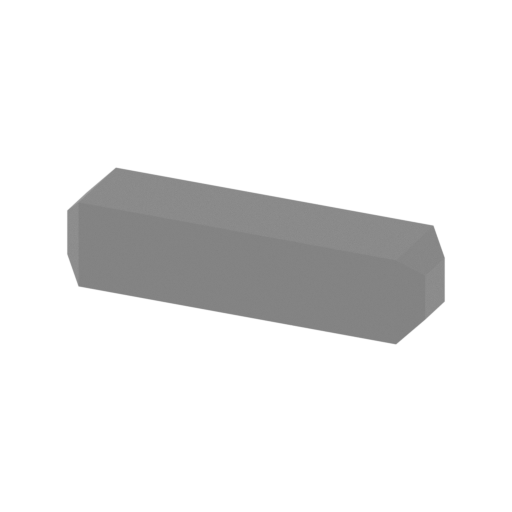 | _44_pin_a_X19_FDM (repaired).stl 17.1 x 4.9 x 4 mm | 0.67 x 0.19 x 0.16 in | Size: 17.1 x 4.9 x 4 mm | 0.67 x 0.19 x 0.16 in | File size: 0.00 mb | Printing Time / Filament: 2 min / <1 m Slicer: prusa v2.9.2 Printer: mk4s Non default settings Layer height: 0.2 Support material: 0 | ||
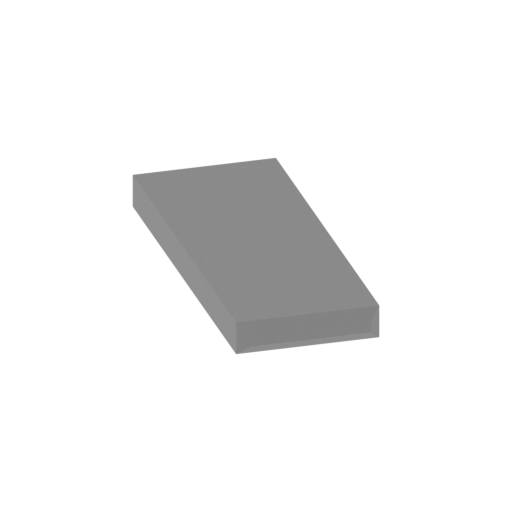 | _45_pin_b_X14_FDM (repaired).stl 34.4 x 39.7 x 3.5 mm | 1.35 x 1.56 x 0.14 in | Size: 34.4 x 39.7 x 3.5 mm | 1.35 x 1.56 x 0.14 in | File size: 0.00 mb | Printing Time / Filament: 4 min / 1 m Slicer: prusa v2.9.2 Printer: mk4s Non default settings Layer height: 0.2 Support material: 0 | ||
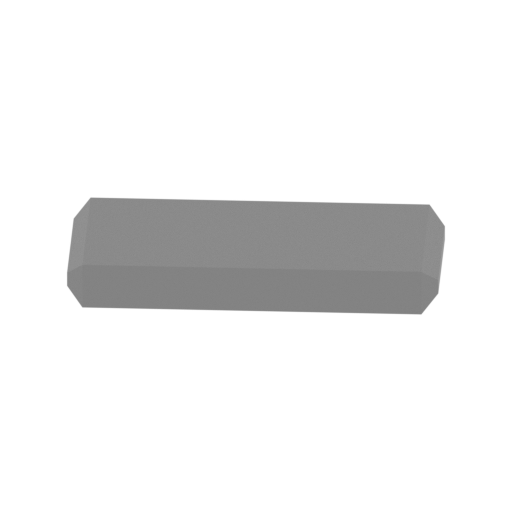 | _46_pin_c_X8_FDM (repaired).stl 29.5 x 19.3 x 3.5 mm | 1.16 x 0.76 x 0.14 in | Size: 29.5 x 19.3 x 3.5 mm | 1.16 x 0.76 x 0.14 in | File size: 0.01 mb | Printing Time / Filament: 3 min / <1 m Slicer: prusa v2.9.2 Printer: mk4s Non default settings Layer height: 0.2 Support material: 0 | ||
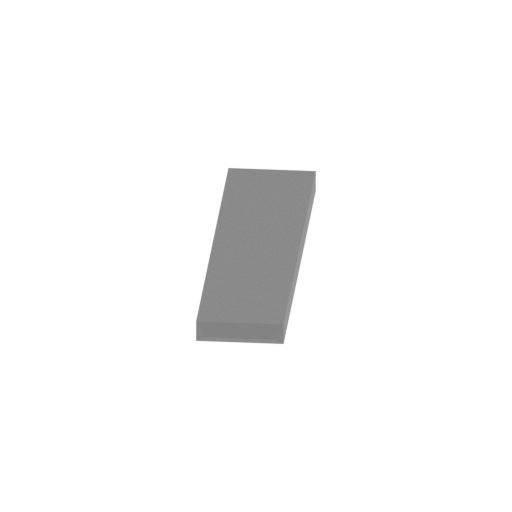 | _47_pin_d_X2_FDM (repaired).stl 29.9 x 64.2 x 3.5 mm | 1.18 x 2.53 x 0.14 in | Size: 29.9 x 64.2 x 3.5 mm | 1.18 x 2.53 x 0.14 in | File size: 0.00 mb | Printing Time / Filament: 5 min / 1 m Slicer: prusa v2.9.2 Printer: mk4s Non default settings Layer height: 0.2 Support material: 0 | ||
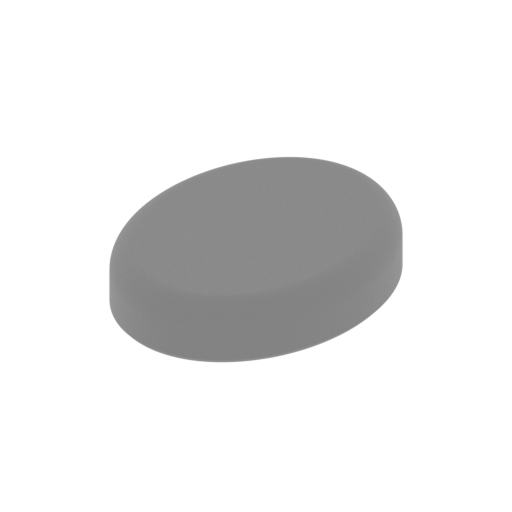 | _48_cockpitGlass_b_T_FDM (repaired).stl 7.4 x 10.5 x 1.7 mm | 0.29 x 0.41 x 0.07 in | Size: 7.4 x 10.5 x 1.7 mm | 0.29 x 0.41 x 0.07 in | File size: 0.39 mb | Printing Time / Filament: 1 min / <1 m Slicer: prusa v2.9.2 Printer: mk4s Non default settings Layer height: 0.2 Support material: 0 | ||
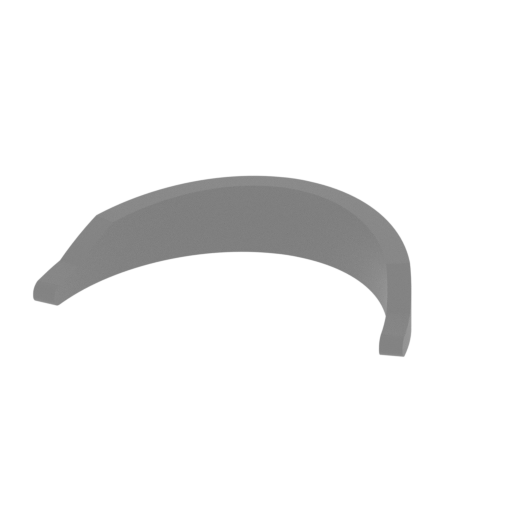 | _49_cockpitGlass_a_F_FDM (repaired).stl 20 x 11.5 x 3.7 mm | 0.79 x 0.45 x 0.15 in | Size: 20 x 11.5 x 3.7 mm | 0.79 x 0.45 x 0.15 in | File size: 0.21 mb | Printing Time / Filament: 1 min / <1 m Slicer: prusa v2.9.2 Printer: mk4s Non default settings Layer height: 0.2 Support material: 0 | ||
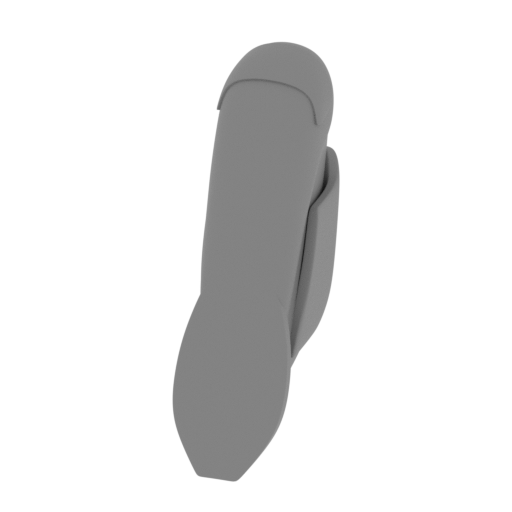 | _50_shuttlecraft_FDM (repaired).stl 8.8 x 17 x 29.2 mm | 0.35 x 0.67 x 1.15 in | Size: 8.8 x 17 x 29.2 mm | 0.35 x 0.67 x 1.15 in | File size: 3.46 mb | Printing Time / Filament: 10 min / <1 m Slicer: prusa v2.9.2 Printer: mk4s Non default settings Layer height: 0.2 Support material: 0 | ||
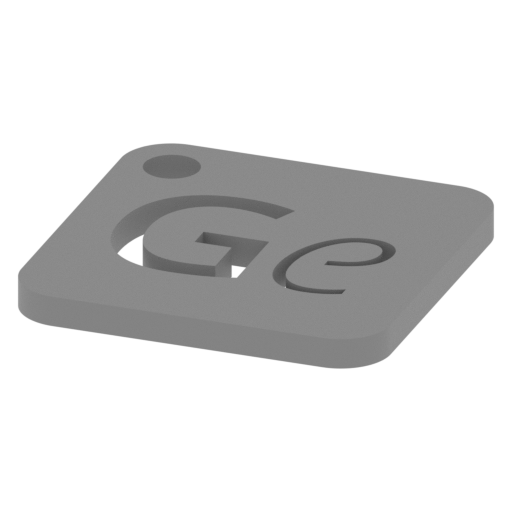 | Keychain (repaired).stl 29.7 x 29.7 x 2.4 mm | 1.17 x 1.17 x 0.09 in | Size: 29.7 x 29.7 x 2.4 mm | 1.17 x 1.17 x 0.09 in | File size: 0.37 mb | Printing Time / Filament: 6 min / 1 m Slicer: prusa v2.9.2 Printer: mk4s Non default settings Layer height: 0.2 Support material: 0 | ||
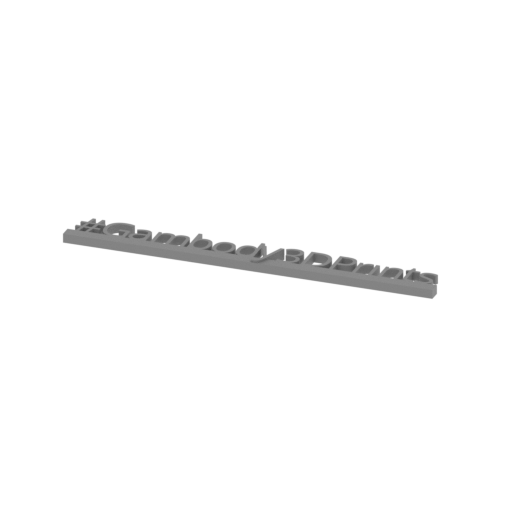 | Tag (repaired).stl 150.1 x 18.2 x 4.6 mm | 5.91 x 0.72 x 0.18 in | Size: 150.1 x 18.2 x 4.6 mm | 5.91 x 0.72 x 0.18 in | File size: 1.78 mb | Printing Time / Filament: 16 min / 2 m Slicer: prusa v2.9.2 Printer: mk4s Non default settings Layer height: 0.2 Support material: 0 | ||
3D model history
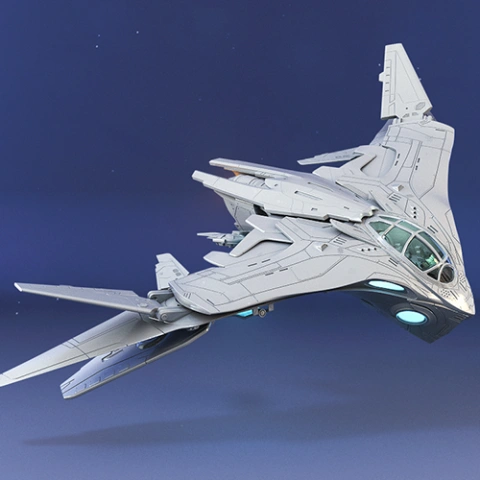
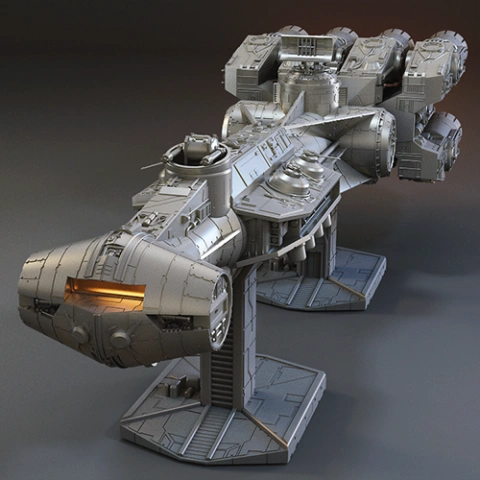
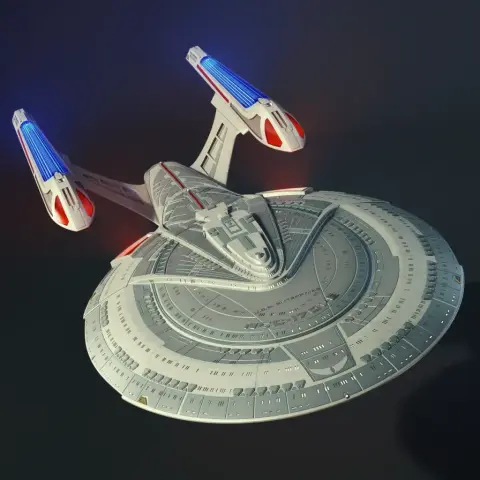
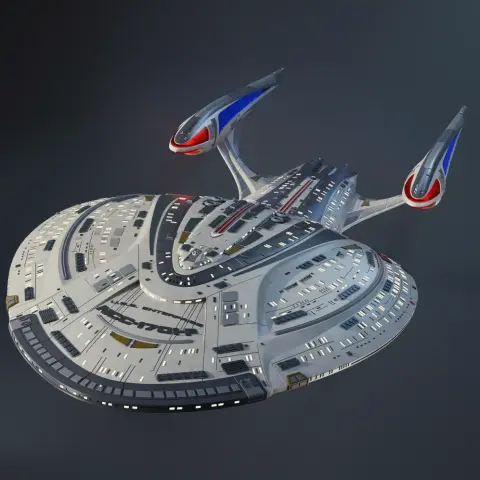
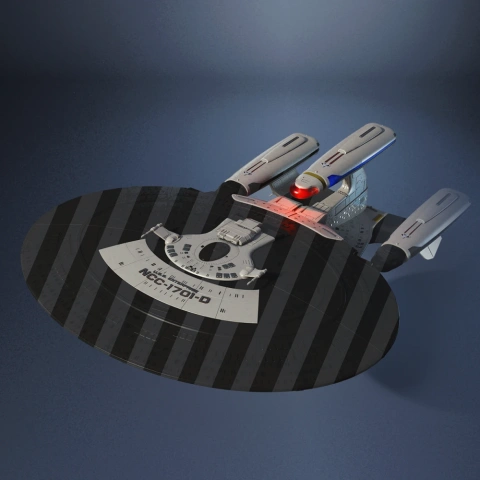
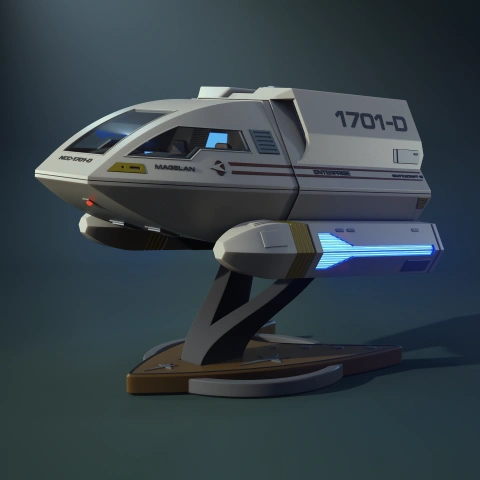
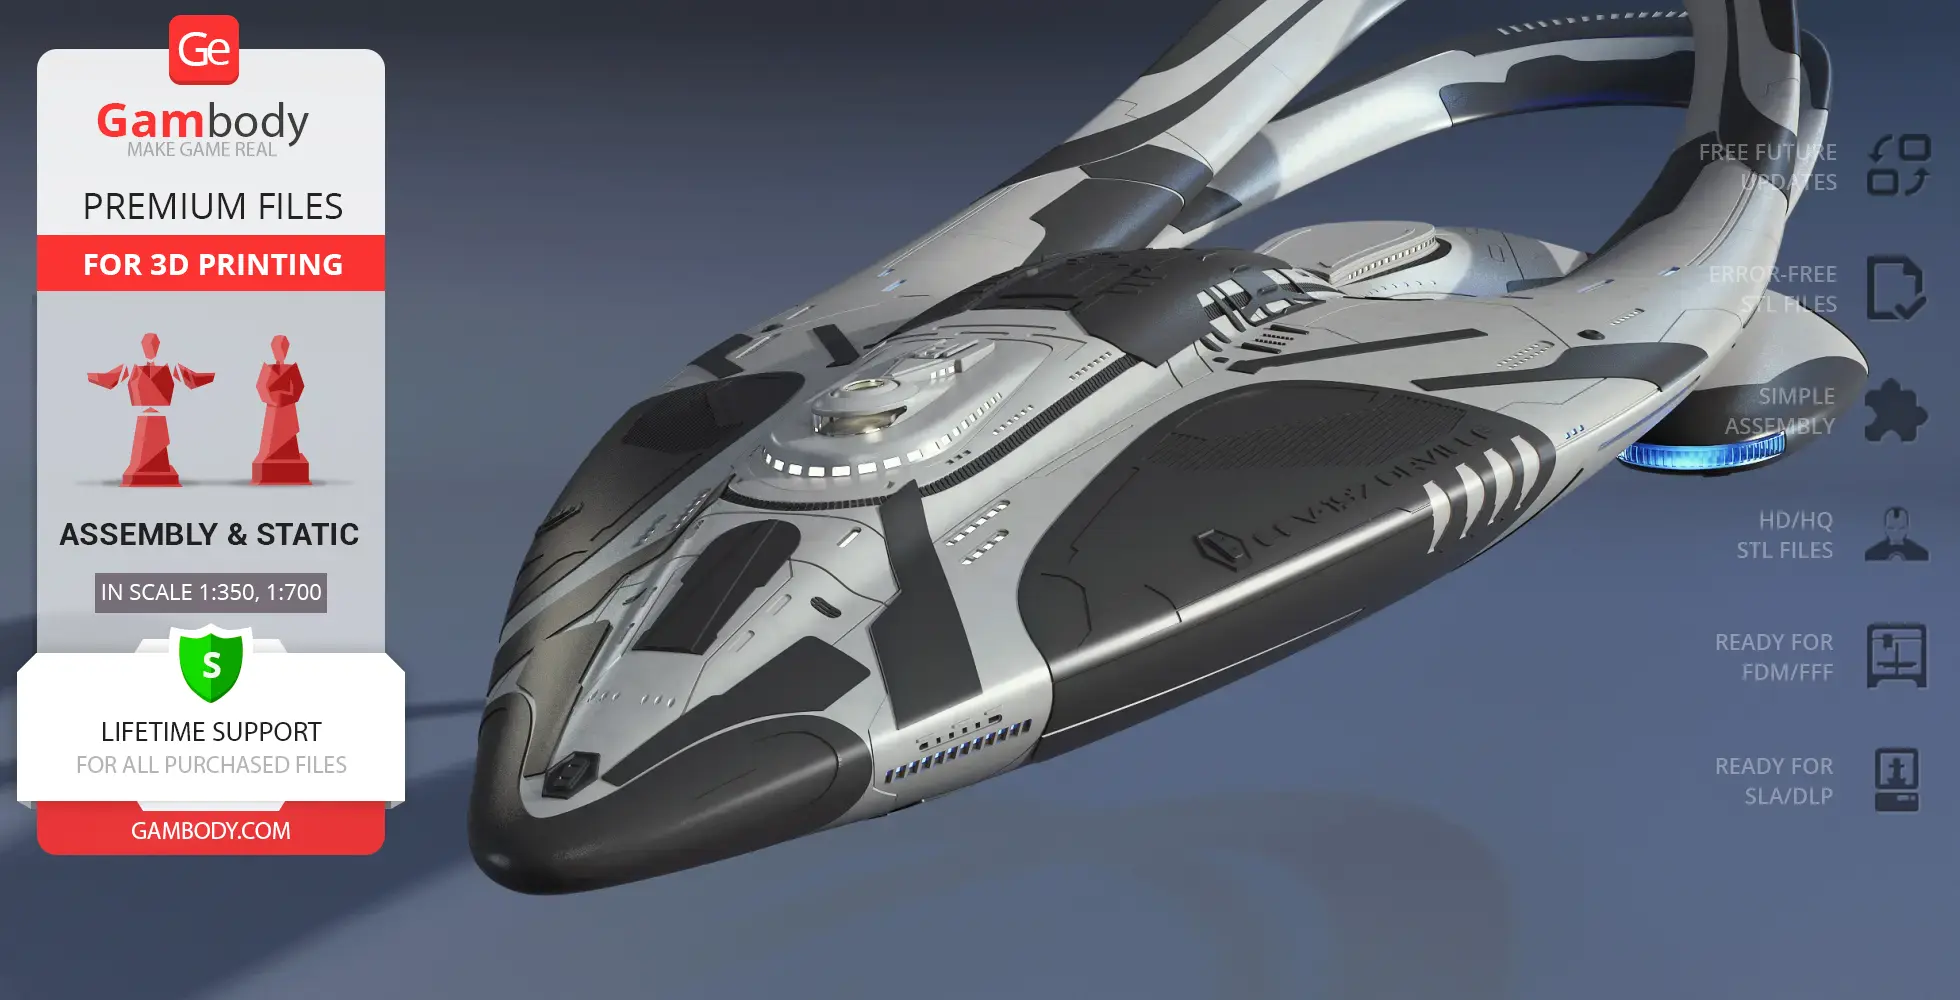
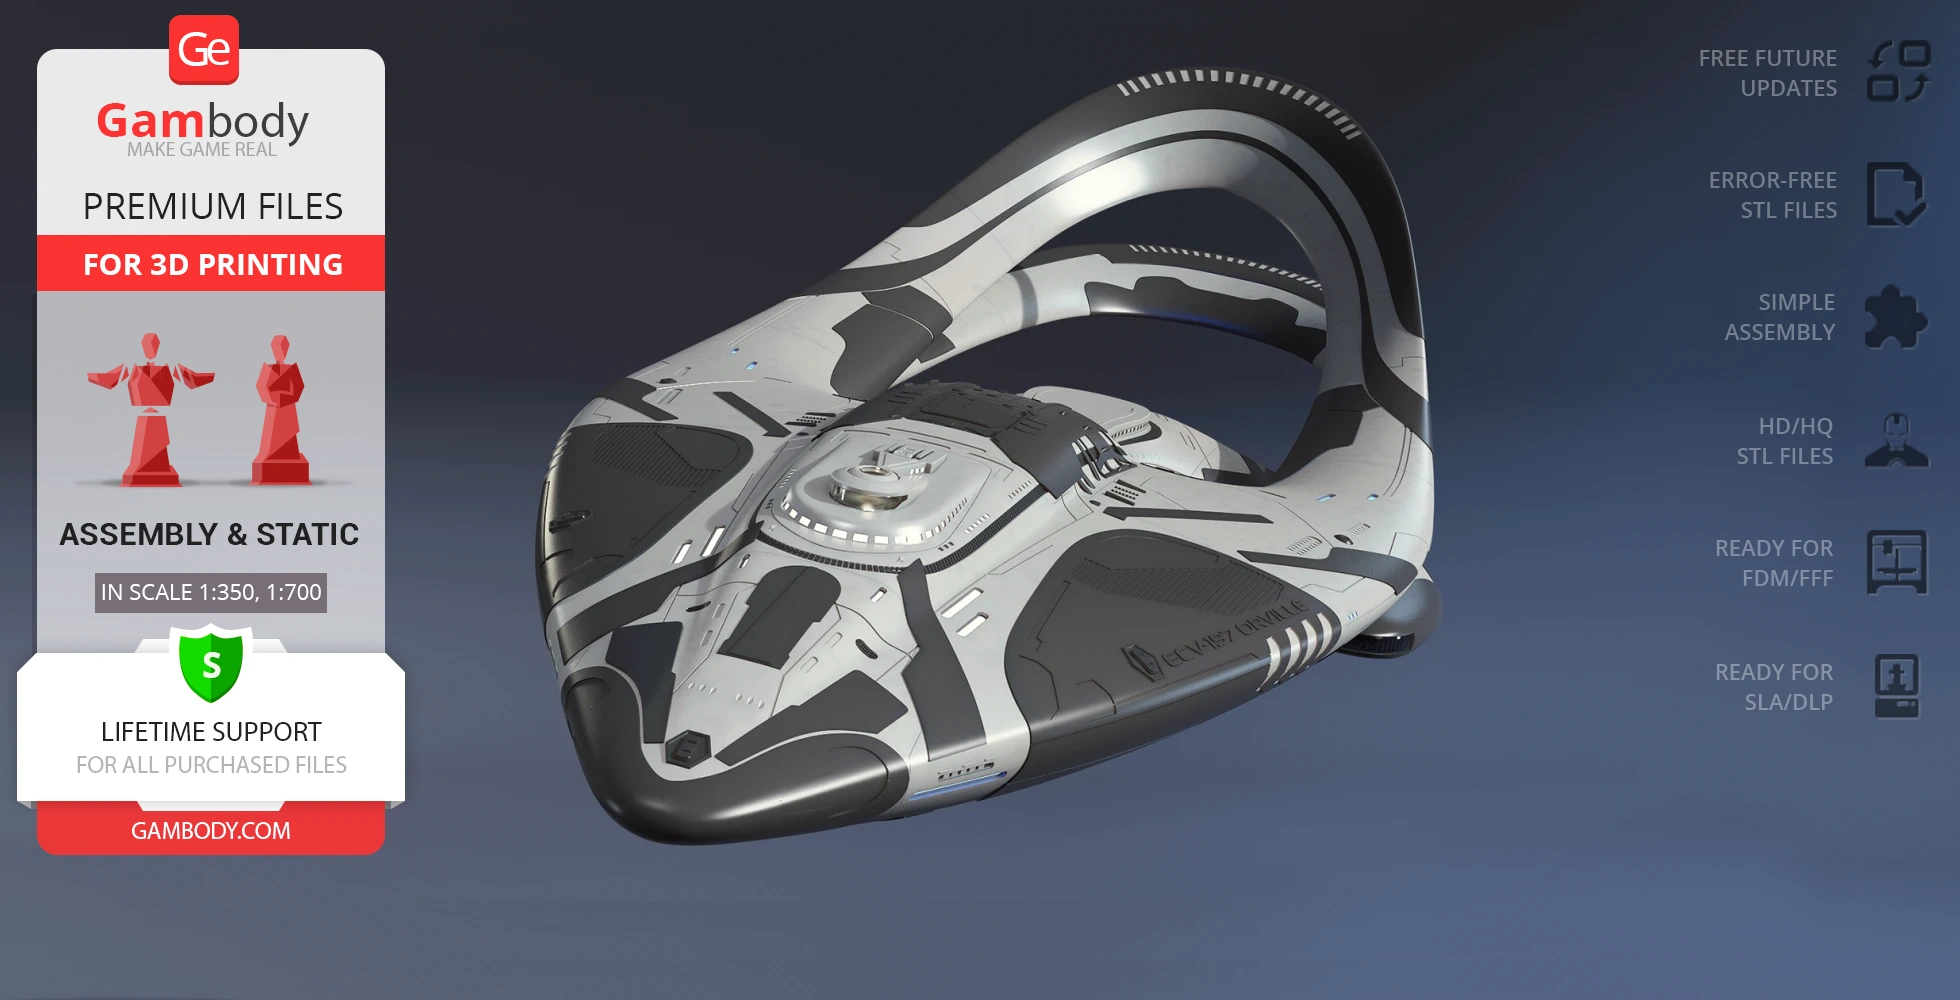
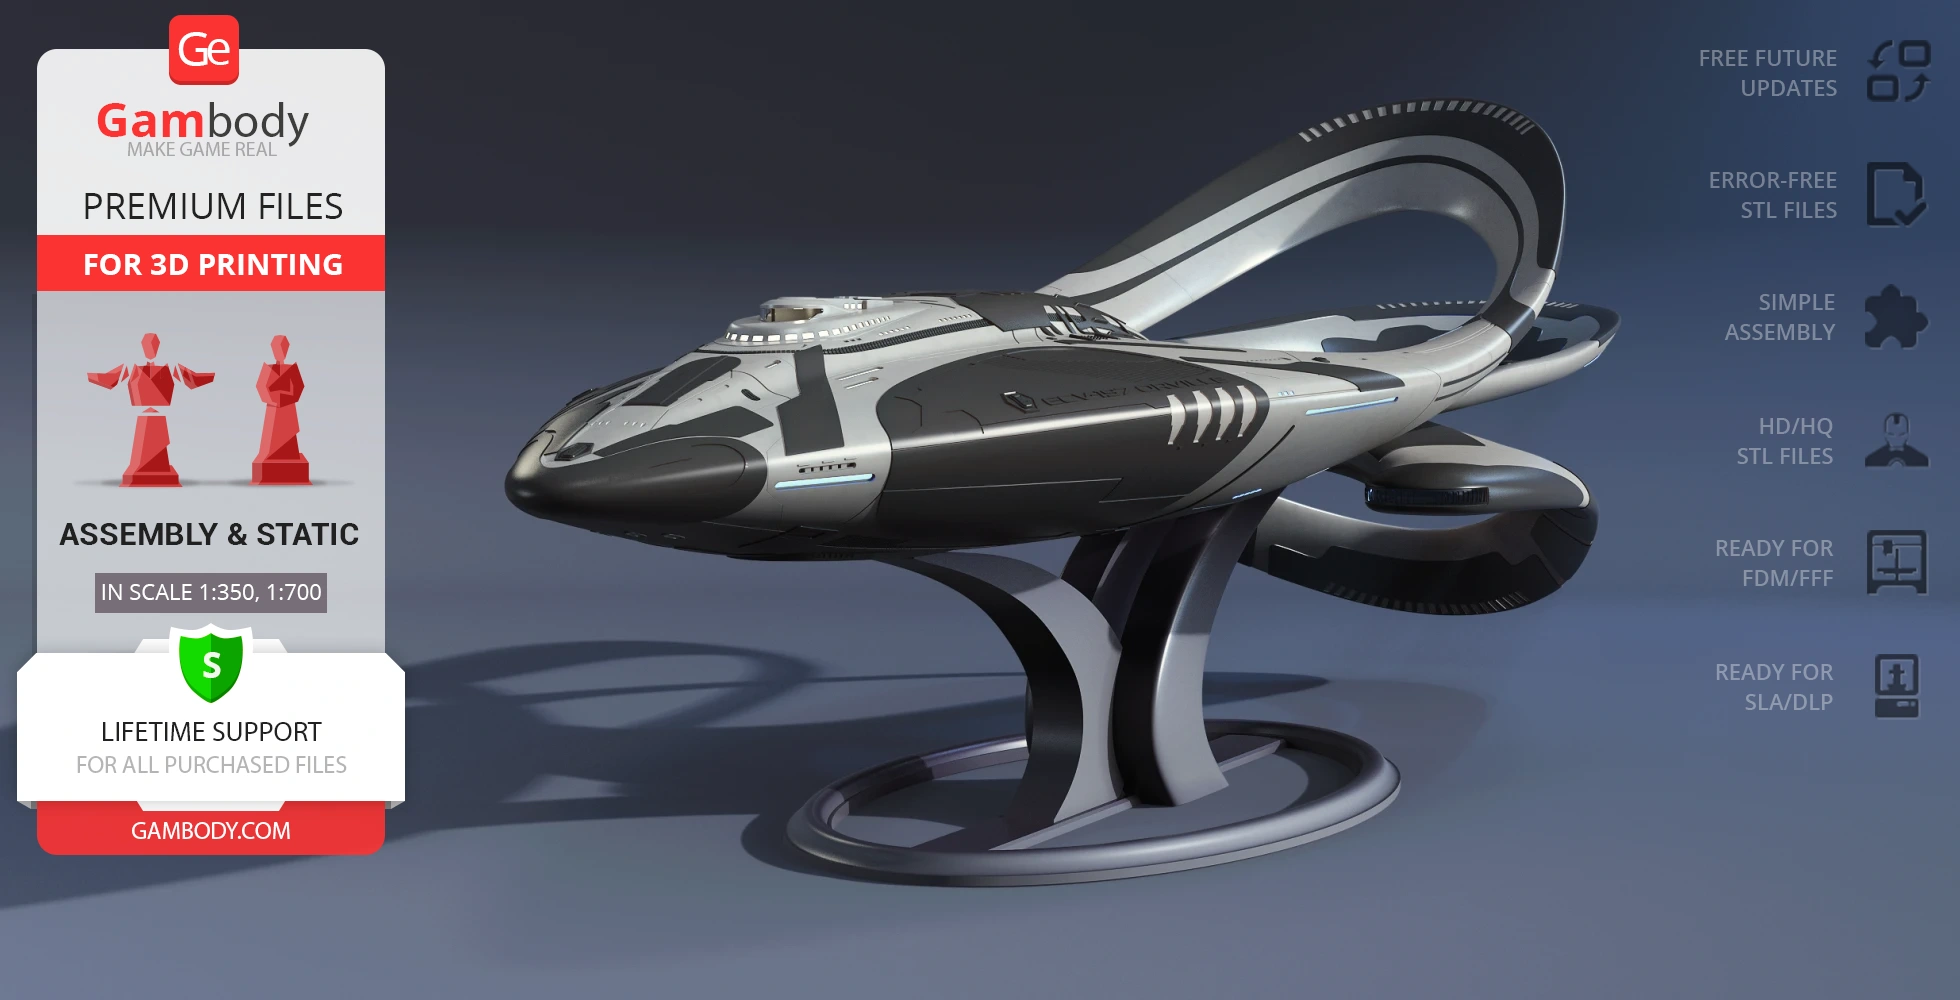
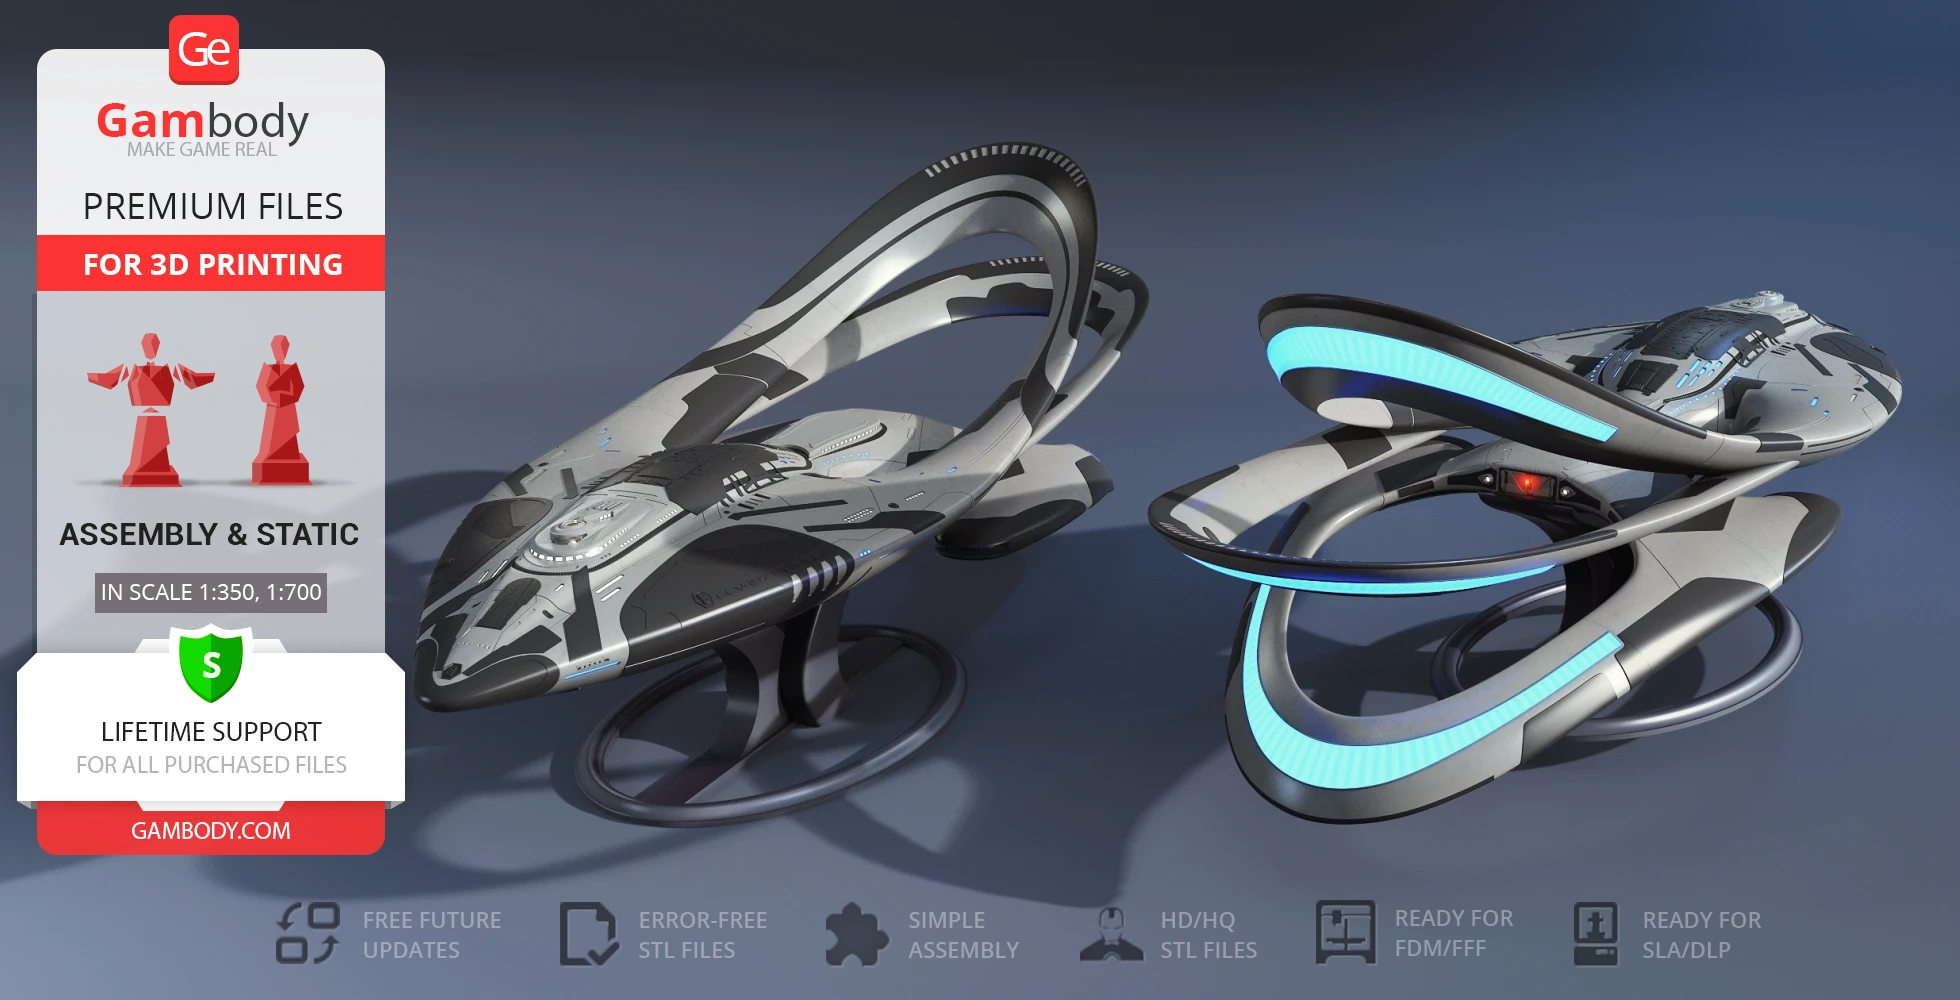
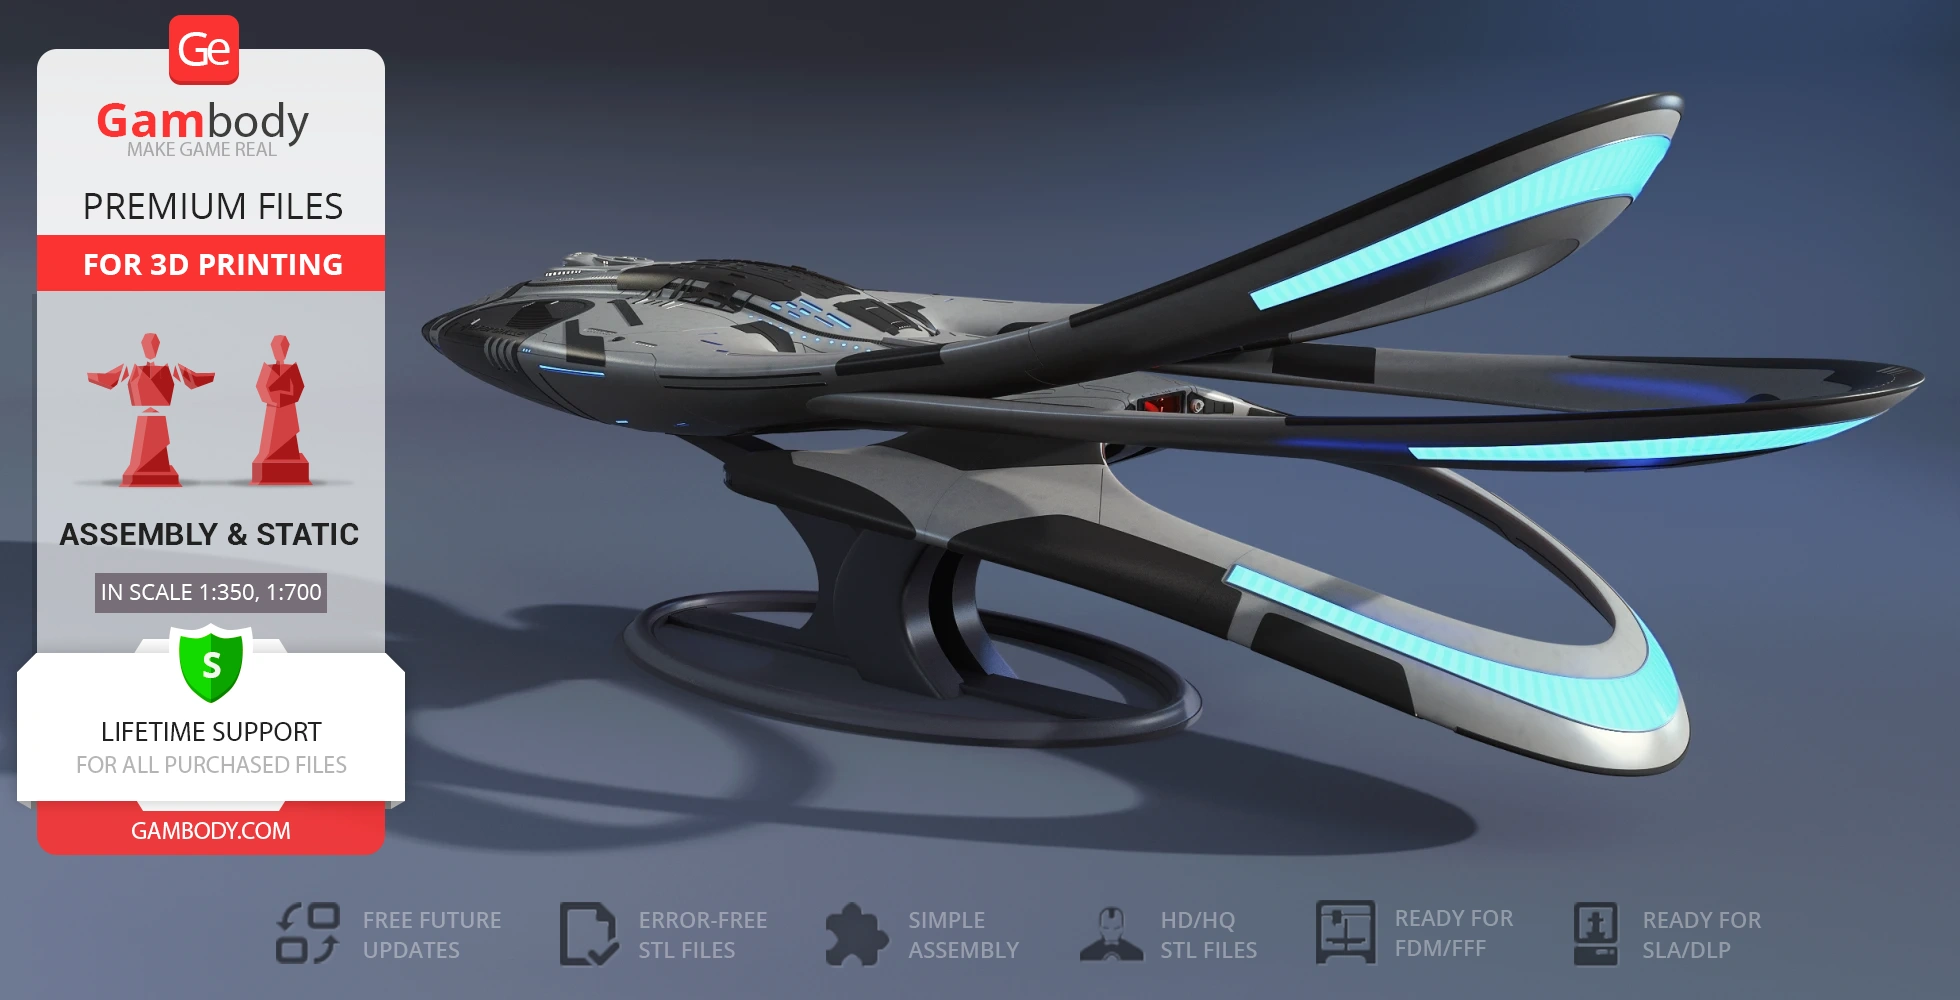
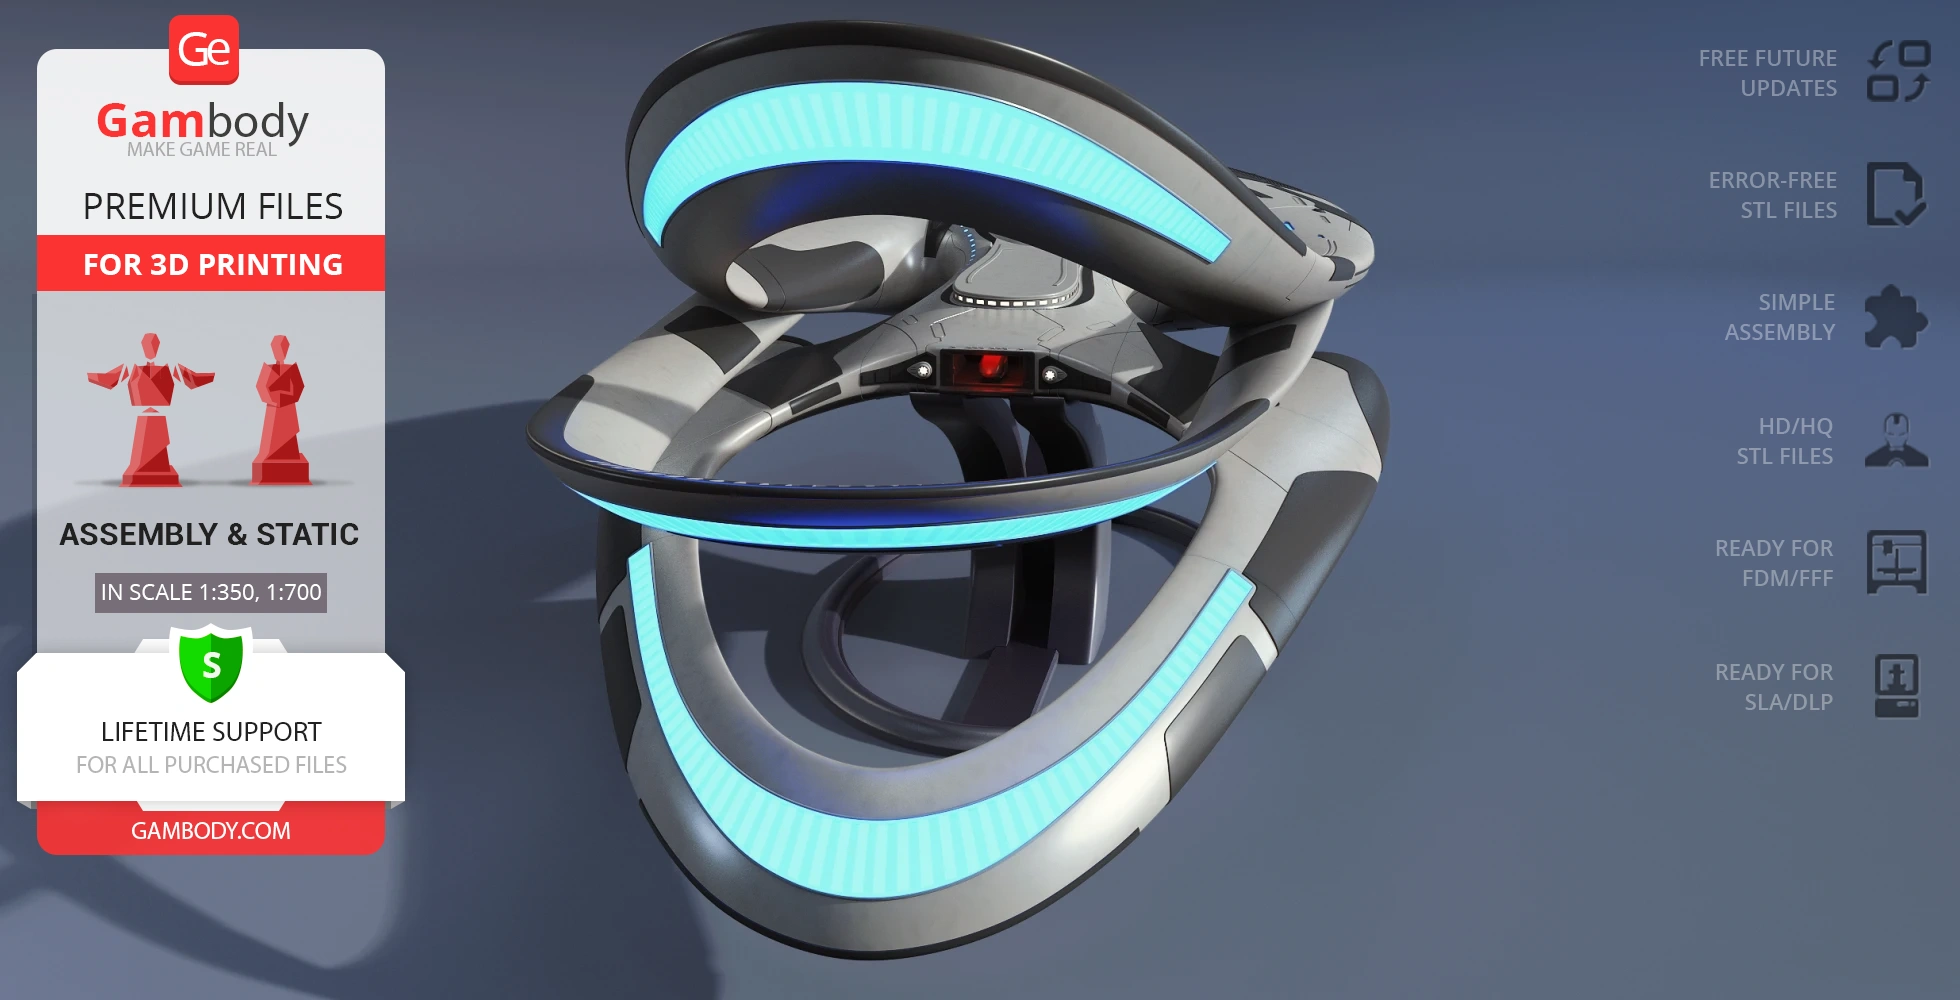
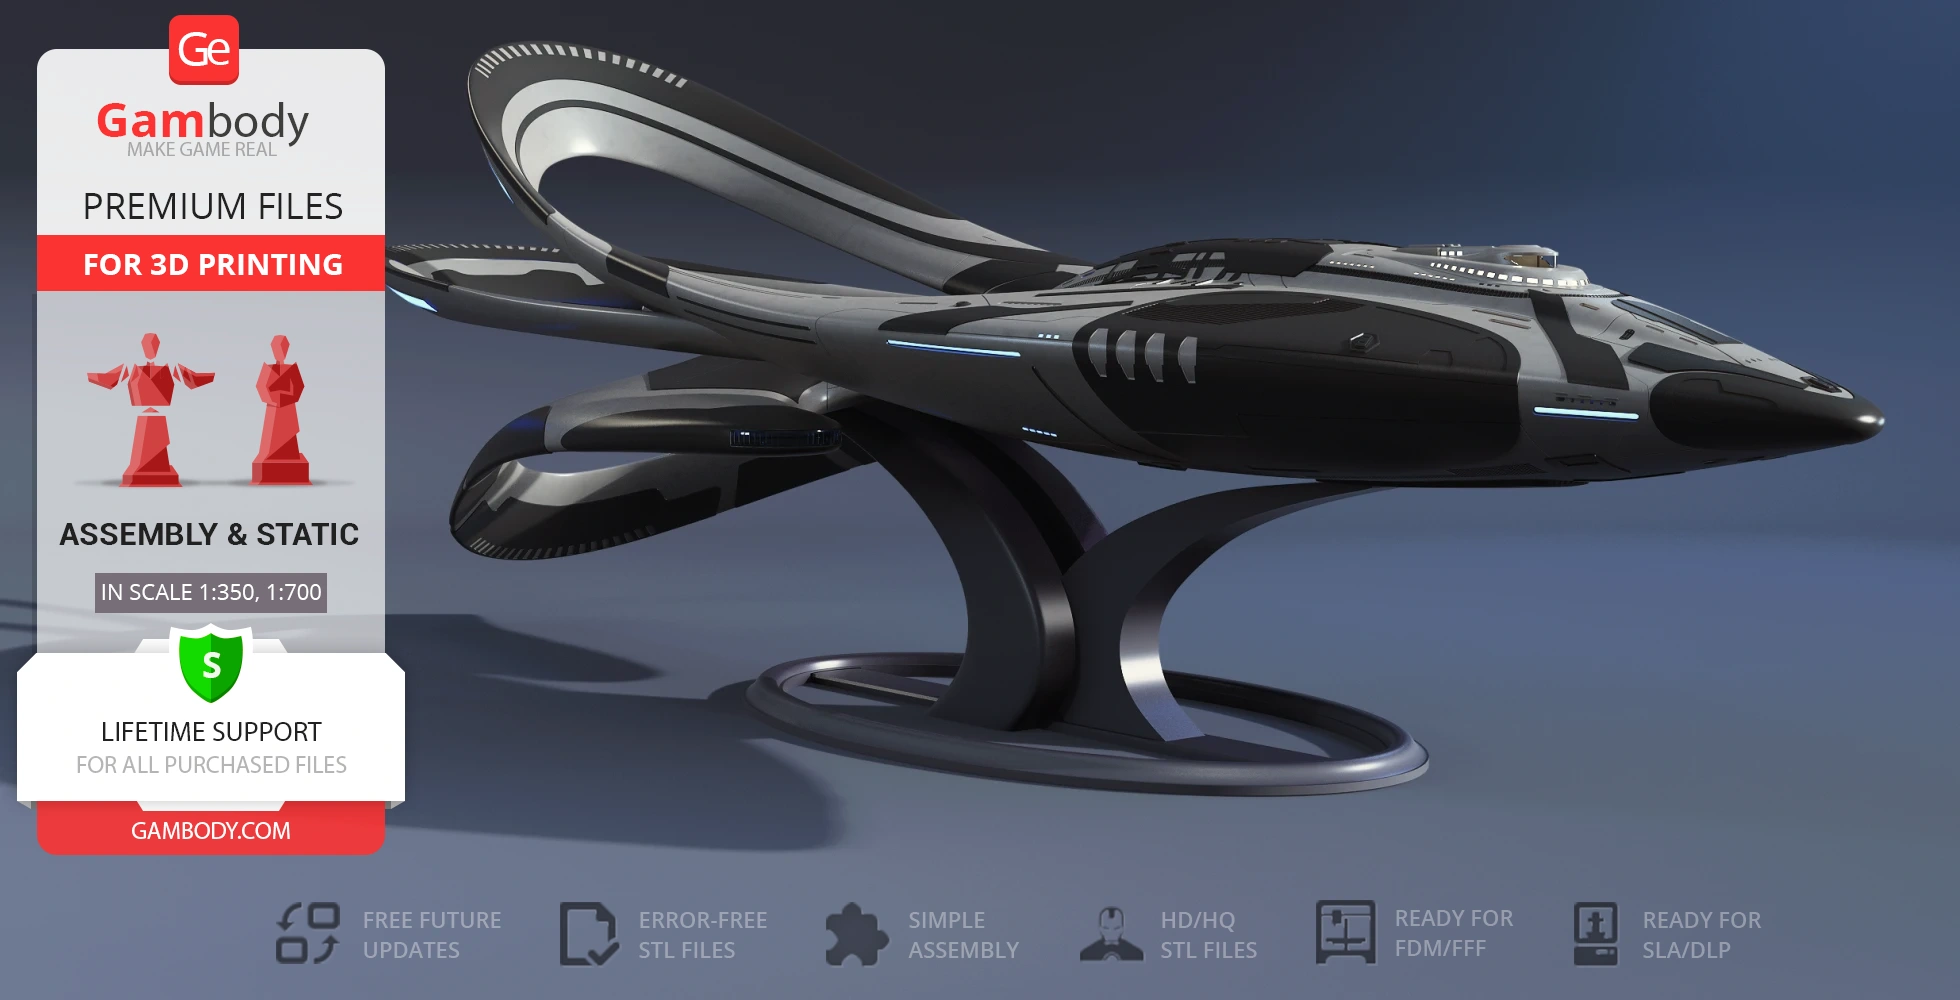
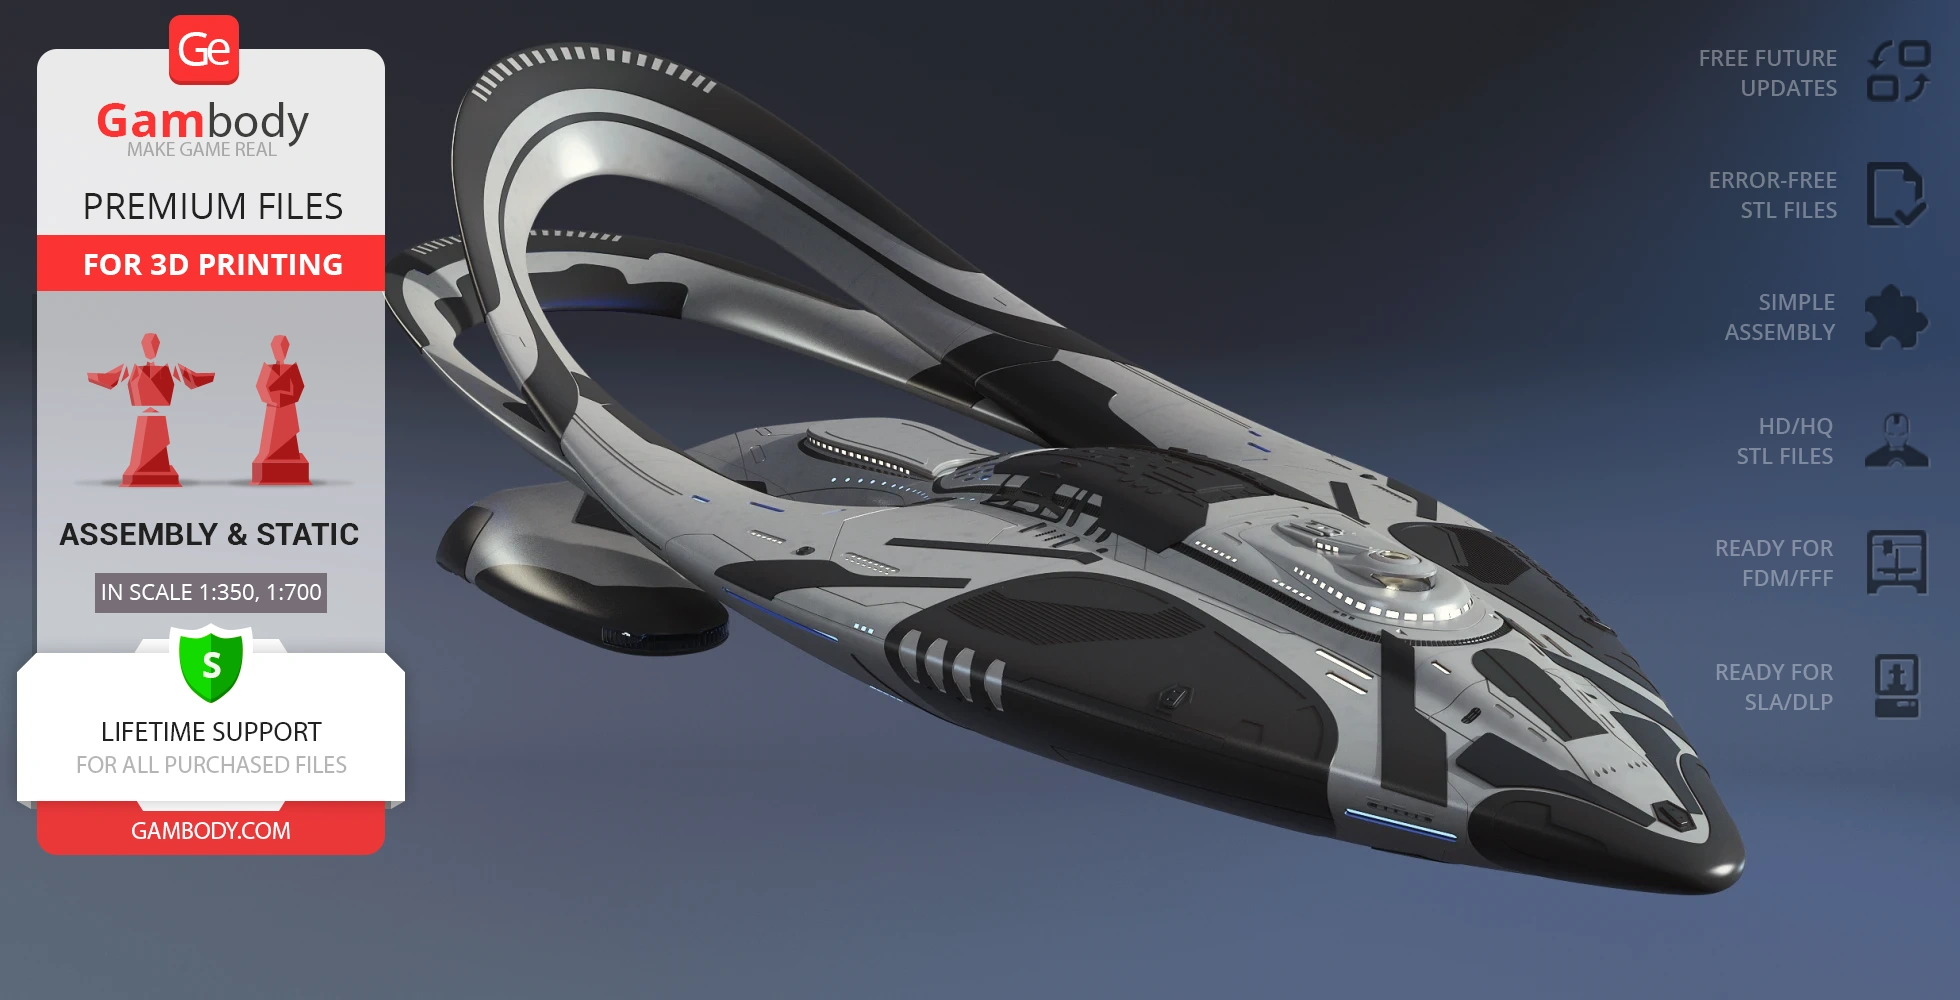
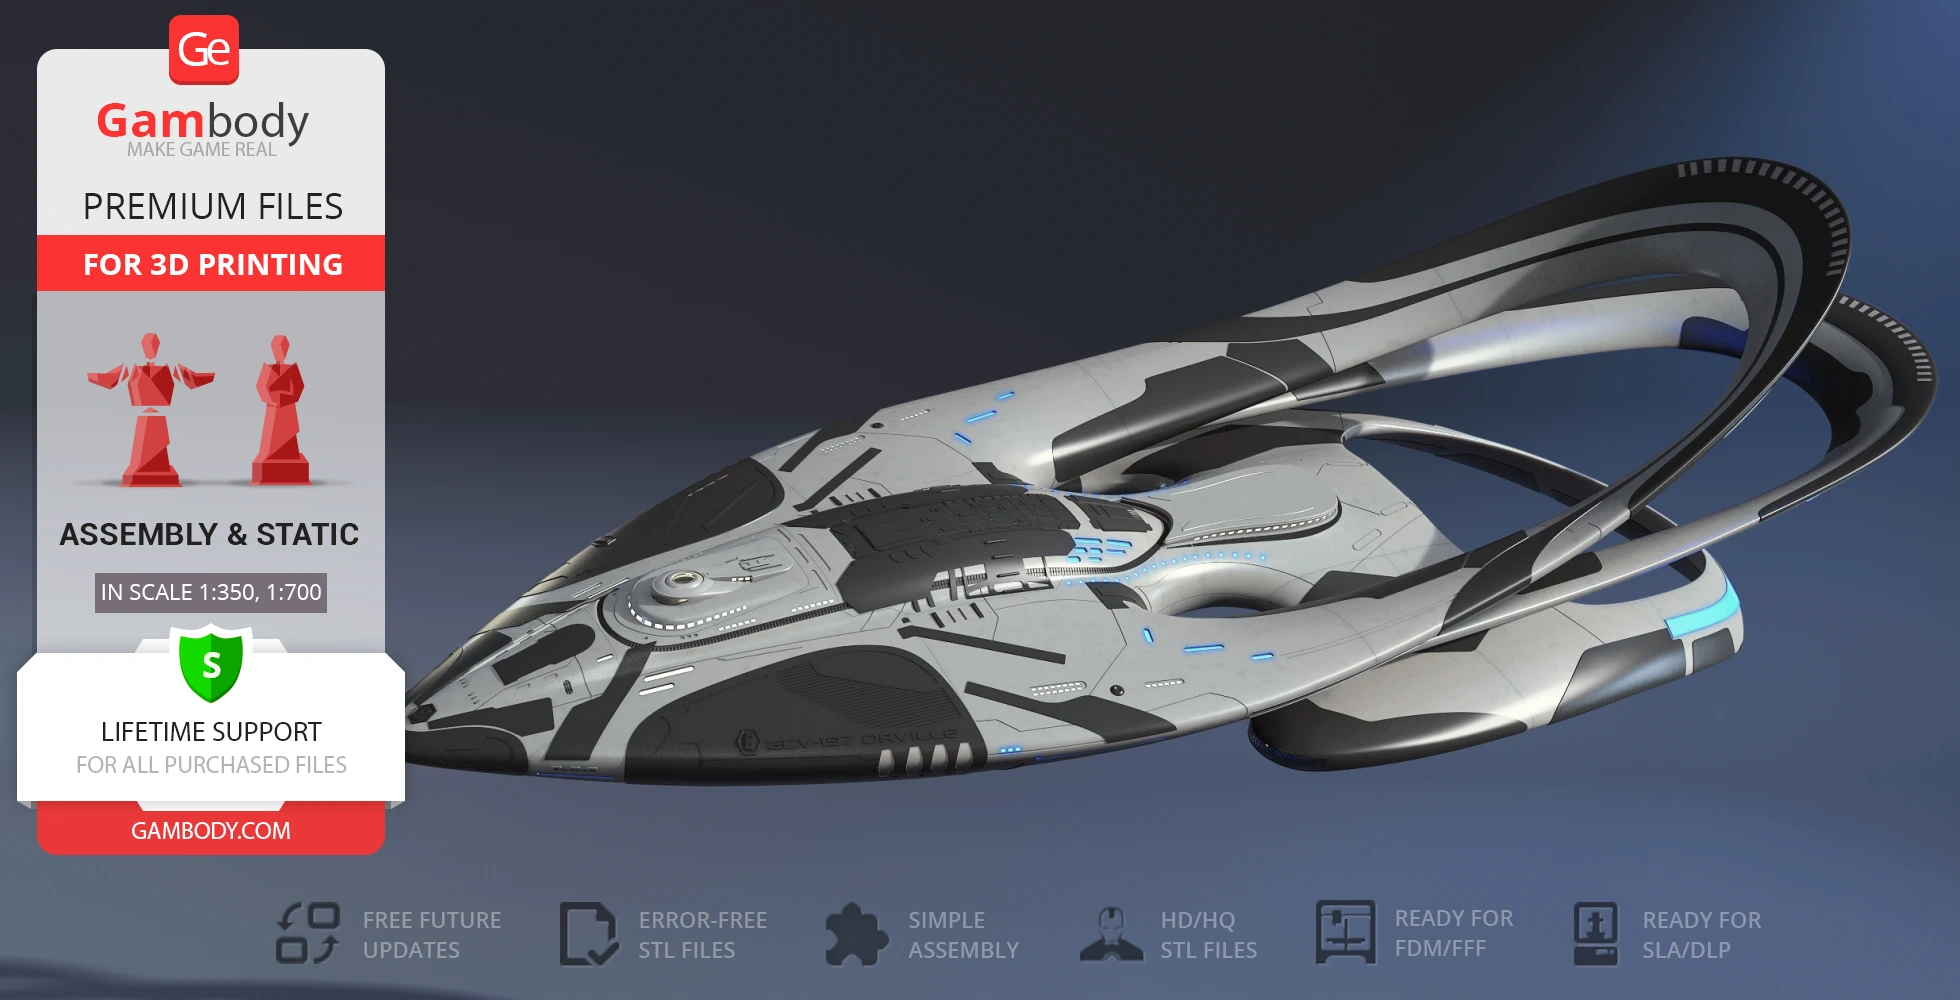
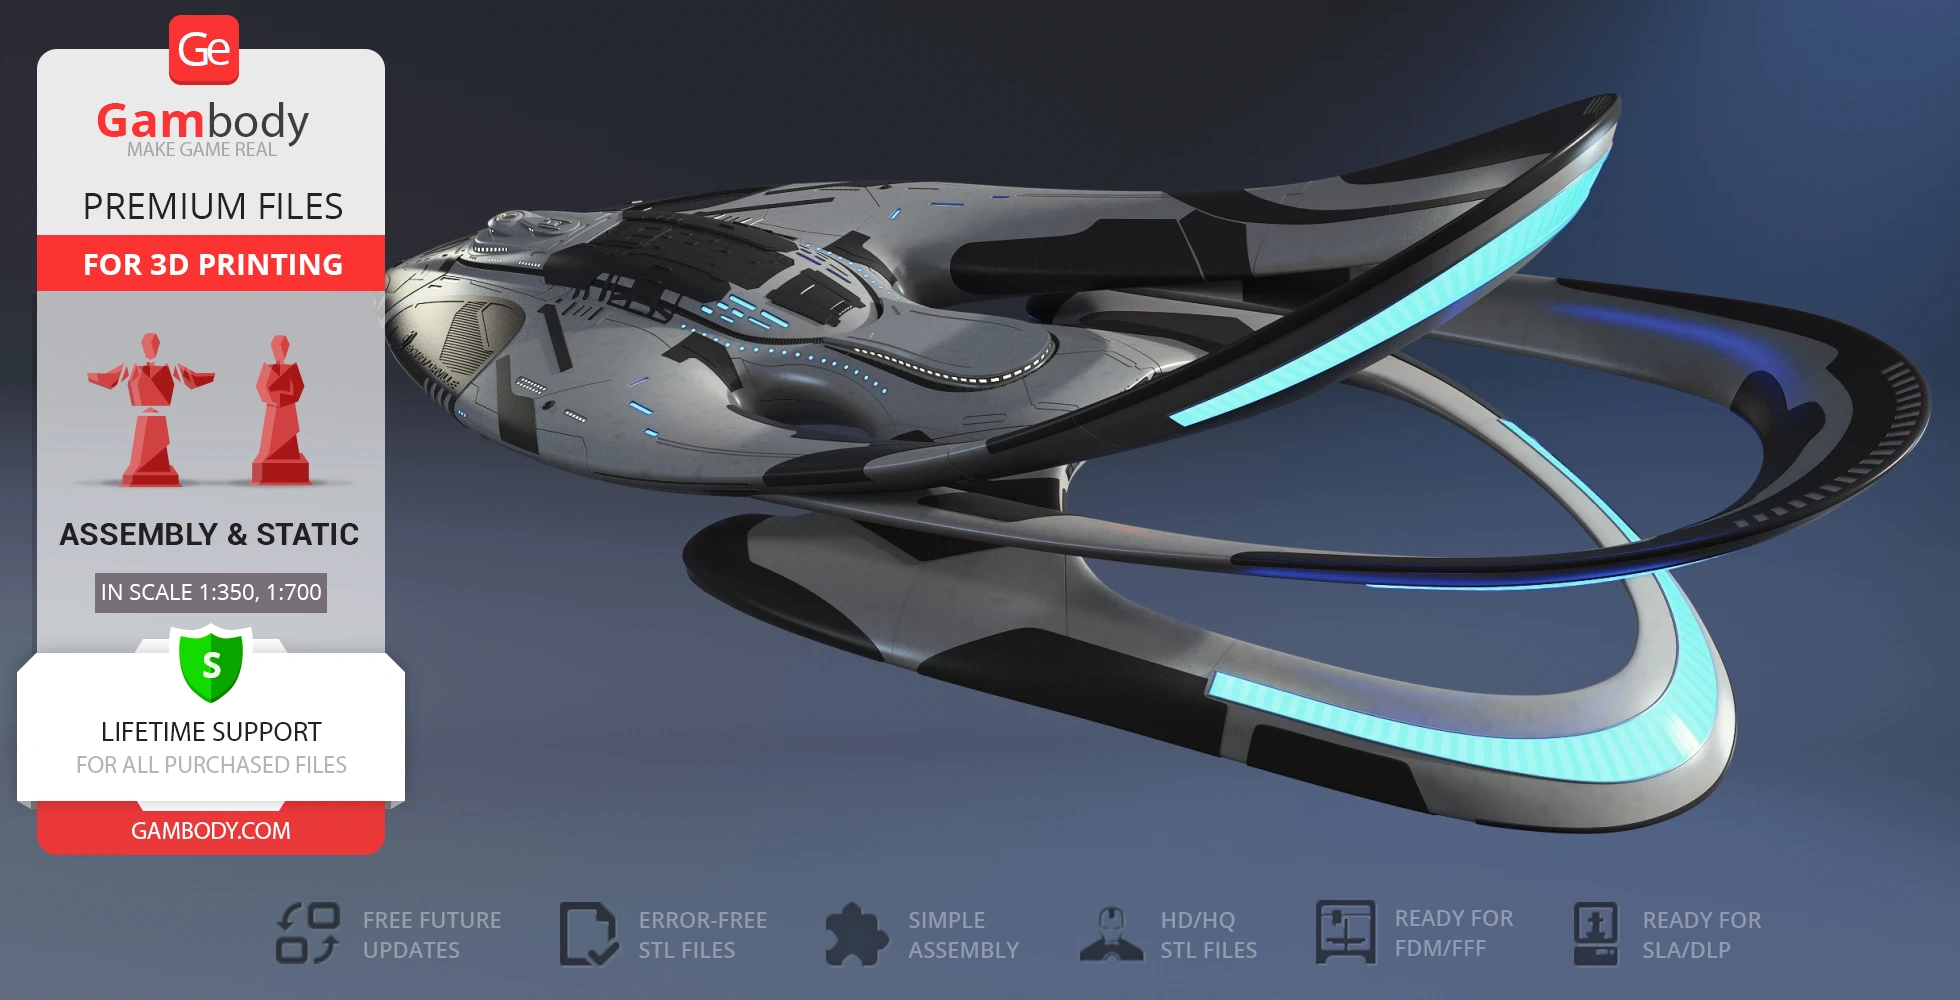
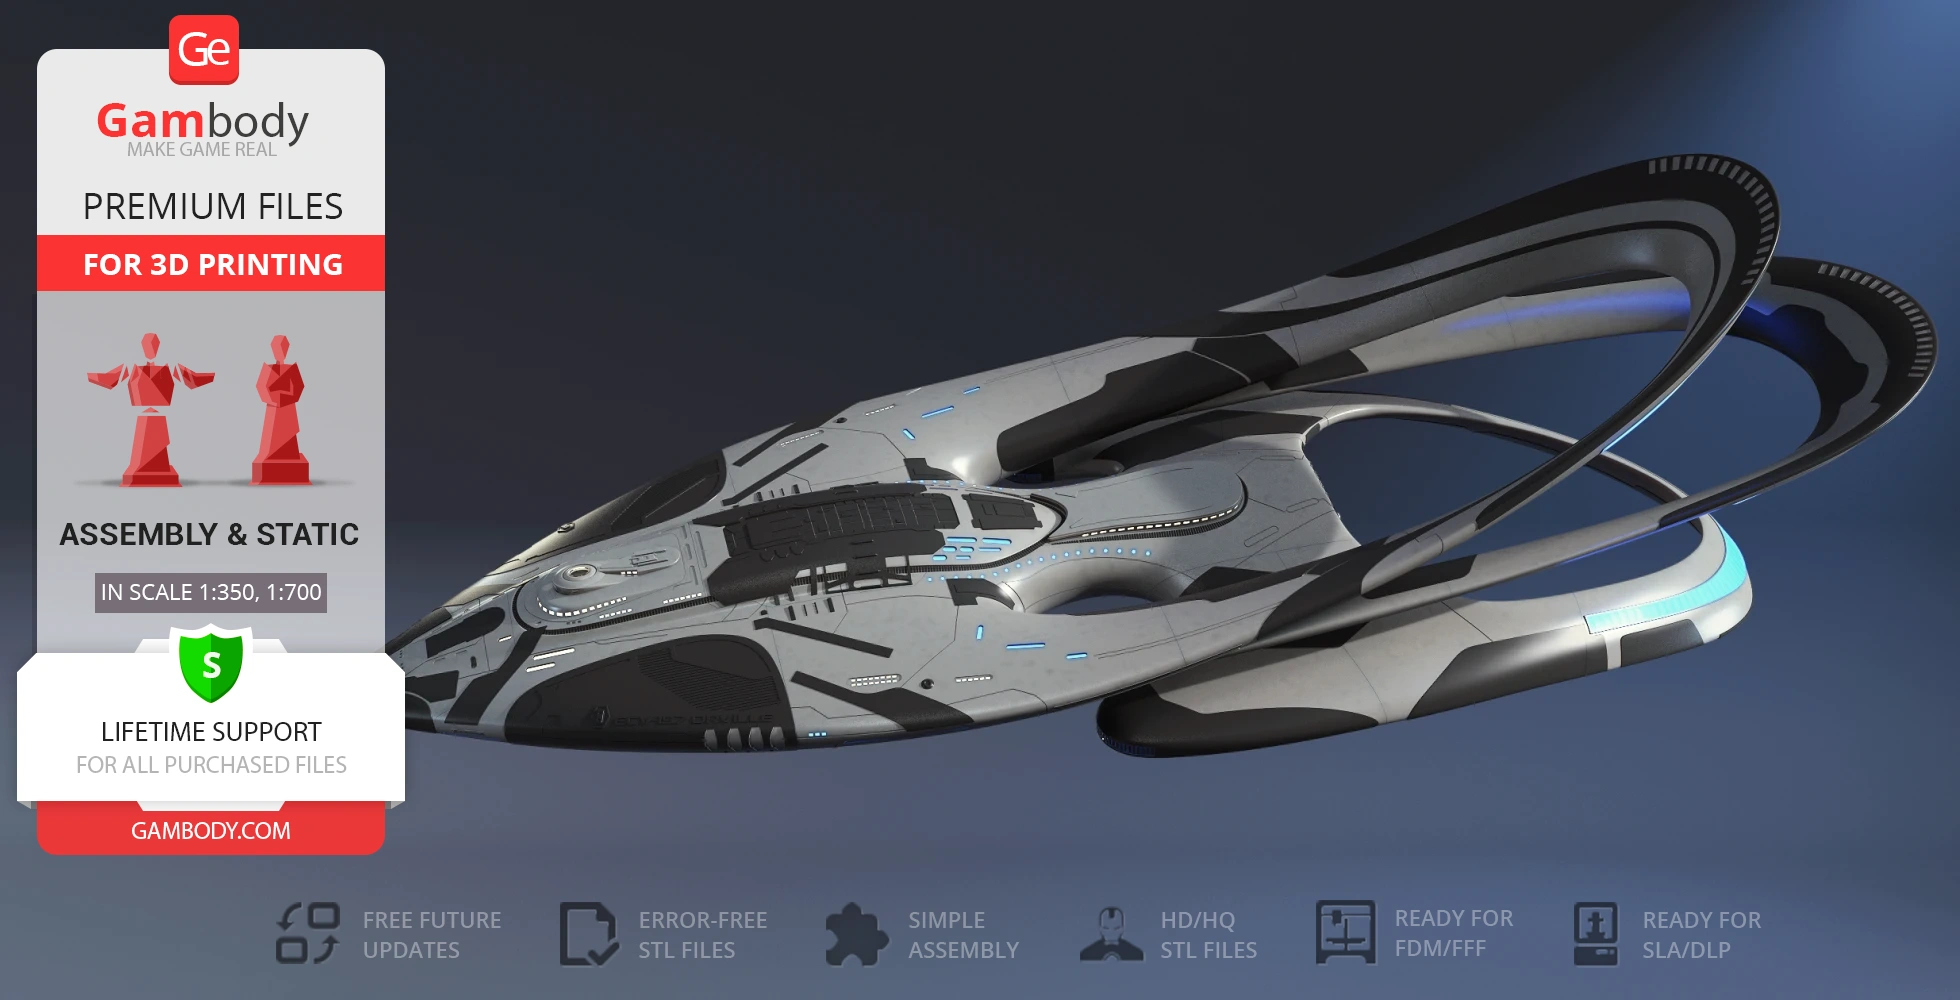
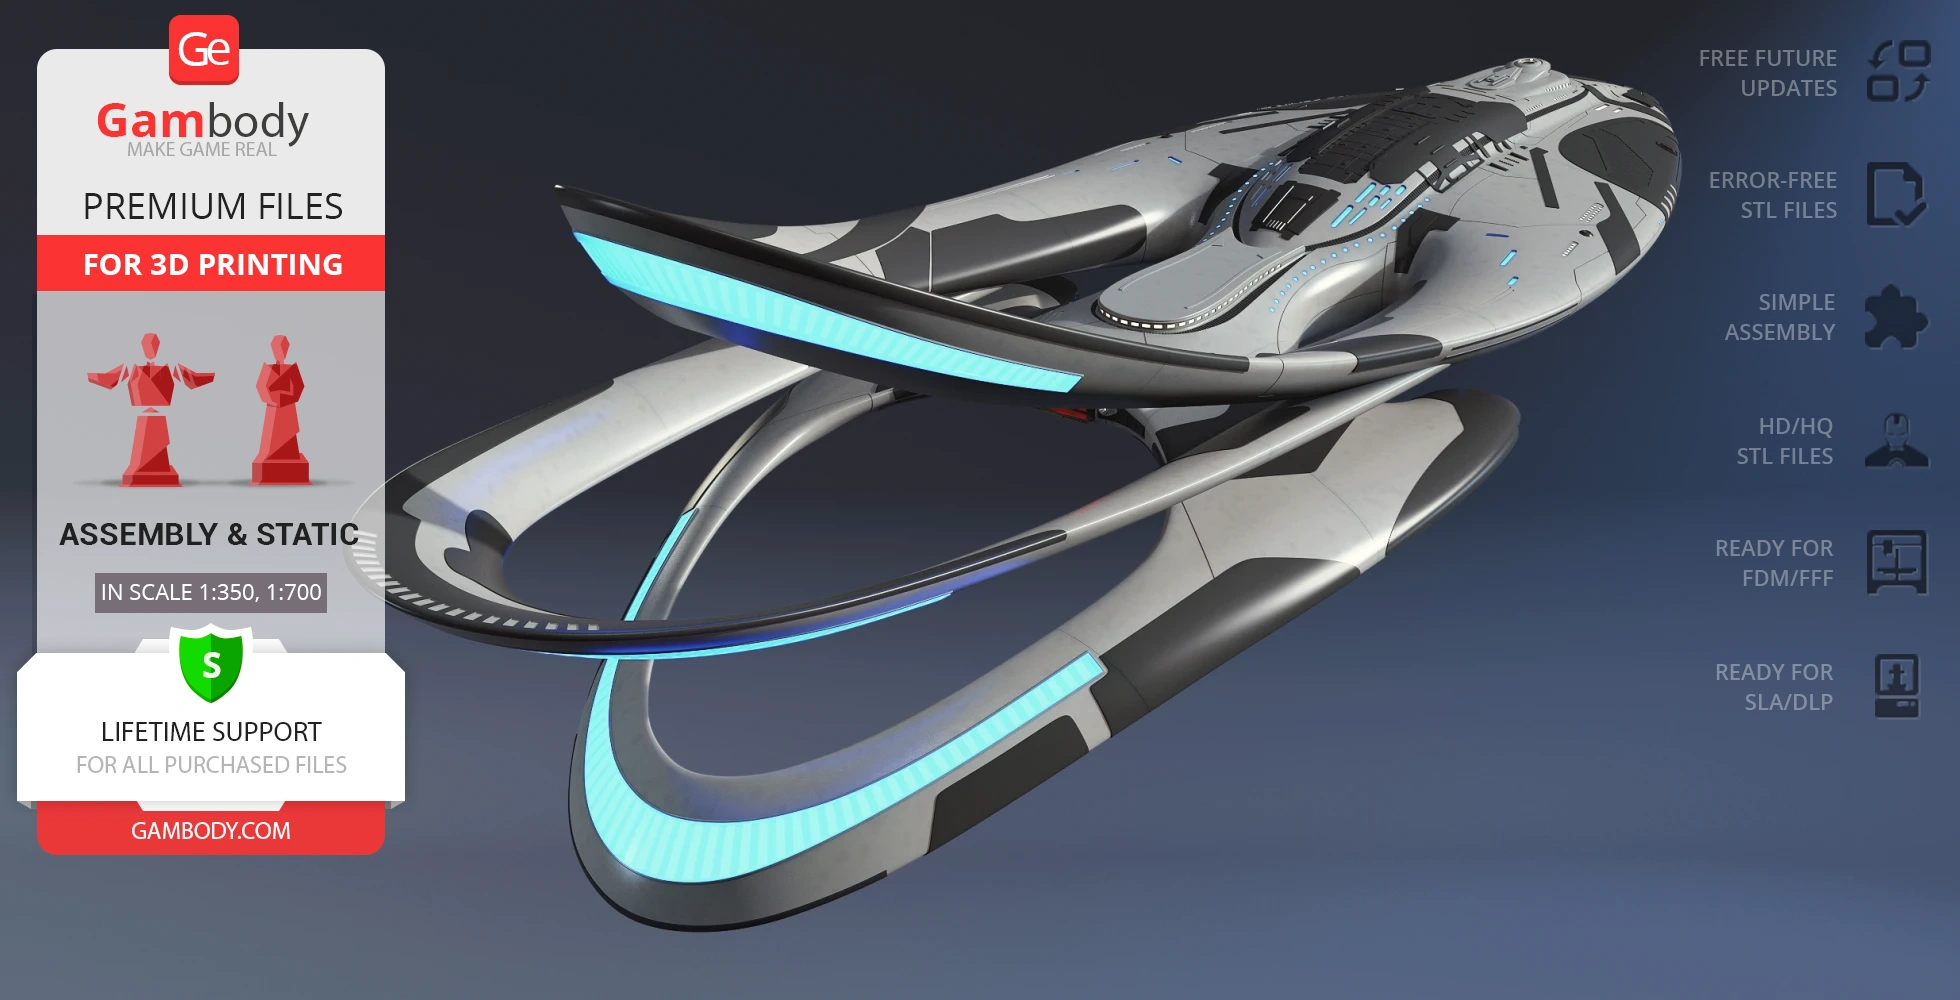
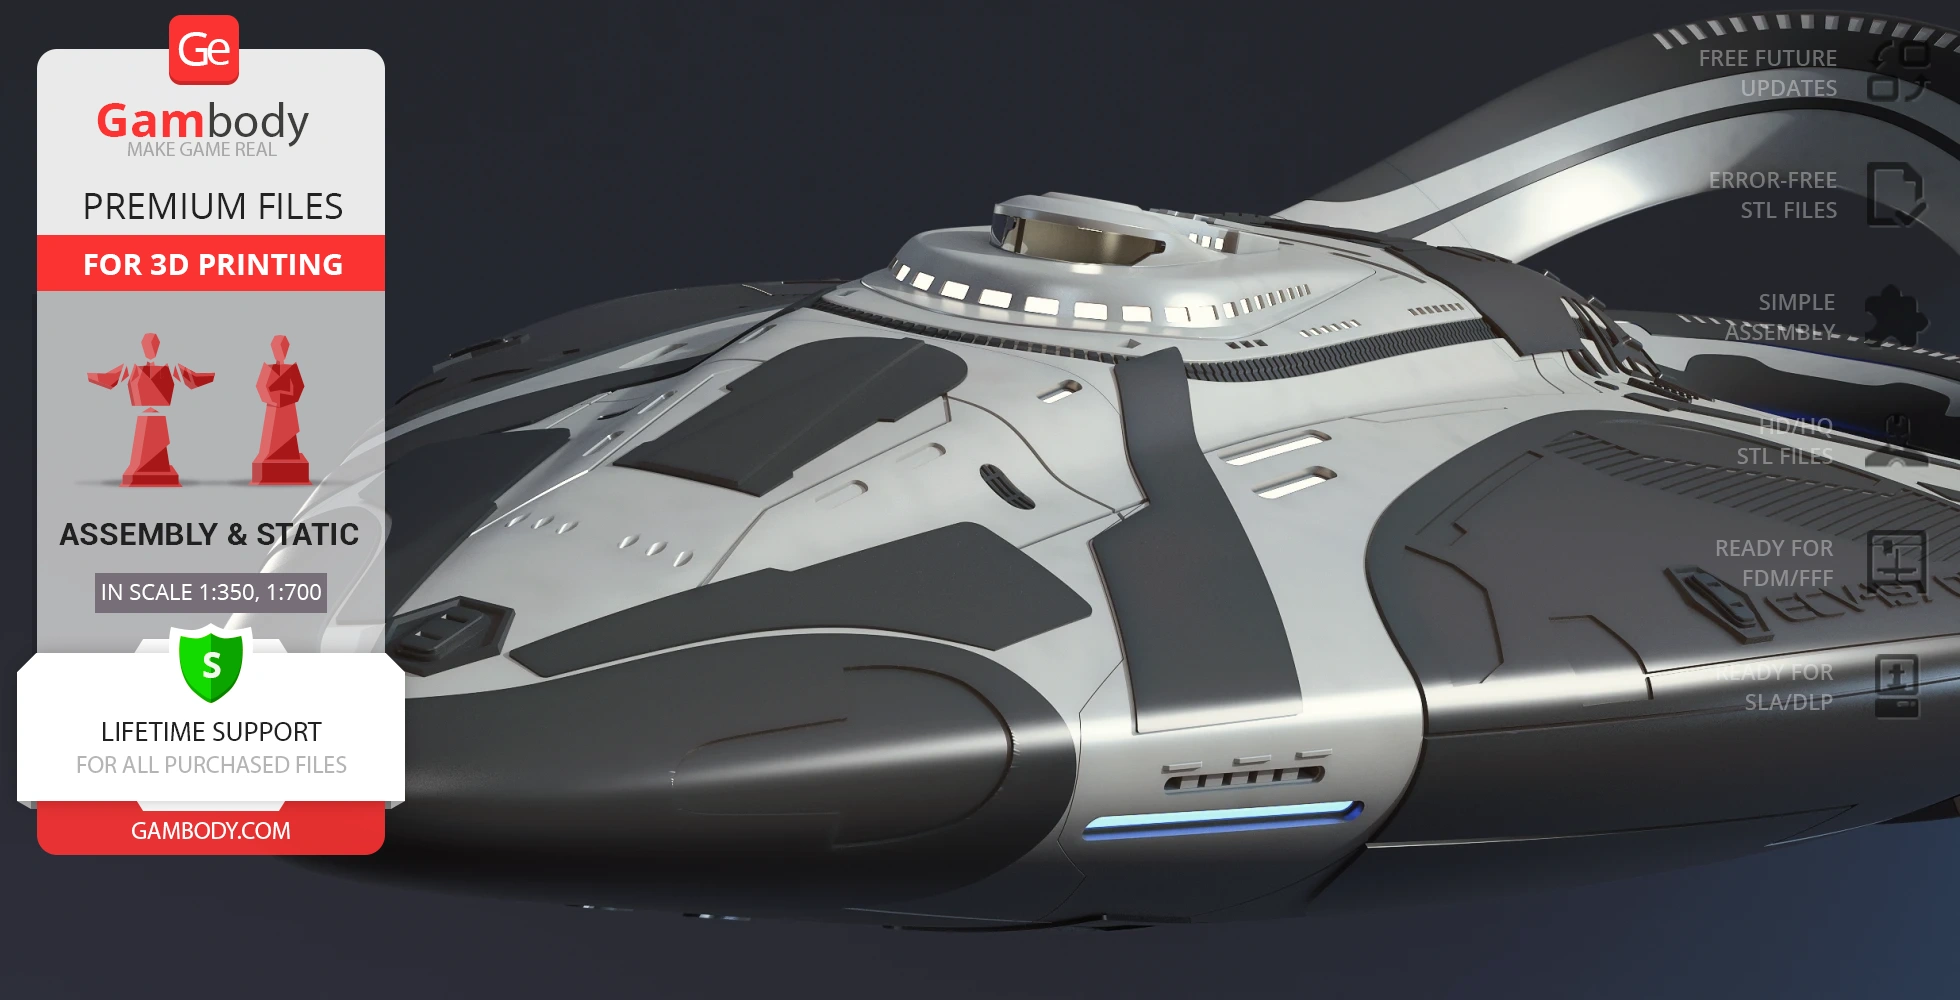
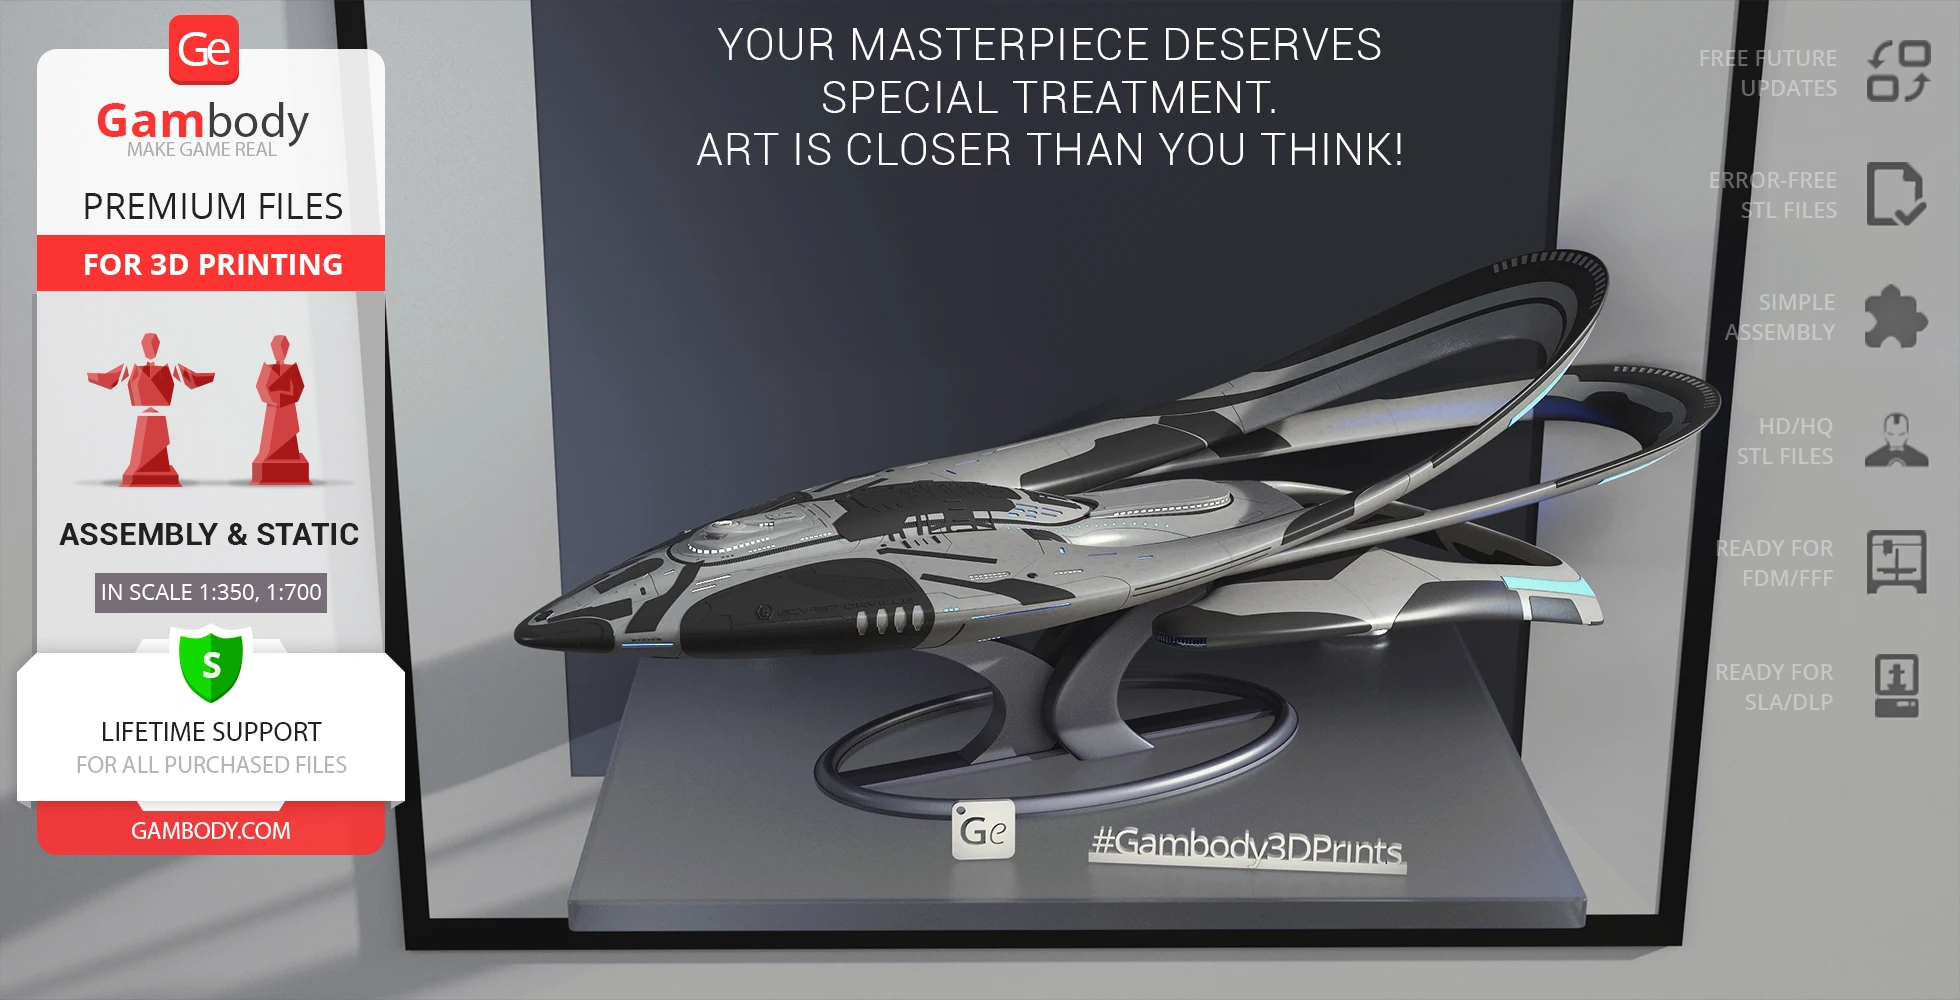
Enter the futuristic universe of The Orville, a gripping sci-fi TV-series set in the early 25th century. The USS Orville (ECV-197), a mid-level Exploratory-class vessel in the service of the Planetary Union, commands attention under the leadership of Captain Ed Mercer and First Officer Kelly Grayson. Designed for extensive exploration and cartography, the USS Orville accommodates a diverse crew of nearly 300 and features a quantum drive capable of reaching speeds of 17 light years per hour. Though primarily an exploration vessel, the USS Orville, equipped with military and defensive armaments, became involved in many conflicts, including the notable Battle of Earth in 2421.
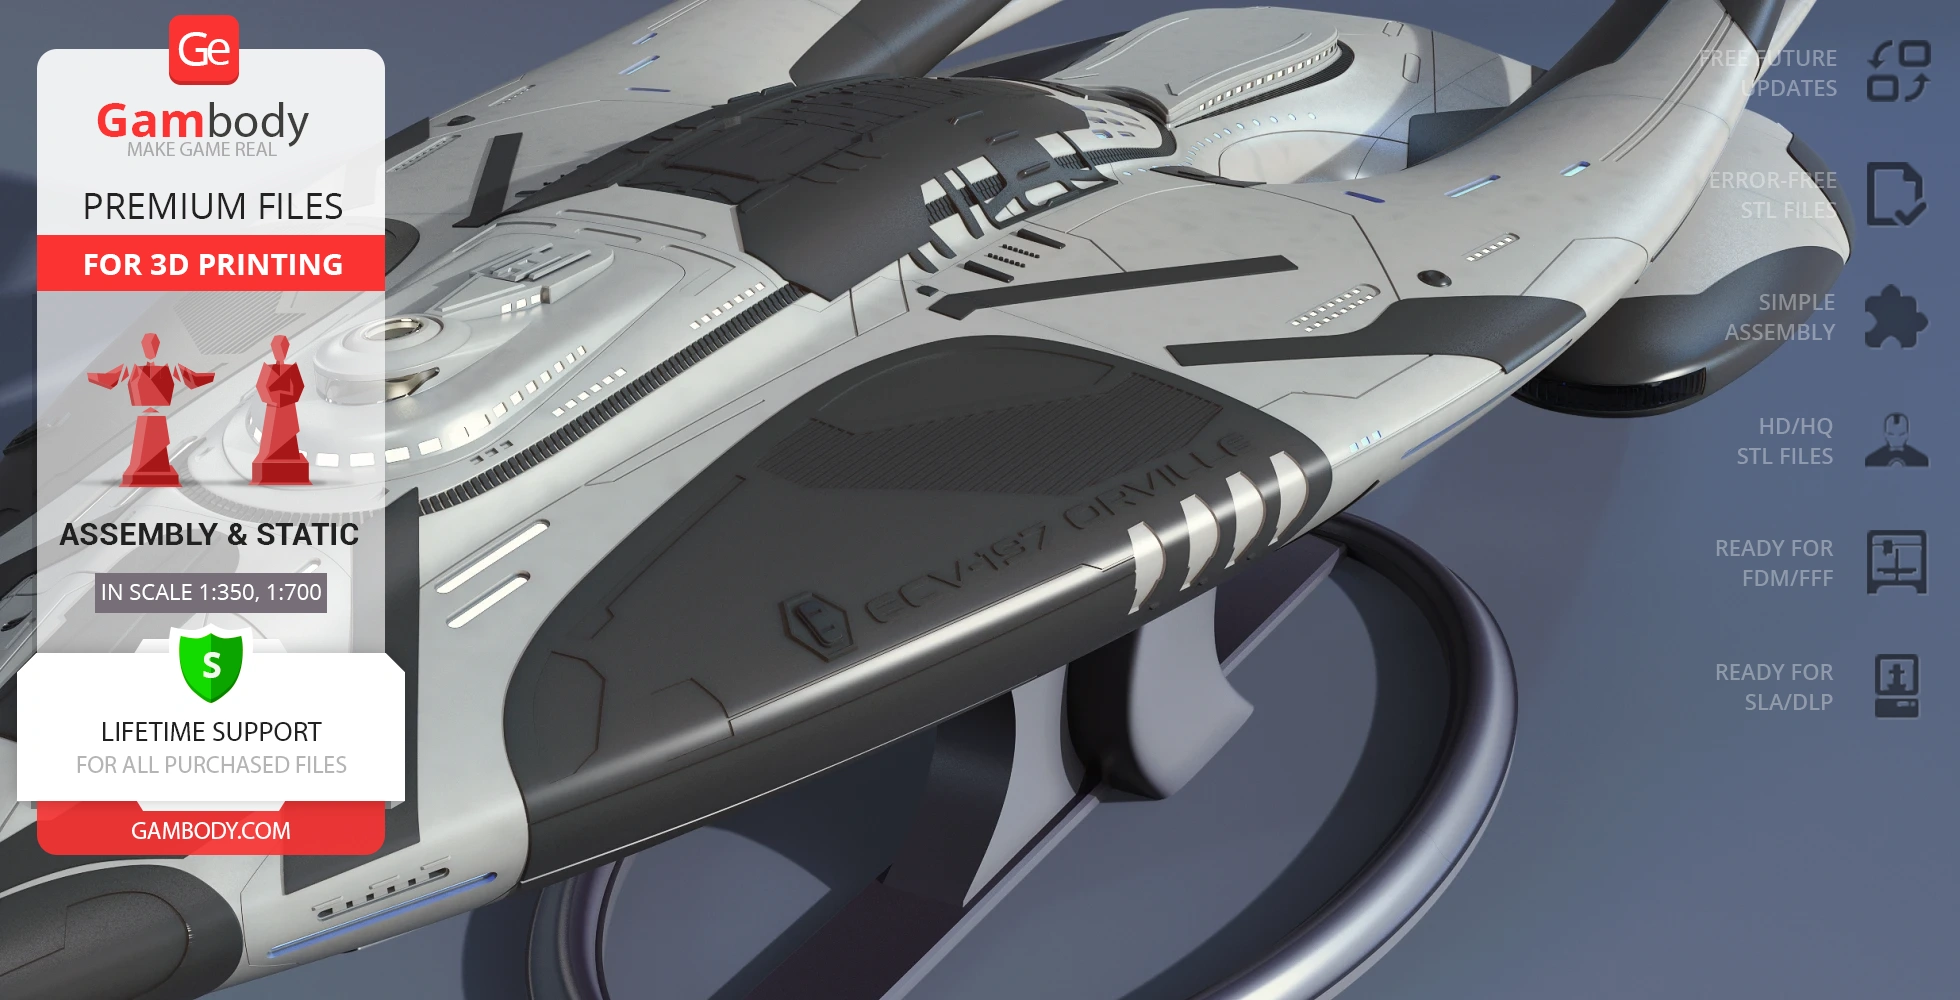
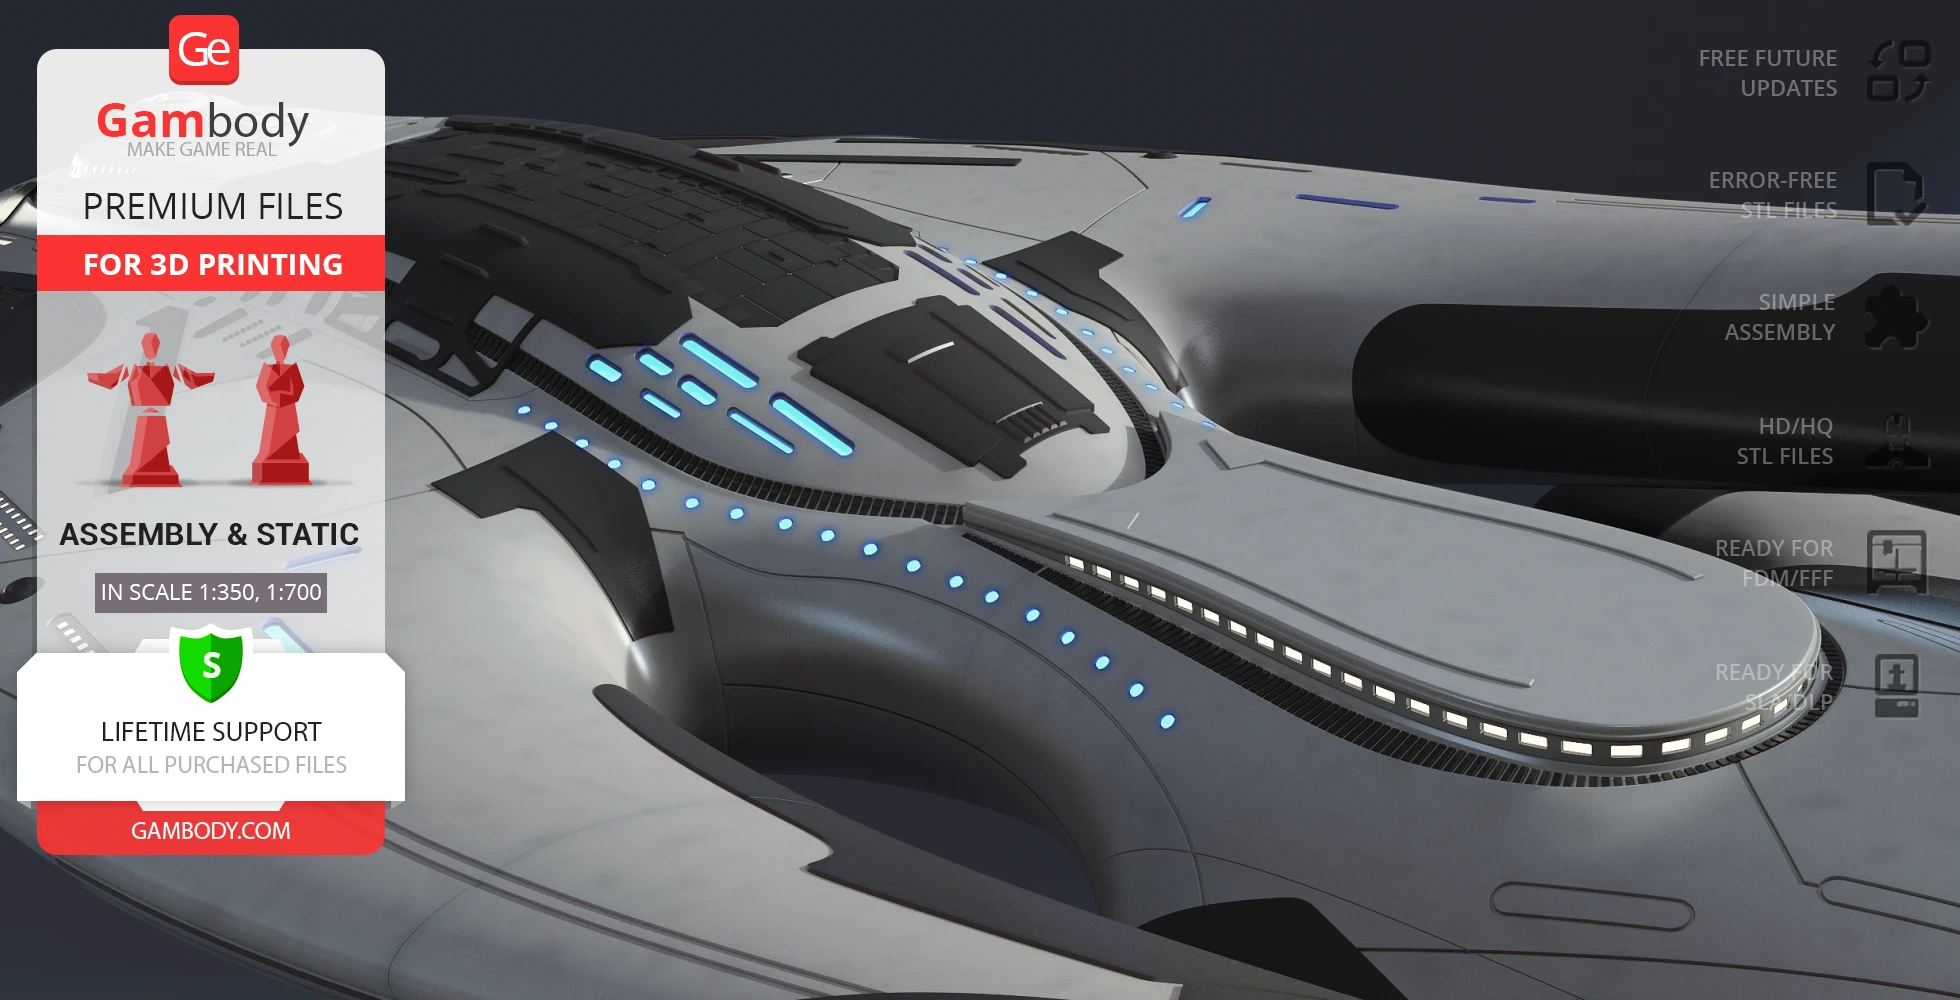
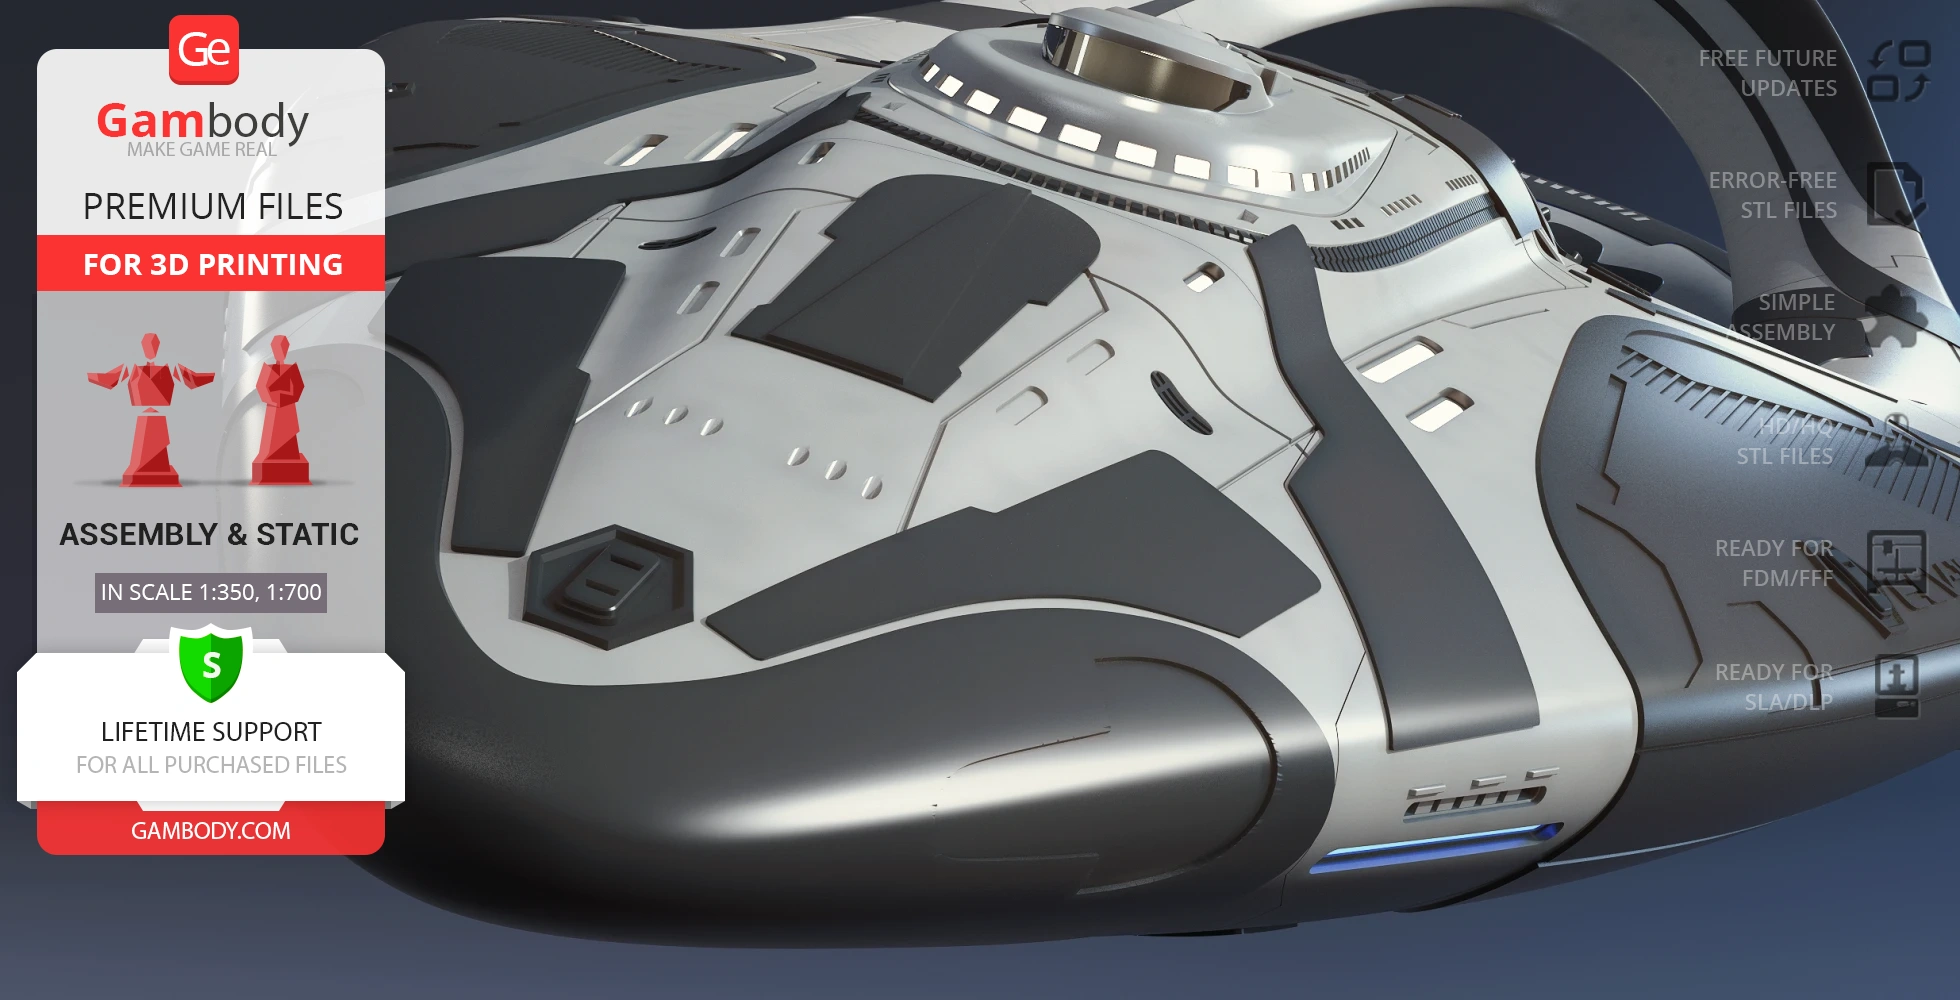
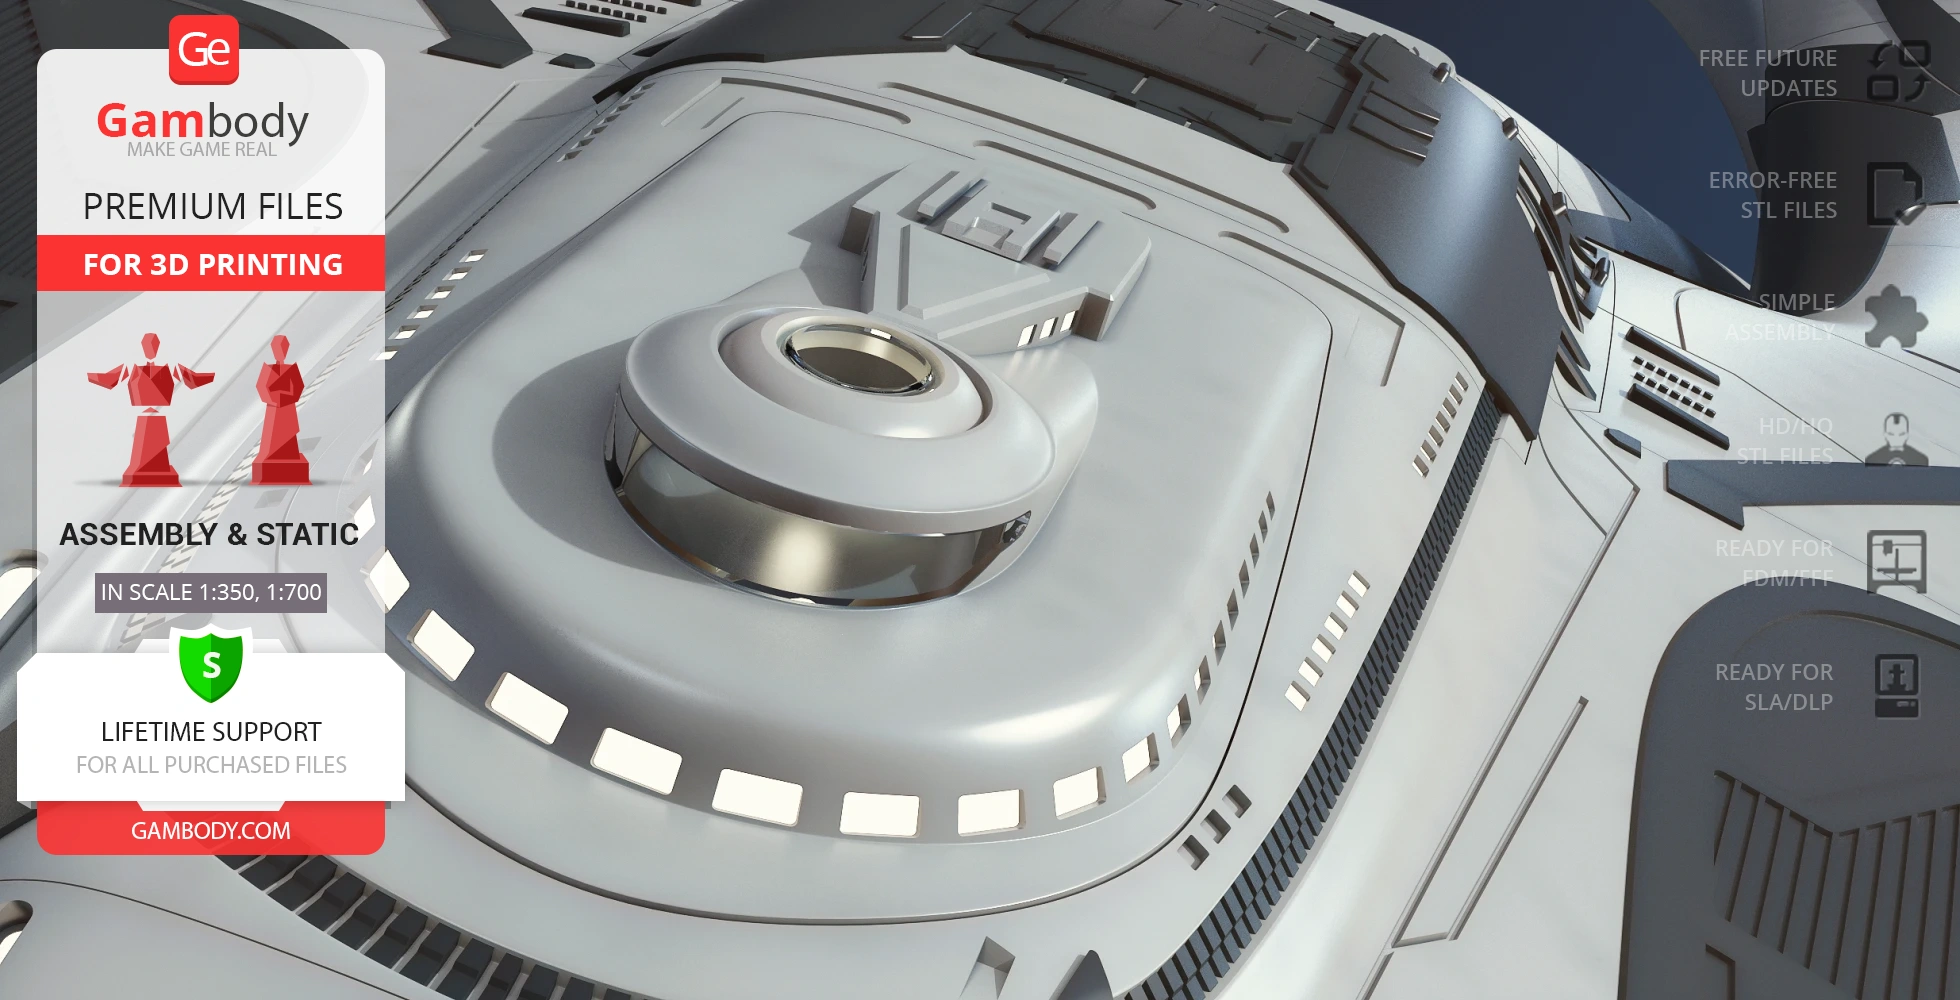
The meticulously designed USS Orville model for 3D printing captures the essence of this iconic spacecraft. Tailor your display with two shuttle hangar variants – opened or with a door – and two front hull options – with or without lettering. The model's thoughtful design includes tunnels for LED wiring, so you can illuminate its intricate features and bring the vibrant adventures of the Orville to life. Whether you're a seasoned fan of the series or a newcomer to the wonders of space exploration, our model offers a captivating glimpse into the boundless possibilities of the cosmos!
3D printing model features
Model-specific features:
- Two variants of the front hull – with and without the lettering;
- Two variants of the shuttle hangar – opened and with a door;
- Tunnels for LED wiring to light up the hull and the engines.
Printing & assembly details:
- Provided as error-free STL files compatible with most 3D printers;
- Optimized part division minimizes support material and ensures smooth and precise surface detailing;
- The assembly parts in the FFF/FDM version come in the recommended print orientations for easy bed placement;
- Assembly manual in PDF and video formats is included for the FFF/FDM and DLP/SLA versions;
- The model is available in recommended scales – 1:350 for the FFF/FDM version and 1:700 for the DLP/SLA versions.
What will you get after purchase?
- 4 versions of USS OrvilleSTL files for FFF/FDM and DLP/SLA – files for all versions are available for download after the purchase;
- STL files of high-poly USS Orville model for 3D printing consist of 186 files;
- Sizes for:
- FFF/FDM Model Size: 286 mm wide, 290 mm high, 848 mm deep;
- DLP/SLA Model Size: 143 mm wide, 145 mm high, 424 mm deep;
- Assembly Manual for FFF/FDM and DLP/SLA versions in PDF and video formats;
- Detailed settings that we provide as a recommendation for Bambu Studio, Cura, Orca Slicer, PrusaSlicer, Simplify3D, and Slic3r for the best print;
- Full technical support from the Gambody Support Team.
Average customer rating (15 reviews)
4.3
Ratings breakdown
Click a star rating to filter reviews
Overall experience
Level of detail in the model
4.4
Model cut quality and assembly guide
4.3
Clarity and accuracy of the model page
4.4



 Verified purchase
 Level of detail in the model
5
Model cut quality and assembly guide
5
Clarity and accuracy of the model page
5

 Verified purchase
 Level of detail in the model
5
Model cut quality and assembly guide
5
Clarity and accuracy of the model page
5
 Verified purchase
 Level of detail in the model
4.5
Model cut quality and assembly guide
3.5
Clarity and accuracy of the model page
5


 Community Support Team
 We’re sorry to hear that you’re experiencing issues with the balance of your Orville 3D model on the platform! We haven’t received similar reports from other users before, but we will be happy to help deal with this!
If you’d like, please send us an email at support@gambody.com with some additional images or a short video showing the issue. We’ll review it with our Moderation Team and see what can be done with the stand to find a practical solution for your build—so you can display your awesome 3D print without the hassle of constant repositioning and fear of tilting over!
Thank you again for sharing the pictures and your feedback!
 This feedback is from a user who hasn't purchased this model
 Level of detail in the model
5
Model cut quality and assembly guide
5
Clarity and accuracy of the model page
5
This feedback is from a user who hasn't purchased this model Level of detail in the model
5
Model cut quality and assembly guide
5
Clarity and accuracy of the model page
5
This feedback is from a user who hasn't purchased this model Level of detail in the model
5
Model cut quality and assembly guide
5
Clarity and accuracy of the model page
5
 Verified purchase
 Level of detail in the model
5
Model cut quality and assembly guide
5
Clarity and accuracy of the model page
5

 This feedback is from a user who hasn't purchased this model
 Level of detail in the model
4
Model cut quality and assembly guide
4
Clarity and accuracy of the model page
4
Verified purchase Level of detail in the model
1
Model cut quality and assembly guide
1
Clarity and accuracy of the model page
1
 This feedback is from a user who hasn't purchased this model
 Level of detail in the model
5
Model cut quality and assembly guide
5
Clarity and accuracy of the model page
5
 Verified purchase
 Level of detail in the model
4
Model cut quality and assembly guide
4
Clarity and accuracy of the model page
4

 This feedback is from a user who hasn't purchased this model
 Level of detail in the model
5
Model cut quality and assembly guide
5
Clarity and accuracy of the model page
5
This feedback is from a user who hasn't purchased this model Level of detail in the model
4
Model cut quality and assembly guide
4
Clarity and accuracy of the model page
4
This feedback is from a user who hasn't purchased this model Level of detail in the model
3
Model cut quality and assembly guide
3
Clarity and accuracy of the model page
3
 This feedback is from a user who hasn't purchased this model
 Level of detail in the model
5
Model cut quality and assembly guide
5
Clarity and accuracy of the model page
5
Below you'll find detailed slicing settings for Bambu Studio 2.0+, Orca Slicer 2.0+, UltiMaker Cura 5.0+, PrusaSlicer 2.0+, Slic3r 1.3+, Simplify3D 5.0+ to help you get the best results when printing this model. These settings are optimized specifically for this 3D model, but please note they may need slight adjustments depending on your printer or filament. When in doubt, refer to your printer's user manual.
To avoid printing issues and achieve the best quality, we highly recommend applying the following settings:
 Bambu Studio 2.0+
 For better quality use 0.12 mm layer height, for fast printing use 0.2 mm layer height. For pins and the Ge connectors, use 0.2 layer height.
120-150% of your Layer Height
But you can paint the seam if you want.
You have to calibrate this parameter
You have to calibrate this parameter
You have to calibrate this parameter
For pins and power elements of the structure, such as the vehicle frame, use 3 loop
Disabled for vehicles and enabled for characters
For 0,2 Layer Height
The parameters in this tab vary greatly, it all depends on the quality of your printer. For example, if you have a classic Ender3, stick to the minimum parameters, but if you have a newer printer, for example Anycubic cobra 3 v2, you can select the maximum recommended values
Settings for advanced users, change these parameters only if you have sufficient 3D printing expertise
Enable this parameter if your model requires supports
We also recommend placing and removing supports manually in some places using special button
1-2 loops for more thick support
Top Z distance = 1-1.3 layer Height. If the supports are hard to remove, try increasing this setting by 0.1-0,4 mm
Bottom Z distance = 1-1.3 layer Height. If the supports are hard to remove, try increasing this setting by 0.1-0,4 mm
You have to calibrate this parameter which one is better for your filament
Increase this parameter if the supports are hard to remove from walls
For PLA and PETG filament types
5-8 mm is optional for small prints that have bad adhesion to the build plate
You have to calibrate this parameter
Read the description on your filament roll
Read the description on your filament roll and increase this parameter for fast printers
Read the description on your filament roll and increase this parameter for fast printers
 Orca Slicer 2.0+
 For better quality use 0.12 mm layer height, for fast printing use 0.2 mm layer height. For pins and the Ge connectors, use 0.2 layer height.
120-150% of your Layer Height
But you can paint the seam if you want.
0.01-0.05 You have to calibrate this parameter
0.01-0.05 You have to calibrate this parameter
0.1-0.2 You have to calibrate this parameter
For pins and power elements of the structure, such as the vehicle frame, use 3 loop
Disabled for vehicles and ships, enabled for characters
For 0,2 Layer Height
For 0,2 Layer Height
The parameters in this tab vary greatly, it all depends on the quality of your printer. For example, if you have a classic Ender3, stick to the minimum parameters, but if you have a newer printer, for example, Anycubic Kobra 3 Or Bambulab A1, you can select the maximum recommended values.
Settings for advanced users, change these parameters only if you have sufficient 3D printing expertise
Enable this parameter if your model requires supports
We also recommend placing and removing supports manually in some places using special button
Top Z distance = 1-1.3 layer Height. If the supports are hard to remove, try increasing this setting by 0.1-0,4 mm
Bottom Z distance = 1-1.3 layer Height. If the supports are hard to remove, try increasing this setting by 0.1-0,4 mm
Increase this parameter if the supports are hard to remove from walls
For PLA and PETG filament types
5-8 mm is optional for small prints that have bad adhesion to the build plate
Read the description on your filament roll
Read the description on your filament roll and increase this parameter for fast printers
You have to calibrate this parameter
Read the description on your filament roll and increase this parameter for fast printers
Read the description on your filament roll
This field is filled in according to your printer specifications when you add it to the slicer.
You can add custom G-code here for the start and end of the print. However, be careful - this is for advanced users only!
You have to calibrate your printer using Ge retraction test models
Retraction Length: For direct-drive setups use 0.5 mm to 2.5 mm; for Bowden extruders use 5 to 7 mm
This is how fast the filament is pulled back—40-60 mm/s for direct drive and 30-50 mm/s for Bowden setups.
You have to calibrate this parameter: Reduce it until the printer starts to hit the parts with the nozzle during printing, then increase it by 0.2.
 UltiMaker Cura 5.0+
 For better quality use 0.12 mm layer height, for fast printing use 0.2 mm layer height. For pins and the Ge connectors, use 0.2 layer height.
120-150% of your Layer Height
To increase the strength of the print parts, use wall line count: 3
For pins and connectors use 50% Infill
These parameters are for standard PLA plastic. If you are using a different type of plastic, check the printing temperature recommended by the manufacturer. Also, read the description on your filament spool. For fast printers, add +30 °C to the current parameters.
The parameters in this tab vary greatly, it all depends on the quality of your printer. For example, if you have a classic Ender3, stick to the minimum parameters, but if you have a newer printer, for example Anycubic cobra 3 v3, you can select the maximum recommended values
Settings for advanced users, change these parameters only if you have sufficient 3D printing expertise.
You need to calibrate this parameter using Gambody test models. These values are average values for a Direct Drive extruder; for a Bowden extruder, the values should be increased.
You need to calibrate this parameter using Gambody test models. These values are average values for a Direct Drive extruder; for a Bowden extruder, the values should be increased.
Use this value other than 0 if your nozzle catches on the internal infill during travel moves. Try to keep this value as low as possible in height.
Use normal supports to support large, straight surfaces (most mechanical or technical parts).
You have to calibrate this parameter according to the capabilities of your printer and your filament, using a Gambody test models.
Use 1 instead of 0 if your supports are thin and tall. They will be harder to remove, but much stronger.
Top Z distance = 1-1.3 layer Height. If the supports are hard to remove, try increasing this setting by 0.1-0,4 mm
Increase this parameter if the supports are hard to remove from walls
Use tree supports to support complex objects, such as characters.
You have to calibrate this parameter according to the capabilities of your printer and your filament, using a Gambody test models.
Top Z distance = 1-1.3 layer Height. If the supports are hard to remove, try increasing this setting by 0.1-0,4 mm
Increase this parameter if the supports are hard to remove from walls
Use a skirt for all parts when printing on outdated printers.
Use a brim when printing thin but tall parts, as well as parts with a small bed adhesion area.
 PrusaSlicer 2.0+
 For better quality use 0.12 mm layer height, for fast printing use 0.2 mm layer height. For pins and the Ge connectors, use 0.2 layer height.
120-150% of your Layer Height
for 0.2 Layer Height
But you can paint the seam if you want.
(for PLA and PETG)
(5-8 mm is optional for small prints that have bad adhesion to the build plate)
Enable this parameter if your model requires supports
(45-50 degree)You have to calibrate this parameter according to the capabilities of your printer
and your filament, using a Gambody test models.
Top contact Z distance = 1-1.3 layer Height. If the supports are hard to remove, try
increasing this setting by 0.1-0,4 mm
Top contact Z distance = 1-1.3 layer Height. If the supports are hard to remove, try
increasing this setting by 0.1-0,4 mm
Increase this parameter if the supports are hard to remove from walls
The parameters in this tab vary greatly, it all depends on the quality of your printer. For example, if you have a classic Ender3, stick to the minimum parameters, but if you have a newer printer, for example Anycubic cobra 3 v3, you can select the maximum recommended values
Settings for advanced users, change these parameters only if you have sufficient 3D printing expertise. Use the minimum value for outdated printers without acceleration calibration, and the maximum value for modern printers if you need it.
These settings only work for 3D printers with multiple extruders
You can try setting all parameters in this section, except the First layer, to values between 0.75% of your nozzle diameter and 1.25% of your nozzle diameter. Adjusting them will help you work out the optimal parameters for the best quality for your print. As for the First layer, you can set it to 150% of the diameter of your nozzle for better adhesion to the build plate (for a nozzle with a diameter of 0.4 mm, the First layer extrusion width can be from 0.3 mm to 0.5 mm)
For better printing quality you have to calibrate this parameter using Gambody test model.
Check your filament manufacturer's temperature recommendations on the spool.
Cooling parameters depends on the material you use for printing.
*for PLA
 Slic3r 1.3+
 For better quality use 0.12 mm layer height, for fast printing use 0.2 mm layer height. For pins and the Ge connectors, use 0.2 layer height.
120-150% of your Layer Height
For 0.12 Layer Height
For 0.12 Layer Height
For pins and connectors use 50% Infill
Use skirt for outdated 3d printers
(5-8 mm is optional for small prints that have bad adhesion to the build plate)
Enable this parameter if your model requires supports
(45-60 degree)You have to calibrate this parameter according to the capabilities of your printer and your filament, using a Gambody test models
Contact Z distance = 1-1.3 layer Height. If the supports are hard to remove, try increasing this setting by 0.1-0,4 mm
The parameters in this tab vary greatly, it all depends on the quality of your printer. For example, if you have a classic Ender3, stick to the minimum parameters, but if you have a newer printer, for example Anycubic cobra 3 v3, you can select the maximum recommended values
Settings for advanced users, change these parameters only if you have sufficient 3D printing expertise. Use the minimum value for outdated printers without acceleration calibration, and the maximum value for modern printers if you need it.
You have to calibrate this parameter from 0.9 to 1.1 according to the capabilities of your printer and your filament, using a Gambody test models.
Check your filament manufacturer's temperature recommendations on the spool.
Cooling parameters depends on the material you use for printing.
Calibrate this value if you need to reduce or improve the adhesion between the plastic and the heat bed
Your current nozzle diameter
You need to calibrate this parameter using Gambody test models. These values are average values for a Direct Drive extruder; for a Bowden extruder, the values should be increased.
 Simplify3D 5.0+
 Your current nozzle diameter
You have to calibrate this parameter using Gambody test models.
You need to calibrate this parameter using Gambody test models. These values are average values for a Direct Drive extruder; for a Bowden extruder, the values should be increased.
For better quality use 0.12 mm layer height, for fast printing use 0.2 mm layer height. For pins and the Ge connectors, use 0.2 layer height.
For 0,2 Layer Height
For 0,2 Layer Height
To increase the strength of the print parts, use Outline Perimeters: 3
You can enable this parameter to print rounded or spherical models, as well as character models.
Use this option only if your parts are too tight. but better calibrate your printer extrusion
Use this option only if your parts are too tight. but better calibrate your printer extrusion
Use 2 and more if you want to create skirt instead brim
1-2 for skirt and 10-20 for brim
Use for wipe nozzle if you need
Use For ABS filament
For pins and connectors use 50% Infill
Top Z distance = 1-1.3 layer Height. If the supports are hard to remove, try increasing this setting by 0.1-0,4 mm
Calibrate your filament and detect optimal temperature for it
Average temperature for PLA filament
The parameters in this tab vary greatly, it all depends on the quality of your printer. For example, if you have a classic Ender3, stick to the minimum parameters, but if you have a newer printer, for example Anycubic cobra 3 v3, you can select the maximum recommended values
Settings for advanced users, change these parameters only if you have sufficient 3D printing expertise.
DLP/SLA
- Exterior detailing refined to better reflect The Orville – Season 3 design;
- Large window sections updated with internal dividers;
- Additional side windows incorporated into the model;
- Simulated position lights added on the pylons.
FFF/FDM
- Exterior detailing refined to better reflect The Orville – Season 3 design;
- Large window sections updated with internal dividers;
- Additional side windows incorporated into the model;
- Simulated position lights added on the pylons.
DLP/SLA
- Two variants of the front hull - with and without the lettering;
- Two variants of the shuttle hangar - opened and with a door;
- Tunnels for LED wiring to light up the hull and the engines.
FFF/FDM
- Two variants of the front hull - with and without the lettering;
- Two variants of the shuttle hangar - opened and with a door;
- Tunnels for LED wiring to light up the hull and the engines.