

 es
es  ua
ua 

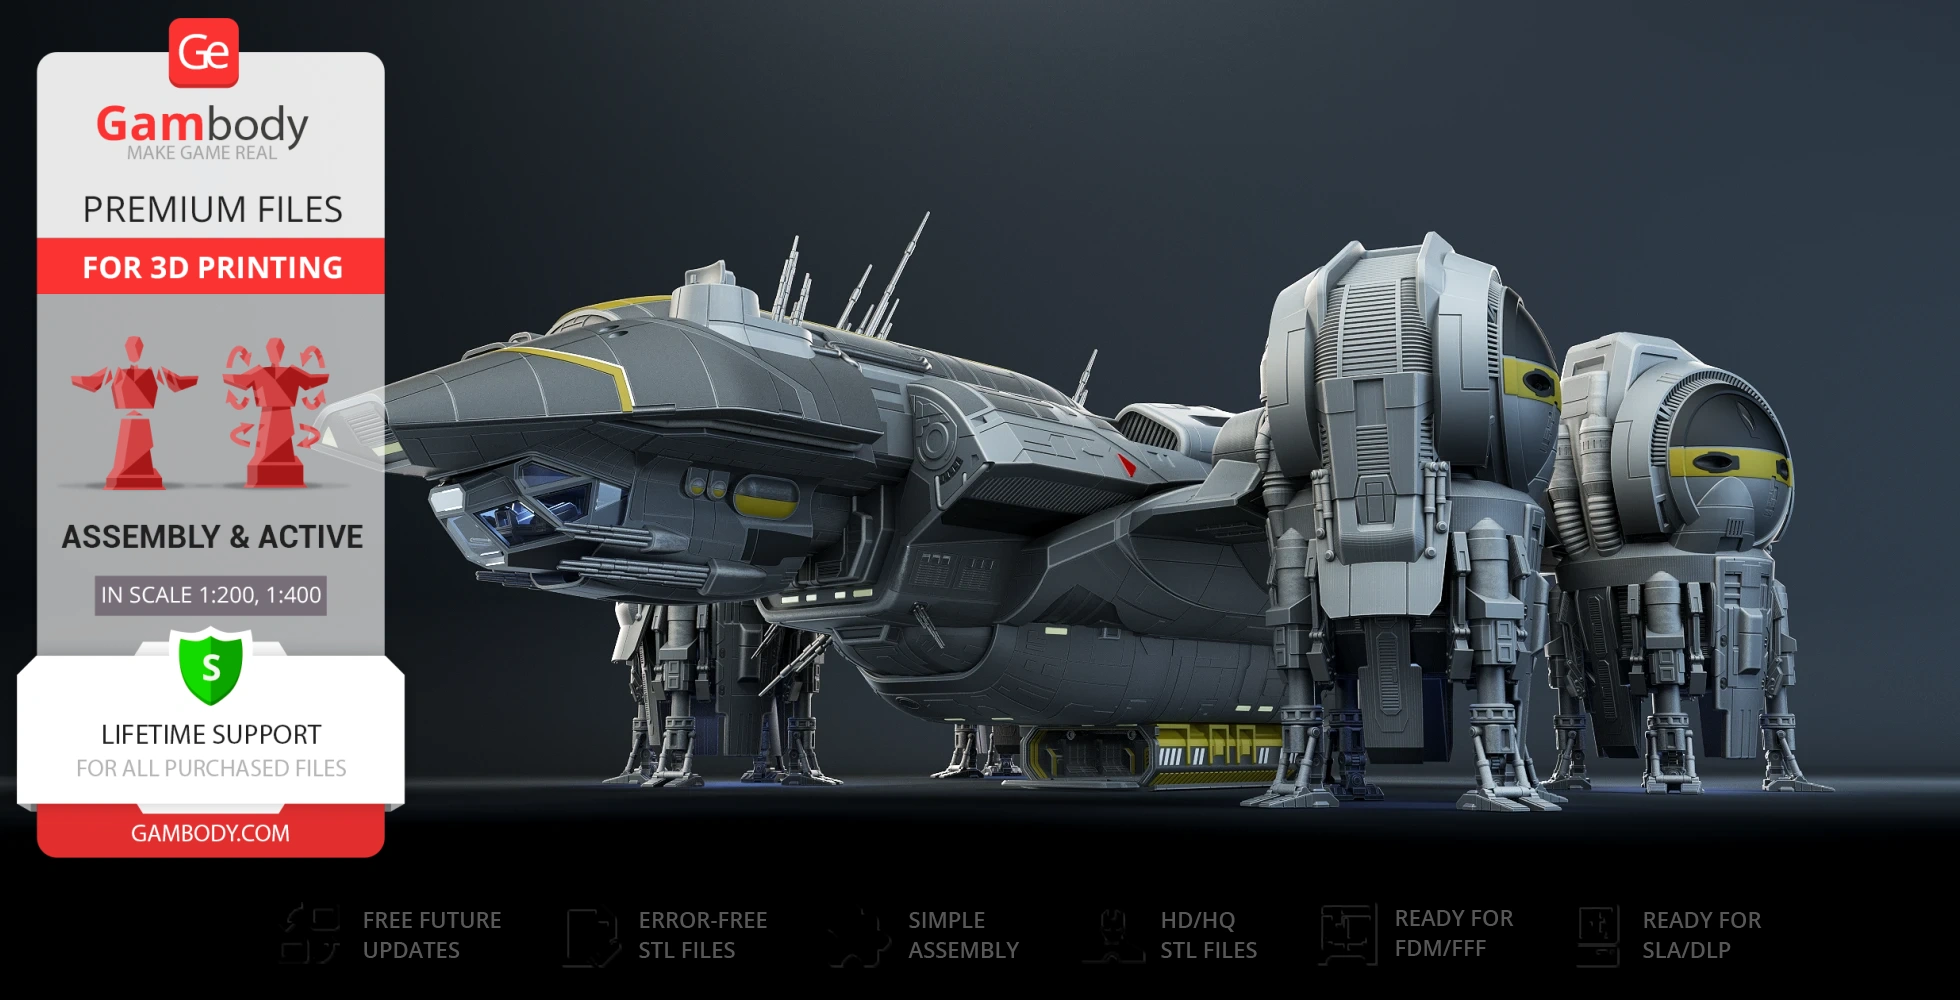
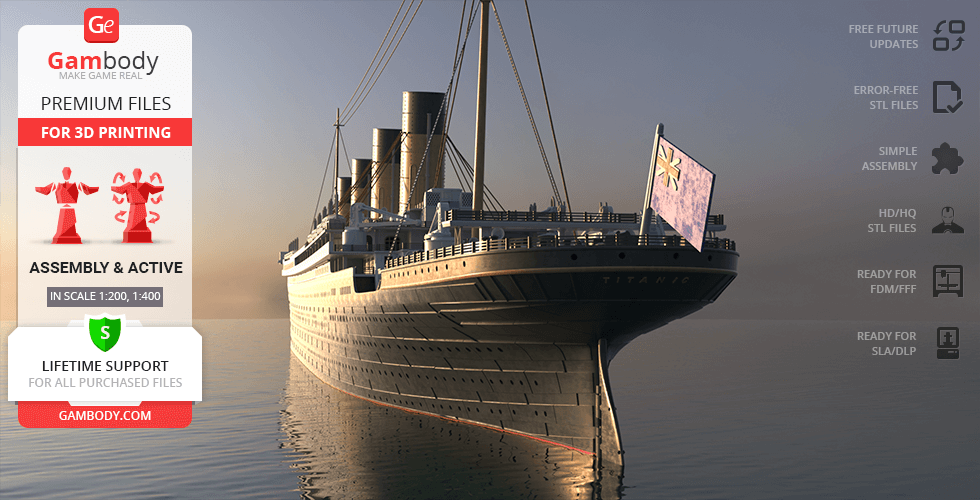
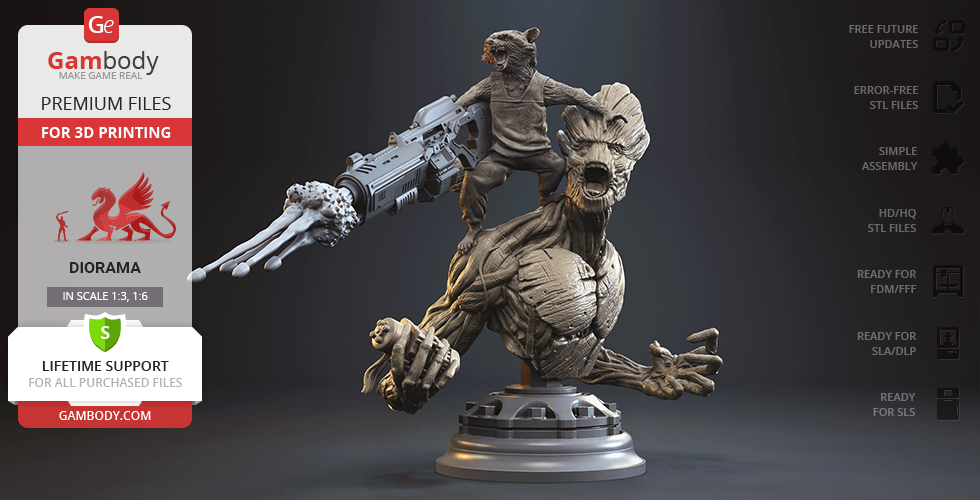
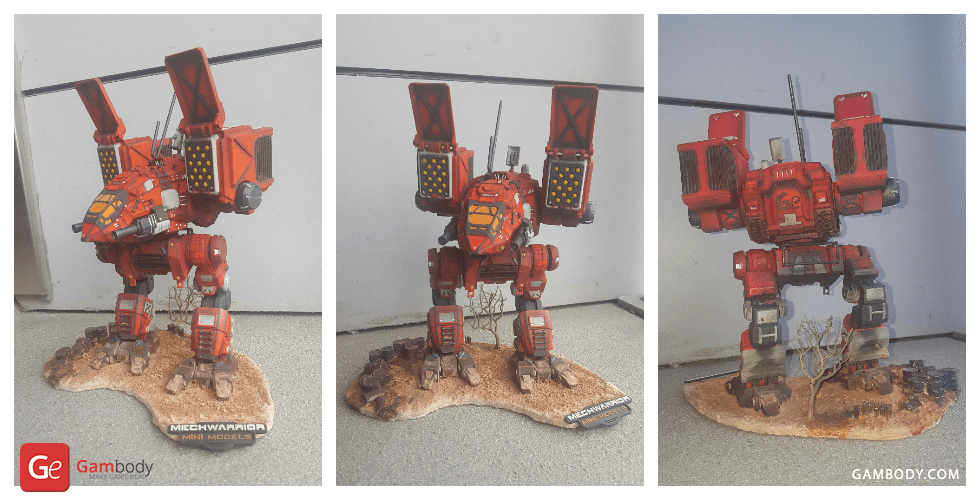


Das Teil war nicht einfach und ein bisschen Erfahrung mit Modellbau wäre hier sehr von Vorteil. Am Ende realisiert man erst, wie groß das Teil eigentlich ist. Ein großes Lob an die oder den Künstler, jedoch habe ich trotzdem eine kleine Kritik. Es wurde die Toilette vergessen?! Ich konnte das so nicht stehen lassen und musste notgedrungen eine Dixi Toilette mit in den Frachtraum nehmen.
Very good STL model for print. It was a fun to make it and paint. Finished model is a great add on to my home cinema room and Alien's movies collection.


Did it with Bambulab P2S and black PLA, using the parameters for Bambulab.
First printed the head top with transparent filament but it was not has clear has in the picture here so painted glossy black making it more realistic.
Everything fit 100% no sanding or grinding but I stil used cryacinate liquid glue.
Thanks for this well done
Awesome model - makes for a great display piece. Printed everything full size on my Ender 3 S1-Plus. Pieces fit together nicely and any imperfections from joining pieces aren't visibly noticeable. One design flaw was found in the joining wing pieces - the alignment holes don't all line up. Not a big deal as there are two and it holds it together until you glue in the panels just fine. Need to go back and watch Rebels now!

fantastic
For a die-hard fan, this model is an absolute must-have.
It's a faithful recreation and even has the option to add internal lighting. I highly recommend it and I'm going to add it to my slicer right now!
I wait so long and untill now artist of the model not dissappoint me and help make some a little detail to accurate this Enterprise-E
i said something bad or not good word and you will feel bad and not good. I am sorry
Thank you for spending time and energy with this update 2.0
Thank you... :)


I printed this for my wife, as she is a huge Grogu fan. Painted the model in Snapmaker Orca slicer to print multicolor. Did all the parts separately and glued together. Printed mostly in Matte PLA from Overture. The biggest issues I had were in printing the candy cane and the hands. They do not like to print standing up to get the best detail, so I ended up orienting them laying down and using a raft with supports. Palms down with the hands, so the palms side is not the nicest looking because of the supports, but they are hidden by the coffee mug, so not terrible. The fit on everything was great and I look forward to printing the other versions of this for the different Holidays!

Saw this on Andor and loved it! I printed this out quickly and chose the in-flight view.. going to double the size and print this out in landed mode which should be cool. might have to buy a bigger house to keep all of these things in! :) Awesome job! anyways I wanted to post pics but this site is very particular about size, so maybe later..

Great detailed build came out great, I was able to add some LED to the nose and nacelles.They turned out okay,the whole build look pretty slick. Good detailed build.I think im going to go with the bird of prey next.

Amazing file to work with, the model was a real pleasure to print and paint. Everything fits perfectly and the final result is very satisfying.
Please say a big 'Thank You' to Paul Walther the designer of the NX-01 Enterprise!
The number of cables increases while adding Leds. The colors match the color of the led. Most of them are WS2812B leds. On this pic I used WAGO connectors and 0.14mm² cables. In the WAGOs are 30 cables atm. The outlet slot to the nacelle could be 5mm longer to make wiring easyer.
Bernd
Very detailed model, accurately made but the best bit..... I scaled it to 1:1 and all files held perfectly and now I enjoy a full size light up terminator. In addition it is not too hard to slightly mod the files to add servos or motors. I love it when people come round it scares the living soul out of them LOL. You cant ask for a better file, ive seen many terminator files and this by far is the best.

as per normal from this designer top quality and well worth the money. this is the second model i've had and definitely not the last

Modello fatto molto bene, i dettagli si vedono l'armatura è perfetta (Stampato con Elegoo Saturn 4 Ultra 16K e Resina ABS Like 3.0 8K Space Grey) ho riempito 4 piastre e consumato all'incirca 600ml di resina, ora mi sto divertendo a pitturarlo!

after building a few different models from Gambody, this one is my favorite. it is without a doubt the coolest model i have built, and i have been building models my whole life
thanks for the enjoyment. cheers.
very well supported, hollowed, etc. nicely detailed as well. wish the instructions were a little more clear on the assembly options but they were enough to figure it out
Still building this, keep coming up with different ways of printing parts🤪 having great results using "Painting" multicolor parts in Bambu to bring greater detail ..see pics.
Ran into small problem, but the creator promptly corrected got back to me with an update to the part file 👍
Given this is one of my favourite starships, I absolutely had to make it! I spent a looooong time (far longer than I'd like to admit) in Orca recolouring everything so this could be printed in full multi colour on the Snapmaker U1 :) This takes 105 hours in full colour with a tool changer, I would not recommend printing in colour on a none tool changing printer, but well worth putting the time in, as it took less time than masking and painting would have to get this just perfect :) I've added photo's of the build to feedback so you can see for yourself how well this build works :) ... Couldn't be happier with this!
I’m done with printing this model now, I had some small issues. Part of it did not fit, but they are correct it now and you can download them. I will share some details later on.For the lead trip, a 3 m length will be great. Maybe you should put this in explanation.
I’m full attempt to make this model with more LED lightning. Therefore, I need to adjust some pieces.
More to come later happy printing.

Understand I'm not _that_ old (at least in my own mind), but when I was a kid, I was a big model builder. Had all sorts of SciFi models like the Flying Sub, Spindrift, Orion, Enterprise Bridge, Moonbase Alpha, and more. So now I get to be an adult re-living my childhood! The original scale was too big for my room, so I scaled it to 60%. And I must say, the details remained very visible. I used my Snapmaker U1 to colorize the print (used my Bambu P1S for the solid colors) – not a single dab of paint was used. Looks freaking awesome.