Community (fb)

 es
es  ua
ua 









Files
3D model format
Stereolithography (.stl)
Total files

Slicer settings
Mesh error check
Netfabb
Support
Lifetime support from Gambody team
Update requests
Available to verified buyers
Model complexity
Standard: balanced printing difficulty and moderate part count with assembly steps.
Model versions
FFF/FDM
Assembly method
Connectors, Ge-Locks, Glue
Features
- Two head options: composed and demonic.
- Two platform options: standalone base and expanded diorama base (to connect with upcoming Warriors expansion packs).
- The assembly parts are connected using specially designed integrated connectors that fit securely into the corresponding slots. Optionally, for added strength and rigidity, the static connections can be glued together.
- Some model parts use separate connectors (part "12_Medusa_ge_lock_10H(x7)", requires 7 copies, part "15_Medusa_platform_ge_lock_10H(x4)", requires 4 copies, part "21_common_platform_ge_lock_10H(x14)", requires 14 copies (for Diorama platform), part "12_Medusa_ge_lock_10H(x7)", requires 7 copies, part "23_Medusa_ge_lock_7S(x2)", requires 2 copies).
DLP/SLA
Eco parts
Assembly method
Connectors, Glue
Features
- Two head options: composed and demonic.
- Two platform options: standalone base and expanded diorama base (to connect with upcoming Warriors expansion packs).
- The assembly parts are connected using specially designed integrated connectors that fit securely into the corresponding slots. Optionally, for added strength and rigidity, the static connections can be glued together.
SLS
Assembly method
Connectors, Glue
Features
- Contains 4 parts: solid-piece Medusa figure with the standalone base, and solid-piece Medusa figure with the expanded diorama base.
- The assembly parts are connected using specially designed integrated connectors that fit securely into the corresponding slots. Optionally, for added strength and rigidity, the static connections can be glued together.
DLP/SLA
Eco parts
Assembly method
Connectors, Glue
Features
- Contains some hollowed out parts to save resin.
- Two head options: composed and demonic.
- Two platform options: standalone base and expanded diorama base (to connect with upcoming Warriors expansion packs).
- The assembly parts are connected using specially designed integrated connectors that fit securely into the corresponding slots. Optionally, for added strength and rigidity, the static connections can be glued together.
FFF/FDM
Assembly method
Connectors, Glue
Features
- Alternative 1:10 scale version.
- Two head options: composed and demonic.
- Two platform options: standalone base and expanded diorama base (to connect with upcoming Warriors expansion packs).
- The assembly parts are connected using specially designed integrated connectors that fit securely into the corresponding slots. Optionally, for added strength and rigidity, the static connections can be glued together.
Additional details
Part of diorama
No
Add-on pack available
No
You will get instant access to the STL files of Medusa Gorgon Diorama Base 3D Printer Files | Assembly after completing your purchase. Simply add the model to your cart and check out using PayPal, credit or debit card, Apple Pay, Google Pay, Alipay, or other available payment methods.
Watch the assembly video for Medusa Gorgon Diorama Base 3D Printer Files | Assembly, and explore more tutorials, behind-the-scenes content, 3D printing timelapses, and painting guides on the official Gambody YouTube channel.
This 3D model comes with StereoLithography (.STL) files optimized for 3D printing. You'll get digital files, not a physical product
Before printing, take a look at Printing Details for recommended settings and tips to achieve better results.
Medusa Gorgon Diorama Base 3D Printer Files | Assembly includes 3 version(s) for the supported 3D printer type(s): FFF/FDM, DLP/SLA, SLS. Files are available for download after purchase.
See the Description and Specifications sections for more details about this model.
| File name | Size (mm | in) | Size(mb) | Printing Time / Filament | |||
|---|---|---|---|---|---|---|
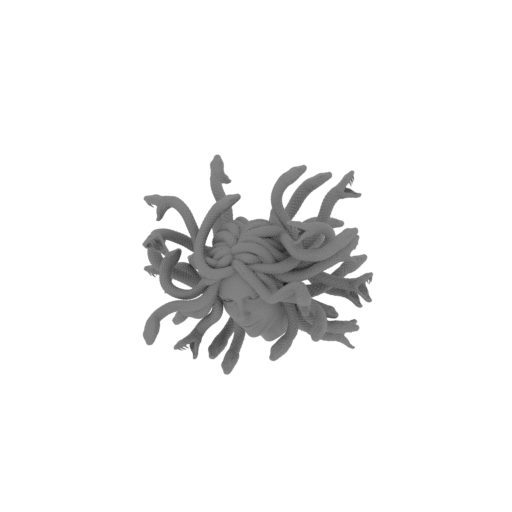 | 1_Medusa_head__V_1_FDM(repaired).stl 84.8 x 76.1 x 68 mm | 3.34 x 3 x 2.68 in | Size: 84.8 x 76.1 x 68 mm | 3.34 x 3 x 2.68 in | File size: 80.98 mb | Printing Time / Filament: 4 h 29 min / 15 m Slicer: prusa v2.9.2 Printer: prusa_xl Non default settings Layer height: 0.2 Fill density: 20% Support material: 1 Support material buildplate only: 1 | ||
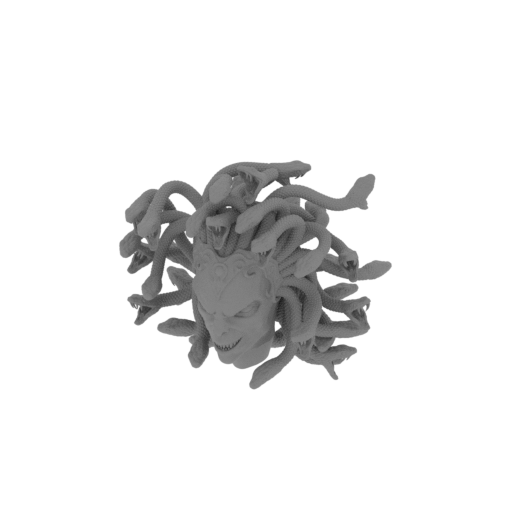 | 2_Medusa_head__V_2_FDM(repaired).stl 65.6 x 60.3 x 62.2 mm | 2.58 x 2.37 x 2.45 in | Size: 65.6 x 60.3 x 62.2 mm | 2.58 x 2.37 x 2.45 in | File size: 84.36 mb | Printing Time / Filament: 3 h 44 min / 11 m Slicer: prusa v2.9.2 Printer: prusa_xl Non default settings Layer height: 0.2 Fill density: 20% Support material: 1 Support material buildplate only: 1 | ||
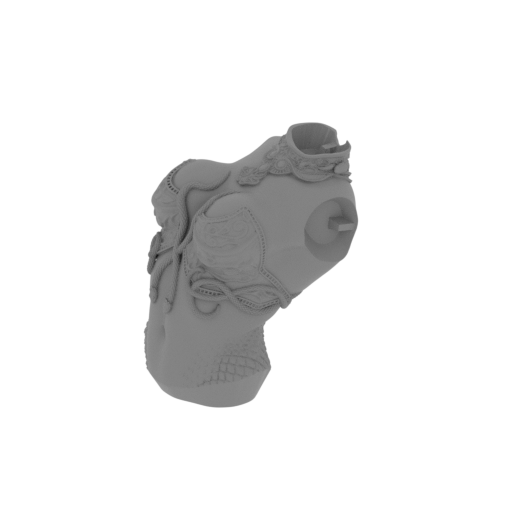 | 3_Medusa_body_FDM(repaired).stl 51.8 x 50.8 x 60.8 mm | 2.04 x 2 x 2.39 in | Size: 51.8 x 50.8 x 60.8 mm | 2.04 x 2 x 2.39 in | File size: 62.75 mb | Printing Time / Filament: 1 h 31 min / 8 m Slicer: prusa v2.9.2 Printer: prusa_xl Non default settings Layer height: 0.2 Fill density: 20% Support material: 1 Support material buildplate only: 1 | ||
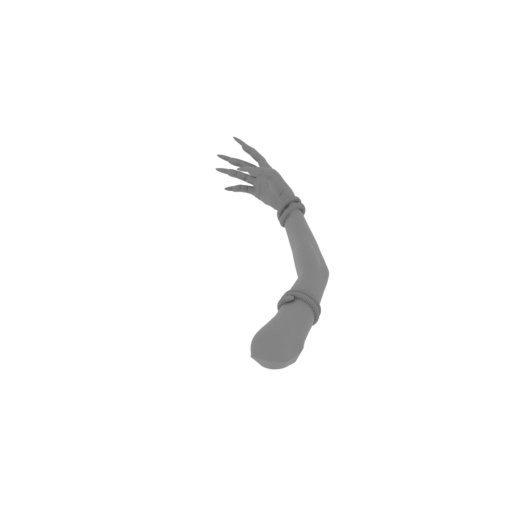 | 4_Medusa_arm_R_FDM(repaired).stl 54.4 x 83.4 x 42.8 mm | 2.14 x 3.28 x 1.69 in | Size: 54.4 x 83.4 x 42.8 mm | 2.14 x 3.28 x 1.69 in | File size: 20.35 mb | Printing Time / Filament: 48 min / 3 m Slicer: prusa v2.9.2 Printer: prusa_xl Non default settings Layer height: 0.2 Fill density: 20% Support material: 1 Support material buildplate only: 1 | ||
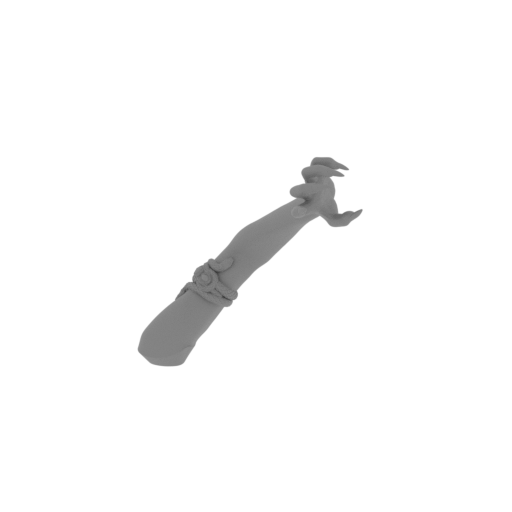 | 5_Medusa_arm_L_FDM(repaired).stl 66.3 x 45.8 x 69.7 mm | 2.61 x 1.8 x 2.74 in | Size: 66.3 x 45.8 x 69.7 mm | 2.61 x 1.8 x 2.74 in | File size: 20.26 mb | Printing Time / Filament: 1 h 4 min / 3 m Slicer: prusa v2.9.2 Printer: prusa_xl Non default settings Layer height: 0.2 Fill density: 20% Support material: 1 Support material buildplate only: 1 | ||
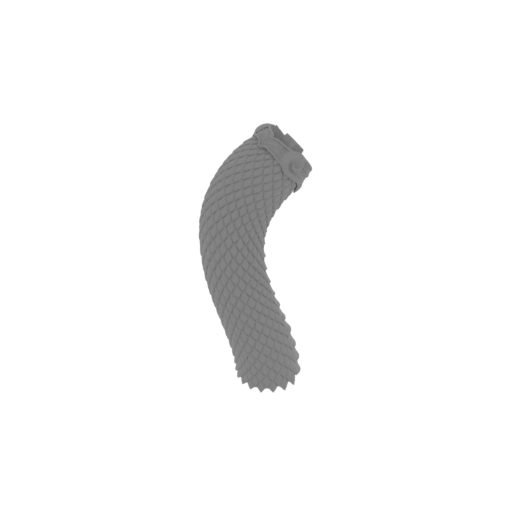 | 6_Medusa_tail_1_FDM(repaired).stl 59.4 x 65.6 x 137.7 mm | 2.34 x 2.58 x 5.42 in | Size: 59.4 x 65.6 x 137.7 mm | 2.34 x 2.58 x 5.42 in | File size: 27.68 mb | Printing Time / Filament: 4 h 39 min / 27 m Slicer: prusa v2.9.2 Printer: prusa_xl Non default settings Layer height: 0.2 Fill density: 20% Support material: 1 Support material buildplate only: 1 | ||
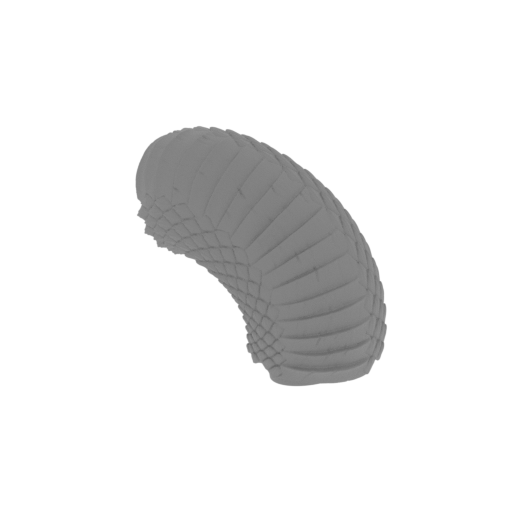 | 7_Medusa_tail_2_FDM(repaired).stl 81.1 x 53.8 x 79.2 mm | 3.19 x 2.12 x 3.12 in | Size: 81.1 x 53.8 x 79.2 mm | 3.19 x 2.12 x 3.12 in | File size: 27.04 mb | Printing Time / Filament: 3 h 1 min / 18 m Slicer: prusa v2.9.2 Printer: prusa_xl Non default settings Layer height: 0.2 Fill density: 20% Support material: 1 Support material buildplate only: 1 | ||
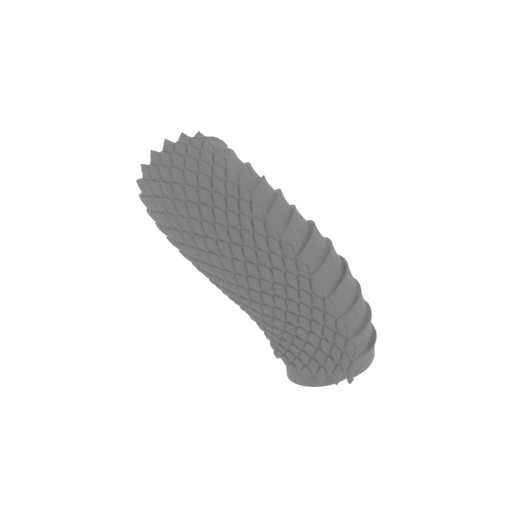 | 8_Medusa_tail_3_FDM(repaired).stl 90.3 x 52 x 78.5 mm | 3.56 x 2.05 x 3.09 in | Size: 90.3 x 52 x 78.5 mm | 3.56 x 2.05 x 3.09 in | File size: 23.09 mb | Printing Time / Filament: 3 h 1 min / 18 m Slicer: prusa v2.9.2 Printer: prusa_xl Non default settings Layer height: 0.2 Fill density: 20% Support material: 1 Support material buildplate only: 1 | ||
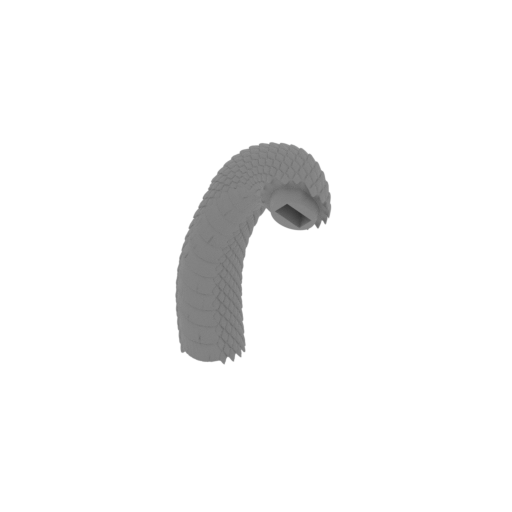 | 9_Medusa_tail_4_FDM(repaired).stl 94.7 x 67 x 128.3 mm | 3.73 x 2.64 x 5.05 in | Size: 94.7 x 67 x 128.3 mm | 3.73 x 2.64 x 5.05 in | File size: 31.80 mb | Printing Time / Filament: 5 h 17 min / 30 m Slicer: prusa v2.9.2 Printer: prusa_xl Non default settings Layer height: 0.2 Fill density: 20% Support material: 1 Support material buildplate only: 1 | ||
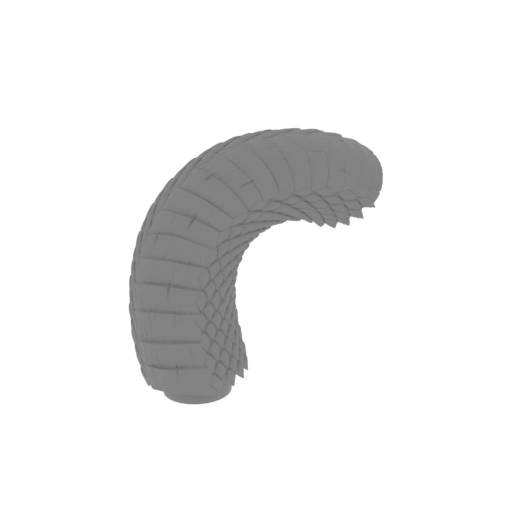 | 10_Medusa_tail_5_FDM(repaired).stl 66.8 x 77.2 x 81.4 mm | 2.63 x 3.04 x 3.2 in | Size: 66.8 x 77.2 x 81.4 mm | 2.63 x 3.04 x 3.2 in | File size: 22.16 mb | Printing Time / Filament: 2 h 45 min / 16 m Slicer: prusa v2.9.2 Printer: prusa_xl Non default settings Layer height: 0.2 Fill density: 20% Support material: 1 Support material buildplate only: 1 | ||
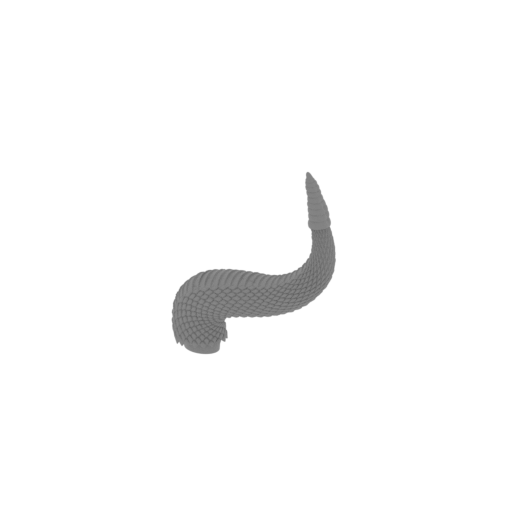 | 11_Medusa_tail_6_FDM(repaired).stl 116 x 73.5 x 143.4 mm | 4.57 x 2.89 x 5.65 in | Size: 116 x 73.5 x 143.4 mm | 4.57 x 2.89 x 5.65 in | File size: 23.40 mb | Printing Time / Filament: 3 h 36 min / 16 m Slicer: prusa v2.9.2 Printer: prusa_xl Non default settings Layer height: 0.2 Fill density: 20% Support material: 1 Support material buildplate only: 1 | ||
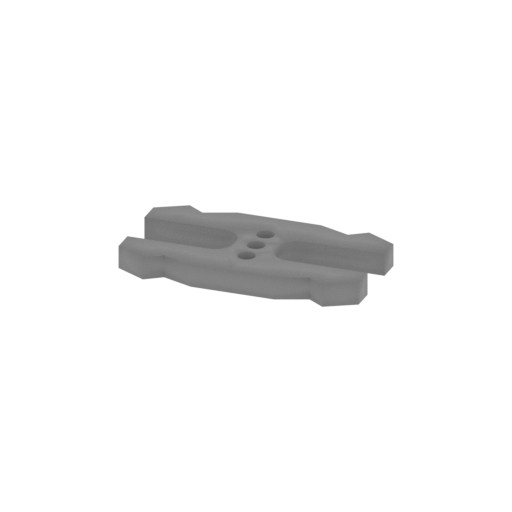 | 12_Medusa_ge_lock_10H(x7)_FDM(repaired).stl 18.2 x 9.6 x 1.7 mm | 0.72 x 0.38 x 0.07 in | Size: 18.2 x 9.6 x 1.7 mm | 0.72 x 0.38 x 0.07 in | File size: 0.03 mb | Printing Time / Filament: 2 min / <1 m Slicer: prusa v2.9.2 Printer: prusa_xl Non default settings Layer height: 0.2 Fill density: 20% Support material: 1 Support material buildplate only: 1 | ||
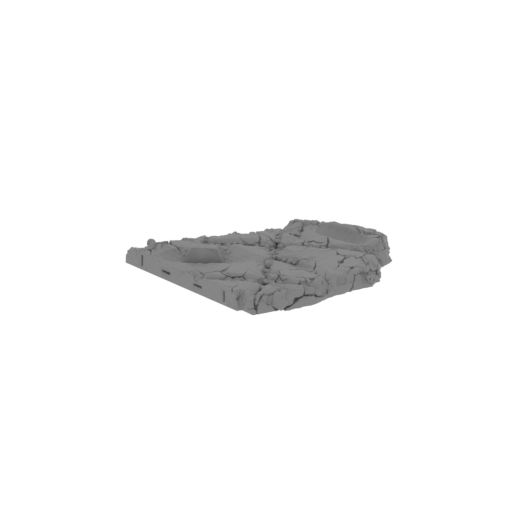 | 13_Medusa_platform_1_FDM(repaired).stl 204.8 x 169.3 x 23.2 mm | 8.06 x 6.67 x 0.91 in | Size: 204.8 x 169.3 x 23.2 mm | 8.06 x 6.67 x 0.91 in | File size: 25.45 mb | Printing Time / Filament: 5 h 6 min / 36 m Slicer: prusa v2.9.2 Printer: prusa_xl Non default settings Layer height: 0.2 Fill density: 20% Support material: 1 Support material buildplate only: 1 | ||
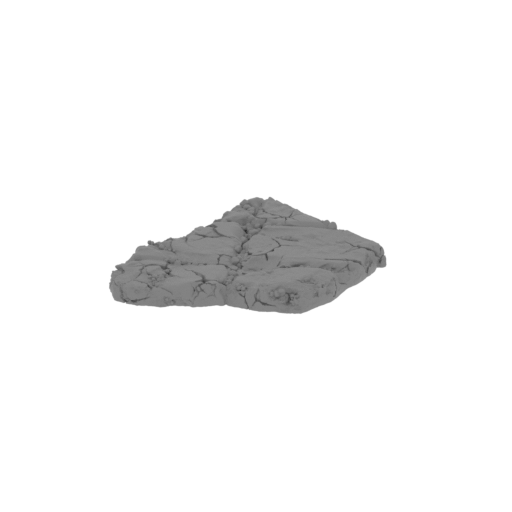 | 14_Medusa_platform_2_FDM(repaired).stl 173.2 x 182 x 18.4 mm | 6.82 x 7.17 x 0.72 in | Size: 173.2 x 182 x 18.4 mm | 6.82 x 7.17 x 0.72 in | File size: 26.14 mb | Printing Time / Filament: 4 h 58 min / 36 m Slicer: prusa v2.9.2 Printer: prusa_xl Non default settings Layer height: 0.2 Fill density: 20% Support material: 1 Support material buildplate only: 1 | ||
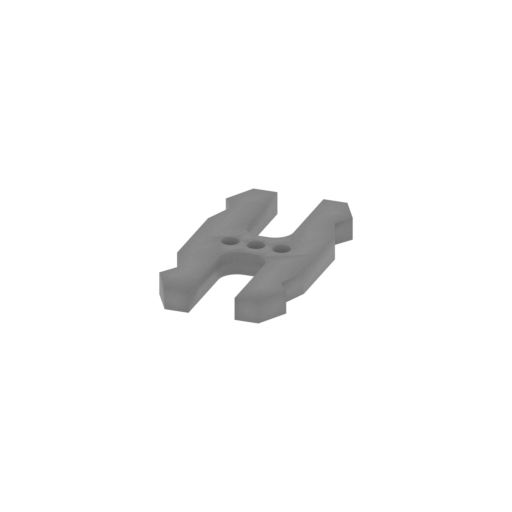 | 15_Medusa_platform_ge_lock_10H(x4)_FDM(repaired).stl 9.6 x 18.2 x 1.7 mm | 0.38 x 0.72 x 0.07 in | Size: 9.6 x 18.2 x 1.7 mm | 0.38 x 0.72 x 0.07 in | File size: 0.03 mb | Printing Time / Filament: 2 min / <1 m Slicer: prusa v2.9.2 Printer: prusa_xl Non default settings Layer height: 0.2 Fill density: 20% Support material: 1 Support material buildplate only: 1 | ||
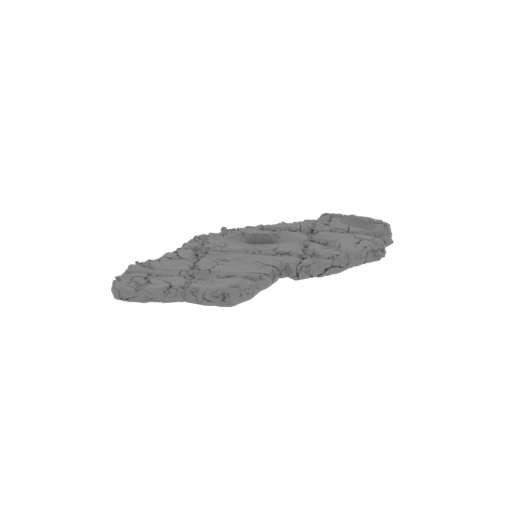 | 16_Medusa_solid_platform_FDM(repaired).stl 260.9 x 290.6 x 23.2 mm | 10.27 x 11.44 x 0.91 in | Size: 260.9 x 290.6 x 23.2 mm | 10.27 x 11.44 x 0.91 in | File size: 50.66 mb | Printing Time / Filament: 9 h 45 min / 70 m Slicer: prusa v2.9.2 Printer: prusa_xl Non default settings Layer height: 0.2 Fill density: 20% Support material: 1 Support material buildplate only: 1 | ||
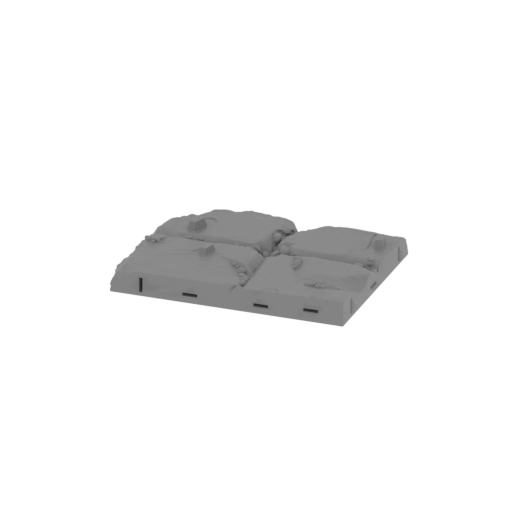 | 17_common_platform_1_FDM(repaired).stl 157.3 x 117.5 x 20.8 mm | 6.19 x 4.63 x 0.82 in | Size: 157.3 x 117.5 x 20.8 mm | 6.19 x 4.63 x 0.82 in | File size: 24.45 mb | Printing Time / Filament: 3 h 3 min / 30 m Slicer: prusa v2.9.2 Printer: prusa_xl Non default settings Layer height: 0.2 Fill density: 20% Support material: 1 Support material buildplate only: 1 | ||
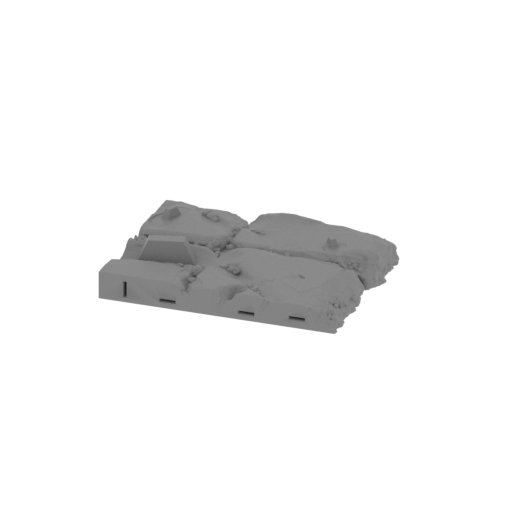 | 18_common_platform_2_FDM(repaired).stl 142.3 x 119.4 x 23.1 mm | 5.6 x 4.7 x 0.91 in | Size: 142.3 x 119.4 x 23.1 mm | 5.6 x 4.7 x 0.91 in | File size: 23.62 mb | Printing Time / Filament: 3 h 2 min / 27 m Slicer: prusa v2.9.2 Printer: prusa_xl Non default settings Layer height: 0.2 Fill density: 20% Support material: 1 Support material buildplate only: 1 | ||
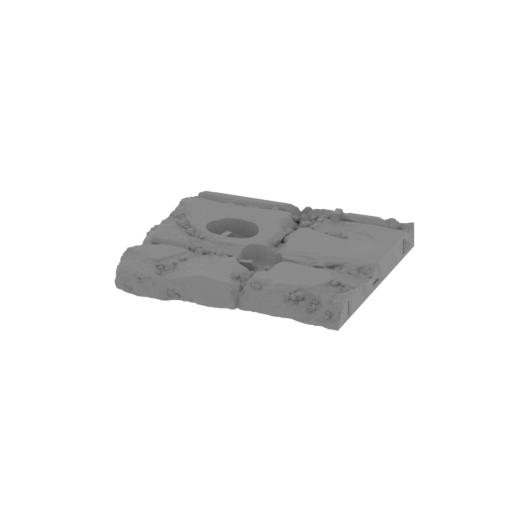 | 19_common_platform_3_FDM(repaired).stl 156.6 x 134.4 x 19.2 mm | 6.17 x 5.29 x 0.76 in | Size: 156.6 x 134.4 x 19.2 mm | 6.17 x 5.29 x 0.76 in | File size: 25.43 mb | Printing Time / Filament: 3 h 55 min / 34 m Slicer: prusa v2.9.2 Printer: prusa_xl Non default settings Layer height: 0.2 Fill density: 20% Support material: 1 Support material buildplate only: 1 | ||
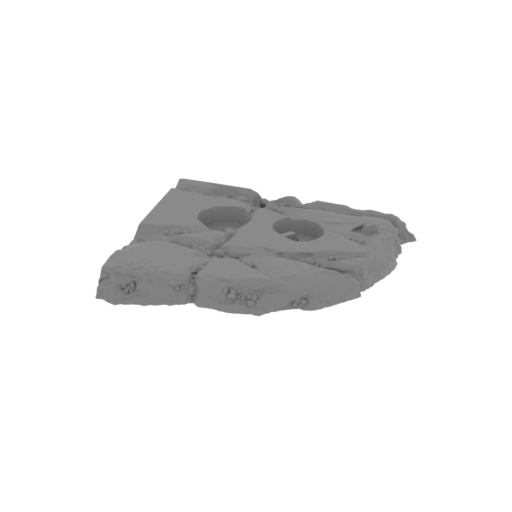 | 20_common_platform_4_FDM(repaired).stl 141.6 x 139.1 x 18.9 mm | 5.57 x 5.48 x 0.74 in | Size: 141.6 x 139.1 x 18.9 mm | 5.57 x 5.48 x 0.74 in | File size: 24.10 mb | Printing Time / Filament: 3 h 9 min / 29 m Slicer: prusa v2.9.2 Printer: prusa_xl Non default settings Layer height: 0.2 Fill density: 20% Support material: 1 Support material buildplate only: 1 | ||
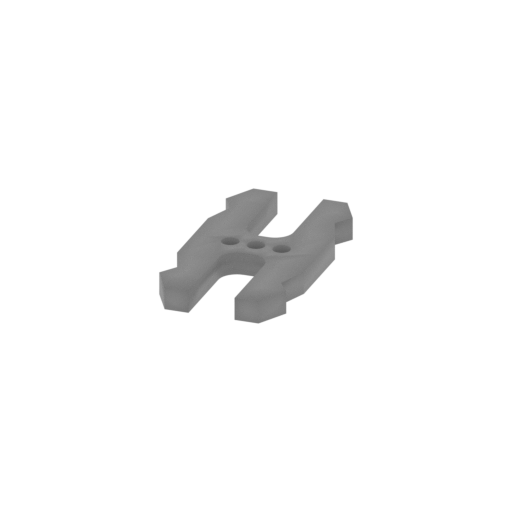 | 21_common_platform_ge_lock_10H(x14)_FDM(repaired).stl 9.6 x 18.2 x 1.7 mm | 0.38 x 0.72 x 0.07 in | Size: 9.6 x 18.2 x 1.7 mm | 0.38 x 0.72 x 0.07 in | File size: 0.03 mb | Printing Time / Filament: 2 min / <1 m Slicer: prusa v2.9.2 Printer: prusa_xl Non default settings Layer height: 0.2 Fill density: 20% Support material: 1 Support material buildplate only: 1 | ||
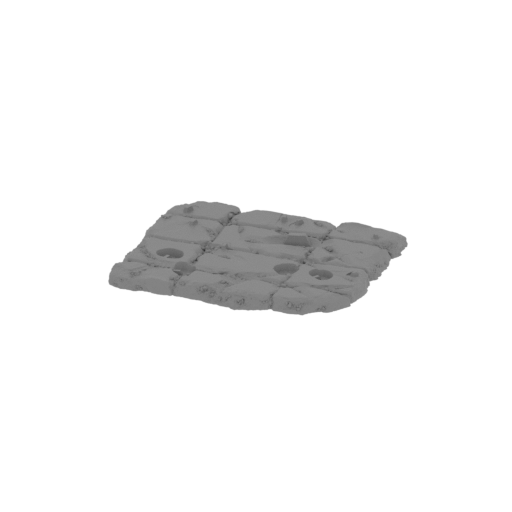 | 22_solid_common_platform_FDM(repaired).stl 299.8 x 258.6 x 23.2 mm | 11.8 x 10.18 x 0.91 in | Size: 299.8 x 258.6 x 23.2 mm | 11.8 x 10.18 x 0.91 in | File size: 79.17 mb | Printing Time / Filament: 12 h 14 min / 114 m Slicer: prusa v2.9.2 Printer: prusa_xl Non default settings Layer height: 0.2 Fill density: 20% Support material: 1 Support material buildplate only: 1 | ||
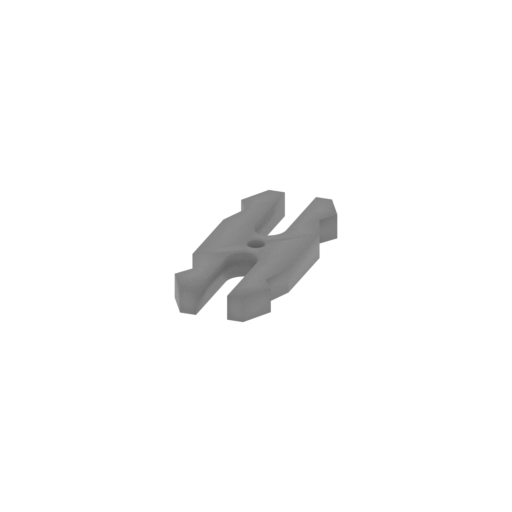 Updated Updated | 23_Medusa_ge_lock_7S(x2)_FDM(repaired).stl 7.3 x 18.2 x 1.9 mm | 0.29 x 0.72 x 0.07 in | Size: 7.3 x 18.2 x 1.9 mm | 0.29 x 0.72 x 0.07 in | File size: 0.02 mb | Printing Time / Filament: 2 min / <1 m Slicer: prusa v2.9.2 Printer: prusa_xl Non default settings Layer height: 0.2 Fill density: 20% Support material: 1 Support material buildplate only: 1 | ||
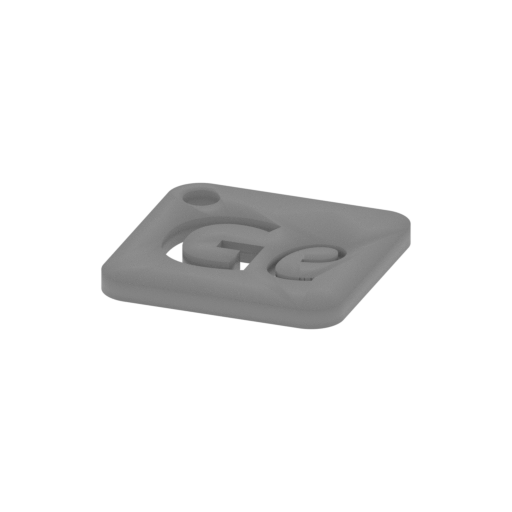 | Keychain (repaired).stl 29.7 x 29.7 x 2.4 mm | 1.17 x 1.17 x 0.09 in | Size: 29.7 x 29.7 x 2.4 mm | 1.17 x 1.17 x 0.09 in | File size: 0.37 mb | Printing Time / Filament: 6 min / 1 m Slicer: prusa v2.9.2 Printer: prusa_xl Non default settings Layer height: 0.2 Fill density: 20% Support material: 1 Support material buildplate only: 1 | ||
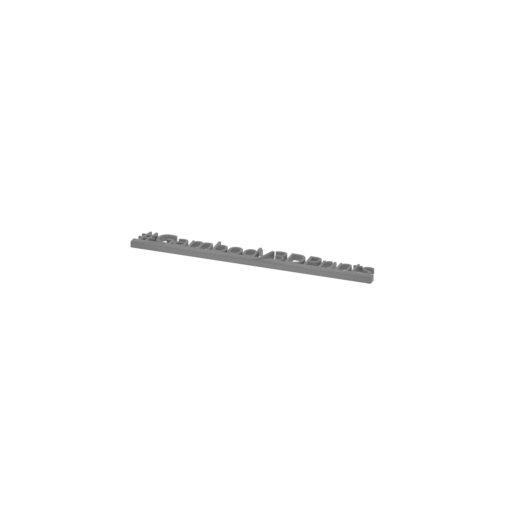 | Tag (repaired).stl 150.1 x 18.2 x 4.6 mm | 5.91 x 0.72 x 0.18 in | Size: 150.1 x 18.2 x 4.6 mm | 5.91 x 0.72 x 0.18 in | File size: 1.78 mb | Printing Time / Filament: 18 min / 2 m Slicer: prusa v2.9.2 Printer: prusa_xl Non default settings Layer height: 0.2 Fill density: 20% Support material: 1 Support material buildplate only: 1 | ||
3D model history
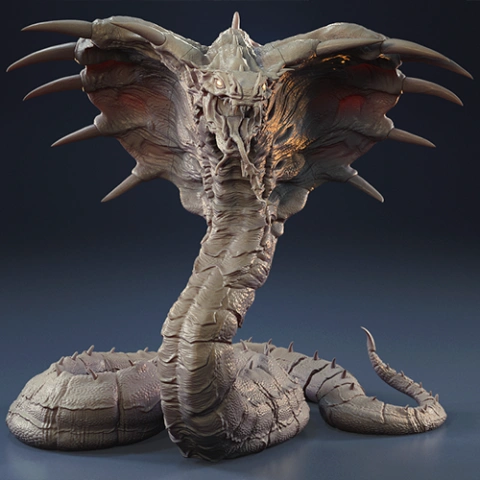
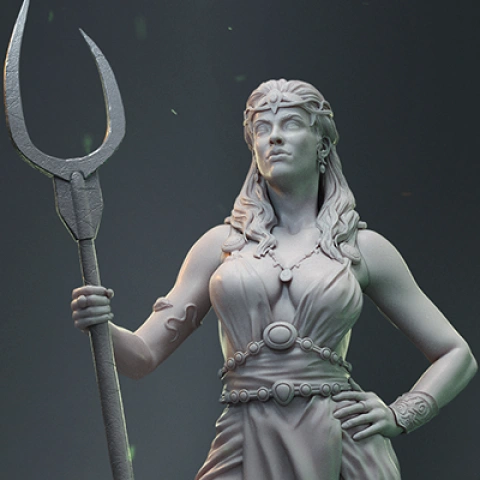
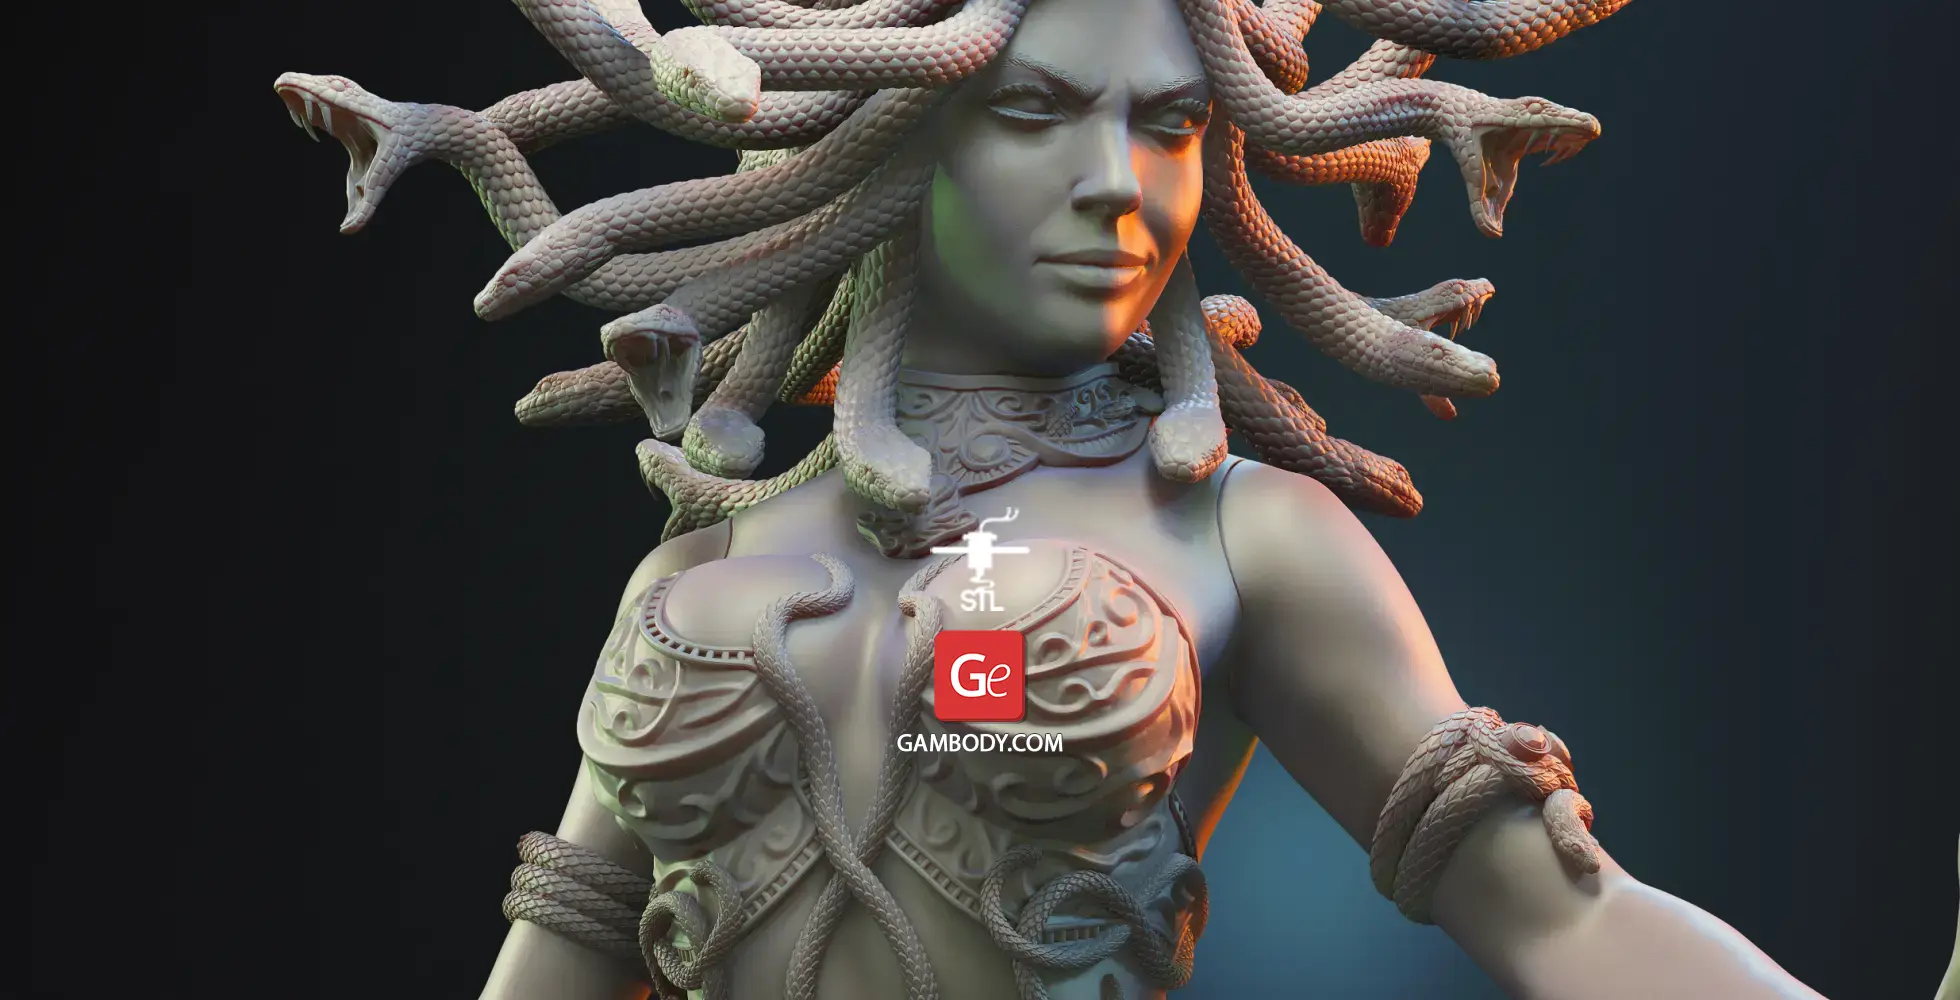
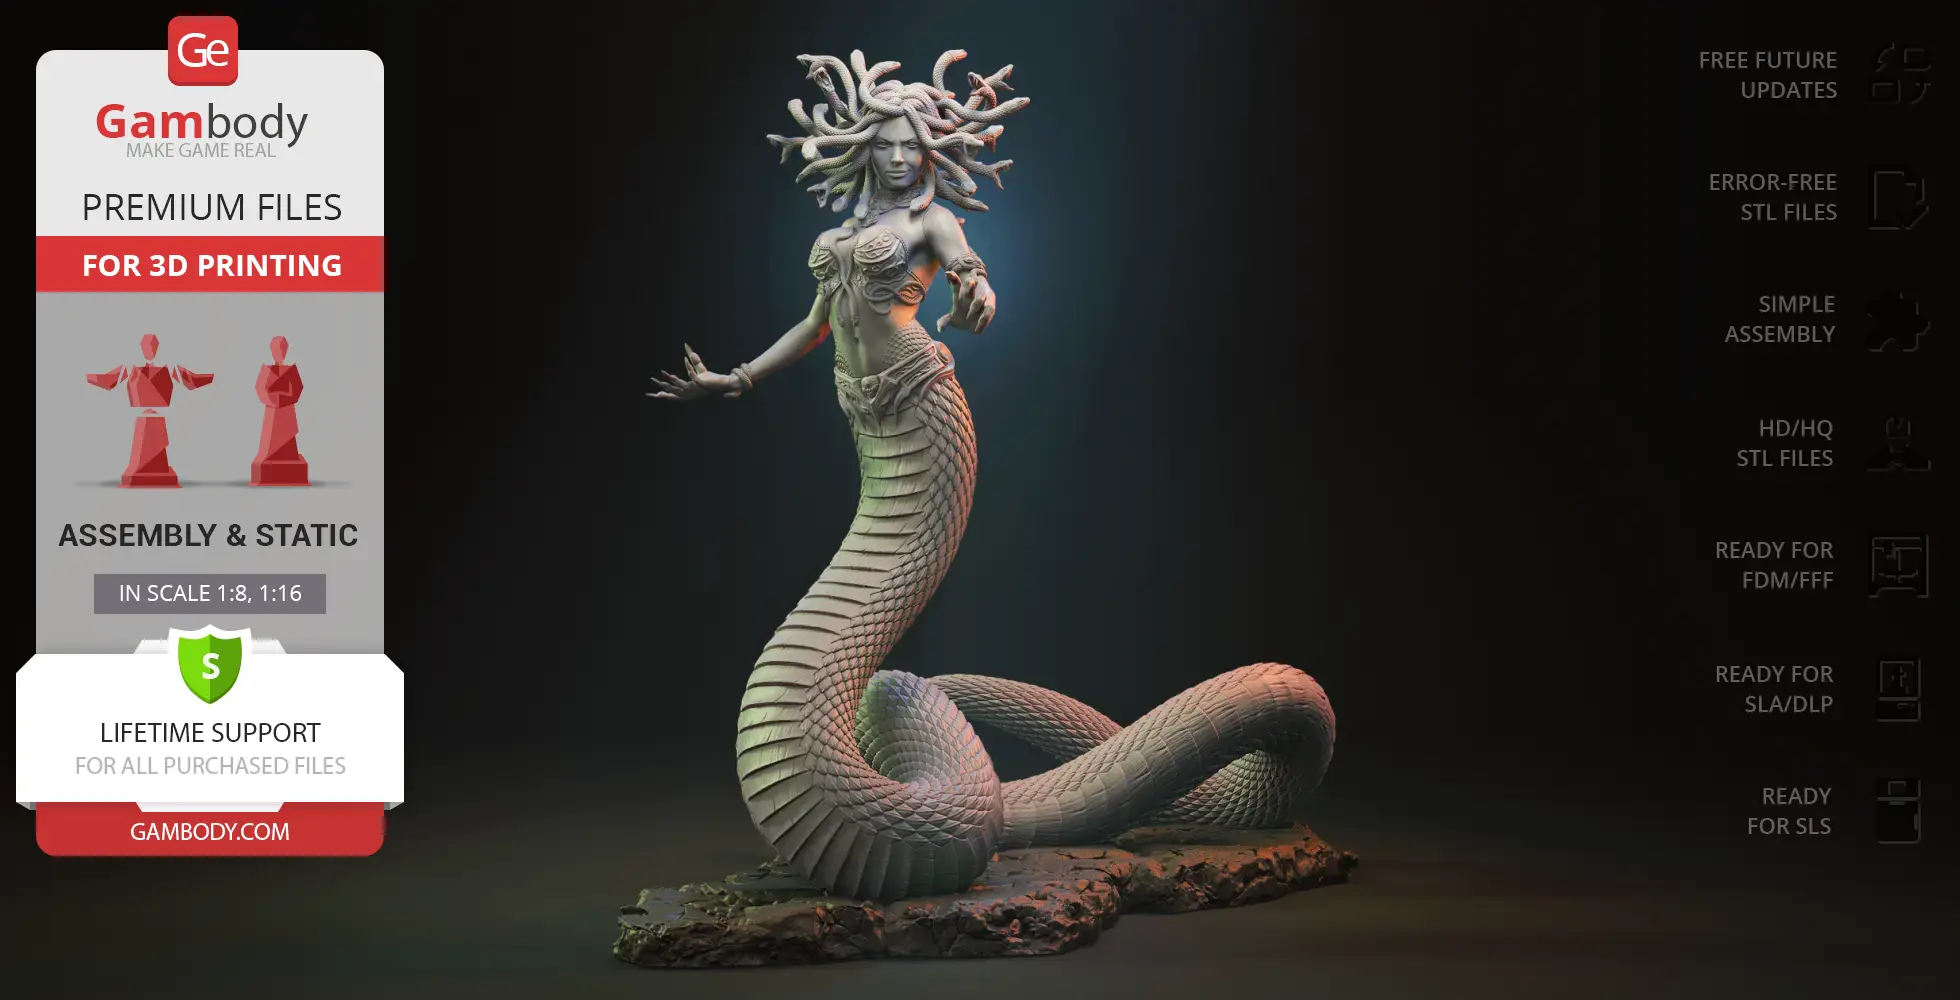
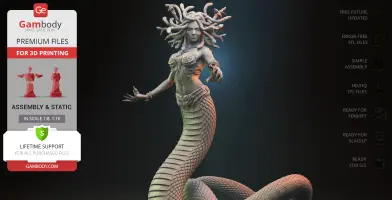
Inspired by classical myth and the legendary boss battle in Assassin's Creed Odyssey, this Medusa 3D model translates the Gorgon into a detailed, original sculpt. The design features a humanoid upper torso transitioning into a coiled, scaled serpent tail crowned by a writhing canopy of living snakes. Built as the centerpiece for a larger diorama STL files project, the kit includes two interchangeable head options: a composed, menacing portrait and a roaring demonic expression with fanged jaws.
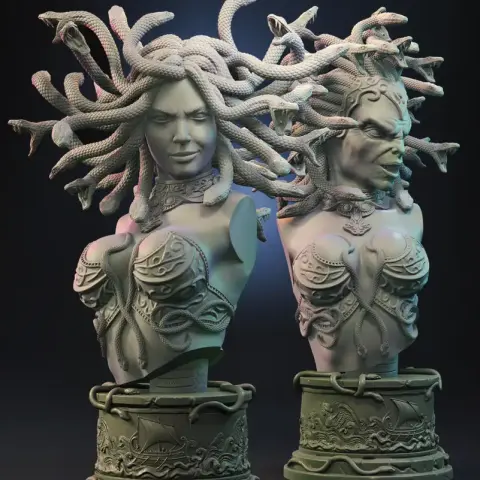
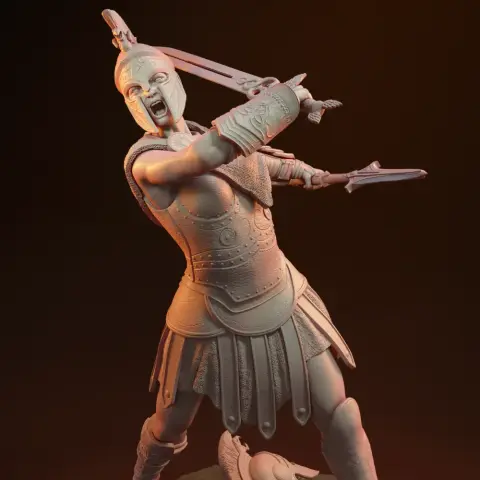
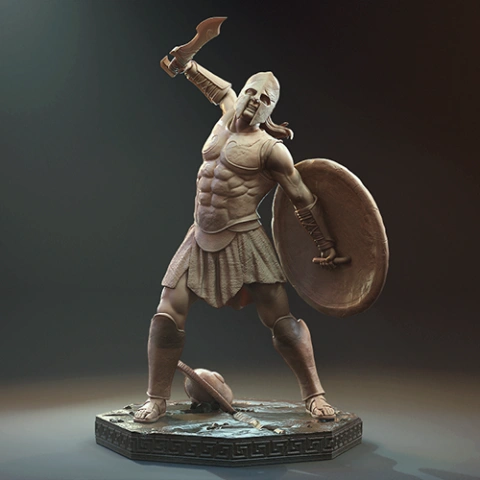
Whether printed as a standalone creature 3D print or used to build a multi-figure boss fight STL display, the model offers complete setup flexibility. It includes two base variants: a compact rocky stand for Medusa alone, and an expanded stone platform engineered as a modular diorama STL. This larger base connects with upcoming warrior pack STL releases featuring an Alexios 3D model, Philoctetes 3D print, Pythagoras 3D print, a Spartan warrior STL, and an Athenian warrior 3D model. A natural addition to the Medusa Gorgon Bust, this full-figure sculpt blends mythology 3D print art with premium gaming STL files.
3D printing model features
Model-specific features:
- Inspired by classical mythology and dark fantasy, this model depicts Medusa as a coiled Gorgon creature featuring two head options and two display platform variants.
- For display flexibility, the kit includes a standalone compact rocky base for displaying Medusa alone, as well as an expanded tiled stone platform engineered as a modular base to connect with upcoming Warriors expansion packs for a full diorama assembly.
Printing & assembly details:
- Provided as error-free STL files compatible with most 3D printers;
- Optimized part division minimizes support material and ensures smooth and precise surface detailing;
- The assembly parts in the FFF/FDM version come in the recommended print orientations for easy bed placement;
- Assembly manual in PDF and video formats is included for the FFF/FDM and DLP/SLA versions;
- The model is available in recommended scales — 1:8 and 1:10 for the FFF/FDM version, and 1:16 for the DLP/SLA/SLS versions.
What will you get after purchase?
- 5 versions of Medusa Gorgon Diorama BaseSTL files for FFF/FDM, DLP/SLA, and SLS — files for all versions are available for download after the purchase;
- STL files of high-poly F-18 Super Hornet Missiles Pack model for 3D printing consist of 84 files;
- Sizes for:
- FFF/FDM 1:10 Scale Model Size: 201 mm wide, 240 mm high, 206 mm deep;
- FFF/FDM 1:10 Scale Platform Size: 209 mm wide, 18 mm high, 233 mm deep;
- FFF/FDM Model Size: 251 mm wide, 300 mm high, 258 mm deep;
- FFF/FDM Platform Size: 261 mm wide, 23 mm high, 291 mm deep;
- DLP/SLA Model Size: 126 mm wide, 150 mm high, 129 mm deep;
- DLP/SLA Platform Size: 130 mm wide, 12 mm high, 145 mm deep;
- Assembly Manual for 1.0 FFF/FDM and 1.0 DLP/SLA versions in PDF and video formats;
- Detailed settings that we provide as a recommendation for Bambu Studio, Cura, Orca Slicer, PrusaSlicer, Simplify3D, and Slic3r for the best print;
- Full technical support from the Gambody Support Team.
Below you'll find detailed slicing settings for Bambu Studio 2.0+, Orca Slicer 2.0+, UltiMaker Cura 5.0+, PrusaSlicer 2.0+, Slic3r 1.3+, Simplify3D 5.0+ to help you get the best results when printing this model. These settings are optimized specifically for this 3D model, but please note they may need slight adjustments depending on your printer or filament. When in doubt, refer to your printer's user manual.
To avoid printing issues and achieve the best quality, we highly recommend applying the following settings:
 Bambu Studio 2.0+
 For better quality use 0.12 mm layer height, for fast printing use 0.2 mm layer height. For pins and the Ge connectors, use 0.2 layer height.
120-150% of your Layer Height
But you can paint the seam if you want.
You have to calibrate this parameter
You have to calibrate this parameter
You have to calibrate this parameter
For pins and power elements of the structure, such as the vehicle frame, use 3 loop
Disabled for vehicles and enabled for characters
For 0,2 Layer Height
The parameters in this tab vary greatly, it all depends on the quality of your printer. For example, if you have a classic Ender3, stick to the minimum parameters, but if you have a newer printer, for example Anycubic cobra 3 v2, you can select the maximum recommended values
Settings for advanced users, change these parameters only if you have sufficient 3D printing expertise
Enable this parameter if your model requires supports
We also recommend placing and removing supports manually in some places using special button
1-2 loops for more thick support
Top Z distance = 1-1.3 layer Height. If the supports are hard to remove, try increasing this setting by 0.1-0,4 mm
Bottom Z distance = 1-1.3 layer Height. If the supports are hard to remove, try increasing this setting by 0.1-0,4 mm
You have to calibrate this parameter which one is better for your filament
Increase this parameter if the supports are hard to remove from walls
For PLA and PETG filament types
5-8 mm is optional for small prints that have bad adhesion to the build plate
You have to calibrate this parameter
Read the description on your filament roll
Read the description on your filament roll and increase this parameter for fast printers
Read the description on your filament roll and increase this parameter for fast printers
 Orca Slicer 2.0+
 For better quality use 0.12 mm layer height, for fast printing use 0.2 mm layer height. For pins and the Ge connectors, use 0.2 layer height.
120-150% of your Layer Height
But you can paint the seam if you want.
0.01-0.05 You have to calibrate this parameter
0.01-0.05 You have to calibrate this parameter
0.1-0.2 You have to calibrate this parameter
For pins and power elements of the structure, such as the vehicle frame, use 3 loop
Disabled for vehicles and ships, enabled for characters
For 0,2 Layer Height
For 0,2 Layer Height
The parameters in this tab vary greatly, it all depends on the quality of your printer. For example, if you have a classic Ender3, stick to the minimum parameters, but if you have a newer printer, for example, Anycubic Kobra 3 Or Bambulab A1, you can select the maximum recommended values.
Settings for advanced users, change these parameters only if you have sufficient 3D printing expertise
Enable this parameter if your model requires supports
We also recommend placing and removing supports manually in some places using special button
Top Z distance = 1-1.3 layer Height. If the supports are hard to remove, try increasing this setting by 0.1-0,4 mm
Bottom Z distance = 1-1.3 layer Height. If the supports are hard to remove, try increasing this setting by 0.1-0,4 mm
Increase this parameter if the supports are hard to remove from walls
For PLA and PETG filament types
5-8 mm is optional for small prints that have bad adhesion to the build plate
Read the description on your filament roll
Read the description on your filament roll and increase this parameter for fast printers
You have to calibrate this parameter
Read the description on your filament roll and increase this parameter for fast printers
Read the description on your filament roll
This field is filled in according to your printer specifications when you add it to the slicer.
You can add custom G-code here for the start and end of the print. However, be careful - this is for advanced users only!
You have to calibrate your printer using Ge retraction test models
Retraction Length: For direct-drive setups use 0.5 mm to 2.5 mm; for Bowden extruders use 5 to 7 mm
This is how fast the filament is pulled back—40-60 mm/s for direct drive and 30-50 mm/s for Bowden setups.
You have to calibrate this parameter: Reduce it until the printer starts to hit the parts with the nozzle during printing, then increase it by 0.2.
 UltiMaker Cura 5.0+
 For better quality use 0.12 mm layer height, for fast printing use 0.2 mm layer height. For pins and the Ge connectors, use 0.2 layer height.
120-150% of your Layer Height
To increase the strength of the print parts, use wall line count: 3
For pins and connectors use 50% Infill
These parameters are for standard PLA plastic. If you are using a different type of plastic, check the printing temperature recommended by the manufacturer. Also, read the description on your filament spool. For fast printers, add +30 °C to the current parameters.
The parameters in this tab vary greatly, it all depends on the quality of your printer. For example, if you have a classic Ender3, stick to the minimum parameters, but if you have a newer printer, for example Anycubic cobra 3 v3, you can select the maximum recommended values
Settings for advanced users, change these parameters only if you have sufficient 3D printing expertise.
You need to calibrate this parameter using Gambody test models. These values are average values for a Direct Drive extruder; for a Bowden extruder, the values should be increased.
You need to calibrate this parameter using Gambody test models. These values are average values for a Direct Drive extruder; for a Bowden extruder, the values should be increased.
Use this value other than 0 if your nozzle catches on the internal infill during travel moves. Try to keep this value as low as possible in height.
Use normal supports to support large, straight surfaces (most mechanical or technical parts).
You have to calibrate this parameter according to the capabilities of your printer and your filament, using a Gambody test models.
Use 1 instead of 0 if your supports are thin and tall. They will be harder to remove, but much stronger.
Top Z distance = 1-1.3 layer Height. If the supports are hard to remove, try increasing this setting by 0.1-0,4 mm
Increase this parameter if the supports are hard to remove from walls
Use tree supports to support complex objects, such as characters.
You have to calibrate this parameter according to the capabilities of your printer and your filament, using a Gambody test models.
Top Z distance = 1-1.3 layer Height. If the supports are hard to remove, try increasing this setting by 0.1-0,4 mm
Increase this parameter if the supports are hard to remove from walls
Use a skirt for all parts when printing on outdated printers.
Use a brim when printing thin but tall parts, as well as parts with a small bed adhesion area.
 PrusaSlicer 2.0+
 For better quality use 0.12 mm layer height, for fast printing use 0.2 mm layer height. For pins and the Ge connectors, use 0.2 layer height.
120-150% of your Layer Height
for 0.2 Layer Height
But you can paint the seam if you want.
(for PLA and PETG)
(5-8 mm is optional for small prints that have bad adhesion to the build plate)
Enable this parameter if your model requires supports
(45-50 degree)You have to calibrate this parameter according to the capabilities of your printer
and your filament, using a Gambody test models.
Top contact Z distance = 1-1.3 layer Height. If the supports are hard to remove, try
increasing this setting by 0.1-0,4 mm
Top contact Z distance = 1-1.3 layer Height. If the supports are hard to remove, try
increasing this setting by 0.1-0,4 mm
Increase this parameter if the supports are hard to remove from walls
The parameters in this tab vary greatly, it all depends on the quality of your printer. For example, if you have a classic Ender3, stick to the minimum parameters, but if you have a newer printer, for example Anycubic cobra 3 v3, you can select the maximum recommended values
Settings for advanced users, change these parameters only if you have sufficient 3D printing expertise. Use the minimum value for outdated printers without acceleration calibration, and the maximum value for modern printers if you need it.
These settings only work for 3D printers with multiple extruders
You can try setting all parameters in this section, except the First layer, to values between 0.75% of your nozzle diameter and 1.25% of your nozzle diameter. Adjusting them will help you work out the optimal parameters for the best quality for your print. As for the First layer, you can set it to 150% of the diameter of your nozzle for better adhesion to the build plate (for a nozzle with a diameter of 0.4 mm, the First layer extrusion width can be from 0.3 mm to 0.5 mm)
For better printing quality you have to calibrate this parameter using Gambody test model.
Check your filament manufacturer's temperature recommendations on the spool.
Cooling parameters depends on the material you use for printing.
*for PLA
 Slic3r 1.3+
 For better quality use 0.12 mm layer height, for fast printing use 0.2 mm layer height. For pins and the Ge connectors, use 0.2 layer height.
120-150% of your Layer Height
For 0.12 Layer Height
For 0.12 Layer Height
For pins and connectors use 50% Infill
Use skirt for outdated 3d printers
(5-8 mm is optional for small prints that have bad adhesion to the build plate)
Enable this parameter if your model requires supports
(45-60 degree)You have to calibrate this parameter according to the capabilities of your printer and your filament, using a Gambody test models
Contact Z distance = 1-1.3 layer Height. If the supports are hard to remove, try increasing this setting by 0.1-0,4 mm
The parameters in this tab vary greatly, it all depends on the quality of your printer. For example, if you have a classic Ender3, stick to the minimum parameters, but if you have a newer printer, for example Anycubic cobra 3 v3, you can select the maximum recommended values
Settings for advanced users, change these parameters only if you have sufficient 3D printing expertise. Use the minimum value for outdated printers without acceleration calibration, and the maximum value for modern printers if you need it.
You have to calibrate this parameter from 0.9 to 1.1 according to the capabilities of your printer and your filament, using a Gambody test models.
Check your filament manufacturer's temperature recommendations on the spool.
Cooling parameters depends on the material you use for printing.
Calibrate this value if you need to reduce or improve the adhesion between the plastic and the heat bed
Your current nozzle diameter
You need to calibrate this parameter using Gambody test models. These values are average values for a Direct Drive extruder; for a Bowden extruder, the values should be increased.
 Simplify3D 5.0+
 Your current nozzle diameter
You have to calibrate this parameter using Gambody test models.
You need to calibrate this parameter using Gambody test models. These values are average values for a Direct Drive extruder; for a Bowden extruder, the values should be increased.
For better quality use 0.12 mm layer height, for fast printing use 0.2 mm layer height. For pins and the Ge connectors, use 0.2 layer height.
For 0,2 Layer Height
For 0,2 Layer Height
To increase the strength of the print parts, use Outline Perimeters: 3
You can enable this parameter to print rounded or spherical models, as well as character models.
Use this option only if your parts are too tight. but better calibrate your printer extrusion
Use this option only if your parts are too tight. but better calibrate your printer extrusion
Use 2 and more if you want to create skirt instead brim
1-2 for skirt and 10-20 for brim
Use for wipe nozzle if you need
Use For ABS filament
For pins and connectors use 50% Infill
Top Z distance = 1-1.3 layer Height. If the supports are hard to remove, try increasing this setting by 0.1-0,4 mm
Calibrate your filament and detect optimal temperature for it
Average temperature for PLA filament
The parameters in this tab vary greatly, it all depends on the quality of your printer. For example, if you have a classic Ender3, stick to the minimum parameters, but if you have a newer printer, for example Anycubic cobra 3 v3, you can select the maximum recommended values
Settings for advanced users, change these parameters only if you have sufficient 3D printing expertise.
FFF/FDM
- Alternative 1:10 scale version.
- Two head options: composed and demonic.
- Two platform options: standalone base and expanded diorama base (to connect with upcoming Warriors expansion packs).
- The assembly parts are connected using specially designed integrated connectors that fit securely into the corresponding slots. Optionally, for added strength and rigidity, the static connections can be glued together.
DLP/SLA
- Contains some hollowed out parts to save resin.
- Two head options: composed and demonic.
- Two platform options: standalone base and expanded diorama base (to connect with upcoming Warriors expansion packs).
- The assembly parts are connected using specially designed integrated connectors that fit securely into the corresponding slots. Optionally, for added strength and rigidity, the static connections can be glued together.
SLS
- Contains 4 parts: solid-piece Medusa figure with the standalone base, and solid-piece Medusa figure with the expanded diorama base.
- The assembly parts are connected using specially designed integrated connectors that fit securely into the corresponding slots. Optionally, for added strength and rigidity, the static connections can be glued together.
DLP/SLA
- Two head options: composed and demonic.
- Two platform options: standalone base and expanded diorama base (to connect with upcoming Warriors expansion packs).
- The assembly parts are connected using specially designed integrated connectors that fit securely into the corresponding slots. Optionally, for added strength and rigidity, the static connections can be glued together.
FFF/FDM
- Two head options: composed and demonic.
- Two platform options: standalone base and expanded diorama base (to connect with upcoming Warriors expansion packs).
- The assembly parts are connected using specially designed integrated connectors that fit securely into the corresponding slots. Optionally, for added strength and rigidity, the static connections can be glued together.
- Some model parts use separate connectors (part "12_Medusa_ge_lock_10H(x7)", requires 7 copies, part "15_Medusa_platform_ge_lock_10H(x4)", requires 4 copies, part "21_common_platform_ge_lock_10H(x14)", requires 14 copies (for Diorama platform), part "12_Medusa_ge_lock_10H(x7)", requires 7 copies, part "23_Medusa_ge_lock_7S(x2)", requires 2 copies).