


Files
3D model format
Wavefront OBJ (.obj)
Total files
Slicer settings
not available
Mesh error check
not specified
Support
Provided by 3D Artist (optional)
Update requests
Subject to 3D Artist’s discretion
Model complexity
Easy: simple printing and assembly with minimal parts and supports.
Model versions
FFF/FDM
Assembly method
Solid
Features
ASEEMBLY INSTRUCTIONS
- Print all pieces and then begin assembly (do not start assembly before printing all pieces)
- Place legs into base using the extrusions created as a guide (glue them in for a more stable result)
- Place the torso (upper half) into the waist and apply glue for a strong hold!
- Let it dry before moving, enjoy!
If you intend to paint the model, maybe paint before assembly for an easy application! Goodluck
FFF/FDM
Assembly method
not specified
Features
Additional details
Part of diorama
No
Special pack included
No
You will get instant access to the STL files of Pale man - Pans Labyrinth after completing your purchase. Simply add the model to your cart and check out using PayPal, credit or debit card, Apple Pay, Google Pay, Alipay, or other available payment methods.
Watch the assembly video for Pale man - Pans Labyrinth, and explore more tutorials, behind-the-scenes content, 3D printing timelapses, and painting guides on the official Gambody YouTube channel.
This 3D model comes with StereoLithography (.STL) files optimized for 3D printing. You'll get digital files, not a physical product
Before printing, take a look at Printing Details for recommended settings and tips to achieve better results.
Pale man - Pans Labyrinth includes 1 version(s) for the supported 3D printer type(s): FFF/FDM. Files are available for download after purchase.
See the Description and Specifications sections for more details about this model.
| File name | Size (mm | in) | Size(mb) | ||||
|---|---|---|---|---|---|---|
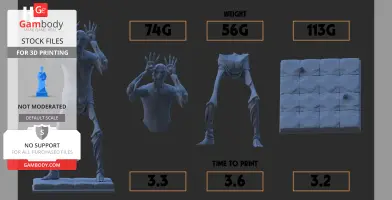
full-scale-print.objCalculation... | Size:Calculation... | File size: 144.40 mb | Printing Time / Filament: Calculation... | |||
3D model history
3D model history
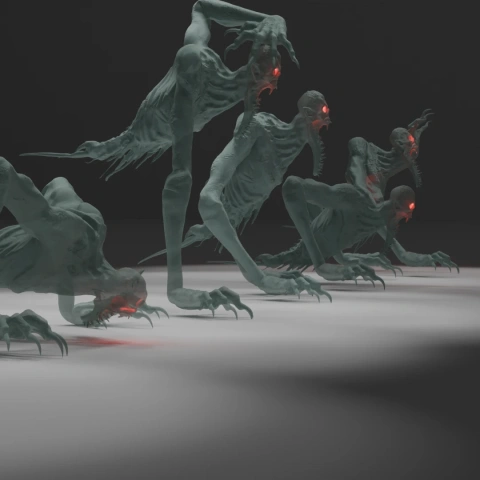
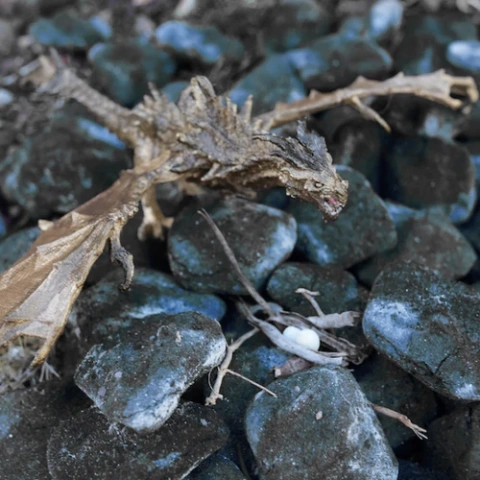
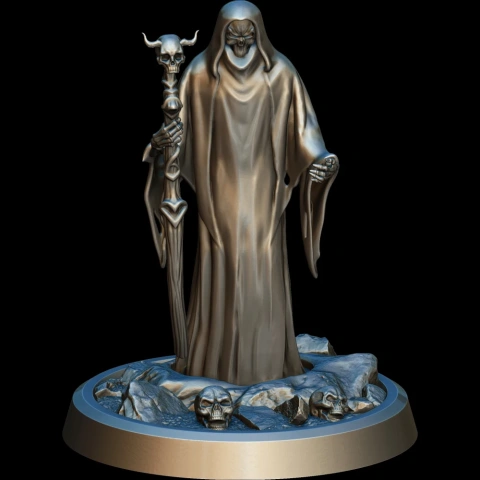
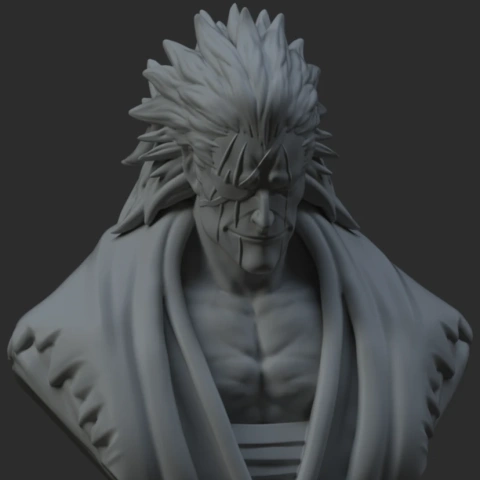
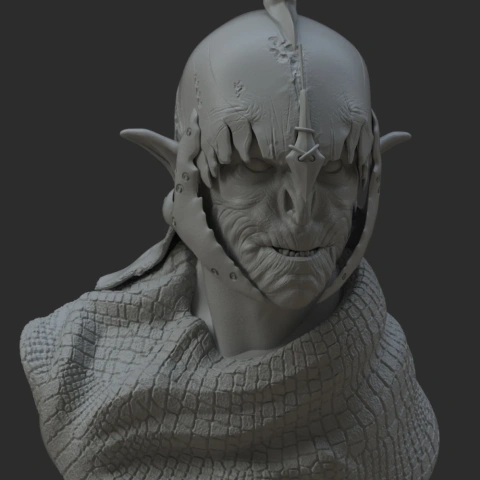
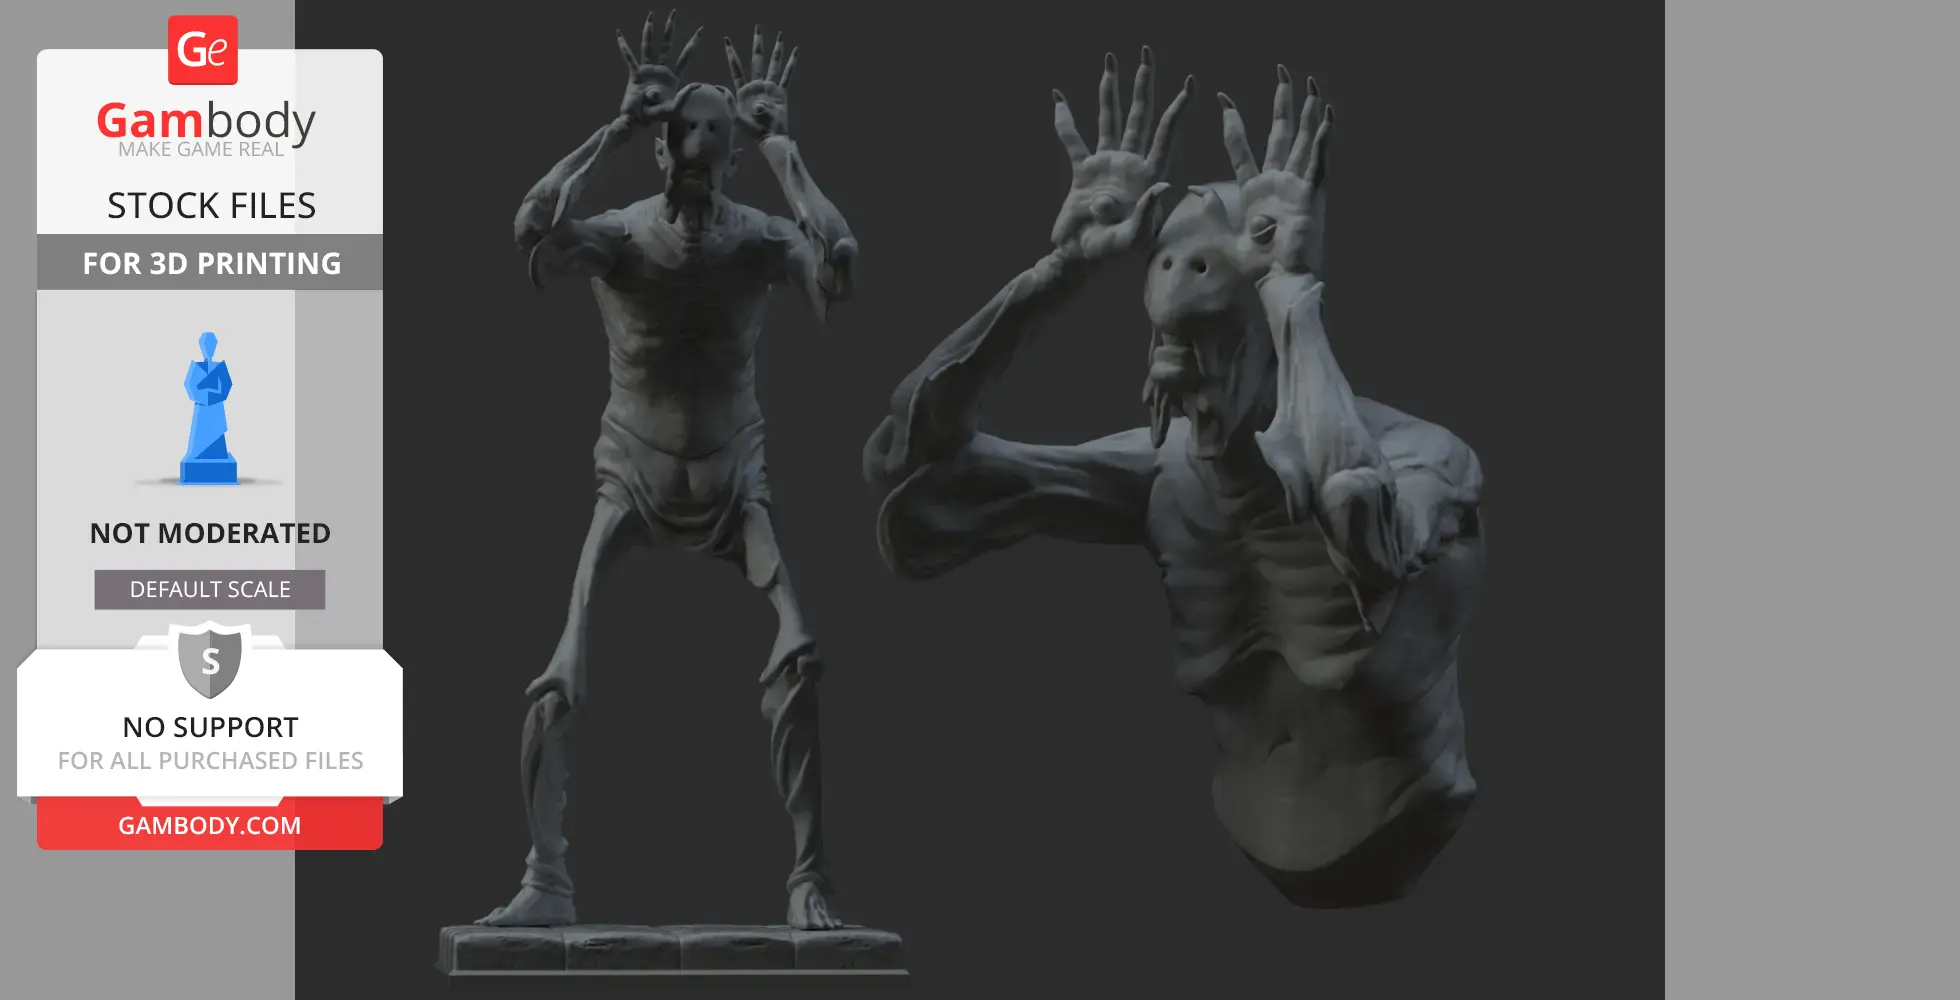
The Pale Man is one of the most disturbing and iconic creatures from Pan’s Labyrinth, Guillermo del Toro’s dark fantasy masterpiece. Dwelling in a forbidden banquet hall, this emaciated, child-eating monster embodies gluttony, cruelty, and consequence. With sagging, corpse-like skin stretched over a skeletal frame and eyes grotesquely embedded in the palms of his hands, the Pale Man stands as a chilling symbol of temptation and punishment within the film’s twisted fairy tale.
Inspired by the unforgettable horror of this creature, our contributing 3D artist has meticulously recreated the Pale Man as a highly detailed collectible bust for 3D printing. The sculpt captures the unsettling anatomy, wrinkled skin folds, sunken facial features, and the creature’s signature hand-eyes in striking detail. Every angle of the model is designed to evoke unease, making it a powerful centerpiece for fans of dark fantasy and cinematic horror.
3D printing model features
Model-specific features:
- This highly detailed bust captures the Pale Man’s skeletal proportions, sagging skin, and iconic eyes-in-hands design.
- Emphasis on realistic anatomy, deep wrinkles, and grotesque textures for high-impact painting results.
- Designed to highlight the creature’s haunting expression and unsettling silhouette from every angle.
Printing & assembly details:
- Provided as error-free STL files compatible with most 3D printers;
- Optimized part division to reduce supports while preserving fine surface details;
- FFF/FDM version includes recommended print orientations for easy bed placement;
- Assembly manual in both PDF and video formats included for FFF/FDM and DLP/SLA versions;
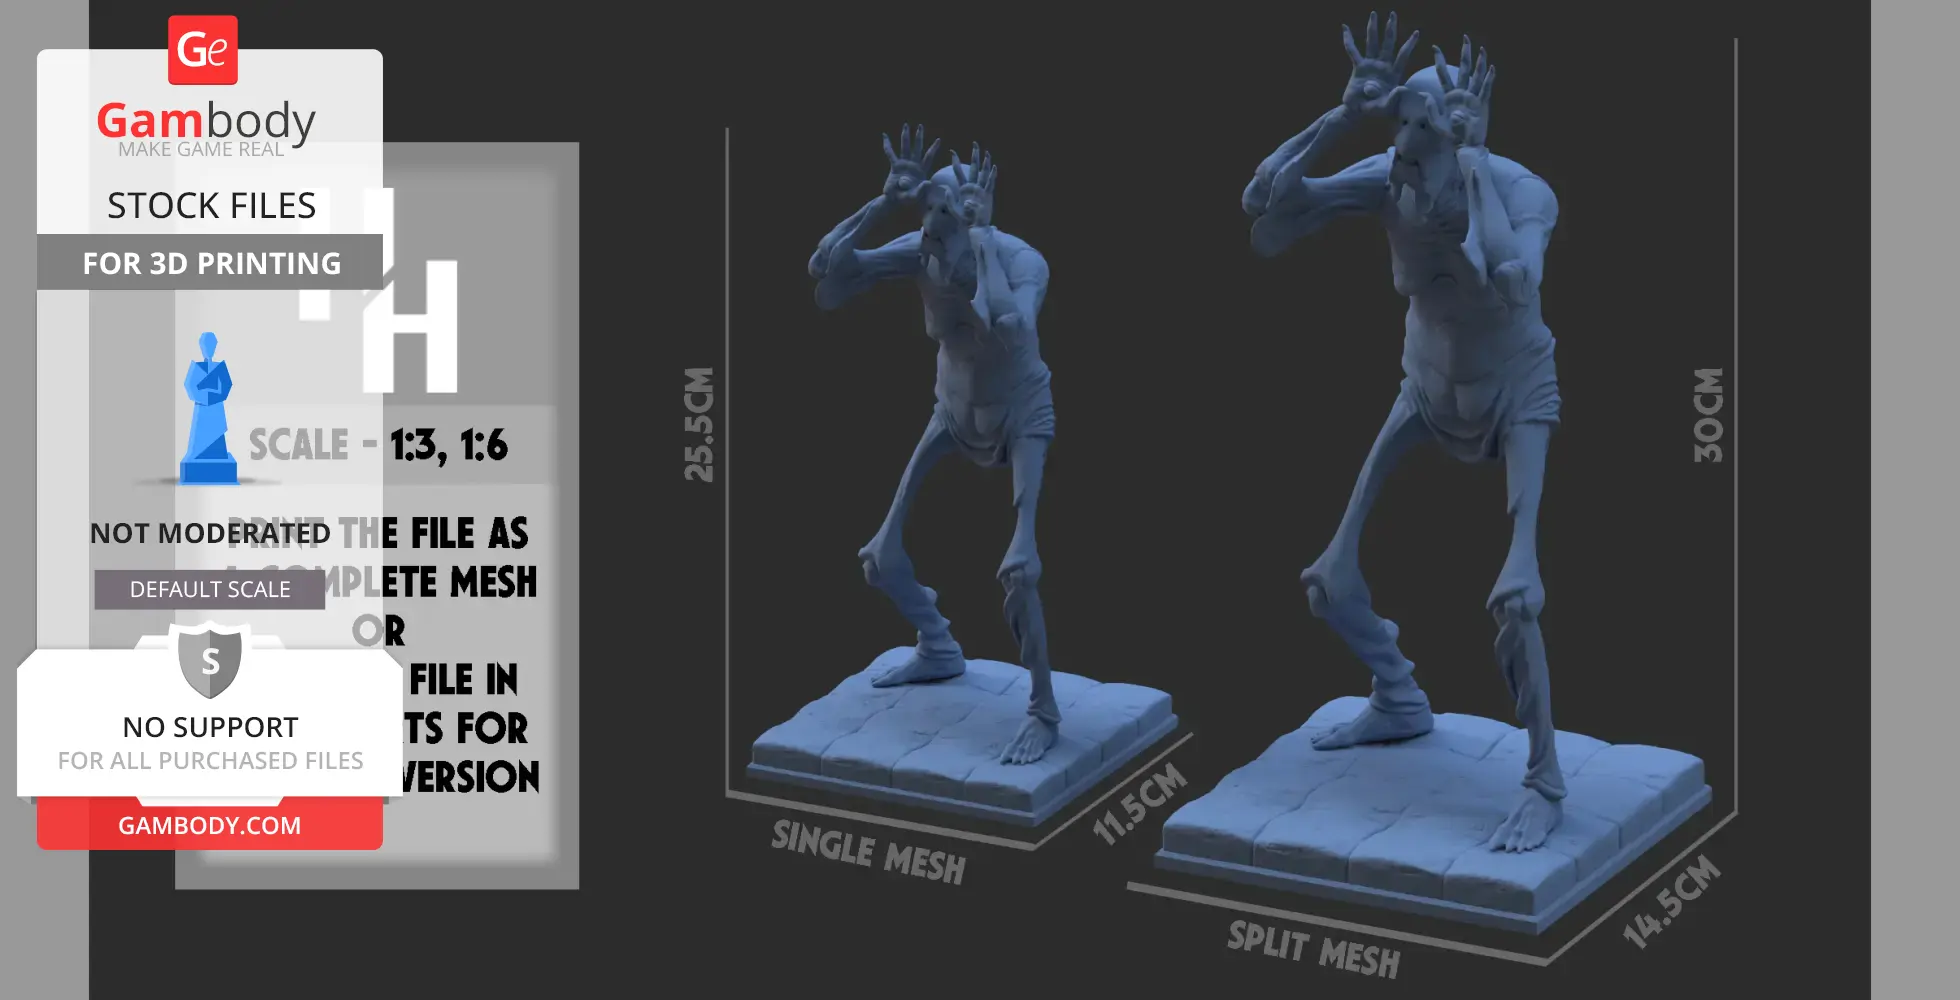
- The model is available in recommended scales of 1:3 for FFF/FDM and 1:6 for DLP/SLA/SLS versions.
What will you get after purchase?
- Multiple versions of the Pale Man Bust STL files for FFF/FDM, DLP/SLA, DLP/SLA Eco, and SLS — all files available for download after purchase;
- High-poly STL files of the Pale Man Bust, carefully prepared for premium 3D printing results;
- Model dimensions provided for both FFF/FDM and DLP/SLA/SLS scales;
- Assembly Manual for FFF/FDM and DLP/SLA versions in PDF and video formats;
- Recommended slicer settings for Bambu Studio, Cura, Orca Slicer, PrusaSlicer, Simplify3D, and Slic3r;
- Full technical support to ensure a smooth printing and assembly experience.
FFF/FDM
FFF/FDM
ASEEMBLY INSTRUCTIONS
- Print all pieces and then begin assembly (do not start assembly before printing all pieces)
- Place legs into base using the extrusions created as a guide (glue them in for a more stable result)
- Place the torso (upper half) into the waist and apply glue for a strong hold!
- Let it dry before moving, enjoy!
If you intend to paint the model, maybe paint before assembly for an easy application! Goodluck