Community (fb)

 es
es  ua
ua 











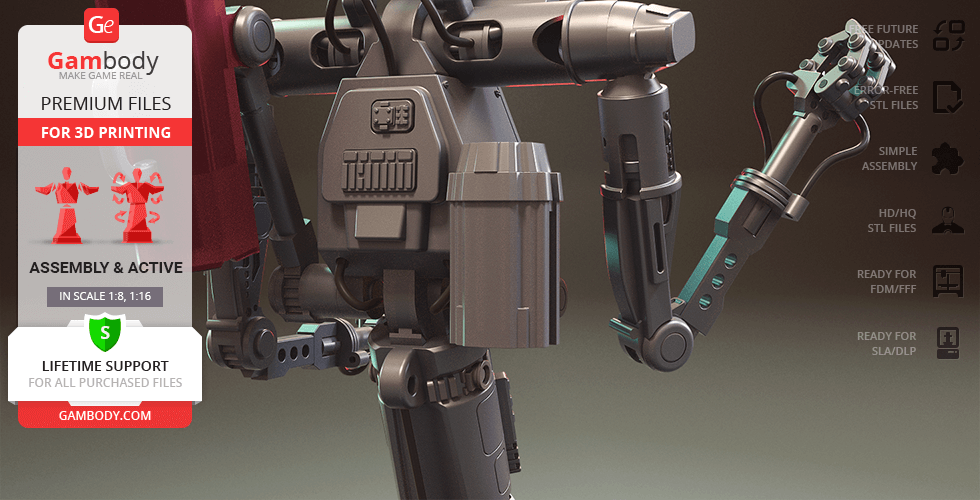
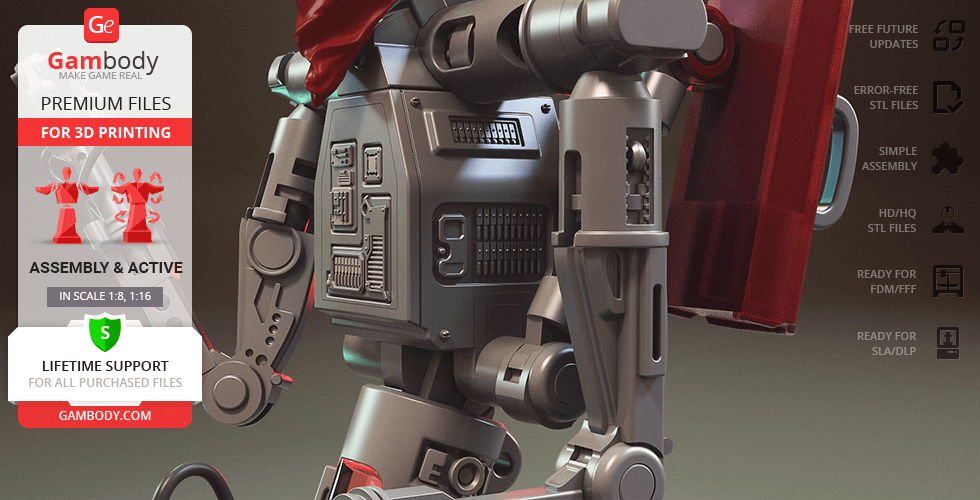
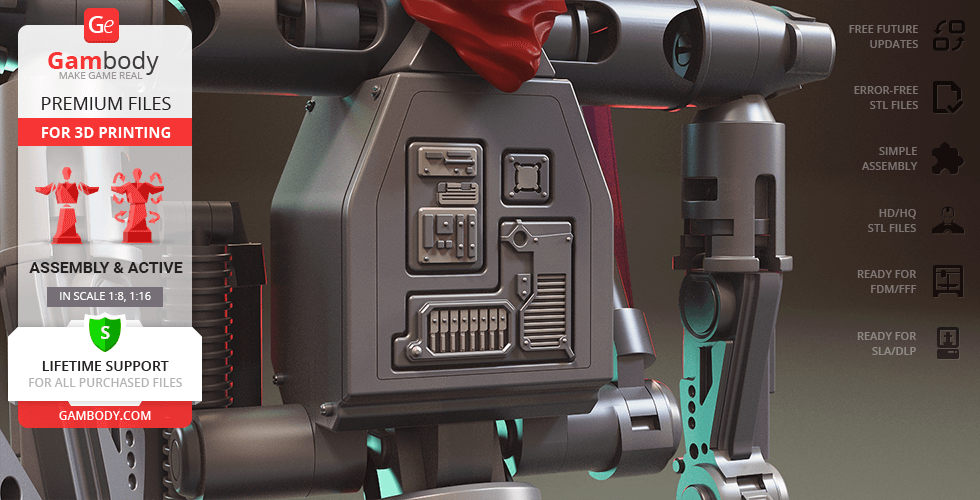
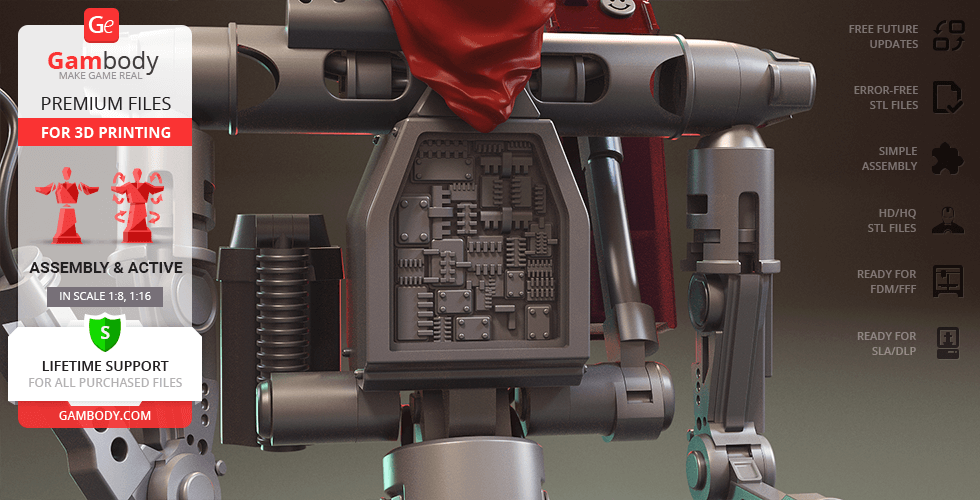




Files
3D model format
Stereolithography (.stl)
Total files

Slicer settings
Mesh error check
Netfabb
Support
Lifetime support from Gambody team
Update requests
Available to verified buyers
Model complexity
Standard: balanced printing difficulty and moderate part count with assembly steps.
Advanced: may require tuning print settings or support placement, plus precise fitting, gluing, or sanding.
Model versions
FFF/FDM
Assembly method
Connectors, Glue, Filament pieces
Features
- 1:4 scale for FFF/FDM printing, approximately twice the physical size of versions 1.0 and 1.1.
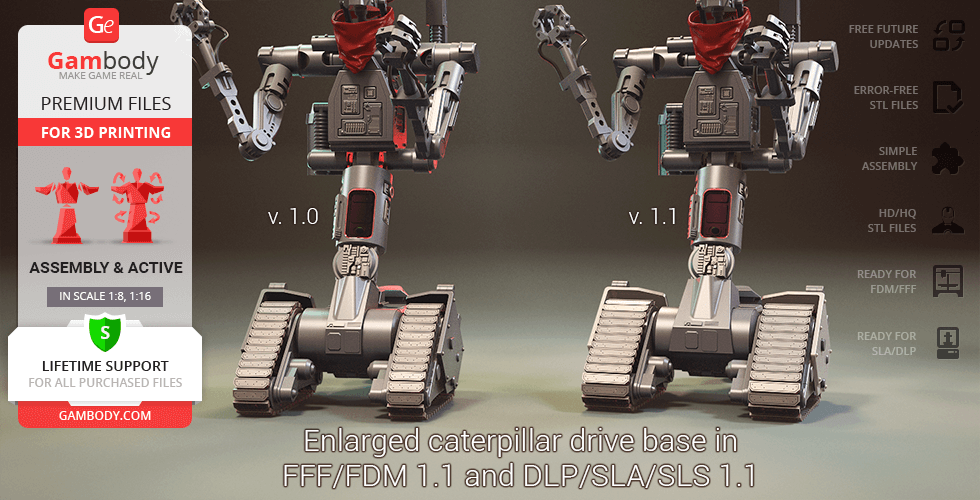
- Revised proportions, including an enlarged track base, reduced body and head proportions, and shortened arms.
- Completely redesigned arms with new mechanical joints, additional articulation points, and full shoulder rotation.
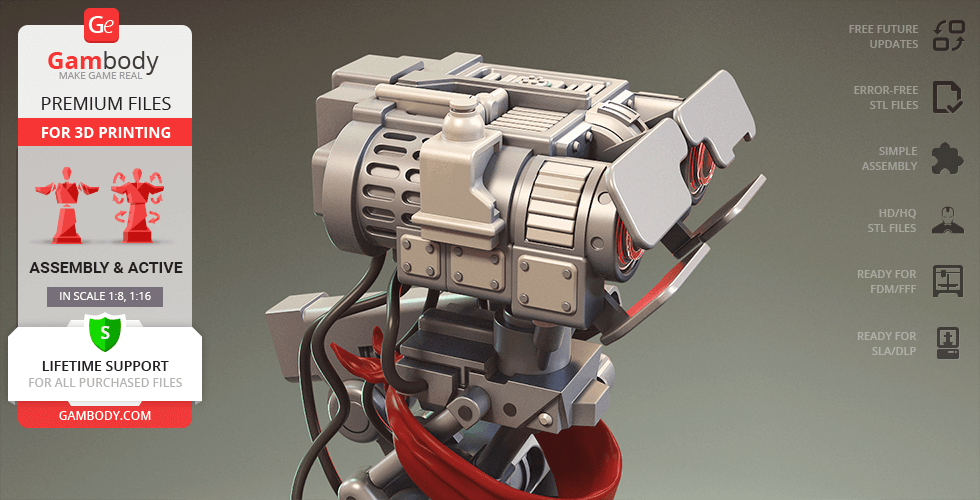
- Articulated head, eyes, eyelids, arms, hands, fingers, and shoulder equipment.
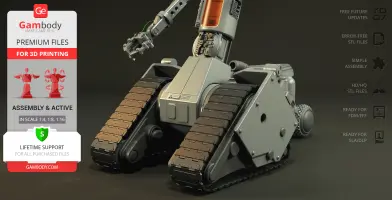
- Three track assembly options: static single-piece track, track optimized for flexible filament, and fully articulated segmented track assembled using 0.8 mm wire, requiring 41 links per track.
- Two rear wheel support options for different track heights and positions.
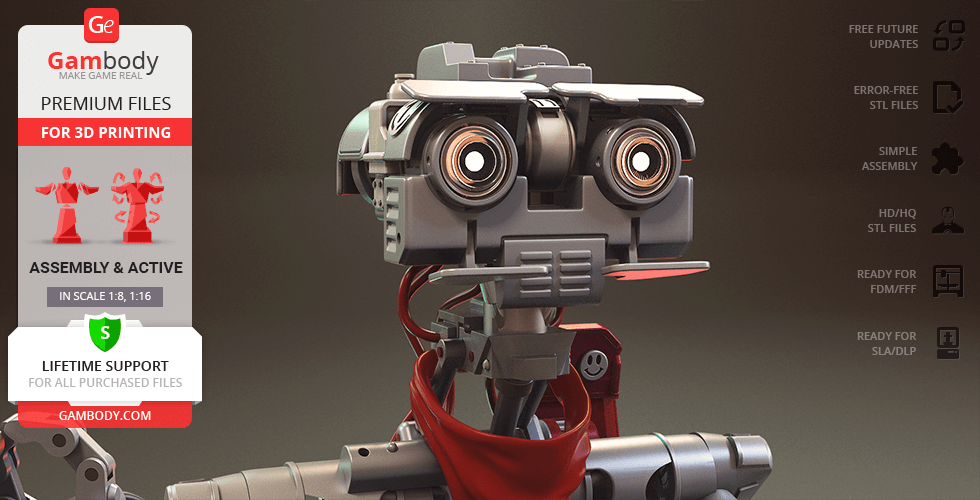
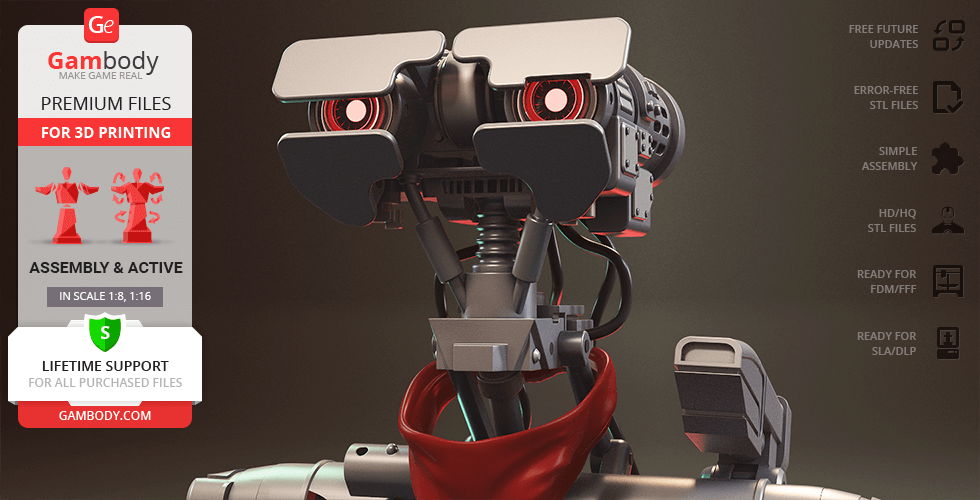
- Three interchangeable eyebrow options for friendly, sad, and hostile expressions.
- Two head variations, including different helmet configurations.
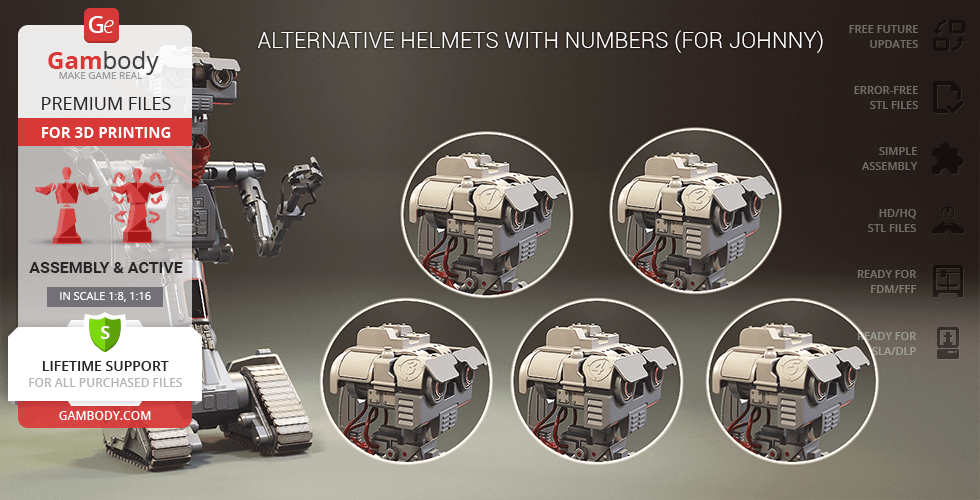
- Multiple helmet options with different numbers.
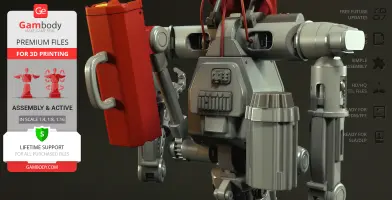
- Two left shoulder equipment options: tactical laser or utility equipment.
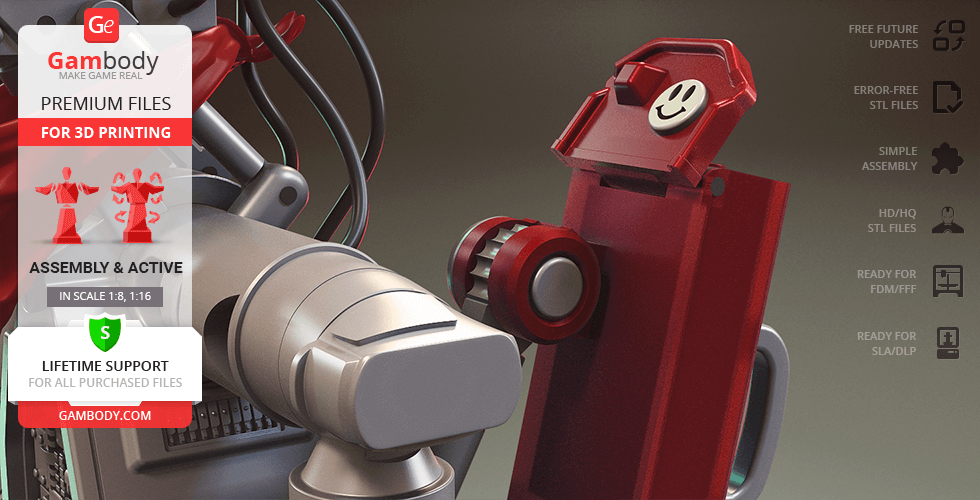
- Articulated right-side gadget.
- Removable front chest panels revealing detailed internal hardware and circuitry.
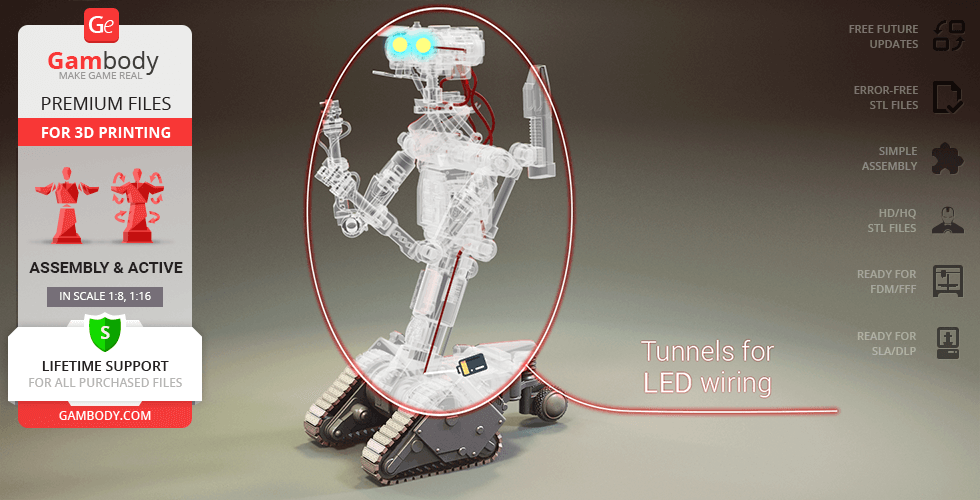
- Optional LED wiring channels for the eyes and mouth.
- Separate eye lenses suitable for transparent filament.
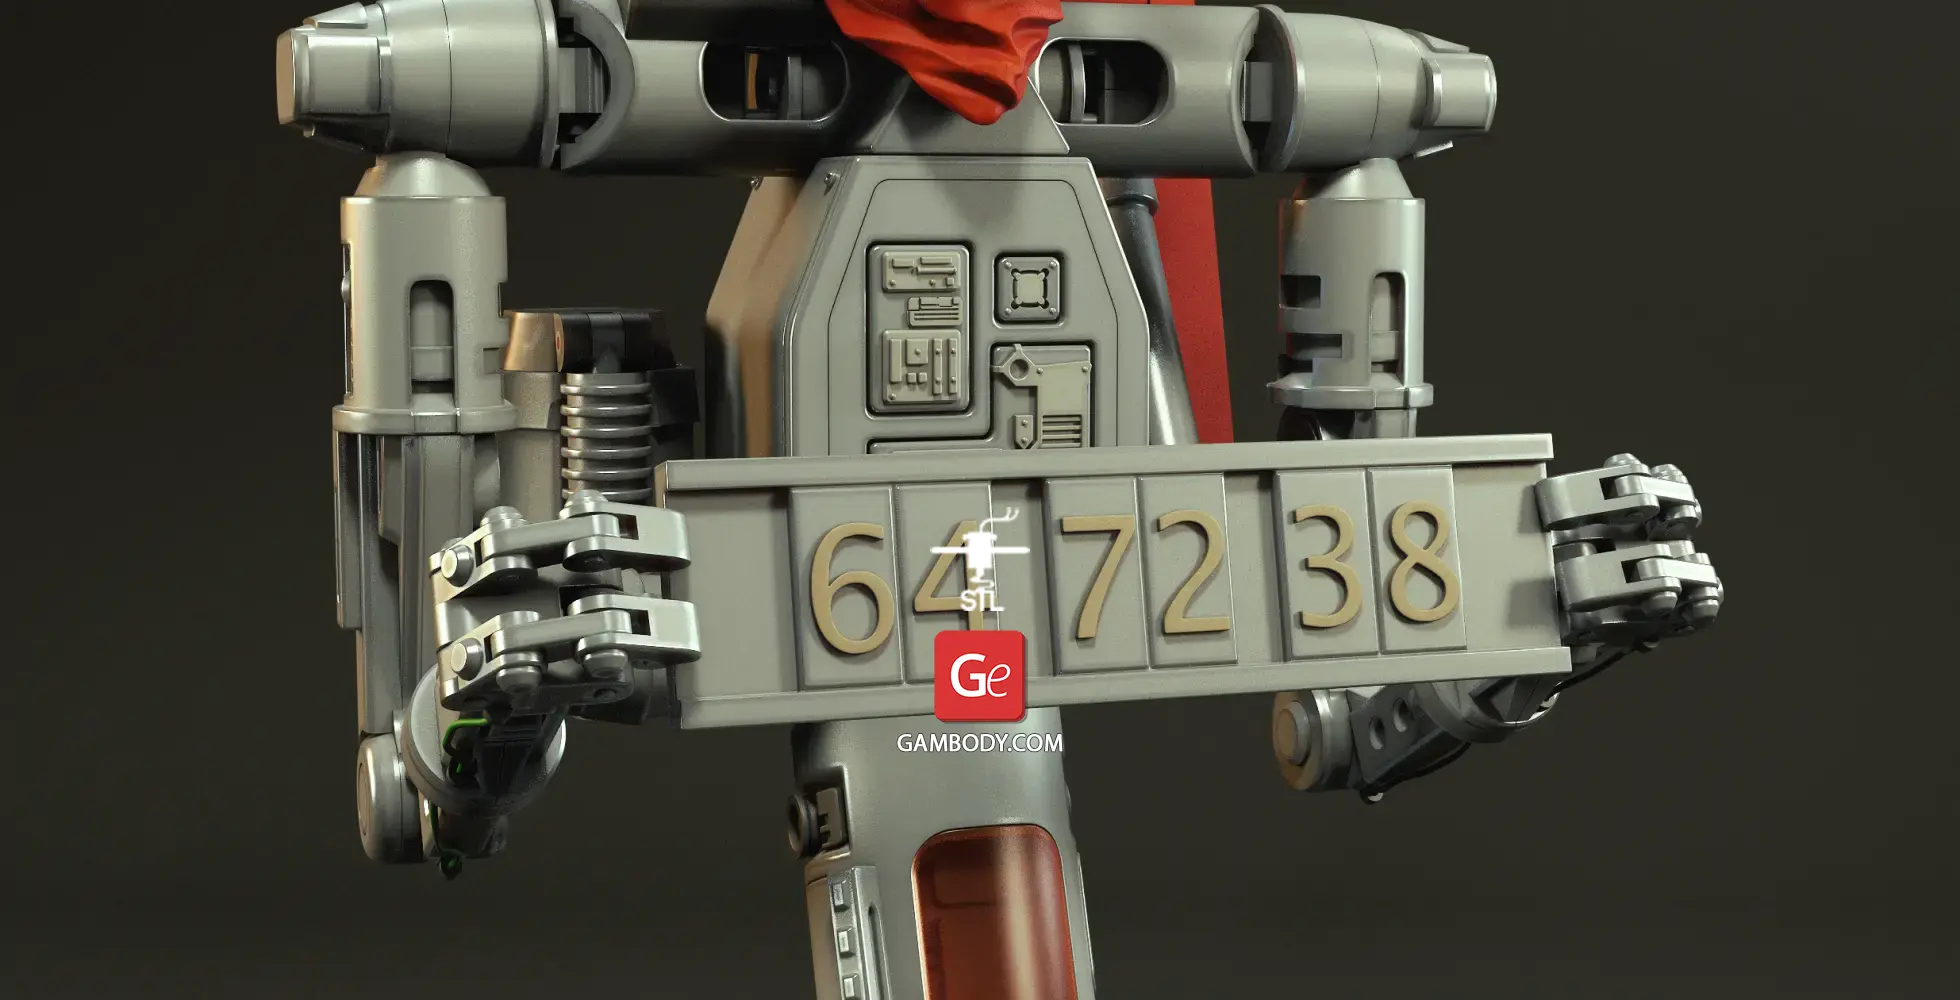
- Multiple nameplate options, including a dedicated 40th-anniversary plate.
- The assembly parts are connected using specially designed integrated connectors that fit securely into the corresponding slots. Optionally, for added strength and rigidity, the static connections can be glued together.
- The assembly requires additional "pins" to secure the parts of the 3D printed vehicle. These pins do not come in STL files but can be made out of short pieces of regular 1.75 mm filament.
DLP/SLA
Eco parts
Assembly method
Connectors, Glue
Features
- 1:8 scale for DLP/SLA printing, approximately twice the physical size of versions 1.0 and 1.1.
- Revised proportions designed to more closely match the movie prop.
- Redesigned arms with new mechanical joints, additional articulation points, and full shoulder rotation.
- Articulated eyes, eyelids, arms, and shoulder equipment.
- Three track assembly options: static single-piece track, flexible track optimized for flexible filament/resin, and fully articulated segmented track, requiring 41 links per track.
- Two rear wheel support options for different track heights and positions.
- Three interchangeable eyebrow options for friendly, sad, and hostile expressions.
- Two head variations with multiple helmet configurations.
- Multiple shoulder equipment options, including the tactical laser and utility equipment.
- Removable front chest panels revealing detailed internal hardware and circuitry.
- Optional LED wiring channels for the eyes and mouth.
- Multiple nameplate options, including a dedicated 40th-anniversary plate.
- Several small components are merged into combined STL parts to reduce the total part count and simplify resin printing.
- The assembly parts are connected using specially designed integrated connectors that fit securely into the corresponding slots. Optionally, for added strength and rigidity, the static connections can be glued together.
- The assembly requires additional "pins" to secure the parts of the 3D printed vehicle. These pins do not come in STL files but can be made out of short pieces of 1 mm wire or a paper clip.
FFF/FDM
Assembly method
Connectors, Glue, Filament pieces
Features
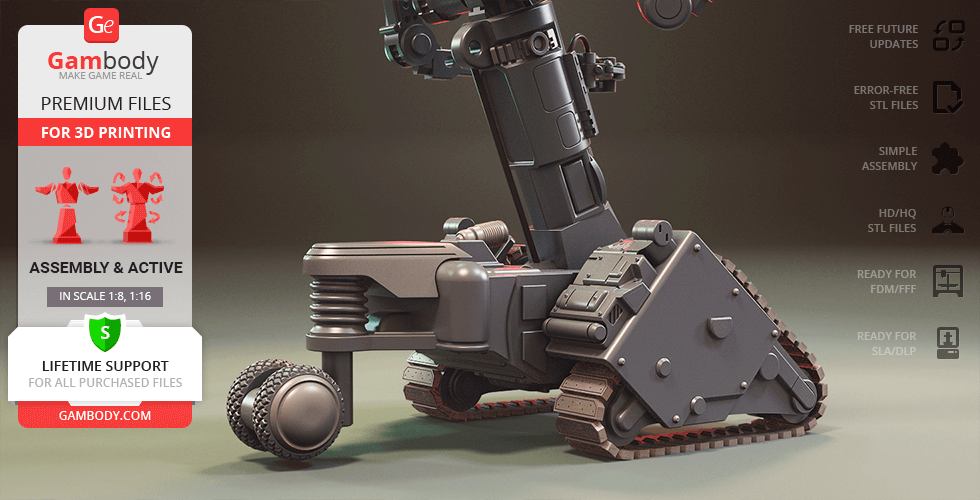
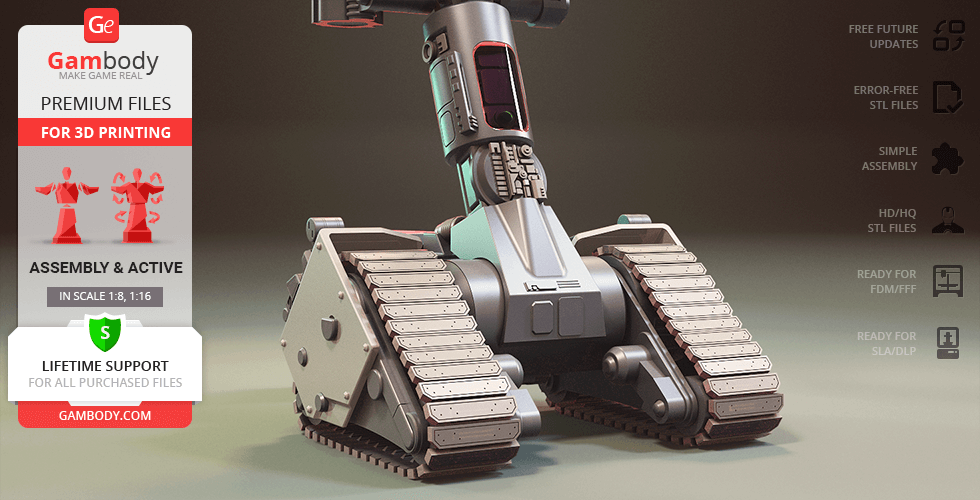
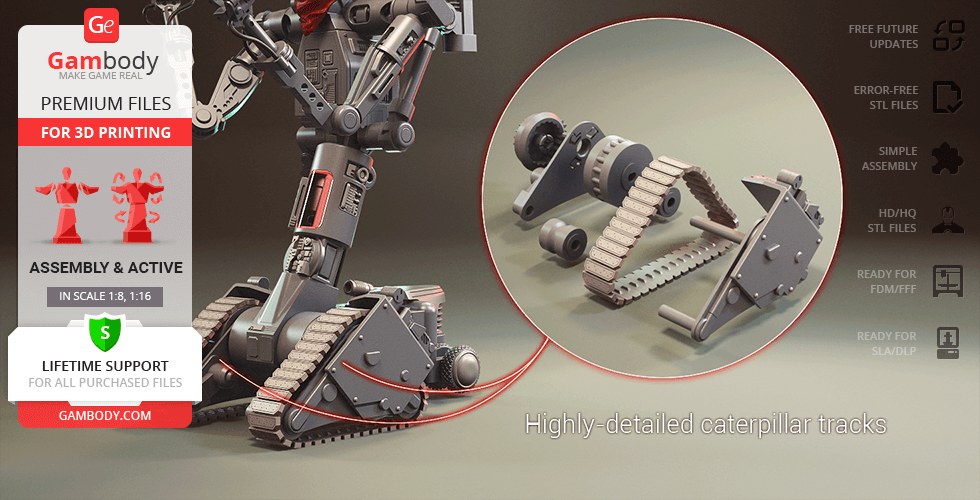
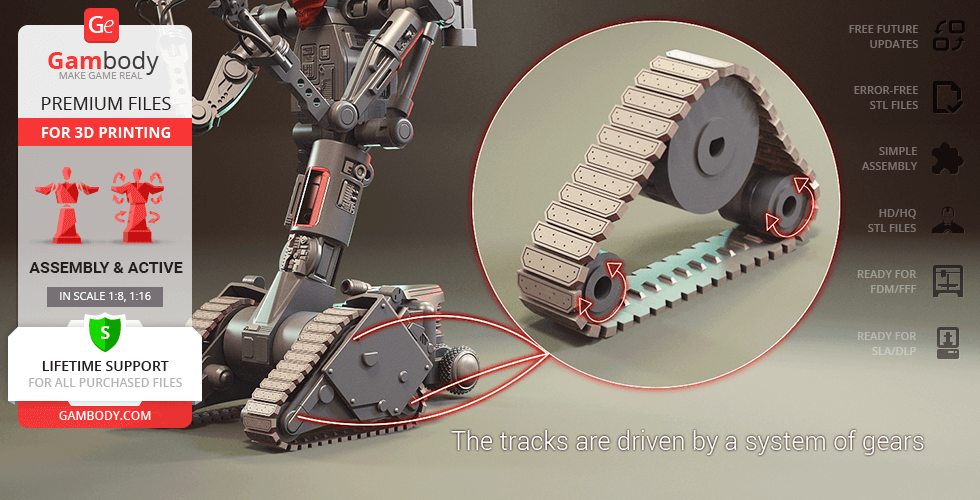
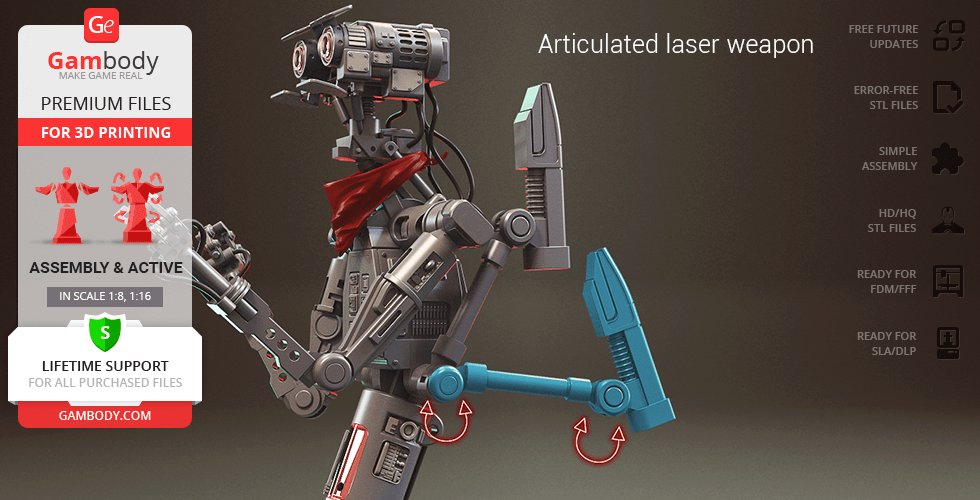
- Johnny 5 moves around on caterpillar tracks that are driven by a system of gears;
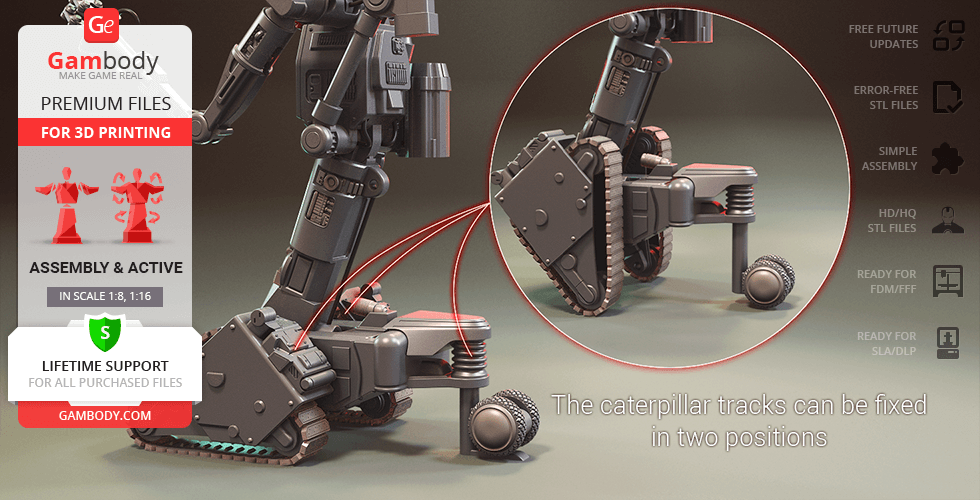
- The robot’s tracks can rise up and be fixed in the upright position with the help of a supporting ball-wheel;
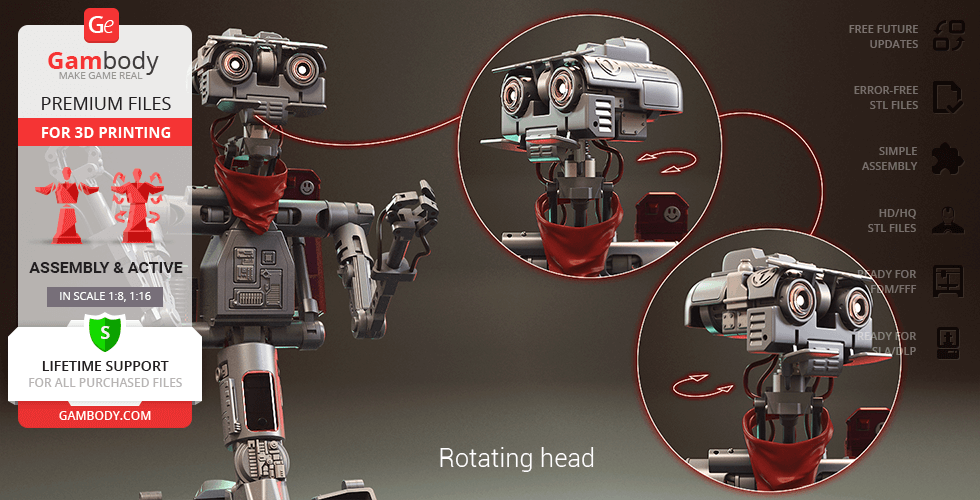
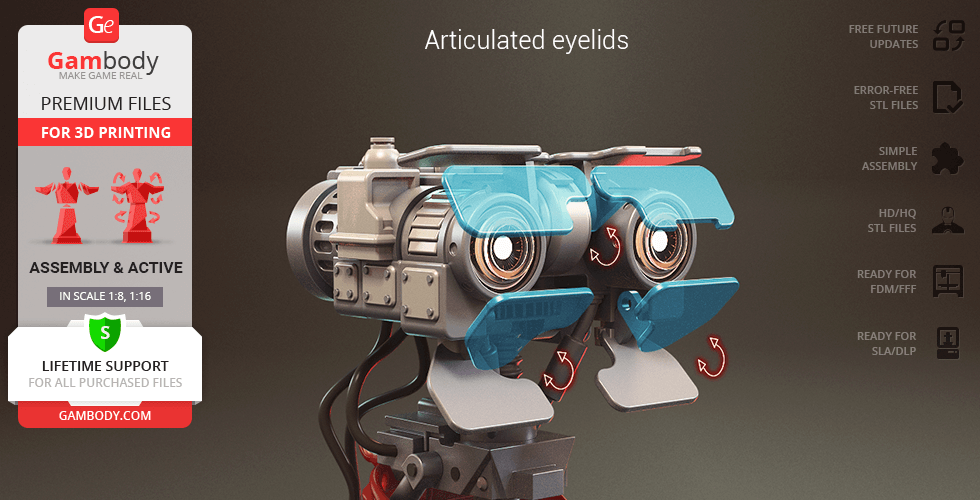
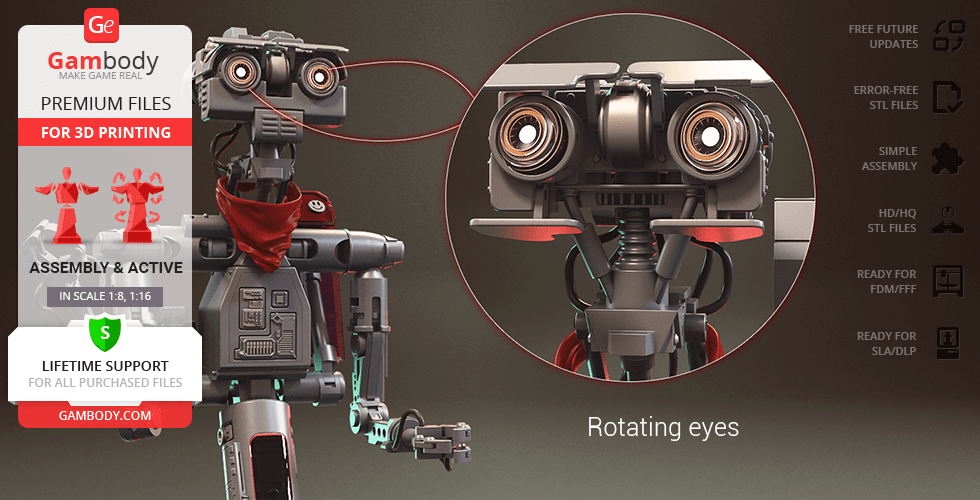
- Johnny’s head can turn left and right, its eyes rotate, and both pairs of eyelids are articulated as well;
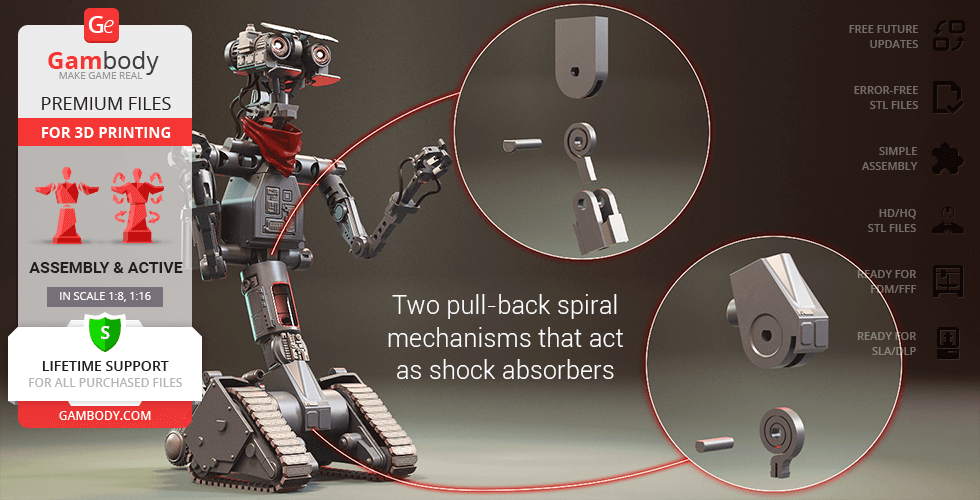
- Number 5's body is equipped with two pull-back spiral mechanisms that act as shock absorbers;
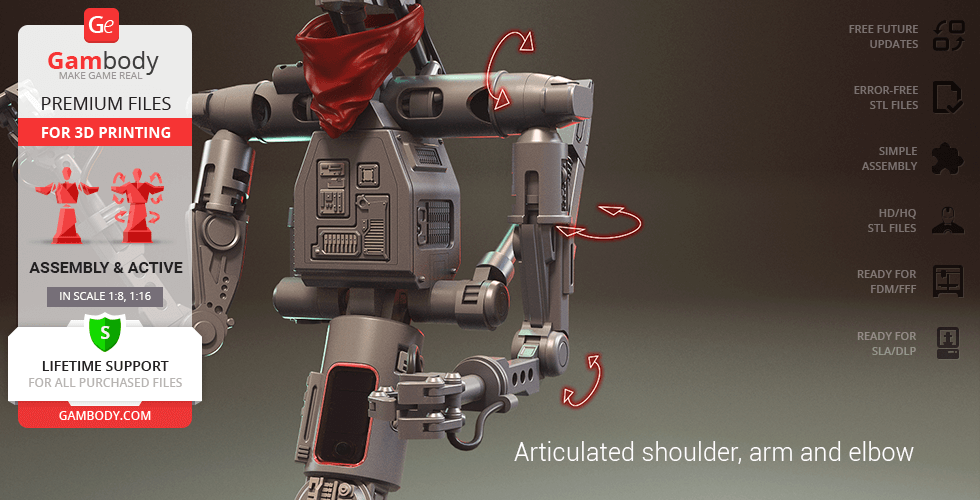
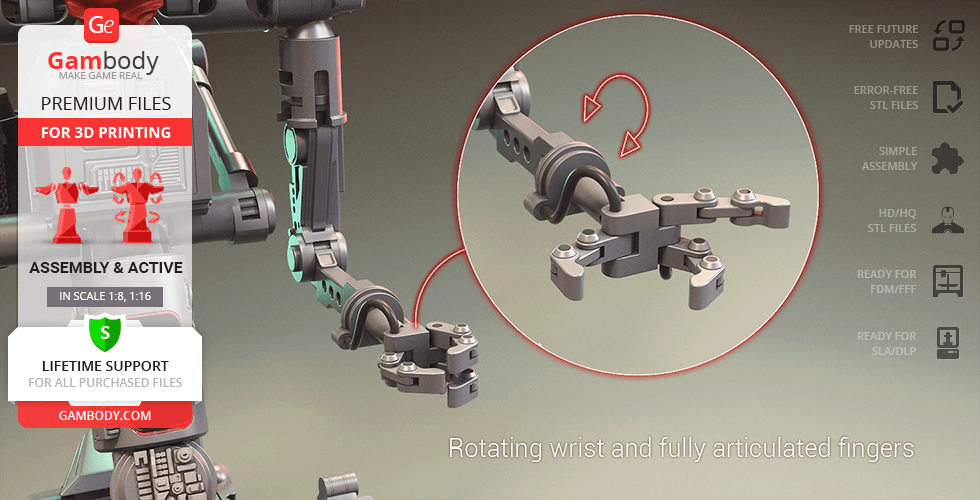
- The robot’s shoulder, elbow and wrist joints are articulated;
- The assembly of some parts such as the fully articulated fingers requires additional “pins”. These pins do not come in STL files but can be made out of short pieces of regular 1.75 PLA;
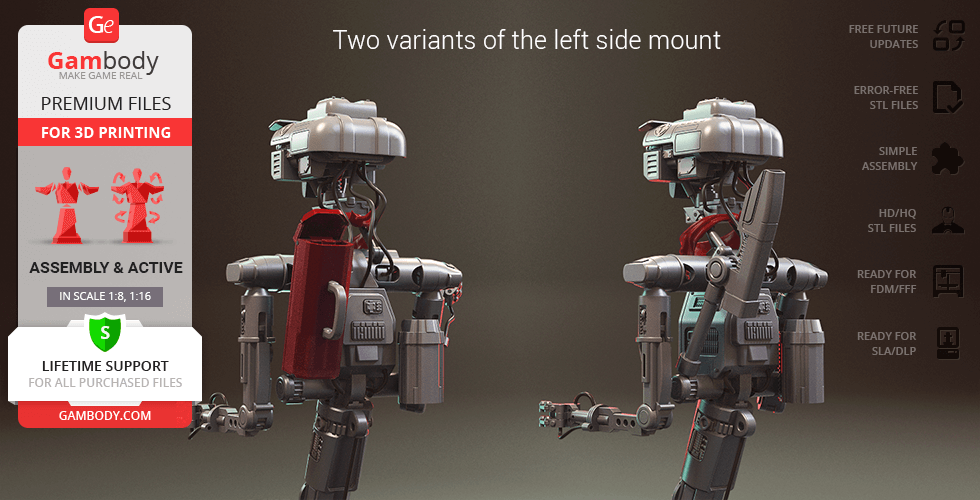
- Johnny 5 can be displayed with either of two left shoulder mount variants - an articulated laser weapon or a utility pack;
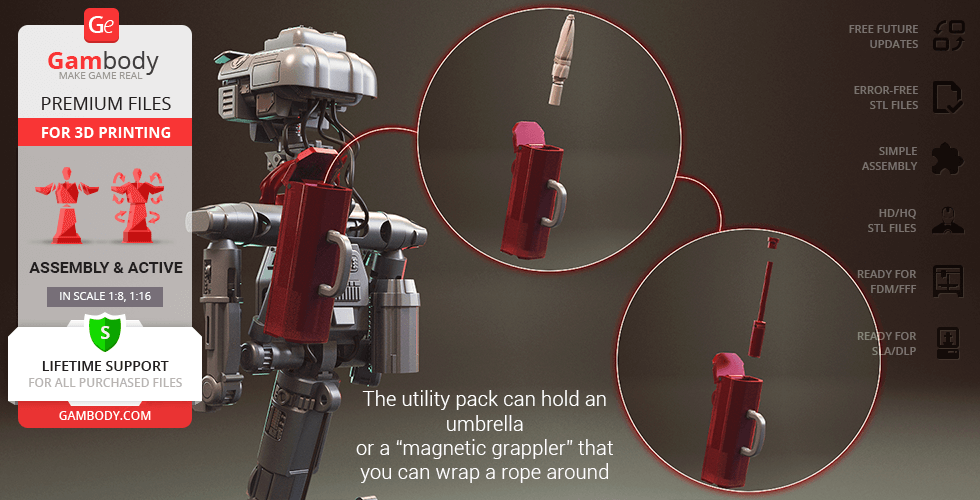
- The utility pack can hold an umbrella or a “magnetic grappler” that you can wrap a rope around;
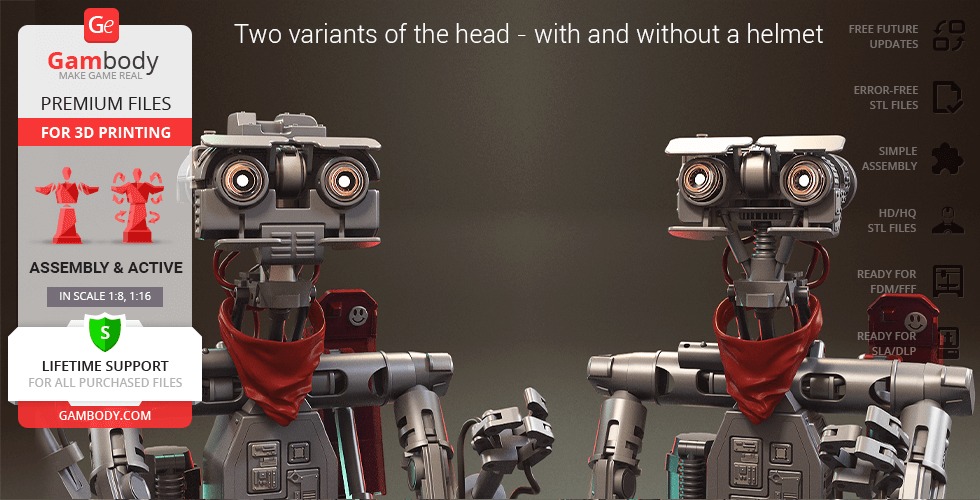
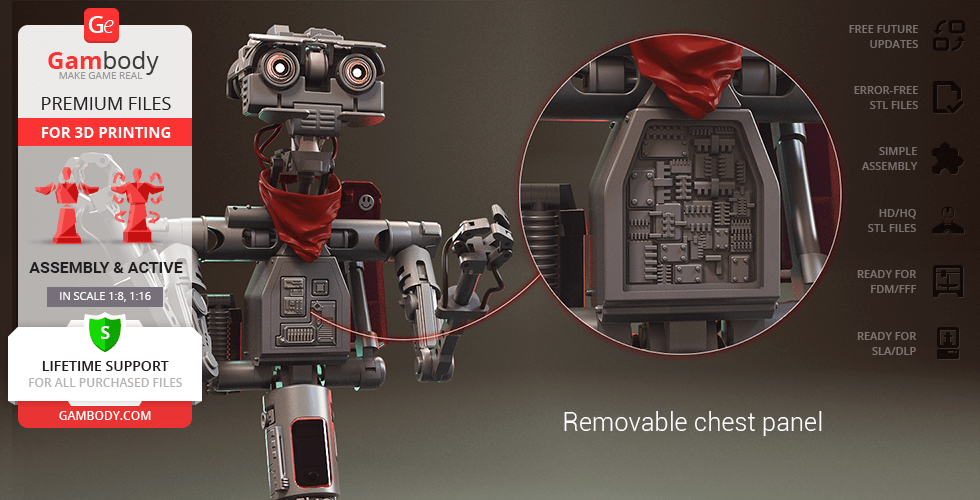
- There are a removable chest panel and two variants of the head - with and without a helmet;
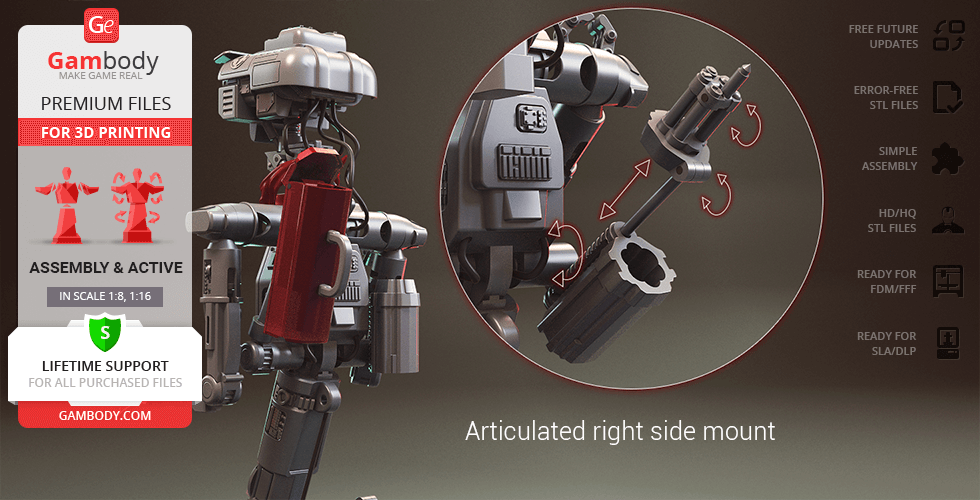
- The right shoulder mount is fully articulated as well;
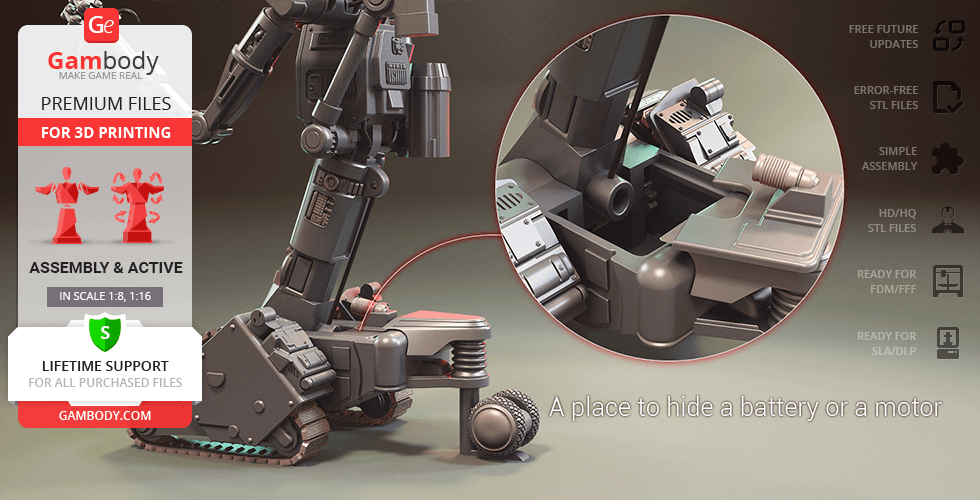
- Tunnels throughout the robot’s body are provided for LED wiring to light up the eyes; a spot to hide the battery or a motor is provided behind the tracks;
- Lenses on the robot’s eyes are provided separately and can be printed with the transparent filament;
- LED wires can act as hydraulic cables that connect Johnny 5's parts or they can also be made of 1.75mm filament;
- It is highly recommended that you watch "Assembly video" in the photo preview section and read "Assembly Manual" in PDF before assembling the Johnny 5;
- The support pyramids on the tracks should be cut off with a knife;
- N.B. The caterpillar tracks should be printed without supports at an angle of 45º (the upper layers will print along the tracks binding them).
DLP/SLA
Assembly method
Connectors, Glue
Features
- Johnny’s head can turn left and right;
- The robot’s shoulder and elbow joints are articulated;
- Johnny 5 can be displayed with either of two left shoulder mount variants - a laser weapon or a utility pack;
- The utility pack can hold a “magnetic grappler” that you can wrap a rope around;
- There are two variants of the head panel - with and without a helmet.
- The assembly parts are connected using specially designed integrated connectors that fit securely into the corresponding slots. Optionally, for added strength and rigidity, the static connections can be glued together.
FFF/FDM
Assembly method
Connectors, Glue, Filament pieces
Features
- Johnny 5 moves around on caterpillar tracks that are driven by a system of gears;
- The robot’s tracks can rise up and be fixed in the upright position with the help of a supporting ball-wheel;
- Johnny’s head can turn left and right, its eyes rotate, and both pairs of eyelids are articulated as well;
- Number 5's body is equipped with two pull-back spiral mechanisms that act as shock absorbers;
- The robot’s shoulder, elbow and wrist joints are articulated;
- The assembly of some parts such as the fully articulated fingers requires additional “pins”. These pins do not come in STL files but can be made out of short pieces of regular 1.75 PLA;
- Johnny 5 can be displayed with either of two left shoulder mount variants - an articulated laser weapon or a utility pack;
- The utility pack can hold an umbrella or a “magnetic grappler” that you can wrap a rope around;
- There are a removable chest panel and two variants of the head - with and without a helmet;
- The right shoulder mount is fully articulated as well;
- Tunnels throughout the robot’s body are provided for LED wiring to light up the eyes; a spot to hide the battery or a motor is provided behind the tracks;
- Lenses on the robot’s eyes are provided separately and can be printed with the transparent filament;
- LED wires can act as hydraulic cables that connect Johnny 5's parts or they can also be made of 1.75mm filament;
- It is highly recommended that you watch "Assembly video" in the photo preview section and read "Assembly Manual" in PDF before assembling the Johnny 5;
- The support pyramids on the tracks should be cut off with a knife;
- N.B. The caterpillar tracks should be printed without supports at an angle of 45º (the upper layers will print along the tracks binding them).
DLP/SLA
Assembly method
Connectors, Glue
Features
- Johnny’s head can turn left and right;
- The robot’s shoulder and elbow joints are articulated;
- Johnny 5 can be displayed with either of two left shoulder mount variants - a laser weapon or a utility pack;
- The utility pack can hold a “magnetic grappler” that you can wrap a rope around;
- There are two variants of the head panel - with and without a helmet.
- The assembly parts are connected using specially designed integrated connectors that fit securely into the corresponding slots. Optionally, for added strength and rigidity, the static connections can be glued together.
Additional details
Part of diorama
No
Special pack included
No
You will get instant access to the STL files of Johnny 5 3D Printer Files | Assembly + Action after completing your purchase. Simply add the model to your cart and check out using PayPal, credit or debit card, Apple Pay, Google Pay, Alipay, or other available payment methods.
Watch the assembly video for Johnny 5 3D Printer Files | Assembly + Action, and explore more tutorials, behind-the-scenes content, 3D printing timelapses, and painting guides on the official Gambody YouTube channel.
This 3D model comes with StereoLithography (.STL) files optimized for 3D printing. You'll get digital files, not a physical product
Before printing, take a look at Printing Details for recommended settings and tips to achieve better results.
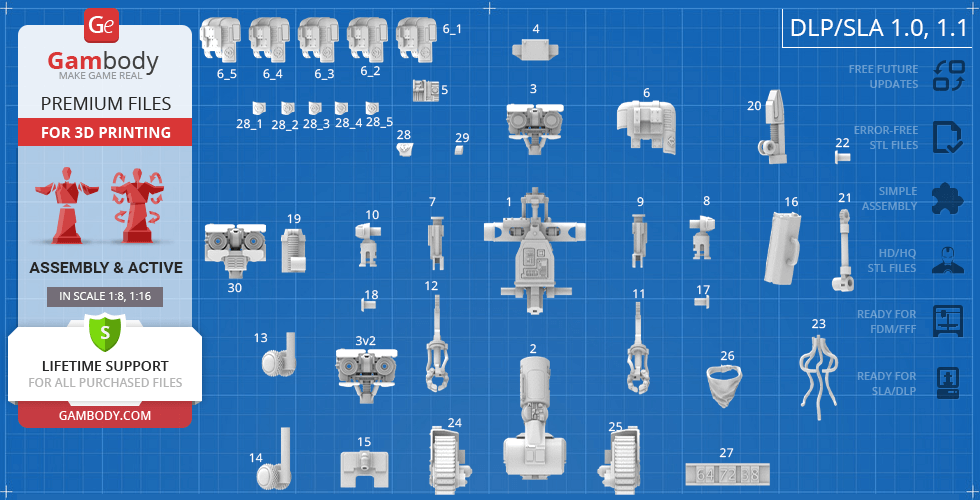
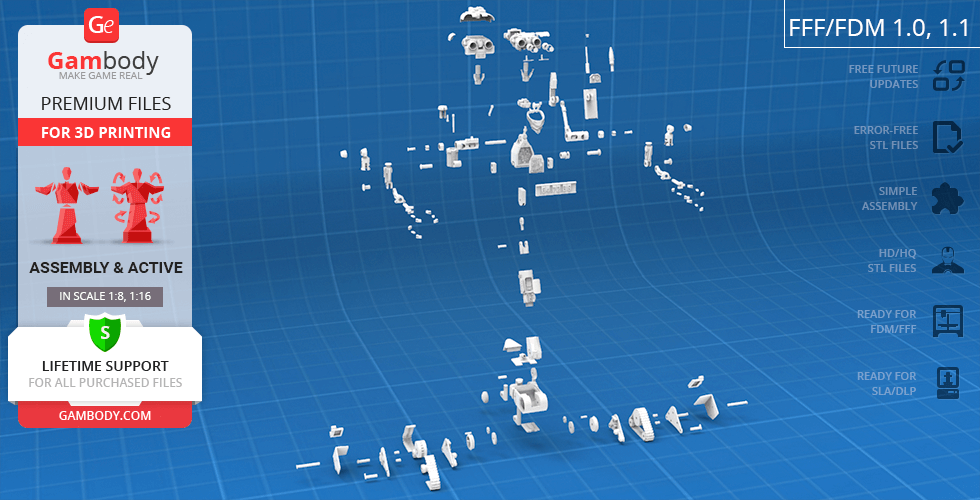
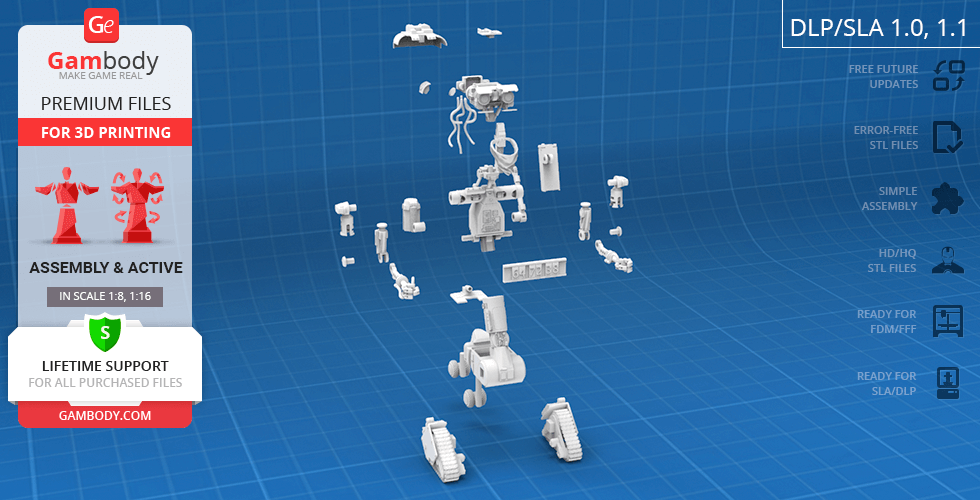
Johnny 5 3D Printer Files | Assembly + Action includes 2 version(s) for the supported 3D printer type(s): FFF/FDM, DLP/SLA. Files are available for download after purchase.
See the Description and Specifications sections for more details about this model.
| File name | Size (mm | in) | Size(mb) | Printing Time / Filament | |||
|---|---|---|---|---|---|---|
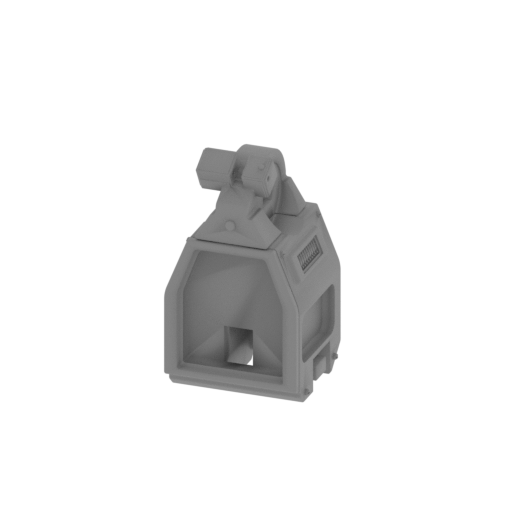 | _01_robotBody_a_FDM (repaired).stl 57.7 x 58.7 x 97.9 mm | 2.27 x 2.31 x 3.85 in | Size: 57.7 x 58.7 x 97.9 mm | 2.27 x 2.31 x 3.85 in | File size: 8.93 mb | Printing Time / Filament: 2 h 40 min / 24 m Slicer: prusa v2.9.2 Printer: mk4s Non default settings Layer height: 0.2 Fill density: 20% Support material: 1 Support material buildplate only: 1 | ||
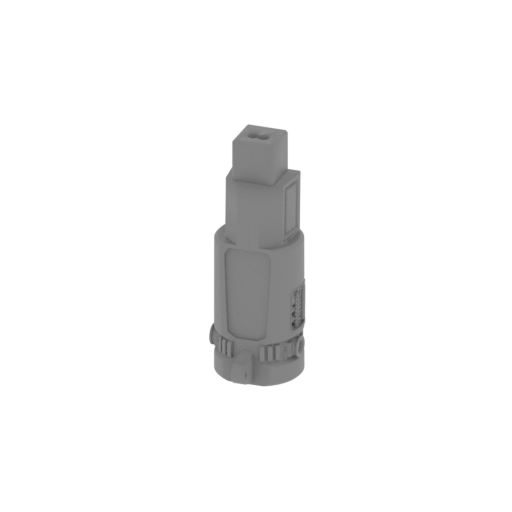 | _02_robotBody_b_FDM (repaired).stl 42.5 x 49 x 115.6 mm | 1.67 x 1.93 x 4.55 in | Size: 42.5 x 49 x 115.6 mm | 1.67 x 1.93 x 4.55 in | File size: 19.79 mb | Printing Time / Filament: 2 h 4 min / 16 m Slicer: prusa v2.9.2 Printer: mk4s Non default settings Layer height: 0.2 Fill density: 20% Support material: 1 Support material buildplate only: 1 | ||
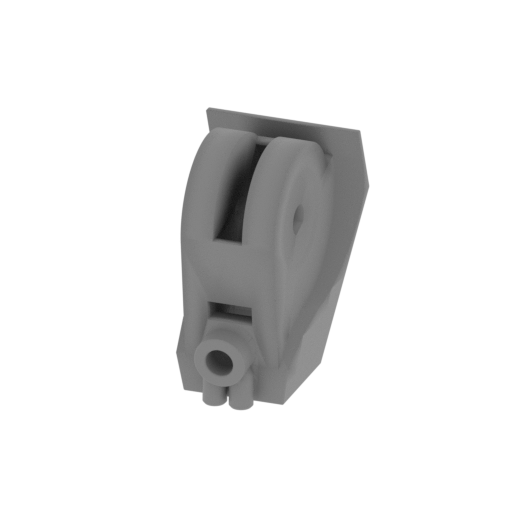 | _03_robotBody_c_FDM (repaired).stl 51.6 x 69.8 x 81.4 mm | 2.03 x 2.75 x 3.2 in | Size: 51.6 x 69.8 x 81.4 mm | 2.03 x 2.75 x 3.2 in | File size: 3.56 mb | Printing Time / Filament: 1 h 51 min / 18 m Slicer: prusa v2.9.2 Printer: mk4s Non default settings Layer height: 0.2 Fill density: 20% Support material: 1 Support material buildplate only: 1 | ||
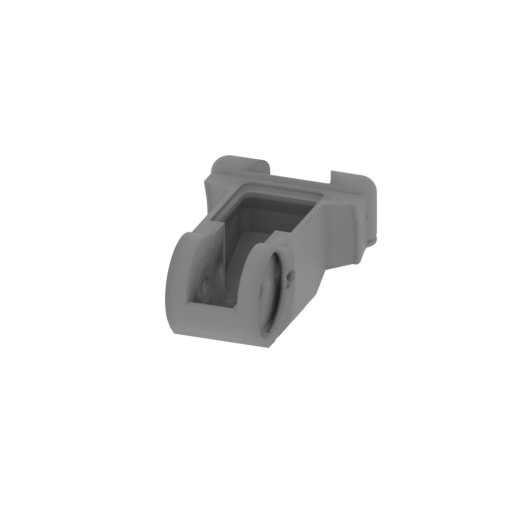 | _04_robotBody_d_FDM (repaired).stl 106 x 155.4 x 62 mm | 4.17 x 6.12 x 2.44 in | Size: 106 x 155.4 x 62 mm | 4.17 x 6.12 x 2.44 in | File size: 1.89 mb | Printing Time / Filament: 4 h 1 min / 42 m Slicer: prusa v2.9.2 Printer: mk4s Non default settings Layer height: 0.2 Fill density: 20% Support material: 1 Support material buildplate only: 1 | ||
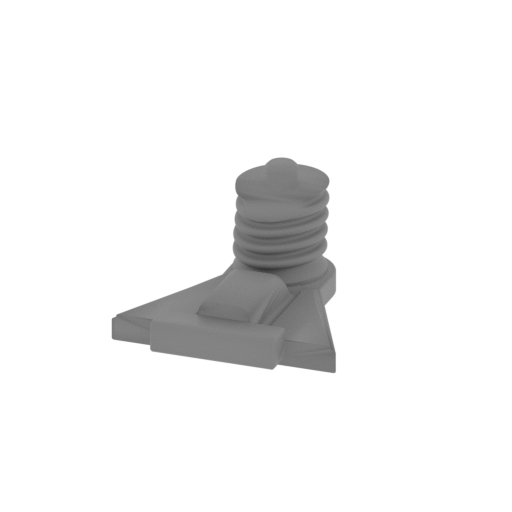 | _05_robotBody_e_FDM (repaired).stl 72.2 x 77.4 x 42.8 mm | 2.84 x 3.05 x 1.69 in | Size: 72.2 x 77.4 x 42.8 mm | 2.84 x 3.05 x 1.69 in | File size: 1.13 mb | Printing Time / Filament: 58 min / 9 m Slicer: prusa v2.9.2 Printer: mk4s Non default settings Layer height: 0.2 Fill density: 20% Support material: 1 Support material buildplate only: 1 | ||
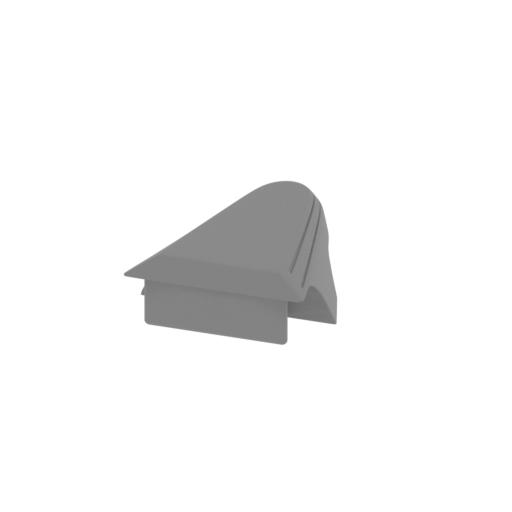 | _06_robotBody_f_FDM (repaired).stl 71.5 x 87.9 x 25.8 mm | 2.81 x 3.46 x 1.02 in | Size: 71.5 x 87.9 x 25.8 mm | 2.81 x 3.46 x 1.02 in | File size: 1.26 mb | Printing Time / Filament: 1 h 1 min / 12 m Slicer: prusa v2.9.2 Printer: mk4s Non default settings Layer height: 0.2 Fill density: 20% Support material: 1 Support material buildplate only: 1 | ||
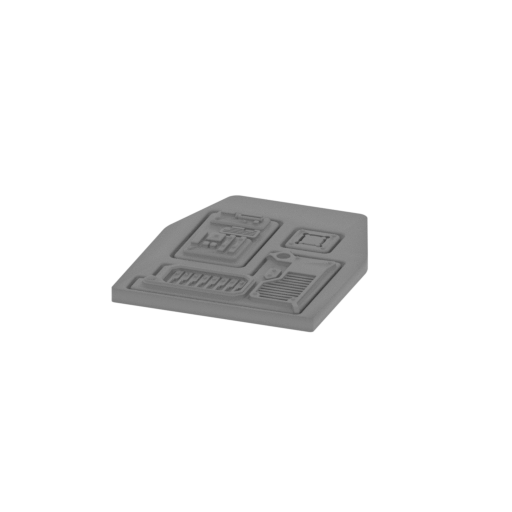 | _07_panel_a_FDM (repaired).stl 43.1 x 51.2 x 5.2 mm | 1.7 x 2.02 x 0.2 in | Size: 43.1 x 51.2 x 5.2 mm | 1.7 x 2.02 x 0.2 in | File size: 4.35 mb | Printing Time / Filament: 15 min / 2 m Slicer: prusa v2.9.2 Printer: mk4s Non default settings Layer height: 0.2 Fill density: 20% Support material: 1 Support material buildplate only: 1 | ||
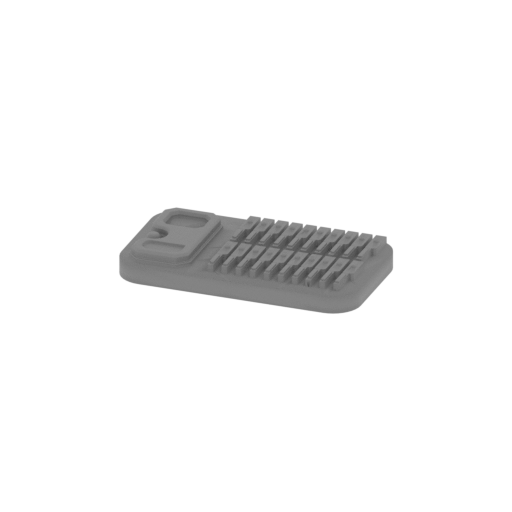 | _08_panel_b_FDM (repaired).stl 35.4 x 20.3 x 4.4 mm | 1.39 x 0.8 x 0.17 in | Size: 35.4 x 20.3 x 4.4 mm | 1.39 x 0.8 x 0.17 in | File size: 2.46 mb | Printing Time / Filament: 6 min / 1 m Slicer: prusa v2.9.2 Printer: mk4s Non default settings Layer height: 0.2 Fill density: 20% Support material: 1 Support material buildplate only: 1 | ||
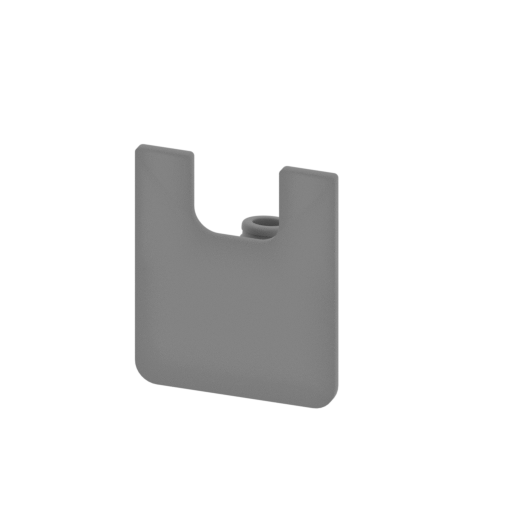 | _09_panel_c_FDM (repaired).stl 51.8 x 29.8 x 62.3 mm | 2.04 x 1.17 x 2.45 in | Size: 51.8 x 29.8 x 62.3 mm | 2.04 x 1.17 x 2.45 in | File size: 2.78 mb | Printing Time / Filament: 44 min / 5 m Slicer: prusa v2.9.2 Printer: mk4s Non default settings Layer height: 0.2 Fill density: 20% Support material: 1 Support material buildplate only: 1 | ||
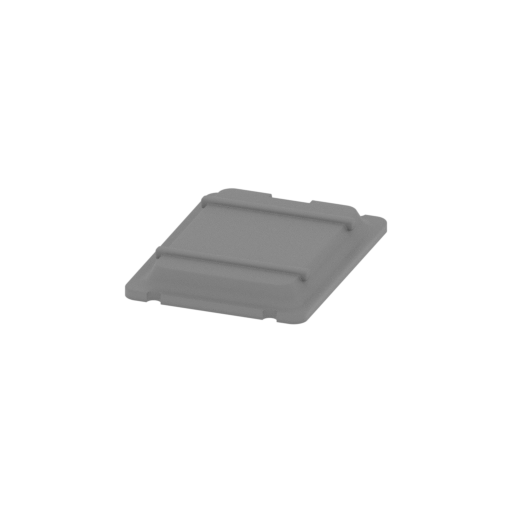 | _10_panel_d_FDM (repaired).stl 51.2 x 67.7 x 13.7 mm | 2.02 x 2.67 x 0.54 in | Size: 51.2 x 67.7 x 13.7 mm | 2.02 x 2.67 x 0.54 in | File size: 1.64 mb | Printing Time / Filament: 36 min / 6 m Slicer: prusa v2.9.2 Printer: mk4s Non default settings Layer height: 0.2 Fill density: 20% Support material: 1 Support material buildplate only: 1 | ||
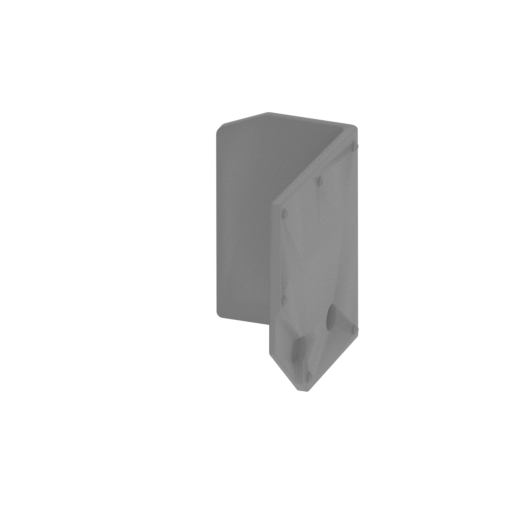 | _11_trackProtection_a_L_FDM (repaired).stl 54.9 x 90.8 x 84.7 mm | 2.16 x 3.57 x 3.33 in | Size: 54.9 x 90.8 x 84.7 mm | 2.16 x 3.57 x 3.33 in | File size: 0.73 mb | Printing Time / Filament: 1 h 13 min / 11 m Slicer: prusa v2.9.2 Printer: mk4s Non default settings Layer height: 0.2 Fill density: 20% Support material: 1 Support material buildplate only: 1 | ||
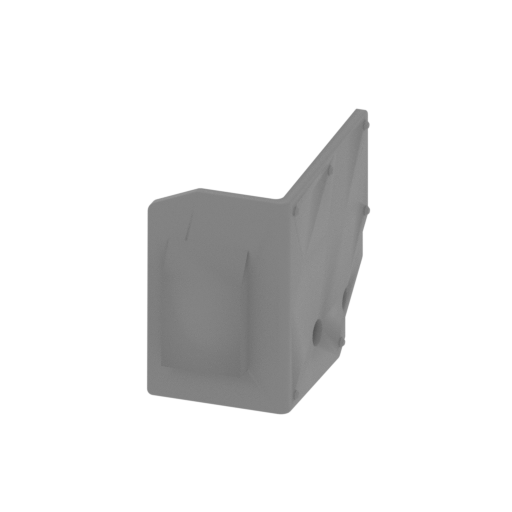 | _12_trackProtection_b_R_FDM (repaired).stl 54.9 x 90.8 x 84.7 mm | 2.16 x 3.57 x 3.33 in | Size: 54.9 x 90.8 x 84.7 mm | 2.16 x 3.57 x 3.33 in | File size: 0.73 mb | Printing Time / Filament: 1 h 13 min / 11 m Slicer: prusa v2.9.2 Printer: mk4s Non default settings Layer height: 0.2 Fill density: 20% Support material: 1 Support material buildplate only: 1 | ||
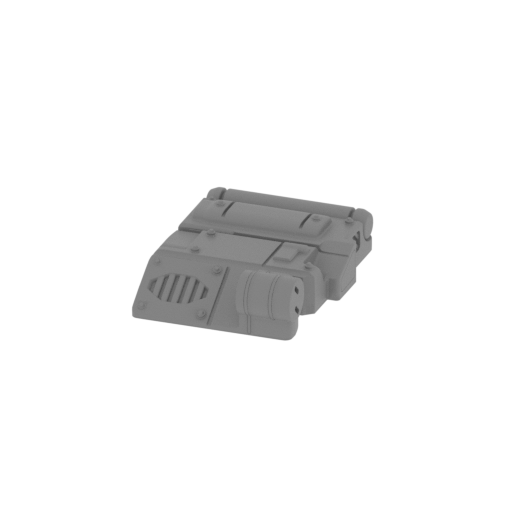 | _13_trackProtection_c_L_FDM (repaired).stl 50.6 x 70.9 x 17.6 mm | 1.99 x 2.79 x 0.69 in | Size: 50.6 x 70.9 x 17.6 mm | 1.99 x 2.79 x 0.69 in | File size: 9.73 mb | Printing Time / Filament: 52 min / 7 m Slicer: prusa v2.9.2 Printer: mk4s Non default settings Layer height: 0.2 Fill density: 20% Support material: 1 Support material buildplate only: 1 | ||
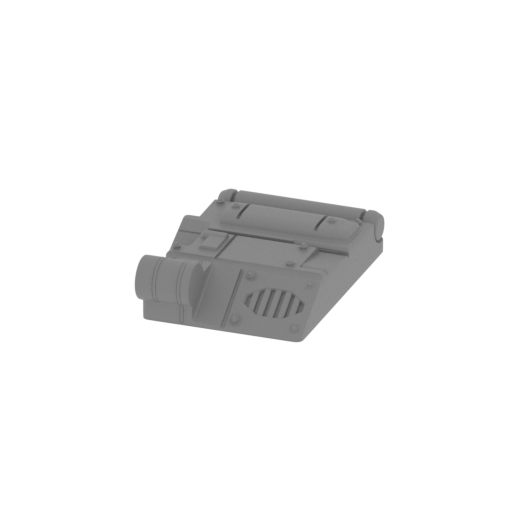 | _14_trackProtection_d_R_FDM (repaired).stl 50.6 x 70.9 x 17.6 mm | 1.99 x 2.79 x 0.69 in | Size: 50.6 x 70.9 x 17.6 mm | 1.99 x 2.79 x 0.69 in | File size: 9.73 mb | Printing Time / Filament: 52 min / 7 m Slicer: prusa v2.9.2 Printer: mk4s Non default settings Layer height: 0.2 Fill density: 20% Support material: 1 Support material buildplate only: 1 | ||
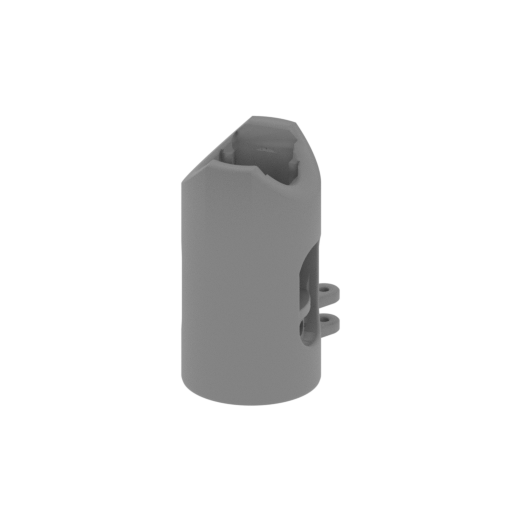 | _15_shoulder_a_L_FDM (repaired).stl 26.4 x 31.6 x 48.4 mm | 1.04 x 1.24 x 1.91 in | Size: 26.4 x 31.6 x 48.4 mm | 1.04 x 1.24 x 1.91 in | File size: 1.78 mb | Printing Time / Filament: 35 min / 4 m Slicer: prusa v2.9.2 Printer: mk4s Non default settings Layer height: 0.2 Fill density: 20% Support material: 1 Support material buildplate only: 1 | ||
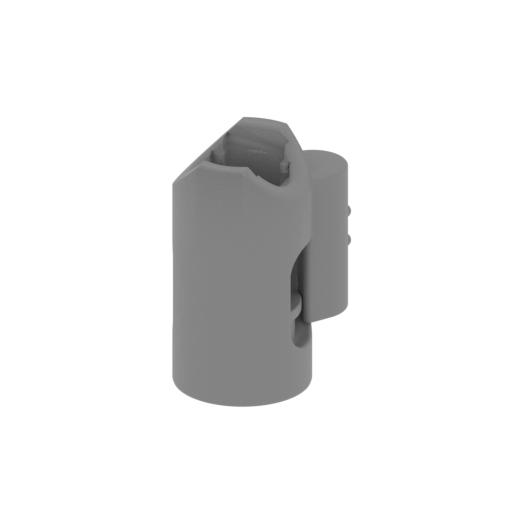 | _16_shoulder_b_R_FDM (repaired).stl 29.2 x 33.8 x 48.4 mm | 1.15 x 1.33 x 1.91 in | Size: 29.2 x 33.8 x 48.4 mm | 1.15 x 1.33 x 1.91 in | File size: 2.97 mb | Printing Time / Filament: 39 min / 4 m Slicer: prusa v2.9.2 Printer: mk4s Non default settings Layer height: 0.2 Fill density: 20% Support material: 1 Support material buildplate only: 1 | ||
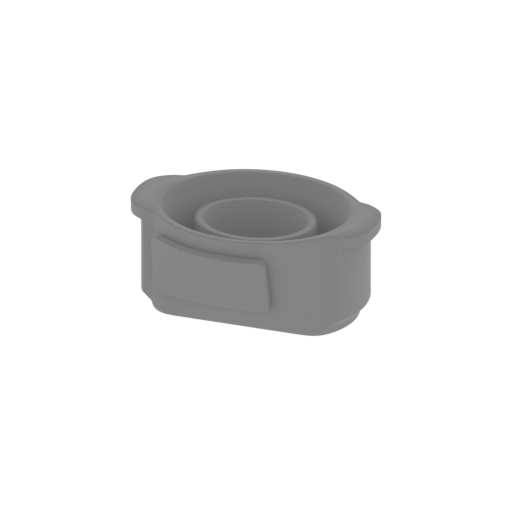 | _17_shoulder_c_X2_FDM (repaired).stl 29.7 x 20.9 x 12.6 mm | 1.17 x 0.82 x 0.5 in | Size: 29.7 x 20.9 x 12.6 mm | 1.17 x 0.82 x 0.5 in | File size: 1.62 mb | Printing Time / Filament: 10 min / 1 m Slicer: prusa v2.9.2 Printer: mk4s Non default settings Layer height: 0.2 Fill density: 20% Support material: 1 Support material buildplate only: 1 | ||
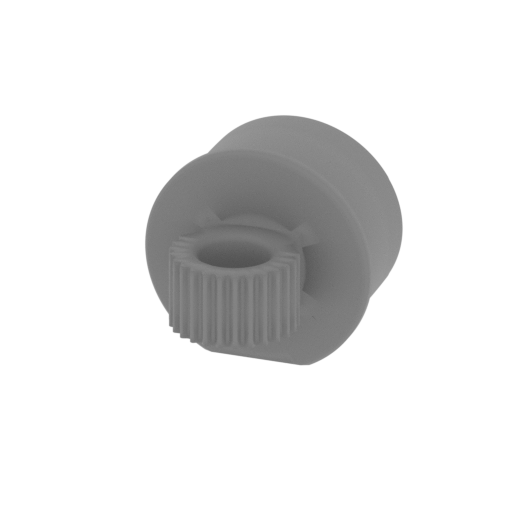 | _18_shoulderMechanism_a_X2_FDM (repaired).stl 27.4 x 29.4 x 25.8 mm | 1.08 x 1.16 x 1.02 in | Size: 27.4 x 29.4 x 25.8 mm | 1.08 x 1.16 x 1.02 in | File size: 0.84 mb | Printing Time / Filament: 19 min / 2 m Slicer: prusa v2.9.2 Printer: mk4s Non default settings Layer height: 0.2 Fill density: 20% Support material: 1 Support material buildplate only: 1 | ||
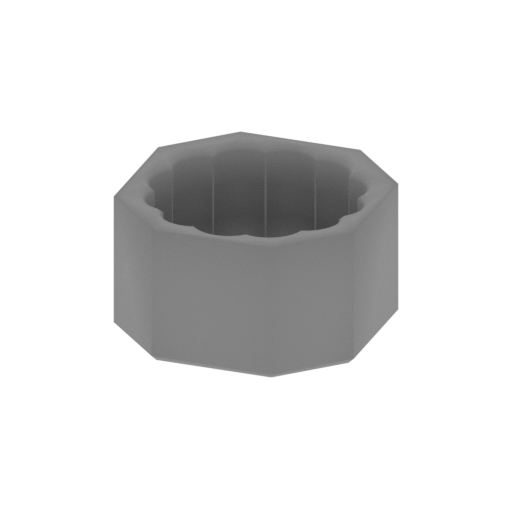 | _19_shoulderMechanism_b_X2_FDM (repaired).stl 18.9 x 18.9 x 10.7 mm | 0.74 x 0.74 x 0.42 in | Size: 18.9 x 18.9 x 10.7 mm | 0.74 x 0.74 x 0.42 in | File size: 0.25 mb | Printing Time / Filament: 8 min / 1 m Slicer: prusa v2.9.2 Printer: mk4s Non default settings Layer height: 0.2 Fill density: 20% Support material: 1 Support material buildplate only: 1 | ||
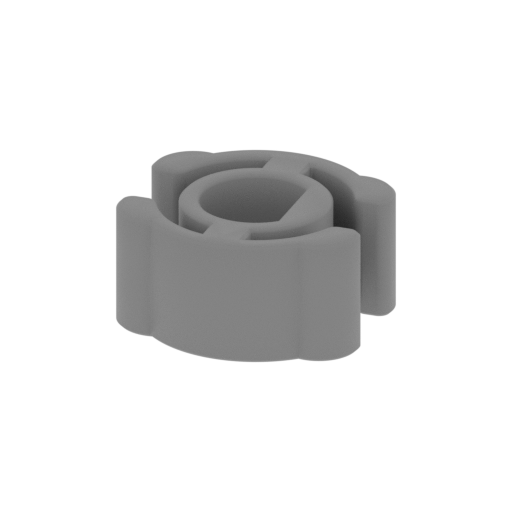 | _20_shoulderMechanism_c_X2_FDM (repaired).stl 15 x 14.1 x 7.4 mm | 0.59 x 0.56 x 0.29 in | Size: 15 x 14.1 x 7.4 mm | 0.59 x 0.56 x 0.29 in | File size: 0.37 mb | Printing Time / Filament: 5 min / <1 m Slicer: prusa v2.9.2 Printer: mk4s Non default settings Layer height: 0.2 Fill density: 20% Support material: 1 Support material buildplate only: 1 | ||
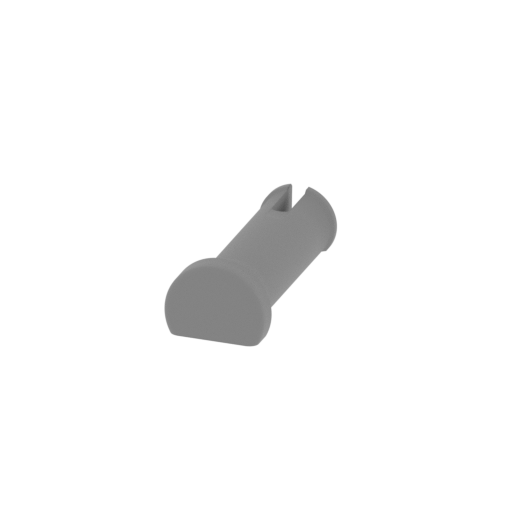 | _21_shoulderMechanism_d_X2_FDM (repaired).stl 9.2 x 22.2 x 6.8 mm | 0.36 x 0.87 x 0.27 in | Size: 9.2 x 22.2 x 6.8 mm | 0.36 x 0.87 x 0.27 in | File size: 0.31 mb | Printing Time / Filament: 3 min / <1 m Slicer: prusa v2.9.2 Printer: mk4s Non default settings Layer height: 0.2 Fill density: 20% Support material: 1 Support material buildplate only: 1 | ||
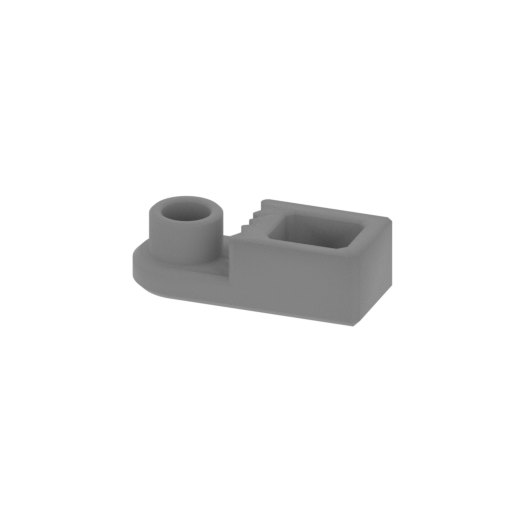 | _22_shoulderMechanism_e_X2_FDM (repaired).stl 26.9 x 11.3 x 8.1 mm | 1.06 x 0.44 x 0.32 in | Size: 26.9 x 11.3 x 8.1 mm | 1.06 x 0.44 x 0.32 in | File size: 0.19 mb | Printing Time / Filament: 6 min / 1 m Slicer: prusa v2.9.2 Printer: mk4s Non default settings Layer height: 0.2 Fill density: 20% Support material: 1 Support material buildplate only: 1 | ||
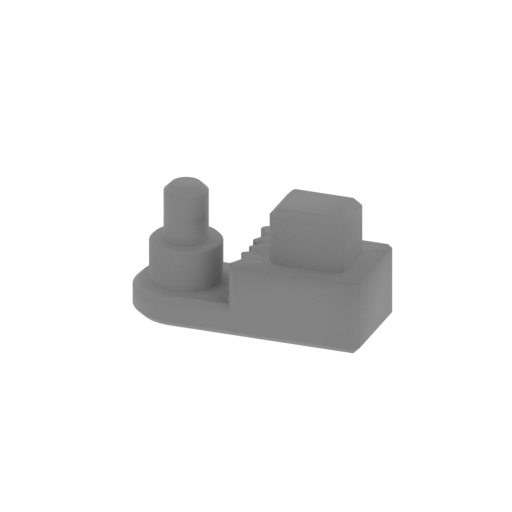 | _23_shoulderMechanism_f_X2_FDM (repaired).stl 26.9 x 11.3 x 14.3 mm | 1.06 x 0.44 x 0.56 in | Size: 26.9 x 11.3 x 14.3 mm | 1.06 x 0.44 x 0.56 in | File size: 0.18 mb | Printing Time / Filament: 9 min / 1 m Slicer: prusa v2.9.2 Printer: mk4s Non default settings Layer height: 0.2 Fill density: 20% Support material: 1 Support material buildplate only: 1 | ||
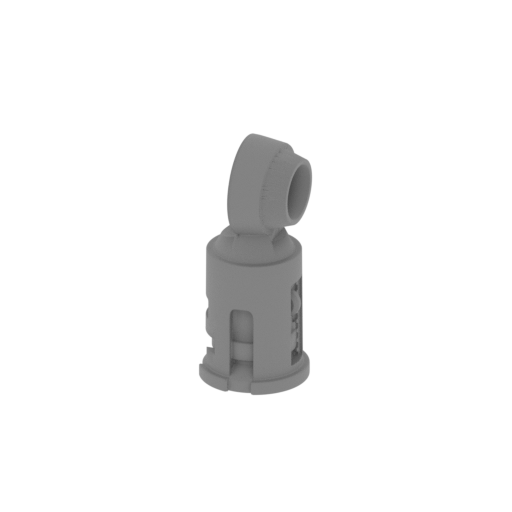 | _24_leftHand_a_FDM (repaired).stl 25.5 x 25.9 x 60.8 mm | 1 x 1.02 x 2.39 in | Size: 25.5 x 25.9 x 60.8 mm | 1 x 1.02 x 2.39 in | File size: 4.84 mb | Printing Time / Filament: 39 min / 3 m Slicer: prusa v2.9.2 Printer: mk4s Non default settings Layer height: 0.2 Fill density: 20% Support material: 1 Support material buildplate only: 1 | ||
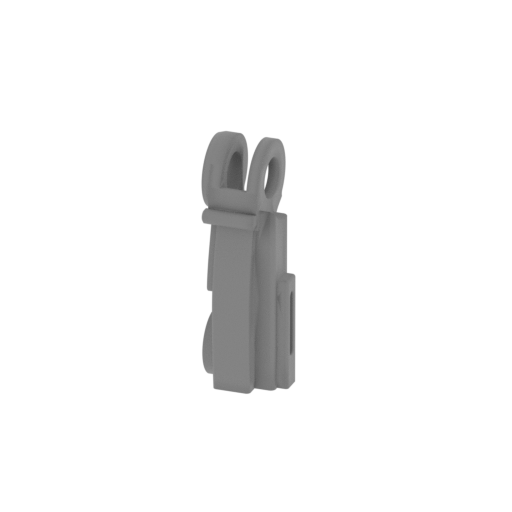 | _25_leftHand_b_FDM (repaired).stl 21.3 x 27.3 x 62.1 mm | 0.84 x 1.07 x 2.44 in | Size: 21.3 x 27.3 x 62.1 mm | 0.84 x 1.07 x 2.44 in | File size: 1.50 mb | Printing Time / Filament: 41 min / 3 m Slicer: prusa v2.9.2 Printer: mk4s Non default settings Layer height: 0.2 Fill density: 20% Support material: 1 Support material buildplate only: 1 | ||
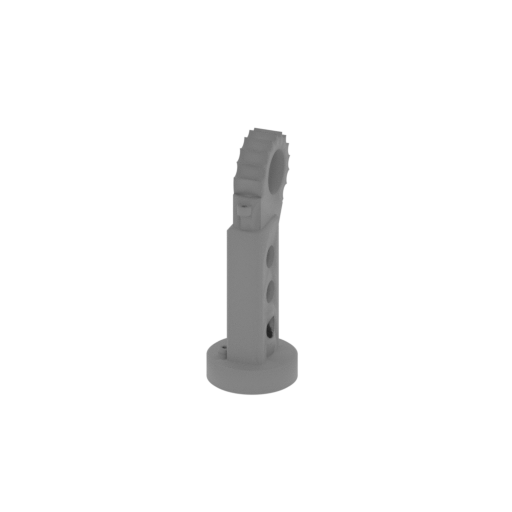 | _26_leftHand_c_FDM (repaired).stl 20.3 x 25.3 x 57.1 mm | 0.8 x 1 x 2.25 in | Size: 20.3 x 25.3 x 57.1 mm | 0.8 x 1 x 2.25 in | File size: 1.49 mb | Printing Time / Filament: 31 min / 2 m Slicer: prusa v2.9.2 Printer: mk4s Non default settings Layer height: 0.2 Fill density: 20% Support material: 1 Support material buildplate only: 1 | ||
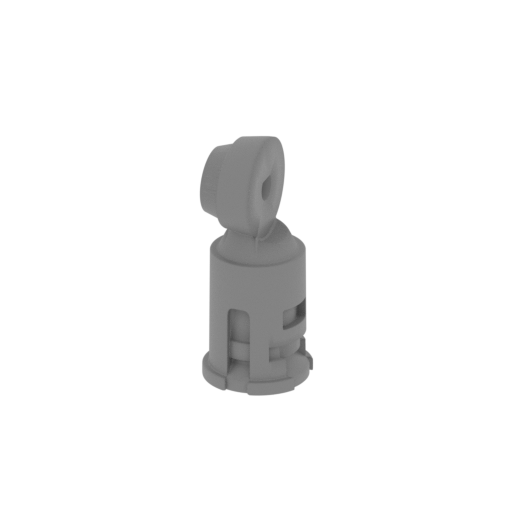 | _27_rightHand_a_FDM (repaired).stl 25.5 x 25.9 x 60.8 mm | 1 x 1.02 x 2.39 in | Size: 25.5 x 25.9 x 60.8 mm | 1 x 1.02 x 2.39 in | File size: 4.84 mb | Printing Time / Filament: 39 min / 3 m Slicer: prusa v2.9.2 Printer: mk4s Non default settings Layer height: 0.2 Fill density: 20% Support material: 1 Support material buildplate only: 1 | ||
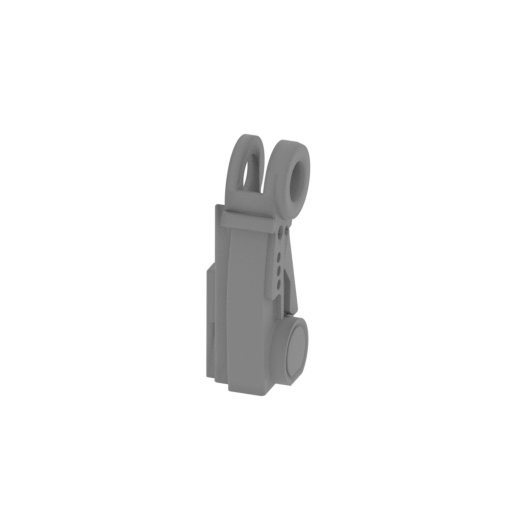 | _28_rightHand_b_FDM (repaired).stl 21.3 x 27.3 x 62.1 mm | 0.84 x 1.07 x 2.44 in | Size: 21.3 x 27.3 x 62.1 mm | 0.84 x 1.07 x 2.44 in | File size: 1.51 mb | Printing Time / Filament: 41 min / 3 m Slicer: prusa v2.9.2 Printer: mk4s Non default settings Layer height: 0.2 Fill density: 20% Support material: 1 Support material buildplate only: 1 | ||
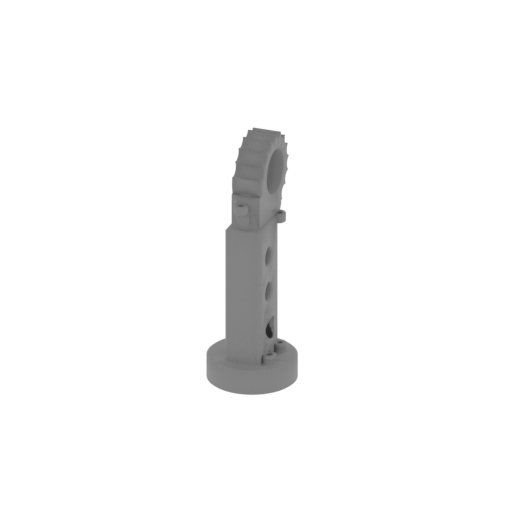 | _29_rightHand_c_FDM (repaired).stl 20.3 x 25.3 x 57.1 mm | 0.8 x 1 x 2.25 in | Size: 20.3 x 25.3 x 57.1 mm | 0.8 x 1 x 2.25 in | File size: 1.49 mb | Printing Time / Filament: 31 min / 2 m Slicer: prusa v2.9.2 Printer: mk4s Non default settings Layer height: 0.2 Fill density: 20% Support material: 1 Support material buildplate only: 1 | ||
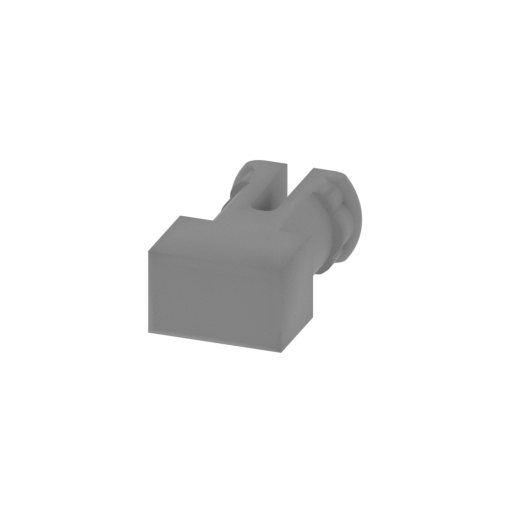 | _30_armMechanism_a_X2_FDM (repaired).stl 10.5 x 19 x 6.6 mm | 0.41 x 0.75 x 0.26 in | Size: 10.5 x 19 x 6.6 mm | 0.41 x 0.75 x 0.26 in | File size: 1.01 mb | Printing Time / Filament: 4 min / <1 m Slicer: prusa v2.9.2 Printer: mk4s Non default settings Layer height: 0.2 Fill density: 20% Support material: 1 Support material buildplate only: 1 | ||
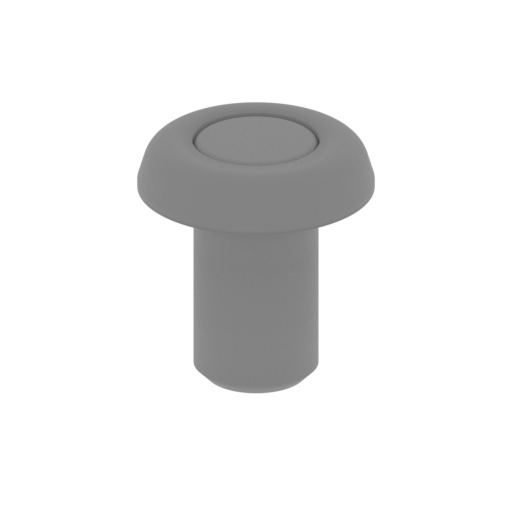 | _31_armMechanism_b_X2_FDM (repaired).stl 19.3 x 19.3 x 20.8 mm | 0.76 x 0.76 x 0.82 in | Size: 19.3 x 19.3 x 20.8 mm | 0.76 x 0.76 x 0.82 in | File size: 0.60 mb | Printing Time / Filament: 12 min / 1 m Slicer: prusa v2.9.2 Printer: mk4s Non default settings Layer height: 0.2 Fill density: 20% Support material: 1 Support material buildplate only: 1 | ||
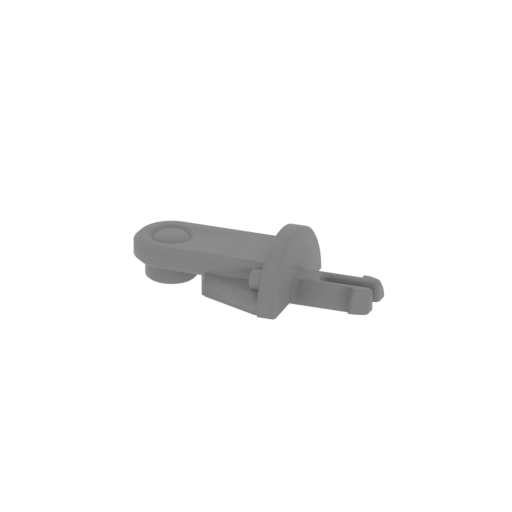 | _32_armMechanism_c_X2_FDM (repaired).stl 38 x 20.3 x 10.1 mm | 1.5 x 0.8 x 0.4 in | Size: 38 x 20.3 x 10.1 mm | 1.5 x 0.8 x 0.4 in | File size: 0.61 mb | Printing Time / Filament: 8 min / 1 m Slicer: prusa v2.9.2 Printer: mk4s Non default settings Layer height: 0.2 Fill density: 20% Support material: 1 Support material buildplate only: 1 | ||
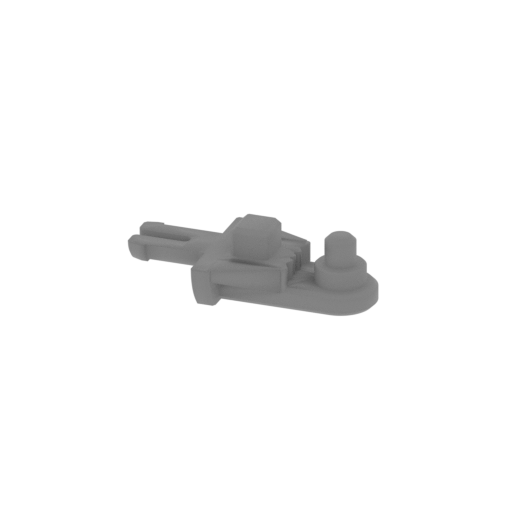 | _33_armMechanism_d_X2_FDM (repaired).stl 38 x 20.3 x 10.9 mm | 1.5 x 0.8 x 0.43 in | Size: 38 x 20.3 x 10.9 mm | 1.5 x 0.8 x 0.43 in | File size: 0.34 mb | Printing Time / Filament: 8 min / 1 m Slicer: prusa v2.9.2 Printer: mk4s Non default settings Layer height: 0.2 Fill density: 20% Support material: 1 Support material buildplate only: 1 | ||
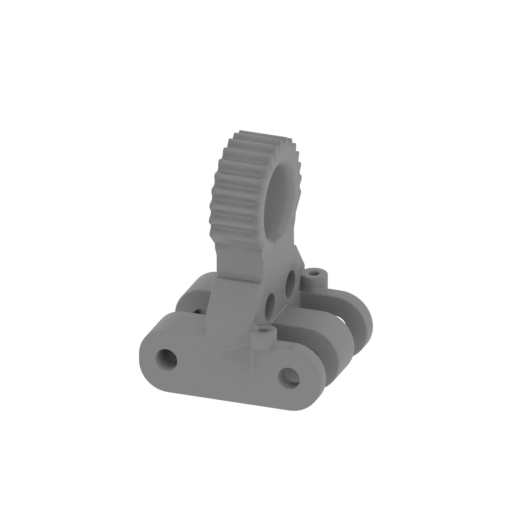 | _34_hand_a_X2_FDM (repaired).stl 22.2 x 19.9 x 29.2 mm | 0.87 x 0.78 x 1.15 in | Size: 22.2 x 19.9 x 29.2 mm | 0.87 x 0.78 x 1.15 in | File size: 2.91 mb | Printing Time / Filament: 16 min / 1 m Slicer: prusa v2.9.2 Printer: mk4s Non default settings Layer height: 0.2 Fill density: 20% Support material: 1 Support material buildplate only: 1 | ||
 | _35_hand_b_X4_FDM (repaired).stl 5.1 x 19.8 x 3.7 mm | 0.2 x 0.78 x 0.15 in | Size: 5.1 x 19.8 x 3.7 mm | 0.2 x 0.78 x 0.15 in | File size: 0.22 mb | Printing Time / Filament: 1 min / <1 m Slicer: prusa v2.9.2 Printer: mk4s Non default settings Layer height: 0.2 Fill density: 20% Support material: 1 Support material buildplate only: 1 | ||
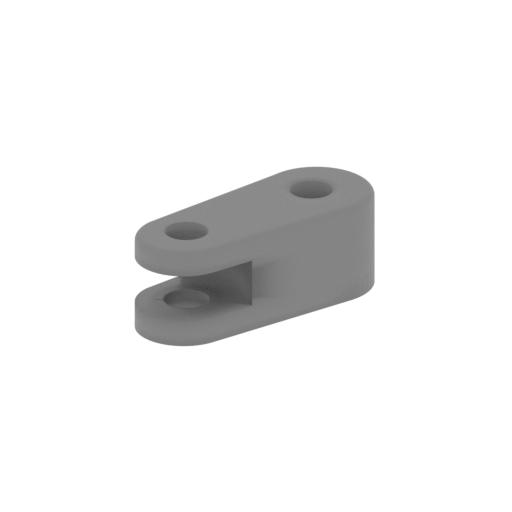 | _36_finger_a_FDM (repaired).stl 11.8 x 15.6 x 6.2 mm | 0.46 x 0.61 x 0.24 in | Size: 11.8 x 15.6 x 6.2 mm | 0.46 x 0.61 x 0.24 in | File size: 1.12 mb | Printing Time / Filament: 4 min / <1 m Slicer: prusa v2.9.2 Printer: mk4s Non default settings Layer height: 0.2 Fill density: 20% Support material: 1 Support material buildplate only: 1 | ||
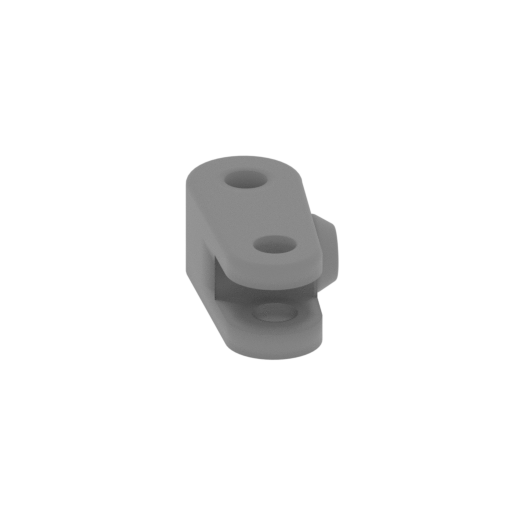 | _37_finger_b_FDM (repaired).stl 11.8 x 15.6 x 6.2 mm | 0.46 x 0.61 x 0.24 in | Size: 11.8 x 15.6 x 6.2 mm | 0.46 x 0.61 x 0.24 in | File size: 1.13 mb | Printing Time / Filament: 4 min / <1 m Slicer: prusa v2.9.2 Printer: mk4s Non default settings Layer height: 0.2 Fill density: 20% Support material: 1 Support material buildplate only: 1 | ||
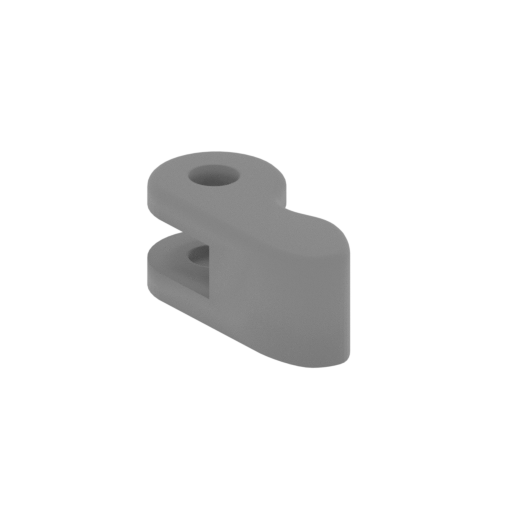 | _38_finger_c_X6_FDM (repaired).stl 13.2 x 11.7 x 6.1 mm | 0.52 x 0.46 x 0.24 in | Size: 13.2 x 11.7 x 6.1 mm | 0.52 x 0.46 x 0.24 in | File size: 0.62 mb | Printing Time / Filament: 3 min / <1 m Slicer: prusa v2.9.2 Printer: mk4s Non default settings Layer height: 0.2 Fill density: 20% Support material: 1 Support material buildplate only: 1 | ||
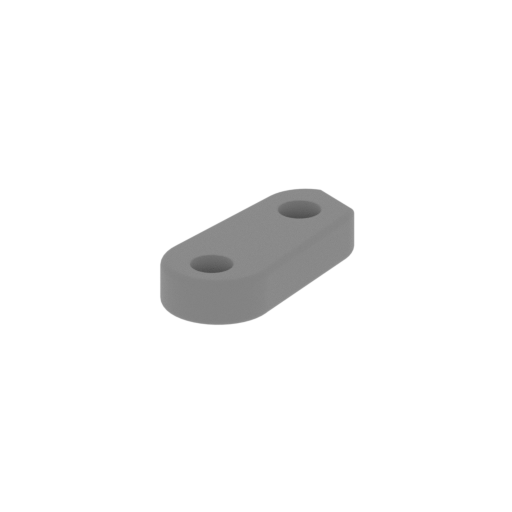 | _39_finger_d_X6_FDM (repaired).stl 8.8 x 15.7 x 3 mm | 0.35 x 0.62 x 0.12 in | Size: 8.8 x 15.7 x 3 mm | 0.35 x 0.62 x 0.12 in | File size: 0.86 mb | Printing Time / Filament: 2 min / <1 m Slicer: prusa v2.9.2 Printer: mk4s Non default settings Layer height: 0.2 Fill density: 20% Support material: 1 Support material buildplate only: 1 | ||
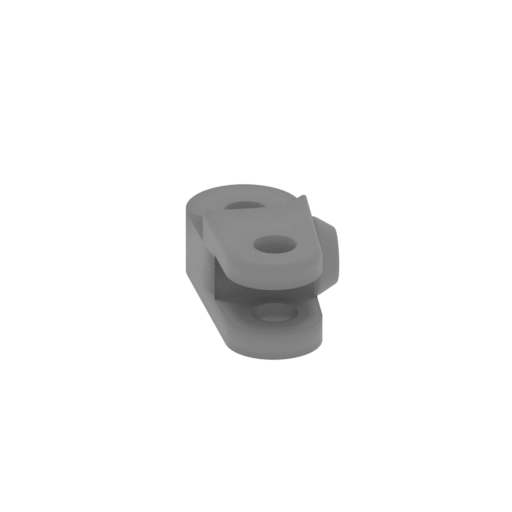 | _40_finger_e_X2_FDM (repaired).stl 11.8 x 15.6 x 6.2 mm | 0.46 x 0.61 x 0.24 in | Size: 11.8 x 15.6 x 6.2 mm | 0.46 x 0.61 x 0.24 in | File size: 1.14 mb | Printing Time / Filament: 3 min / <1 m Slicer: prusa v2.9.2 Printer: mk4s Non default settings Layer height: 0.2 Fill density: 20% Support material: 1 Support material buildplate only: 1 | ||
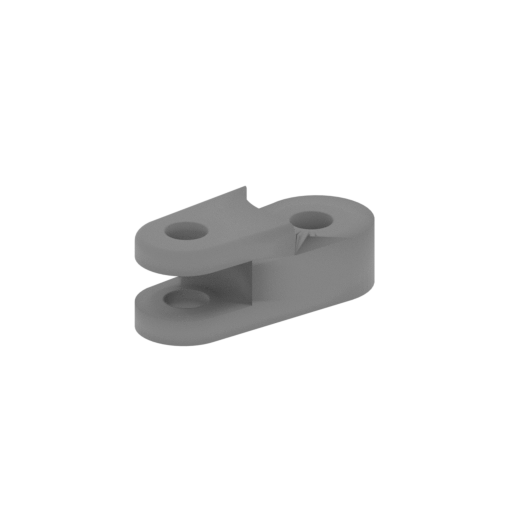 | _41_finger_f_X2_FDM (repaired).stl 11.8 x 15.6 x 6.2 mm | 0.46 x 0.61 x 0.24 in | Size: 11.8 x 15.6 x 6.2 mm | 0.46 x 0.61 x 0.24 in | File size: 1.13 mb | Printing Time / Filament: 3 min / <1 m Slicer: prusa v2.9.2 Printer: mk4s Non default settings Layer height: 0.2 Fill density: 20% Support material: 1 Support material buildplate only: 1 | ||
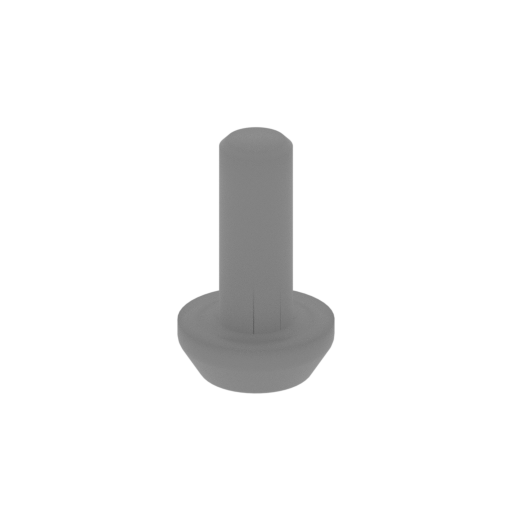 | _42_finger_g_X12_FDM (repaired).stl 5.1 x 5.1 x 8.3 mm | 0.2 x 0.2 x 0.33 in | Size: 5.1 x 5.1 x 8.3 mm | 0.2 x 0.2 x 0.33 in | File size: 0.21 mb | Printing Time / Filament: 1 min / <1 m Slicer: prusa v2.9.2 Printer: mk4s Non default settings Layer height: 0.2 Fill density: 20% Support material: 1 Support material buildplate only: 1 | ||
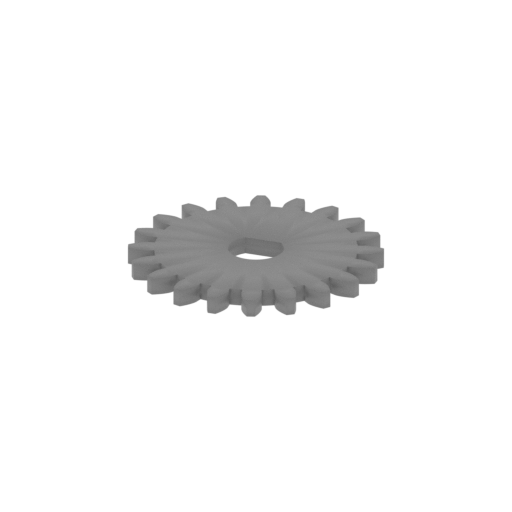 | _43_gear_a_X2_FDM (repaired).stl 44 x 44 x 3 mm | 1.73 x 1.73 x 0.12 in | Size: 44 x 44 x 3 mm | 1.73 x 1.73 x 0.12 in | File size: 0.12 mb | Printing Time / Filament: 9 min / 1 m Slicer: prusa v2.9.2 Printer: mk4s Non default settings Layer height: 0.2 Fill density: 20% Support material: 1 Support material buildplate only: 1 | ||
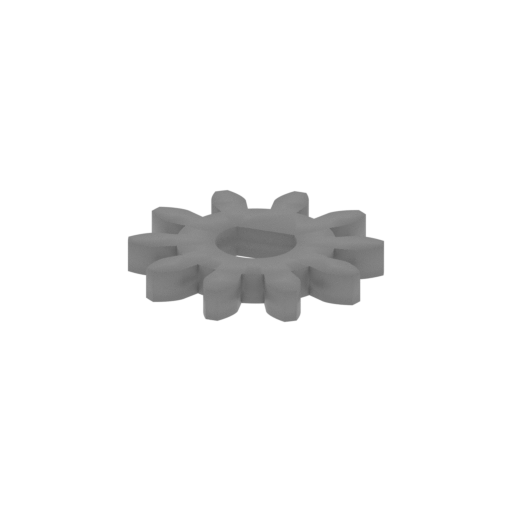 | _44_gear_b_X2_FDM (repaired).stl 23.2 x 24 x 3 mm | 0.91 x 0.94 x 0.12 in | Size: 23.2 x 24 x 3 mm | 0.91 x 0.94 x 0.12 in | File size: 0.07 mb | Printing Time / Filament: 4 min / <1 m Slicer: prusa v2.9.2 Printer: mk4s Non default settings Layer height: 0.2 Fill density: 20% Support material: 1 Support material buildplate only: 1 | ||
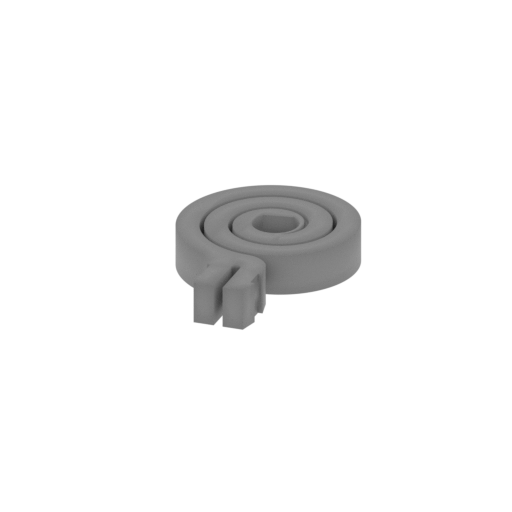 | _45_caterpillarSpring_a_FDM (repaired).stl 38.3 x 53.8 x 9 mm | 1.51 x 2.12 x 0.35 in | Size: 38.3 x 53.8 x 9 mm | 1.51 x 2.12 x 0.35 in | File size: 0.56 mb | Printing Time / Filament: 19 min / 3 m Slicer: prusa v2.9.2 Printer: mk4s Non default settings Layer height: 0.2 Fill density: 20% Support material: 1 Support material buildplate only: 1 | ||
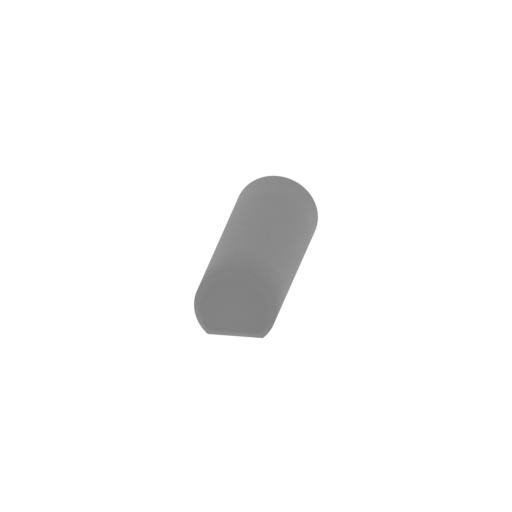 | _46_caterpillarSpring_b_FDM (repaired).stl 14.3 x 29.9 x 8.5 mm | 0.56 x 1.18 x 0.33 in | Size: 14.3 x 29.9 x 8.5 mm | 0.56 x 1.18 x 0.33 in | File size: 0.07 mb | Printing Time / Filament: 5 min / <1 m Slicer: prusa v2.9.2 Printer: mk4s Non default settings Layer height: 0.2 Fill density: 20% Support material: 1 Support material buildplate only: 1 | ||
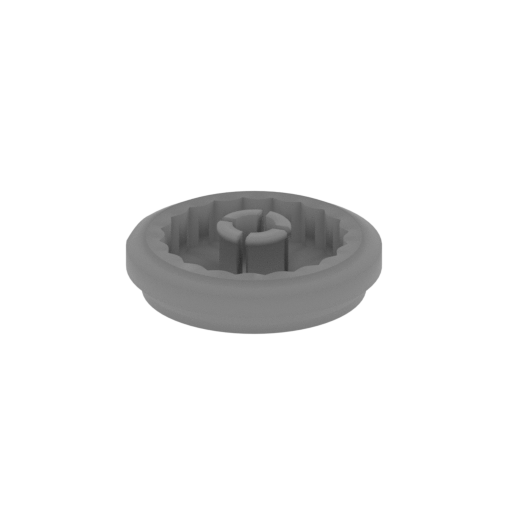 | _47_legMechanism_a_X2_FDM (repaired).stl 58 x 59 x 16.1 mm | 2.28 x 2.32 x 0.63 in | Size: 58 x 59 x 16.1 mm | 2.28 x 2.32 x 0.63 in | File size: 0.23 mb | Printing Time / Filament: 31 min / 4 m Slicer: prusa v2.9.2 Printer: mk4s Non default settings Layer height: 0.2 Fill density: 20% Support material: 1 Support material buildplate only: 1 | ||
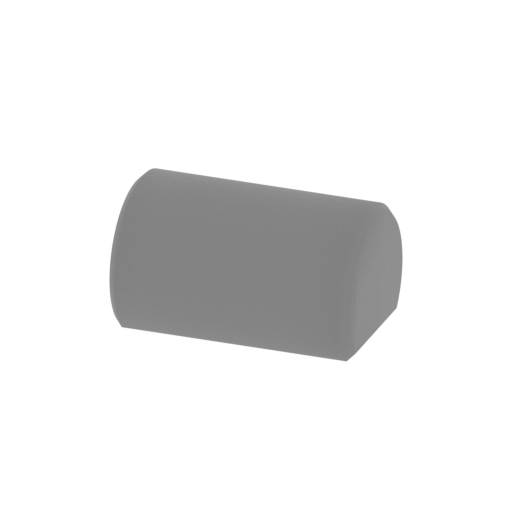 | _48_gearMount_a_X2_FDM (repaired).stl 11.4 x 7.5 x 6.2 mm | 0.45 x 0.3 x 0.24 in | Size: 11.4 x 7.5 x 6.2 mm | 0.45 x 0.3 x 0.24 in | File size: 0.07 mb | Printing Time / Filament: 3 min / <1 m Slicer: prusa v2.9.2 Printer: mk4s Non default settings Layer height: 0.2 Fill density: 20% Support material: 1 Support material buildplate only: 1 | ||
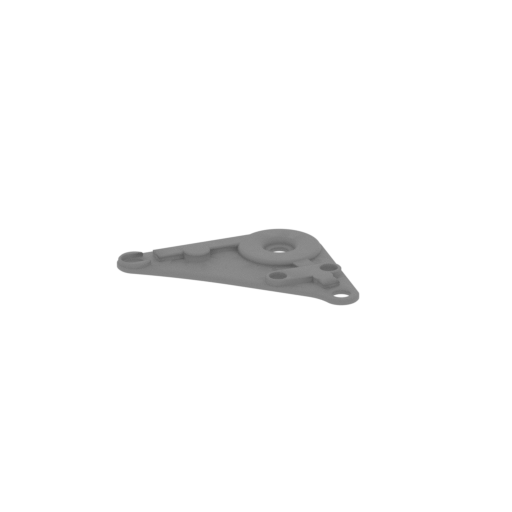 | _49_leftLeg_a_FDM (repaired).stl 142.5 x 77.5 x 8 mm | 5.61 x 3.05 x 0.31 in | Size: 142.5 x 77.5 x 8 mm | 5.61 x 3.05 x 0.31 in | File size: 1.32 mb | Printing Time / Filament: 39 min / 7 m Slicer: prusa v2.9.2 Printer: mk4s Non default settings Layer height: 0.2 Fill density: 20% Support material: 1 Support material buildplate only: 1 | ||
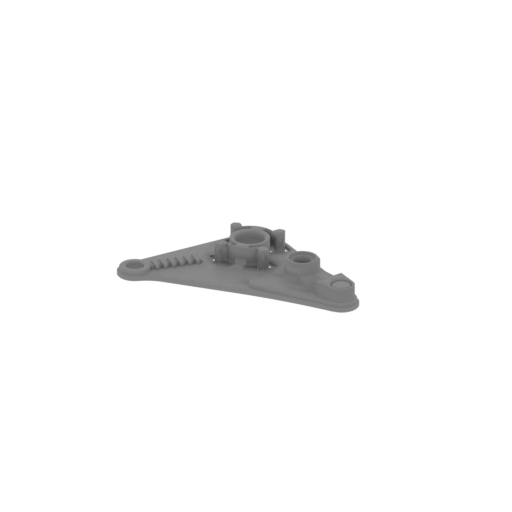 | _50_leftLeg_b_FDM (repaired).stl 142.5 x 77.5 x 17 mm | 5.61 x 3.05 x 0.67 in | Size: 142.5 x 77.5 x 17 mm | 5.61 x 3.05 x 0.67 in | File size: 1.18 mb | Printing Time / Filament: 57 min / 8 m Slicer: prusa v2.9.2 Printer: mk4s Non default settings Layer height: 0.2 Fill density: 20% Support material: 1 Support material buildplate only: 1 | ||
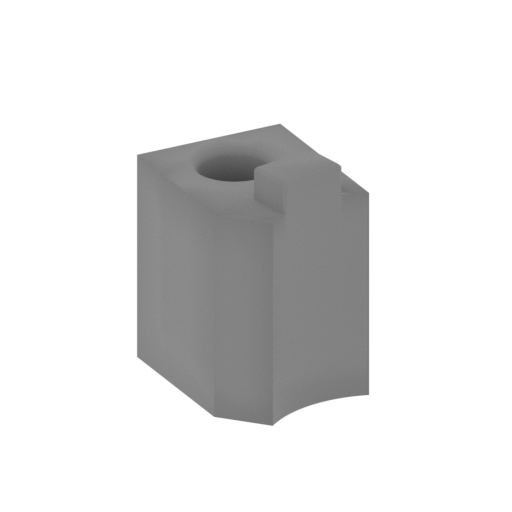 | _51_leftLeg_c_FDM (repaired).stl 35.5 x 32.8 x 36.4 mm | 1.4 x 1.29 x 1.43 in | Size: 35.5 x 32.8 x 36.4 mm | 1.4 x 1.29 x 1.43 in | File size: 0.28 mb | Printing Time / Filament: 29 min / 3 m Slicer: prusa v2.9.2 Printer: mk4s Non default settings Layer height: 0.2 Fill density: 20% Support material: 1 Support material buildplate only: 1 | ||
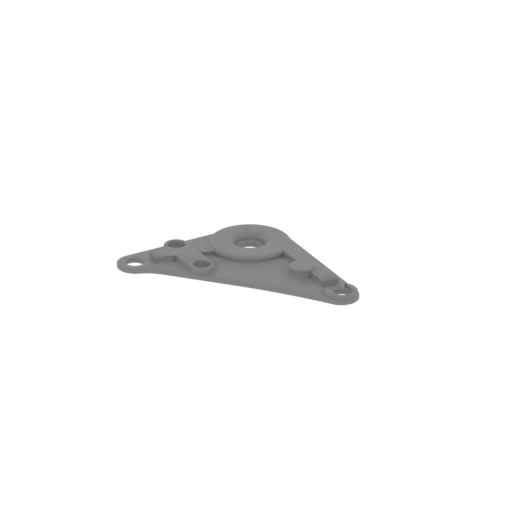 | _52_rightLeg_a_FDM (repaired).stl 142.5 x 77.5 x 8 mm | 5.61 x 3.05 x 0.31 in | Size: 142.5 x 77.5 x 8 mm | 5.61 x 3.05 x 0.31 in | File size: 1.32 mb | Printing Time / Filament: 39 min / 7 m Slicer: prusa v2.9.2 Printer: mk4s Non default settings Layer height: 0.2 Fill density: 20% Support material: 1 Support material buildplate only: 1 | ||
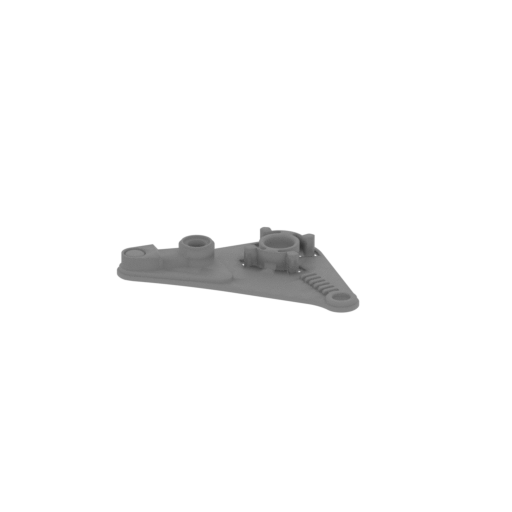 | _53_rightLeg_b_FDM (repaired).stl 142.5 x 77.5 x 17 mm | 5.61 x 3.05 x 0.67 in | Size: 142.5 x 77.5 x 17 mm | 5.61 x 3.05 x 0.67 in | File size: 1.18 mb | Printing Time / Filament: 57 min / 8 m Slicer: prusa v2.9.2 Printer: mk4s Non default settings Layer height: 0.2 Fill density: 20% Support material: 1 Support material buildplate only: 1 | ||
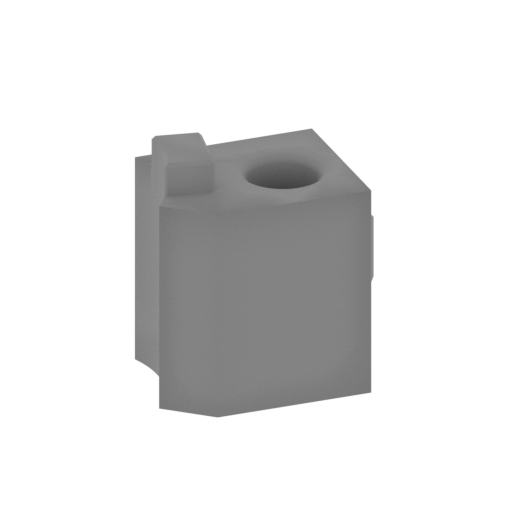 | _54_rightLeg_c_FDM (repaired).stl 35.5 x 32.8 x 36.4 mm | 1.4 x 1.29 x 1.43 in | Size: 35.5 x 32.8 x 36.4 mm | 1.4 x 1.29 x 1.43 in | File size: 0.28 mb | Printing Time / Filament: 29 min / 3 m Slicer: prusa v2.9.2 Printer: mk4s Non default settings Layer height: 0.2 Fill density: 20% Support material: 1 Support material buildplate only: 1 | ||
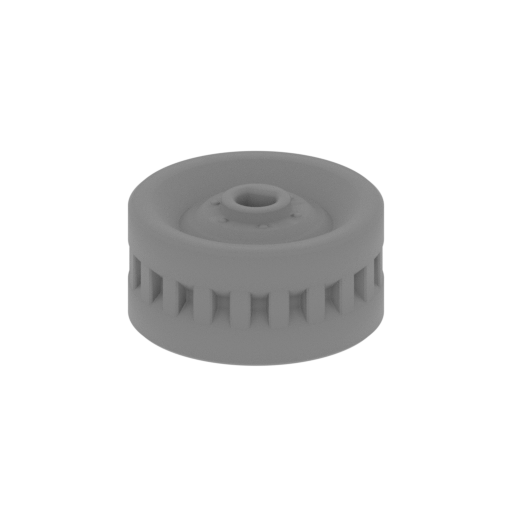 | _55_wheel_a_X2_FDM (repaired).stl 62 x 62 x 31.3 mm | 2.44 x 2.44 x 1.23 in | Size: 62 x 62 x 31.3 mm | 2.44 x 2.44 x 1.23 in | File size: 0.87 mb | Printing Time / Filament: 1 h 1 min / 11 m Slicer: prusa v2.9.2 Printer: mk4s Non default settings Layer height: 0.2 Fill density: 20% Support material: 1 Support material buildplate only: 1 | ||
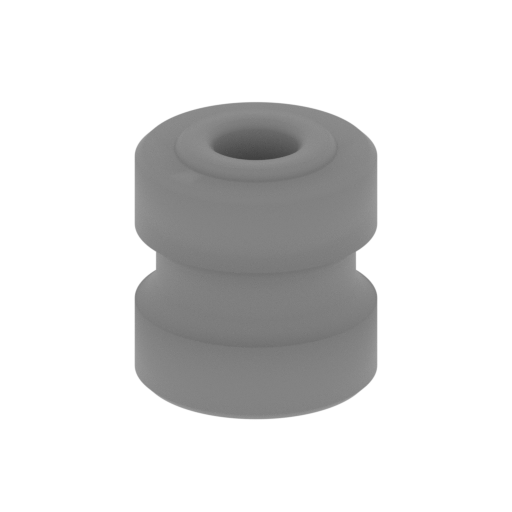 | _56_wheel_b_X4_FDM (repaired).stl 29.6 x 29.6 x 31.3 mm | 1.17 x 1.17 x 1.23 in | Size: 29.6 x 29.6 x 31.3 mm | 1.17 x 1.17 x 1.23 in | File size: 0.33 mb | Printing Time / Filament: 23 min / 3 m Slicer: prusa v2.9.2 Printer: mk4s Non default settings Layer height: 0.2 Fill density: 20% Support material: 1 Support material buildplate only: 1 | ||
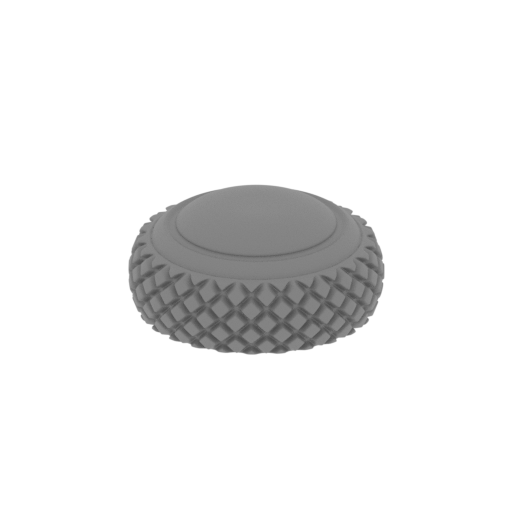 | _57_wheel_c_X2_FDM (repaired).stl 44.8 x 44.8 x 20.3 mm | 1.76 x 1.76 x 0.8 in | Size: 44.8 x 44.8 x 20.3 mm | 1.76 x 1.76 x 0.8 in | File size: 5.97 mb | Printing Time / Filament: 34 min / 4 m Slicer: prusa v2.9.2 Printer: mk4s Non default settings Layer height: 0.2 Fill density: 20% Support material: 1 Support material buildplate only: 1 | ||
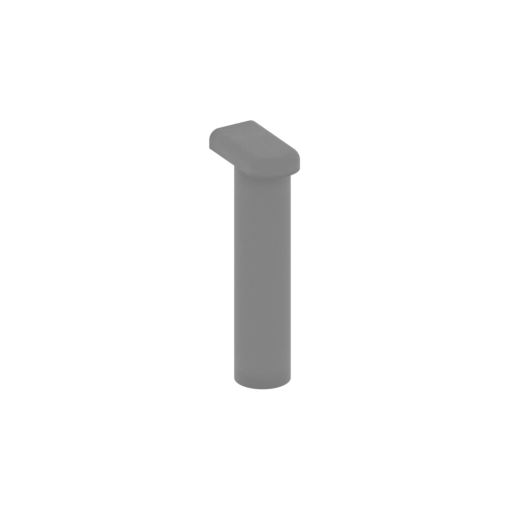 | _58_wheelFastening_a_X4_FDM (repaired).stl 18.2 x 17.1 x 45.2 mm | 0.72 x 0.67 x 1.78 in | Size: 18.2 x 17.1 x 45.2 mm | 0.72 x 0.67 x 1.78 in | File size: 0.21 mb | Printing Time / Filament: 23 min / 1 m Slicer: prusa v2.9.2 Printer: mk4s Non default settings Layer height: 0.2 Fill density: 20% Support material: 1 Support material buildplate only: 1 | ||
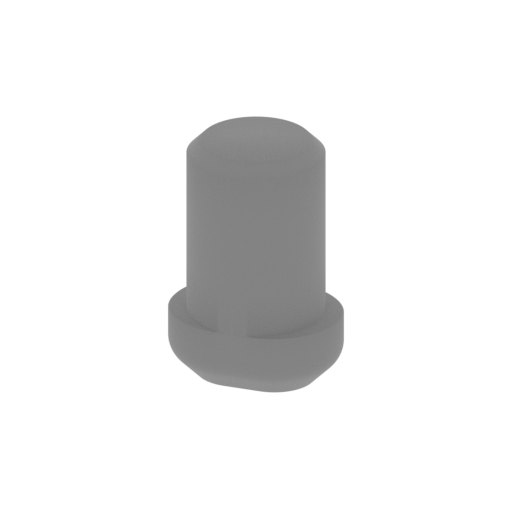 | _59_wheelFastening_b_X4_FDM (repaired).stl 12.5 x 9.8 x 18 mm | 0.49 x 0.39 x 0.71 in | Size: 12.5 x 9.8 x 18 mm | 0.49 x 0.39 x 0.71 in | File size: 0.30 mb | Printing Time / Filament: 8 min / <1 m Slicer: prusa v2.9.2 Printer: mk4s Non default settings Layer height: 0.2 Fill density: 20% Support material: 1 Support material buildplate only: 1 | ||
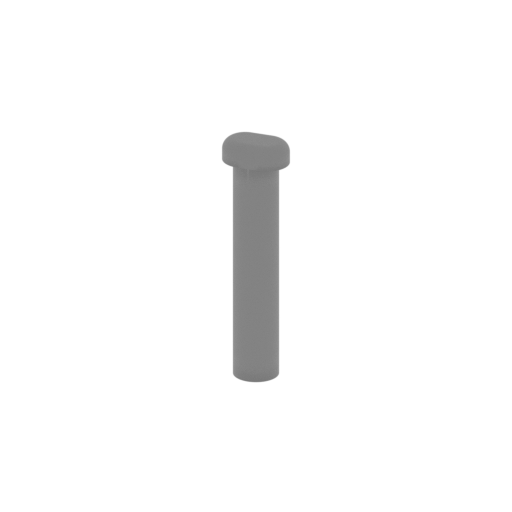 | _60_wheelFastening_c_X2_FDM (repaired).stl 15 x 10 x 55.5 mm | 0.59 x 0.39 x 2.19 in | Size: 15 x 10 x 55.5 mm | 0.59 x 0.39 x 2.19 in | File size: 0.36 mb | Printing Time / Filament: 27 min / 1 m Slicer: prusa v2.9.2 Printer: mk4s Non default settings Layer height: 0.2 Fill density: 20% Support material: 1 Support material buildplate only: 1 | ||
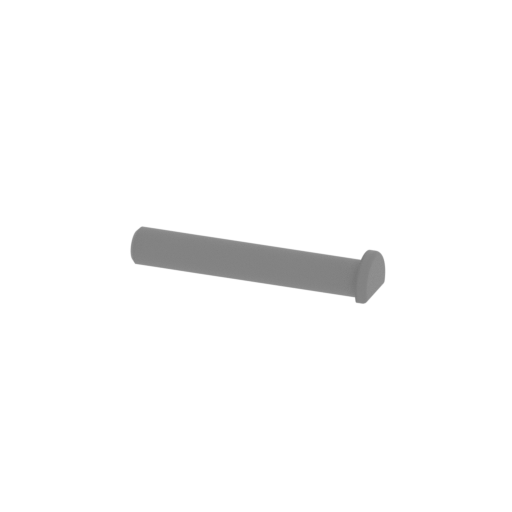 | _61_wheelFastening_d_X2_FDM (repaired).stl 62.7 x 15 x 11 mm | 2.47 x 0.59 x 0.43 in | Size: 62.7 x 15 x 11 mm | 2.47 x 0.59 x 0.43 in | File size: 0.28 mb | Printing Time / Filament: 7 min / 1 m Slicer: prusa v2.9.2 Printer: mk4s Non default settings Layer height: 0.2 Fill density: 20% Support material: 1 Support material buildplate only: 1 | ||
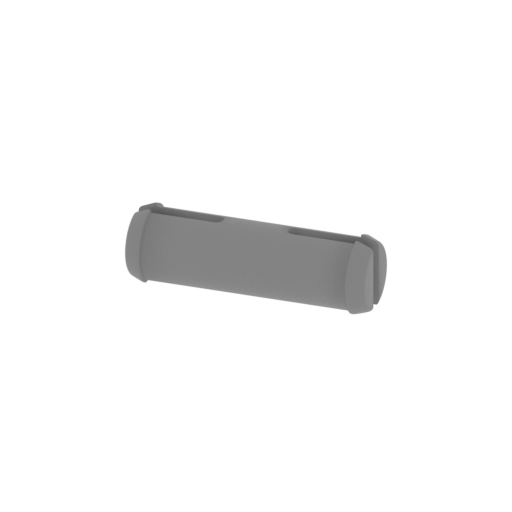 | _62_wheelFastening_e_FDM (repaired).stl 41 x 13 x 11.8 mm | 1.61 x 0.51 x 0.46 in | Size: 41 x 13 x 11.8 mm | 1.61 x 0.51 x 0.46 in | File size: 0.33 mb | Printing Time / Filament: 8 min / 1 m Slicer: prusa v2.9.2 Printer: mk4s Non default settings Layer height: 0.2 Fill density: 20% Support material: 1 Support material buildplate only: 1 | ||
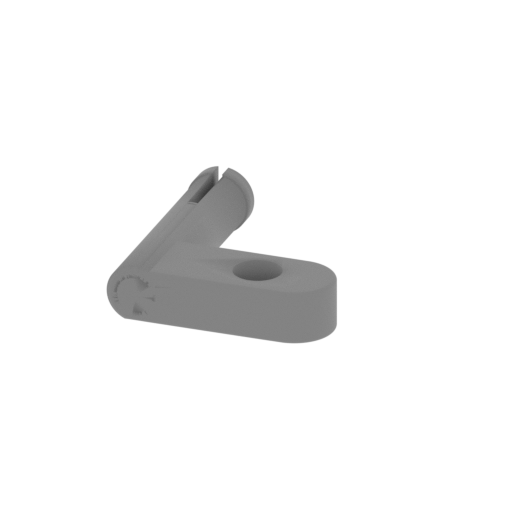 | _63_V1_wheelFastening_f_FDM (repaired).stl 56.4 x 62.8 x 15 mm | 2.22 x 2.47 x 0.59 in | Size: 56.4 x 62.8 x 15 mm | 2.22 x 2.47 x 0.59 in | File size: 0.50 mb | Printing Time / Filament: 21 min / 4 m Slicer: prusa v2.9.2 Printer: mk4s Non default settings Layer height: 0.2 Fill density: 20% Support material: 1 Support material buildplate only: 1 | ||
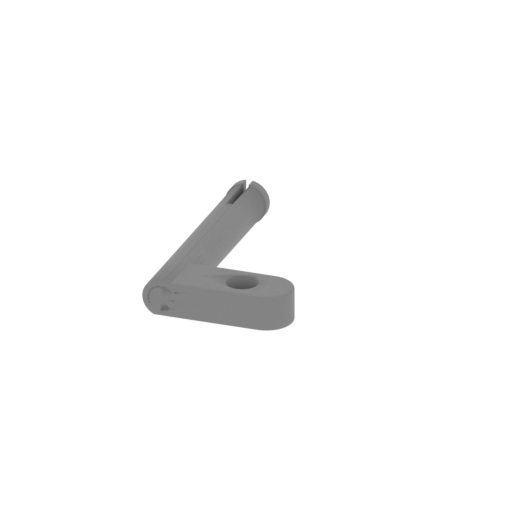 | _63_V2_wheelFastening_f_FDM (repaired).stl 56.5 x 94.9 x 15.1 mm | 2.22 x 3.74 x 0.59 in | Size: 56.5 x 94.9 x 15.1 mm | 2.22 x 3.74 x 0.59 in | File size: 0.59 mb | Printing Time / Filament: 26 min / 5 m Slicer: prusa v2.9.2 Printer: mk4s Non default settings Layer height: 0.2 Fill density: 20% Support material: 1 Support material buildplate only: 1 | ||
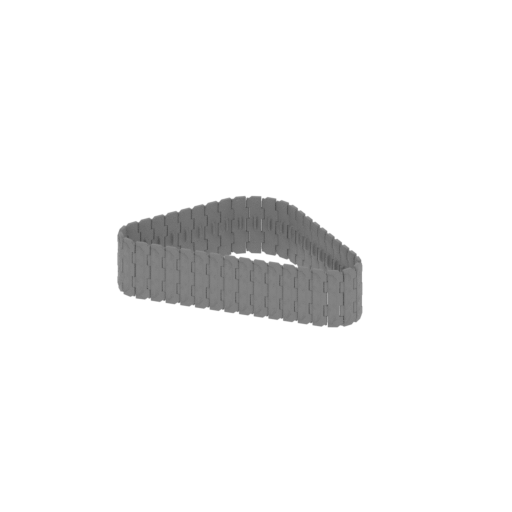 | _64_V1_caterpillarWheel_a_L_FDM (repaired).stl 157.5 x 93.2 x 37.8 mm | 6.2 x 3.67 x 1.49 in | Size: 157.5 x 93.2 x 37.8 mm | 6.2 x 3.67 x 1.49 in | File size: 17.14 mb | Printing Time / Filament: 2 h 24 min / 12 m Slicer: prusa v2.9.2 Printer: mk4s Non default settings Layer height: 0.2 Fill density: 20% Support material: 1 Support material buildplate only: 1 | ||
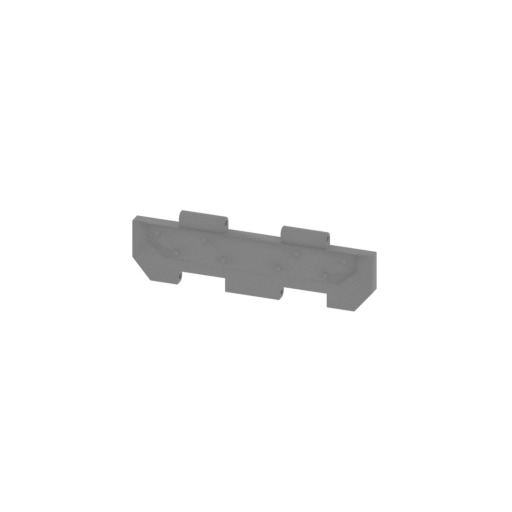 Updated Updated | _64_V2_caterpillarWheel_a_L__X41_FDM (repaired).stl 37.8 x 4.7 x 11.6 mm | 1.49 x 0.19 x 0.46 in | Size: 37.8 x 4.7 x 11.6 mm | 1.49 x 0.19 x 0.46 in | File size: 0.51 mb | Printing Time / Filament: 9 min / <1 m Slicer: prusa v2.9.2 Printer: prusa_xl Non default settings Layer height: 0.2 Fill density: 20% Support material: 1 Support material buildplate only: 1 | ||
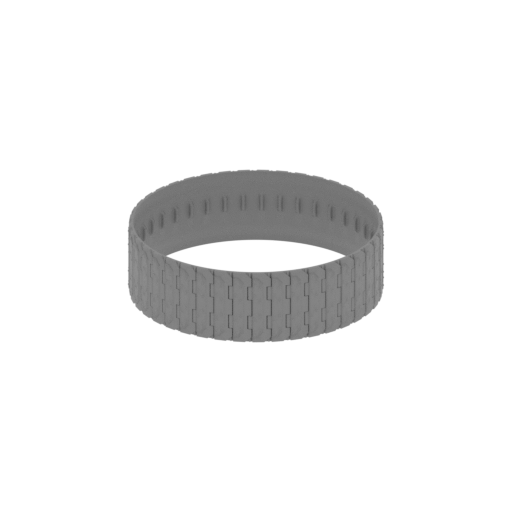 | _64_V3_caterpillarWheel_a_L_FDM (repaired).stl 128.8 x 128.8 x 37.8 mm | 5.07 x 5.07 x 1.49 in | Size: 128.8 x 128.8 x 37.8 mm | 5.07 x 5.07 x 1.49 in | File size: 14.86 mb | Printing Time / Filament: 2 h 42 min / 13 m Slicer: prusa v2.9.2 Printer: mk4s Non default settings Layer height: 0.2 Fill density: 20% Support material: 1 Support material buildplate only: 1 | ||
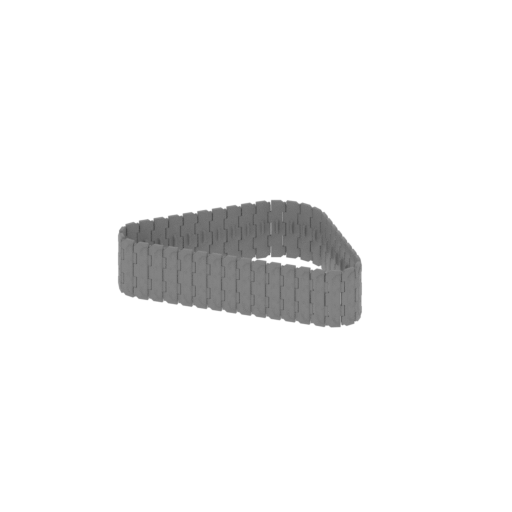 | _65_V1_caterpillarWheel_b_R_FDM (repaired).stl 157.5 x 93.2 x 37.8 mm | 6.2 x 3.67 x 1.49 in | Size: 157.5 x 93.2 x 37.8 mm | 6.2 x 3.67 x 1.49 in | File size: 17.14 mb | Printing Time / Filament: 2 h 24 min / 12 m Slicer: prusa v2.9.2 Printer: mk4s Non default settings Layer height: 0.2 Fill density: 20% Support material: 1 Support material buildplate only: 1 | ||
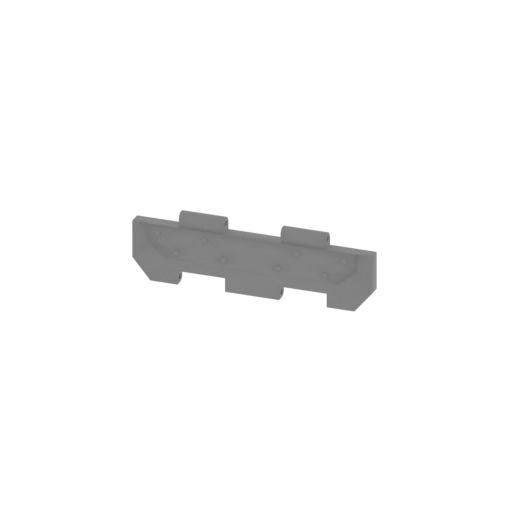 Updated Updated | _65_V2_caterpillarWheel_b_R_X41_FDM (repaired).stl 37.8 x 4.7 x 11.6 mm | 1.49 x 0.19 x 0.46 in | Size: 37.8 x 4.7 x 11.6 mm | 1.49 x 0.19 x 0.46 in | File size: 0.51 mb | Printing Time / Filament: 9 min / <1 m Slicer: prusa v2.9.2 Printer: prusa_xl Non default settings Layer height: 0.2 Fill density: 20% Support material: 1 Support material buildplate only: 1 | ||
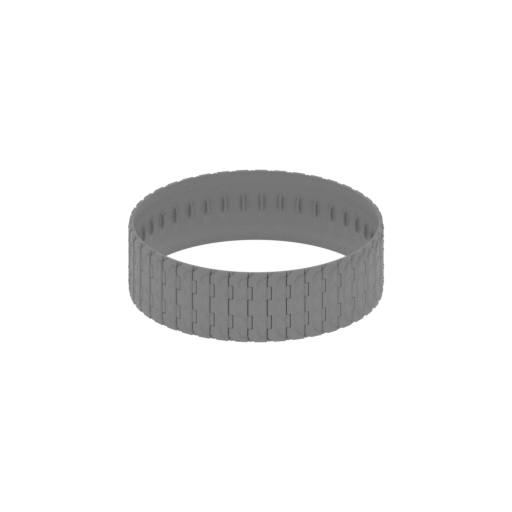 | _65_V3_caterpillarWheel_b_R_FDM (repaired).stl 128.8 x 128.8 x 37.8 mm | 5.07 x 5.07 x 1.49 in | Size: 128.8 x 128.8 x 37.8 mm | 5.07 x 5.07 x 1.49 in | File size: 14.86 mb | Printing Time / Filament: 2 h 42 min / 13 m Slicer: prusa v2.9.2 Printer: mk4s Non default settings Layer height: 0.2 Fill density: 20% Support material: 1 Support material buildplate only: 1 | ||
 | _66_rail_a_X2_FDM (repaired).stl 40.2 x 93 x 3.2 mm | 1.58 x 3.66 x 0.13 in | Size: 40.2 x 93 x 3.2 mm | 1.58 x 3.66 x 0.13 in | File size: 0.30 mb | Printing Time / Filament: 2 min / <1 m Slicer: prusa v2.9.2 Printer: mk4s Non default settings Layer height: 0.2 Fill density: 20% Support material: 1 Support material buildplate only: 1 | ||
 | _67_transparentPanel_a_FDM (repaired).stl 23.4 x 6.3 x 42 mm | 0.92 x 0.25 x 1.65 in | Size: 23.4 x 6.3 x 42 mm | 0.92 x 0.25 x 1.65 in | File size: 0.56 mb | Printing Time / Filament: 21 min / 1 m Slicer: prusa v2.9.2 Printer: mk4s Non default settings Layer height: 0.2 Fill density: 20% Support material: 1 Support material buildplate only: 1 | ||
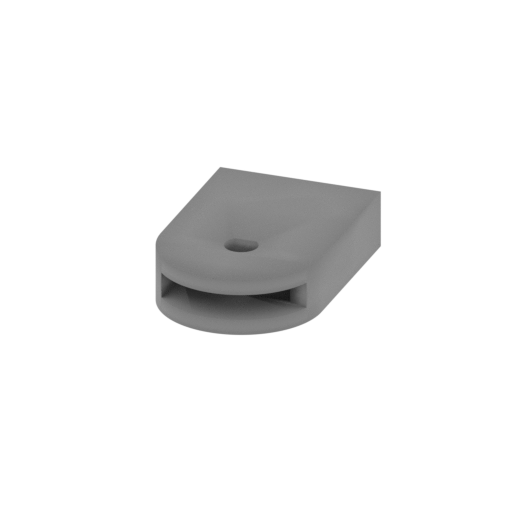 | _68_bodySpring_a_FDM (repaired).stl 32.9 x 49.2 x 11.5 mm | 1.3 x 1.94 x 0.45 in | Size: 32.9 x 49.2 x 11.5 mm | 1.3 x 1.94 x 0.45 in | File size: 0.09 mb | Printing Time / Filament: 16 min / 3 m Slicer: prusa v2.9.2 Printer: mk4s Non default settings Layer height: 0.2 Fill density: 20% Support material: 1 Support material buildplate only: 1 | ||
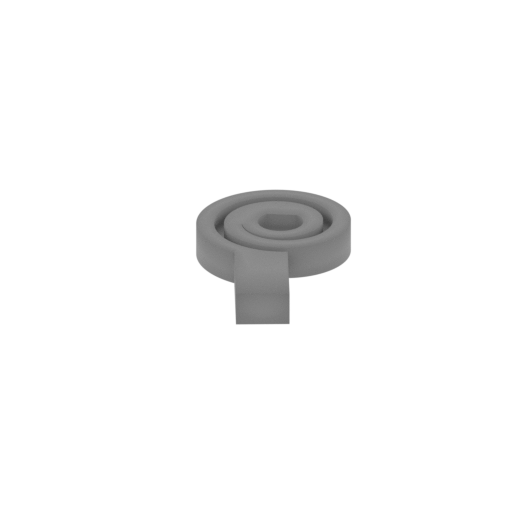 | _69_bodySpring_b_FDM (repaired).stl 22.5 x 37.9 x 4.9 mm | 0.89 x 1.49 x 0.19 in | Size: 22.5 x 37.9 x 4.9 mm | 0.89 x 1.49 x 0.19 in | File size: 0.20 mb | Printing Time / Filament: 5 min / 1 m Slicer: prusa v2.9.2 Printer: mk4s Non default settings Layer height: 0.2 Fill density: 20% Support material: 1 Support material buildplate only: 1 | ||
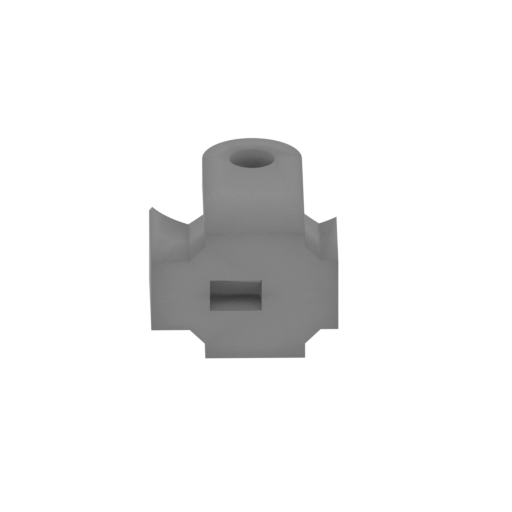 | _70_bodySpring_c_FDM (repaired).stl 34.9 x 40.6 x 21.7 mm | 1.37 x 1.6 x 0.85 in | Size: 34.9 x 40.6 x 21.7 mm | 1.37 x 1.6 x 0.85 in | File size: 0.09 mb | Printing Time / Filament: 19 min / 2 m Slicer: prusa v2.9.2 Printer: mk4s Non default settings Layer height: 0.2 Fill density: 20% Support material: 1 Support material buildplate only: 1 | ||
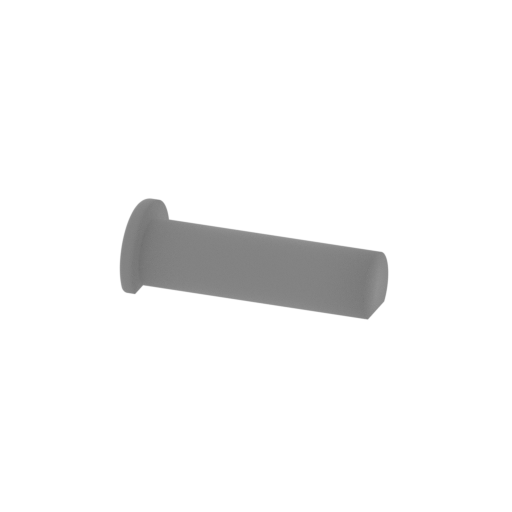 | _71_bodySpring_d_FDM (repaired).stl 23.4 x 9.7 x 7.2 mm | 0.92 x 0.38 x 0.28 in | Size: 23.4 x 9.7 x 7.2 mm | 0.92 x 0.38 x 0.28 in | File size: 0.12 mb | Printing Time / Filament: 3 min / <1 m Slicer: prusa v2.9.2 Printer: mk4s Non default settings Layer height: 0.2 Fill density: 20% Support material: 1 Support material buildplate only: 1 | ||
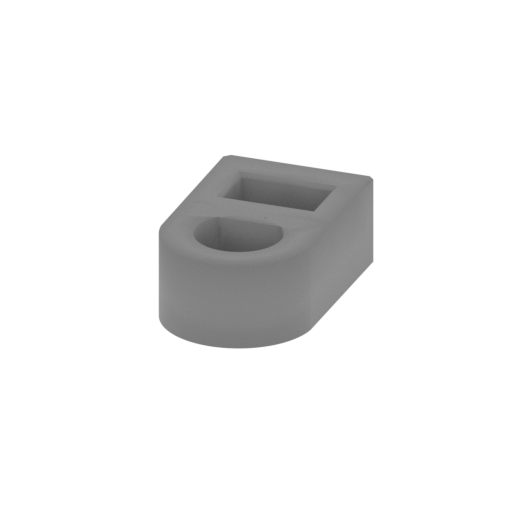 | _72_mountingGadget_a_L_FDM (repaired).stl 18.4 x 29.4 x 10.3 mm | 0.72 x 1.16 x 0.41 in | Size: 18.4 x 29.4 x 10.3 mm | 0.72 x 1.16 x 0.41 in | File size: 0.12 mb | Printing Time / Filament: 9 min / 1 m Slicer: prusa v2.9.2 Printer: mk4s Non default settings Layer height: 0.2 Fill density: 20% Support material: 1 Support material buildplate only: 1 | ||
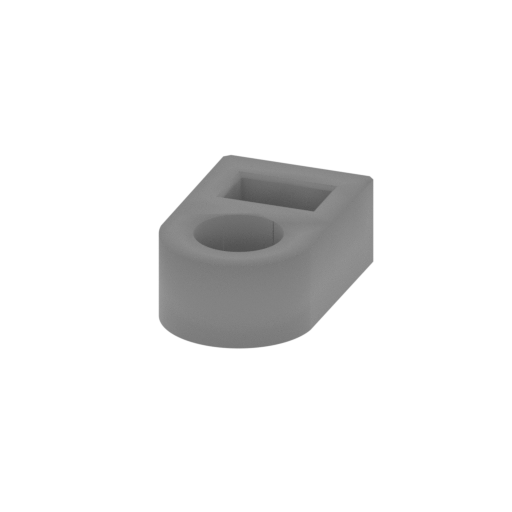 | _73_mountingGadget_b_R_FDM (repaired).stl 18.4 x 29.4 x 10.3 mm | 0.72 x 1.16 x 0.41 in | Size: 18.4 x 29.4 x 10.3 mm | 0.72 x 1.16 x 0.41 in | File size: 0.08 mb | Printing Time / Filament: 8 min / 1 m Slicer: prusa v2.9.2 Printer: mk4s Non default settings Layer height: 0.2 Fill density: 20% Support material: 1 Support material buildplate only: 1 | ||
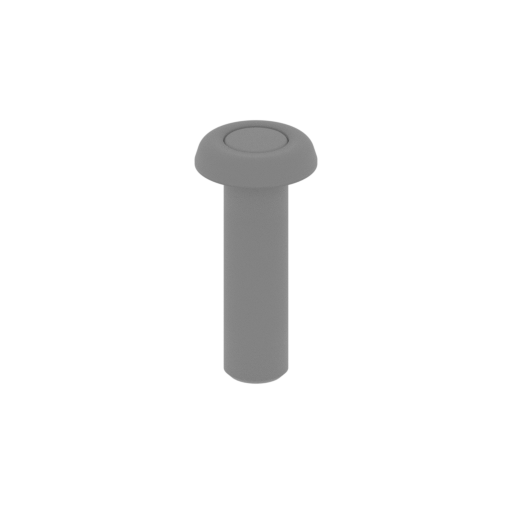 | _74_mountingGadget_c_L_FDM (repaired).stl 19.3 x 19.3 x 40.2 mm | 0.76 x 0.76 x 1.58 in | Size: 19.3 x 19.3 x 40.2 mm | 0.76 x 0.76 x 1.58 in | File size: 0.65 mb | Printing Time / Filament: 21 min / 2 m Slicer: prusa v2.9.2 Printer: mk4s Non default settings Layer height: 0.2 Fill density: 20% Support material: 1 Support material buildplate only: 1 | ||
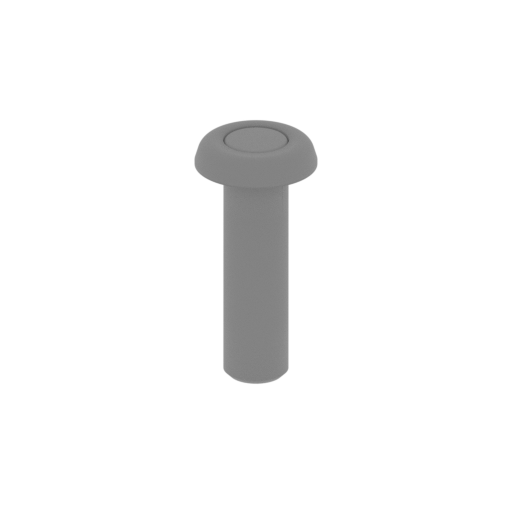 | _75_mountingGadget_d_R_FDM (repaired).stl 19.3 x 19.3 x 40.2 mm | 0.76 x 0.76 x 1.58 in | Size: 19.3 x 19.3 x 40.2 mm | 0.76 x 0.76 x 1.58 in | File size: 0.69 mb | Printing Time / Filament: 21 min / 2 m Slicer: prusa v2.9.2 Printer: mk4s Non default settings Layer height: 0.2 Fill density: 20% Support material: 1 Support material buildplate only: 1 | ||
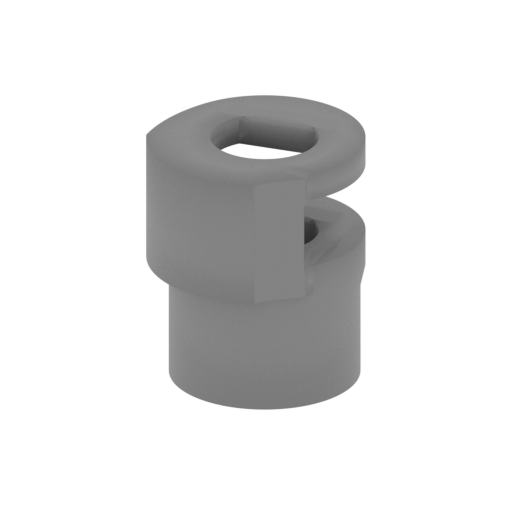 | _76_mountingGadget_e_L_FDM (repaired).stl 20.4 x 21 x 24.5 mm | 0.8 x 0.83 x 0.96 in | Size: 20.4 x 21 x 24.5 mm | 0.8 x 0.83 x 0.96 in | File size: 0.46 mb | Printing Time / Filament: 15 min / 1 m Slicer: prusa v2.9.2 Printer: mk4s Non default settings Layer height: 0.2 Fill density: 20% Support material: 1 Support material buildplate only: 1 | ||
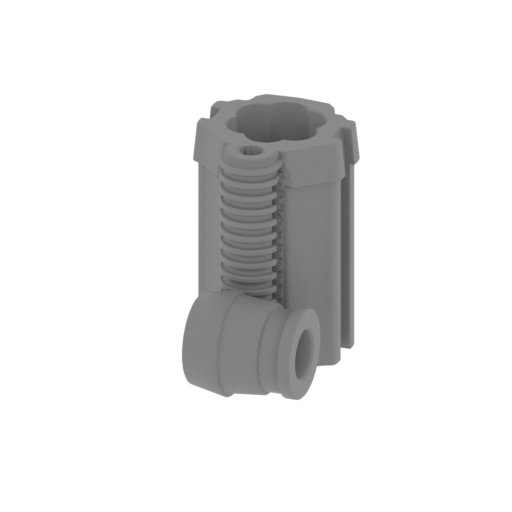 | _77_rightGadget_a_FDM (repaired).stl 33.9 x 54.8 x 52 mm | 1.33 x 2.16 x 2.05 in | Size: 33.9 x 54.8 x 52 mm | 1.33 x 2.16 x 2.05 in | File size: 4.75 mb | Printing Time / Filament: 1 h 20 min / 8 m Slicer: prusa v2.9.2 Printer: mk4s Non default settings Layer height: 0.2 Fill density: 20% Support material: 1 Support material buildplate only: 1 | ||
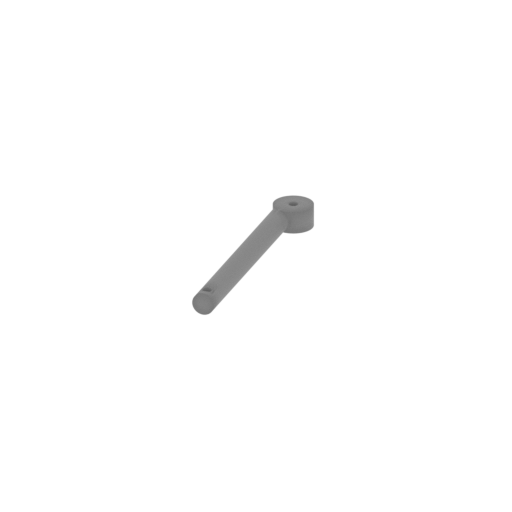 | _78_rightGadget_b_FDM (repaired).stl 8.7 x 53.9 x 4.8 mm | 0.34 x 2.12 x 0.19 in | Size: 8.7 x 53.9 x 4.8 mm | 0.34 x 2.12 x 0.19 in | File size: 0.48 mb | Printing Time / Filament: 4 min / <1 m Slicer: prusa v2.9.2 Printer: mk4s Non default settings Layer height: 0.2 Fill density: 20% Support material: 1 Support material buildplate only: 1 | ||
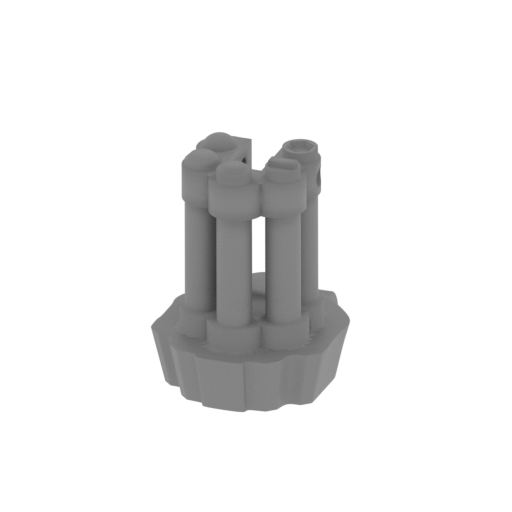 | _79_rightGadget_c_FDM (repaired).stl 26.9 x 32.3 x 37.3 mm | 1.06 x 1.27 x 1.47 in | Size: 26.9 x 32.3 x 37.3 mm | 1.06 x 1.27 x 1.47 in | File size: 2.09 mb | Printing Time / Filament: 25 min / 2 m Slicer: prusa v2.9.2 Printer: mk4s Non default settings Layer height: 0.2 Fill density: 20% Support material: 1 Support material buildplate only: 1 | ||
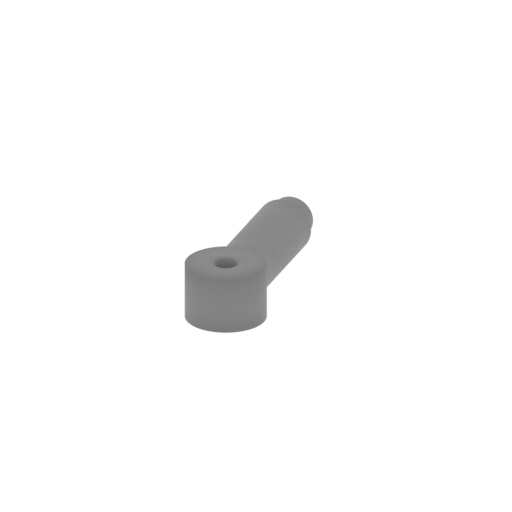 | _80_rightGadget_d_FDM (repaired).stl 6.9 x 21.6 x 4.8 mm | 0.27 x 0.85 x 0.19 in | Size: 6.9 x 21.6 x 4.8 mm | 0.27 x 0.85 x 0.19 in | File size: 0.24 mb | Printing Time / Filament: 3 min / <1 m Slicer: prusa v2.9.2 Printer: mk4s Non default settings Layer height: 0.2 Fill density: 20% Support material: 1 Support material buildplate only: 1 | ||
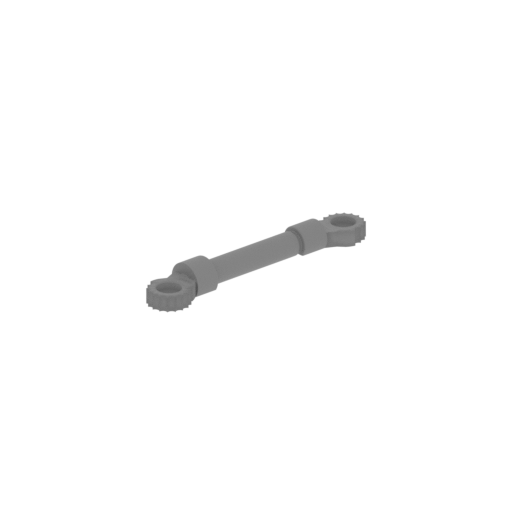 | _81_leftGadget_a_FDM (repaired).stl 60.7 x 101.5 x 12.3 mm | 2.39 x 4 x 0.48 in | Size: 60.7 x 101.5 x 12.3 mm | 2.39 x 4 x 0.48 in | File size: 1.14 mb | Printing Time / Filament: 17 min / 2 m Slicer: prusa v2.9.2 Printer: mk4s Non default settings Layer height: 0.2 Fill density: 20% Support material: 1 Support material buildplate only: 1 | ||
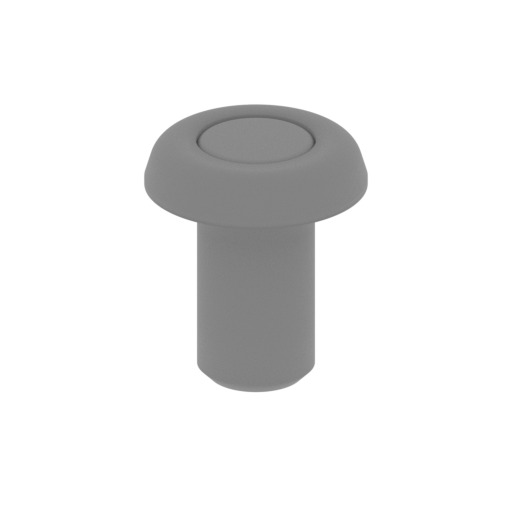 | _82_leftGadget_b_FDM (repaired).stl 19.3 x 19.3 x 22.1 mm | 0.76 x 0.76 x 0.87 in | Size: 19.3 x 19.3 x 22.1 mm | 0.76 x 0.76 x 0.87 in | File size: 0.62 mb | Printing Time / Filament: 12 min / 1 m Slicer: prusa v2.9.2 Printer: mk4s Non default settings Layer height: 0.2 Fill density: 20% Support material: 1 Support material buildplate only: 1 | ||
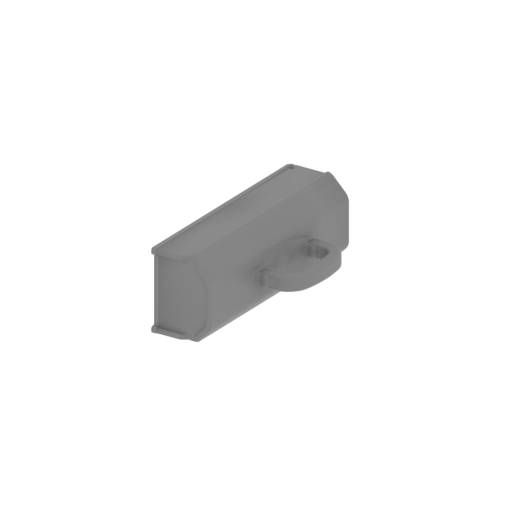 | _83_box_a_FDM (repaired).stl 61.6 x 94.7 x 34.9 mm | 2.43 x 3.73 x 1.37 in | Size: 61.6 x 94.7 x 34.9 mm | 2.43 x 3.73 x 1.37 in | File size: 1.58 mb | Printing Time / Filament: 1 h 8 min / 11 m Slicer: prusa v2.9.2 Printer: mk4s Non default settings Layer height: 0.2 Fill density: 20% Support material: 1 Support material buildplate only: 1 | ||
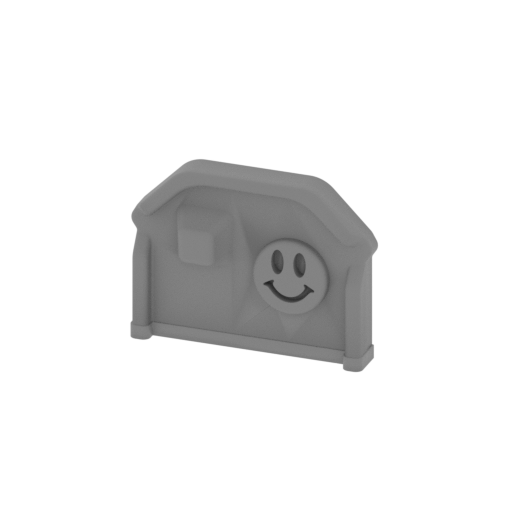 | _84_box_b_FDM (repaired).stl 35.5 x 14.1 x 26.2 mm | 1.4 x 0.56 x 1.03 in | Size: 35.5 x 14.1 x 26.2 mm | 1.4 x 0.56 x 1.03 in | File size: 1.15 mb | Printing Time / Filament: 16 min / 1 m Slicer: prusa v2.9.2 Printer: mk4s Non default settings Layer height: 0.2 Fill density: 20% Support material: 1 Support material buildplate only: 1 | ||
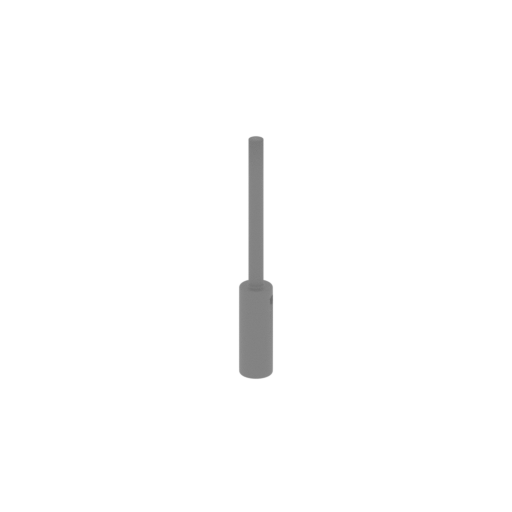 | _85_spoolOfRope_a_FDM (repaired).stl 10.8 x 10.8 x 81.9 mm | 0.43 x 0.43 x 3.22 in | Size: 10.8 x 10.8 x 81.9 mm | 0.43 x 0.43 x 3.22 in | File size: 0.19 mb | Printing Time / Filament: 24 min / 1 m Slicer: prusa v2.9.2 Printer: mk4s Non default settings Layer height: 0.2 Fill density: 20% Support material: 1 Support material buildplate only: 1 | ||
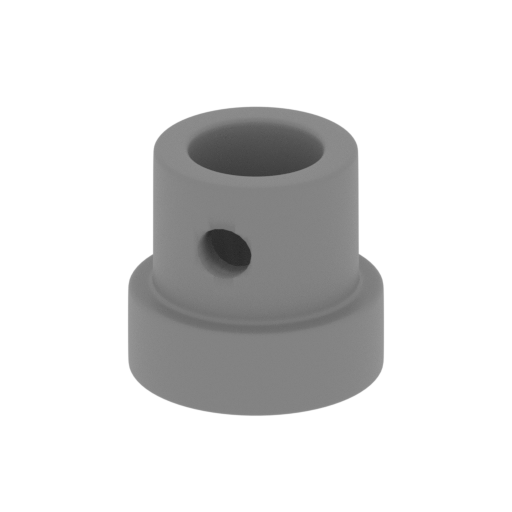 | _86_spoolOfRope_b_FDM (repaired).stl 9.5 x 9.5 x 8.9 mm | 0.37 x 0.37 x 0.35 in | Size: 9.5 x 9.5 x 8.9 mm | 0.37 x 0.37 x 0.35 in | File size: 0.66 mb | Printing Time / Filament: 3 min / <1 m Slicer: prusa v2.9.2 Printer: mk4s Non default settings Layer height: 0.2 Fill density: 20% Support material: 1 Support material buildplate only: 1 | ||
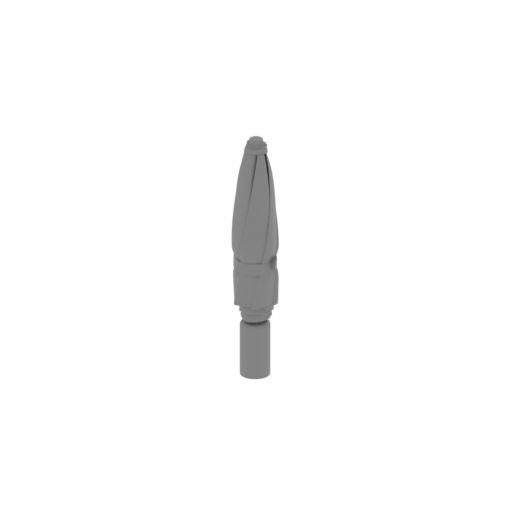 | _87_umbrella_a_FDM (repaired).stl 14.5 x 14 x 75.4 mm | 0.57 x 0.55 x 2.97 in | Size: 14.5 x 14 x 75.4 mm | 0.57 x 0.55 x 2.97 in | File size: 4.27 mb | Printing Time / Filament: 37 min / 2 m Slicer: prusa v2.9.2 Printer: mk4s Non default settings Layer height: 0.2 Fill density: 20% Support material: 1 Support material buildplate only: 1 | ||
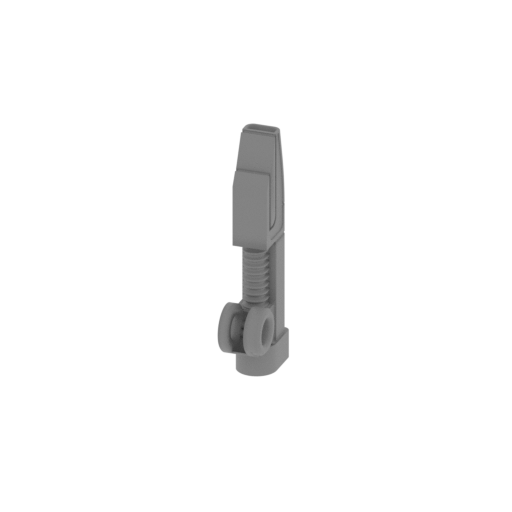 | _88_laser_a_FDM (repaired).stl 17.3 x 41.1 x 102 mm | 0.68 x 1.62 x 4.02 in | Size: 17.3 x 41.1 x 102 mm | 0.68 x 1.62 x 4.02 in | File size: 1.01 mb | Printing Time / Filament: 1 h 4 min / 6 m Slicer: prusa v2.9.2 Printer: mk4s Non default settings Layer height: 0.2 Fill density: 20% Support material: 1 Support material buildplate only: 1 | ||
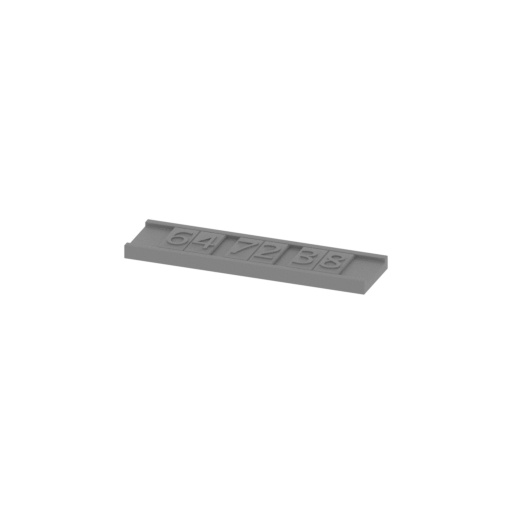 | _89_V1_sign_a_FDM (repaired).stl 116.4 x 30.9 x 7.5 mm | 4.58 x 1.22 x 0.3 in | Size: 116.4 x 30.9 x 7.5 mm | 4.58 x 1.22 x 0.3 in | File size: 2.11 mb | Printing Time / Filament: 25 min / 5 m Slicer: prusa v2.9.2 Printer: mk4s Non default settings Layer height: 0.2 Fill density: 20% Support material: 1 Support material buildplate only: 1 | ||
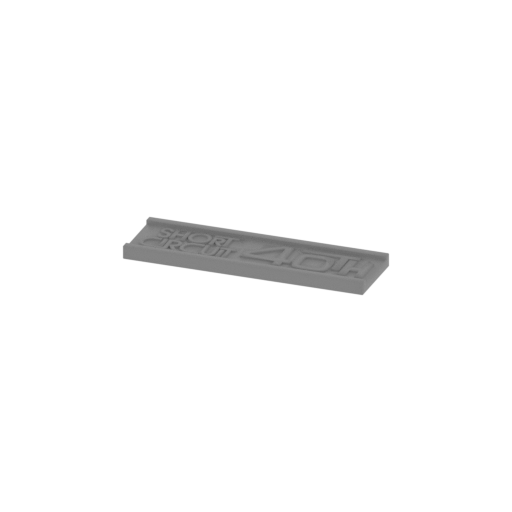 | _89_V2_sign_a_FDM (repaired).stl 116.4 x 34.4 x 6.5 mm | 4.58 x 1.35 x 0.26 in | Size: 116.4 x 34.4 x 6.5 mm | 4.58 x 1.35 x 0.26 in | File size: 0.93 mb | Printing Time / Filament: 25 min / 5 m Slicer: prusa v2.9.2 Printer: mk4s Non default settings Layer height: 0.2 Fill density: 20% Support material: 1 Support material buildplate only: 1 | ||
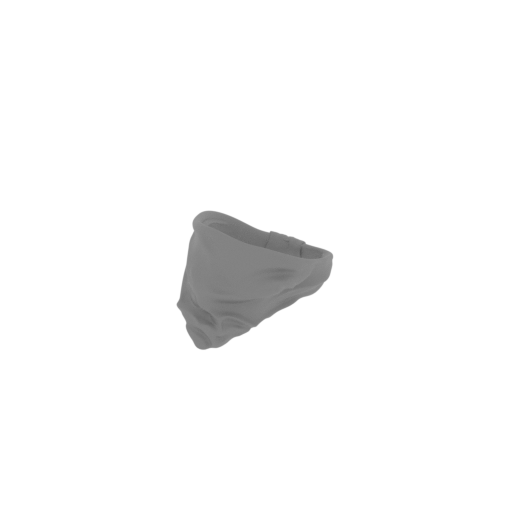 | _90_bandana_a_FDM (repaired).stl 51.4 x 92.6 x 37.2 mm | 2.02 x 3.65 x 1.46 in | Size: 51.4 x 92.6 x 37.2 mm | 2.02 x 3.65 x 1.46 in | File size: 23.73 mb | Printing Time / Filament: 46 min / 4 m Slicer: prusa v2.9.2 Printer: mk4s Non default settings Layer height: 0.2 Fill density: 20% Support material: 1 Support material buildplate only: 1 | ||
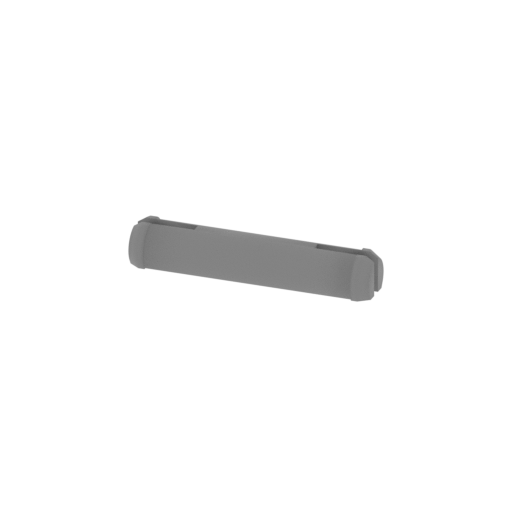 | _91_shoulderConnection_a_FDM (repaired).stl 47.1 x 10.6 x 7.9 mm | 1.85 x 0.42 x 0.31 in | Size: 47.1 x 10.6 x 7.9 mm | 1.85 x 0.42 x 0.31 in | File size: 0.10 mb | Printing Time / Filament: 6 min / 1 m Slicer: prusa v2.9.2 Printer: mk4s Non default settings Layer height: 0.2 Fill density: 20% Support material: 1 Support material buildplate only: 1 | ||
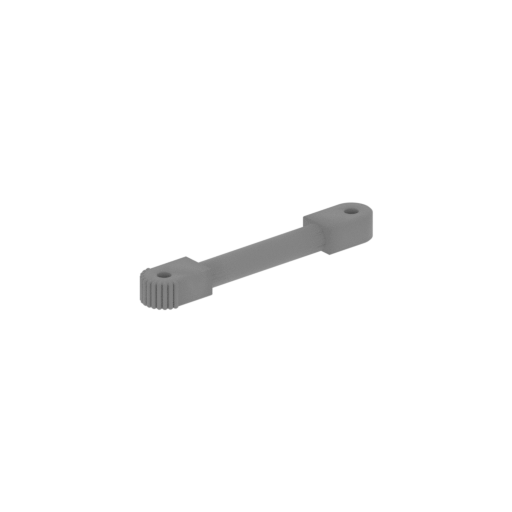 | _92_headMount_a_X2_FDM (repaired).stl 23.4 x 35.8 x 4 mm | 0.92 x 1.41 x 0.16 in | Size: 23.4 x 35.8 x 4 mm | 0.92 x 1.41 x 0.16 in | File size: 1.15 mb | Printing Time / Filament: 3 min / <1 m Slicer: prusa v2.9.2 Printer: mk4s Non default settings Layer height: 0.2 Fill density: 20% Support material: 1 Support material buildplate only: 1 | ||
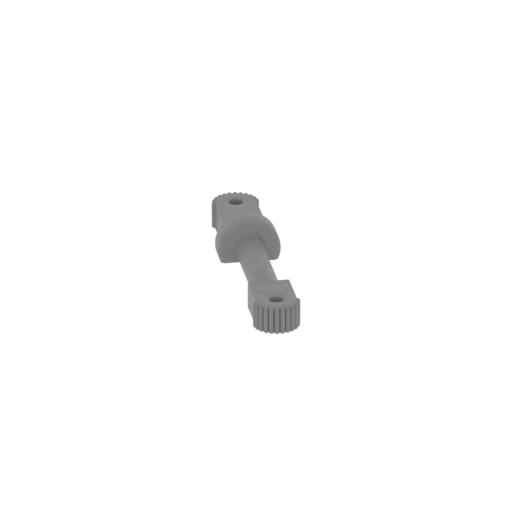 | _93_headMount_b_FDM (repaired).stl 23.8 x 36.2 x 6.2 mm | 0.94 x 1.43 x 0.24 in | Size: 23.8 x 36.2 x 6.2 mm | 0.94 x 1.43 x 0.24 in | File size: 2.04 mb | Printing Time / Filament: 4 min / <1 m Slicer: prusa v2.9.2 Printer: mk4s Non default settings Layer height: 0.2 Fill density: 20% Support material: 1 Support material buildplate only: 1 | ||
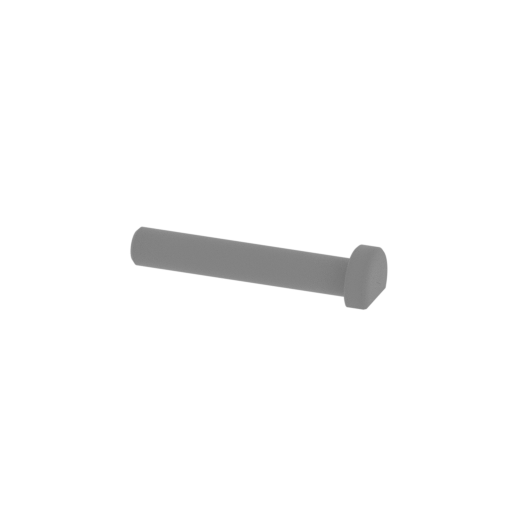 | _94_headMount_c_X2_FDM (repaired).stl 11.4 x 3.1 x 2.4 mm | 0.45 x 0.12 x 0.09 in | Size: 11.4 x 3.1 x 2.4 mm | 0.45 x 0.12 x 0.09 in | File size: 0.14 mb | Printing Time / Filament: 1 min / <1 m Slicer: prusa v2.9.2 Printer: mk4s Non default settings Layer height: 0.2 Fill density: 20% Support material: 1 Support material buildplate only: 1 | ||
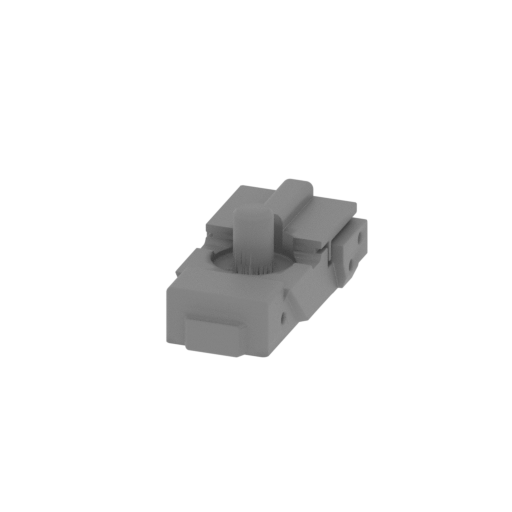 | _95_headBase_a_FDM (repaired).stl 25.5 x 44.7 x 18.9 mm | 1 x 1.76 x 0.74 in | Size: 25.5 x 44.7 x 18.9 mm | 1 x 1.76 x 0.74 in | File size: 4.99 mb | Printing Time / Filament: 19 min / 2 m Slicer: prusa v2.9.2 Printer: mk4s Non default settings Layer height: 0.2 Fill density: 20% Support material: 1 Support material buildplate only: 1 | ||
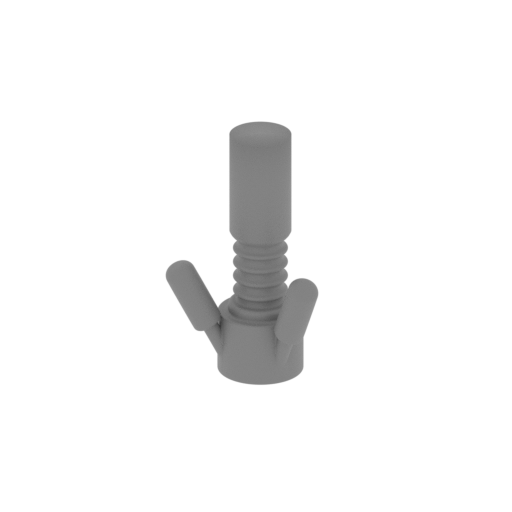 | _96_V1_neck_a_FDM (repaired).stl 27.6 x 19.2 x 43.9 mm | 1.09 x 0.76 x 1.73 in | Size: 27.6 x 19.2 x 43.9 mm | 1.09 x 0.76 x 1.73 in | File size: 2.10 mb | Printing Time / Filament: 23 min / 1 m Slicer: prusa v2.9.2 Printer: mk4s Non default settings Layer height: 0.2 Fill density: 20% Support material: 1 Support material buildplate only: 1 | ||
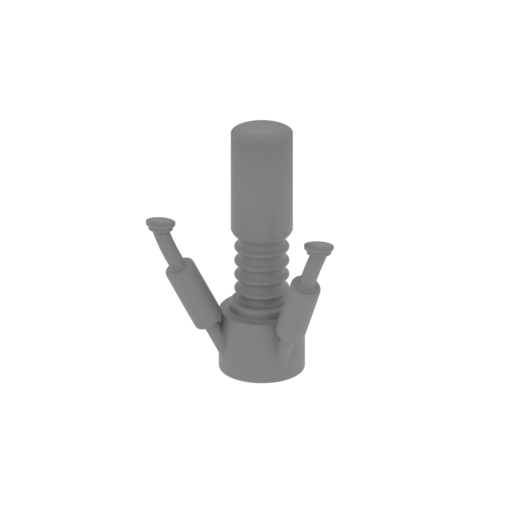 | _96_V2_neck_a_FDM (repaired).stl 34.1 x 20.5 x 43.9 mm | 1.34 x 0.81 x 1.73 in | Size: 34.1 x 20.5 x 43.9 mm | 1.34 x 0.81 x 1.73 in | File size: 4.08 mb | Printing Time / Filament: 25 min / 1 m Slicer: prusa v2.9.2 Printer: mk4s Non default settings Layer height: 0.2 Fill density: 20% Support material: 1 Support material buildplate only: 1 | ||
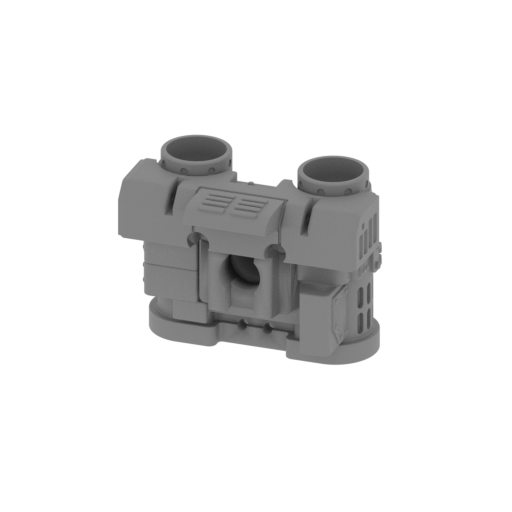 | _97_V1_head_a_FDM (repaired).stl 68 x 51 x 51.3 mm | 2.68 x 2.01 x 2.02 in | Size: 68 x 51 x 51.3 mm | 2.68 x 2.01 x 2.02 in | File size: 26.70 mb | Printing Time / Filament: 2 h 7 min / 15 m Slicer: prusa v2.9.2 Printer: mk4s Non default settings Layer height: 0.2 Fill density: 20% Support material: 1 Support material buildplate only: 1 | ||
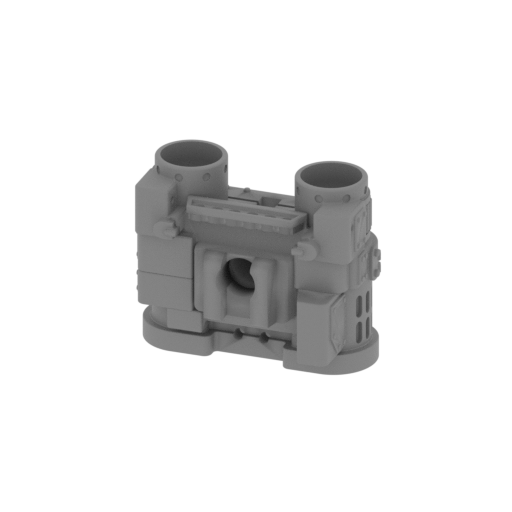 | _97_V2_head_a_FDM (repaired).stl 66.5 x 41.2 x 51.3 mm | 2.62 x 1.62 x 2.02 in | Size: 66.5 x 41.2 x 51.3 mm | 2.62 x 1.62 x 2.02 in | File size: 26.96 mb | Printing Time / Filament: 1 h 59 min / 12 m Slicer: prusa v2.9.2 Printer: mk4s Non default settings Layer height: 0.2 Fill density: 20% Support material: 1 Support material buildplate only: 1 | ||
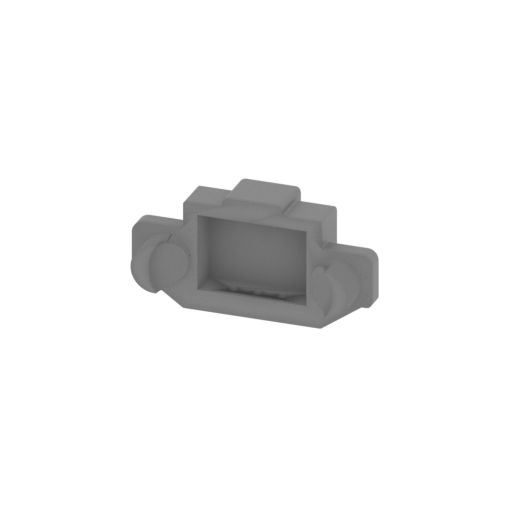 | _98_head_b_FDM (repaired).stl 54.6 x 20.1 x 27 mm | 2.15 x 0.79 x 1.06 in | Size: 54.6 x 20.1 x 27 mm | 2.15 x 0.79 x 1.06 in | File size: 2.00 mb | Printing Time / Filament: 24 min / 2 m Slicer: prusa v2.9.2 Printer: mk4s Non default settings Layer height: 0.2 Fill density: 20% Support material: 1 Support material buildplate only: 1 | ||
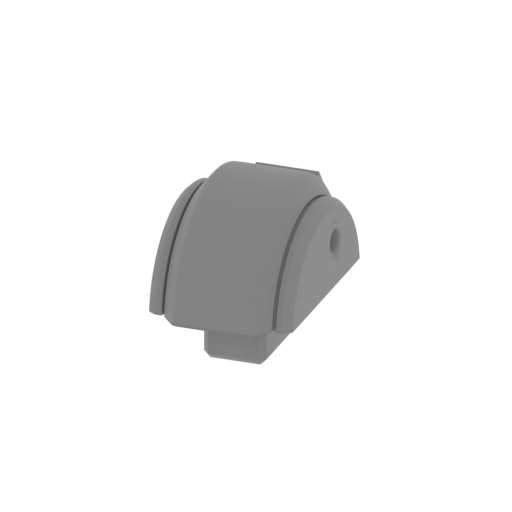 | _99_head_c_FDM (repaired).stl 12 x 20 x 14.1 mm | 0.47 x 0.79 x 0.56 in | Size: 12 x 20 x 14.1 mm | 0.47 x 0.79 x 0.56 in | File size: 1.59 mb | Printing Time / Filament: 8 min / 1 m Slicer: prusa v2.9.2 Printer: mk4s Non default settings Layer height: 0.2 Fill density: 20% Support material: 1 Support material buildplate only: 1 | ||
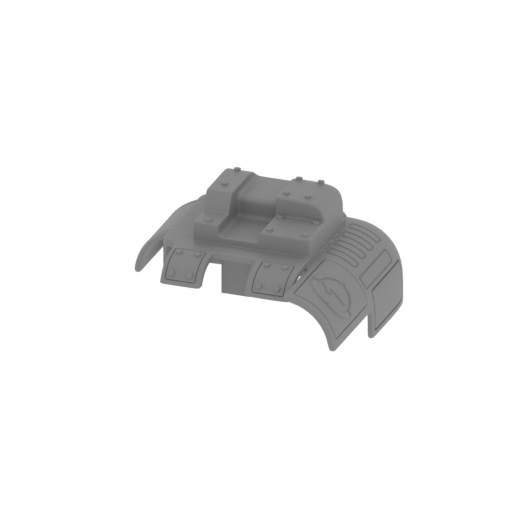 | _100_V1_helmet_a_FDM (repaired).stl 68.8 x 64.7 x 36.1 mm | 2.71 x 2.55 x 1.42 in | Size: 68.8 x 64.7 x 36.1 mm | 2.71 x 2.55 x 1.42 in | File size: 28.01 mb | Printing Time / Filament: 1 h 8 min / 10 m Slicer: prusa v2.9.2 Printer: mk4s Non default settings Layer height: 0.2 Fill density: 20% Support material: 1 Support material buildplate only: 1 | ||
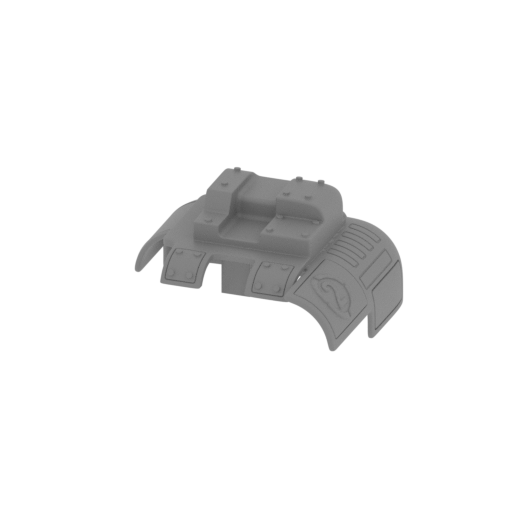 | _100_V2_helmet_a_FDM (repaired).stl 68.8 x 64.7 x 36.1 mm | 2.71 x 2.55 x 1.42 in | Size: 68.8 x 64.7 x 36.1 mm | 2.71 x 2.55 x 1.42 in | File size: 28.07 mb | Printing Time / Filament: 1 h 9 min / 10 m Slicer: prusa v2.9.2 Printer: mk4s Non default settings Layer height: 0.2 Fill density: 20% Support material: 1 Support material buildplate only: 1 | ||
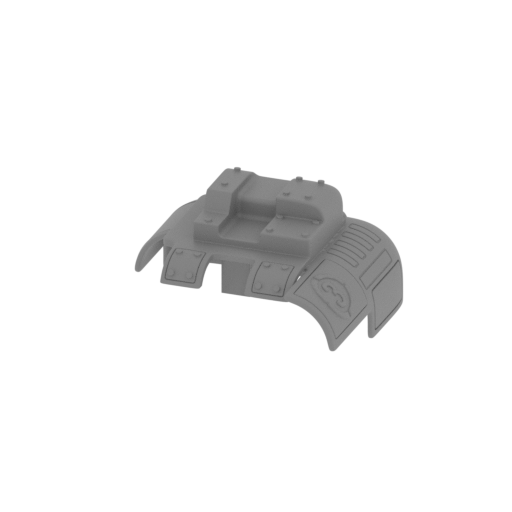 | _100_V3_helmet_a_FDM (repaired).stl 68.8 x 64.7 x 36.1 mm | 2.71 x 2.55 x 1.42 in | Size: 68.8 x 64.7 x 36.1 mm | 2.71 x 2.55 x 1.42 in | File size: 28.11 mb | Printing Time / Filament: 1 h 8 min / 10 m Slicer: prusa v2.9.2 Printer: mk4s Non default settings Layer height: 0.2 Fill density: 20% Support material: 1 Support material buildplate only: 1 | ||
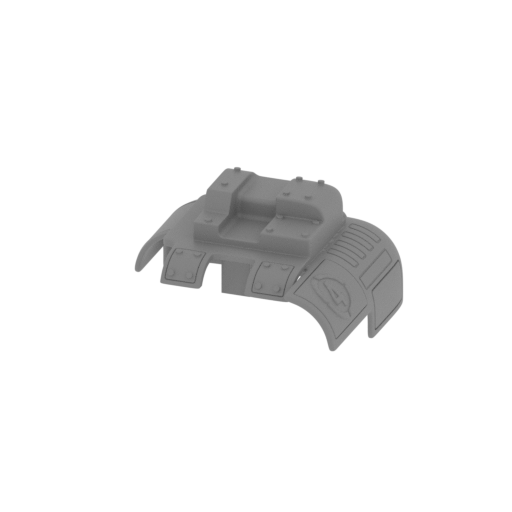 | _100_V4_helmet_a_FDM (repaired).stl 68.8 x 64.7 x 36.1 mm | 2.71 x 2.55 x 1.42 in | Size: 68.8 x 64.7 x 36.1 mm | 2.71 x 2.55 x 1.42 in | File size: 28.01 mb | Printing Time / Filament: 1 h 9 min / 10 m Slicer: prusa v2.9.2 Printer: mk4s Non default settings Layer height: 0.2 Fill density: 20% Support material: 1 Support material buildplate only: 1 | ||
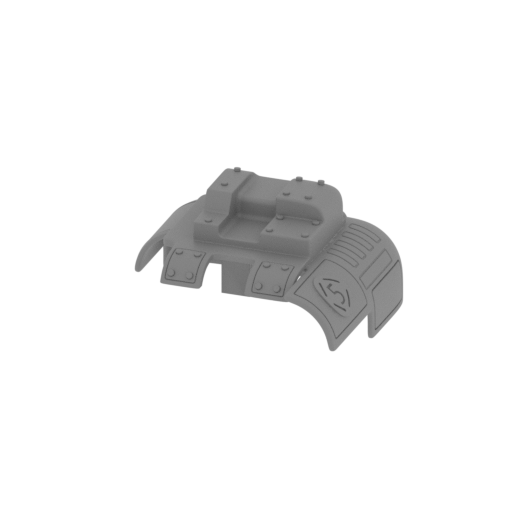 | _100_V5_helmet_a_FDM (repaired).stl 68.8 x 64.7 x 36.1 mm | 2.71 x 2.55 x 1.42 in | Size: 68.8 x 64.7 x 36.1 mm | 2.71 x 2.55 x 1.42 in | File size: 40.08 mb | Printing Time / Filament: 1 h 9 min / 10 m Slicer: prusa v2.9.2 Printer: mk4s Non default settings Layer height: 0.2 Fill density: 20% Support material: 1 Support material buildplate only: 1 | ||
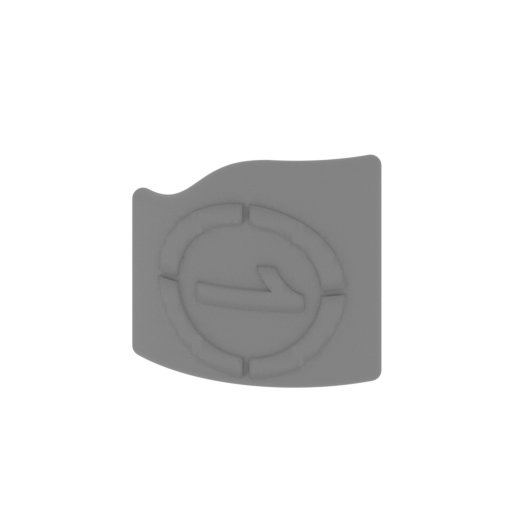 | _101_V1_helmet_b_FDM (repaired).stl 19.7 x 8.3 x 19 mm | 0.78 x 0.33 x 0.75 in | Size: 19.7 x 8.3 x 19 mm | 0.78 x 0.33 x 0.75 in | File size: 0.60 mb | Printing Time / Filament: 8 min / <1 m Slicer: prusa v2.9.2 Printer: mk4s Non default settings Layer height: 0.2 Fill density: 20% Support material: 1 Support material buildplate only: 1 | ||
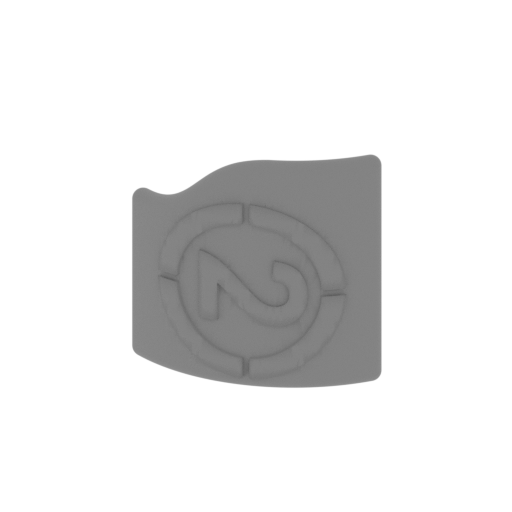 | _101_V2_helmet_b_FDM (repaired).stl 19.7 x 8.3 x 19 mm | 0.78 x 0.33 x 0.75 in | Size: 19.7 x 8.3 x 19 mm | 0.78 x 0.33 x 0.75 in | File size: 0.65 mb | Printing Time / Filament: 8 min / <1 m Slicer: prusa v2.9.2 Printer: mk4s Non default settings Layer height: 0.2 Fill density: 20% Support material: 1 Support material buildplate only: 1 | ||
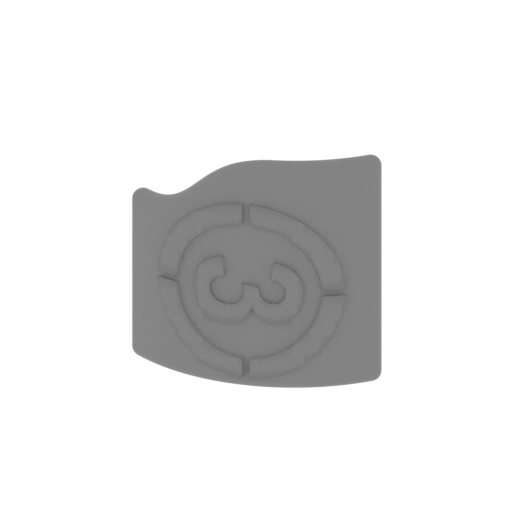 | _101_V3_helmet_b_FDM (repaired).stl 19.7 x 8.3 x 19 mm | 0.78 x 0.33 x 0.75 in | Size: 19.7 x 8.3 x 19 mm | 0.78 x 0.33 x 0.75 in | File size: 0.68 mb | Printing Time / Filament: 8 min / <1 m Slicer: prusa v2.9.2 Printer: mk4s Non default settings Layer height: 0.2 Fill density: 20% Support material: 1 Support material buildplate only: 1 | ||
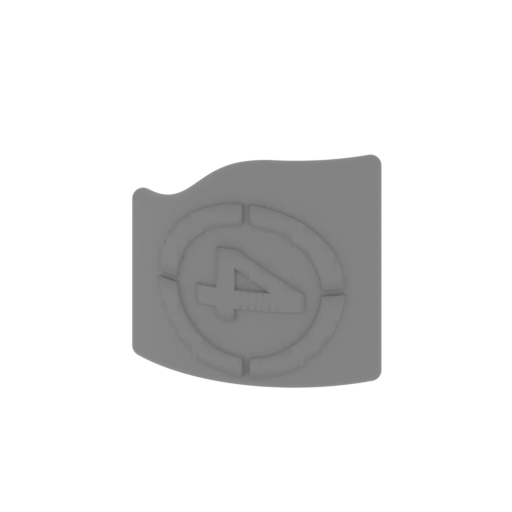 | _101_V4_helmet_b_FDM (repaired).stl 19.7 x 8.3 x 19 mm | 0.78 x 0.33 x 0.75 in | Size: 19.7 x 8.3 x 19 mm | 0.78 x 0.33 x 0.75 in | File size: 0.62 mb | Printing Time / Filament: 8 min / <1 m Slicer: prusa v2.9.2 Printer: mk4s Non default settings Layer height: 0.2 Fill density: 20% Support material: 1 Support material buildplate only: 1 | ||
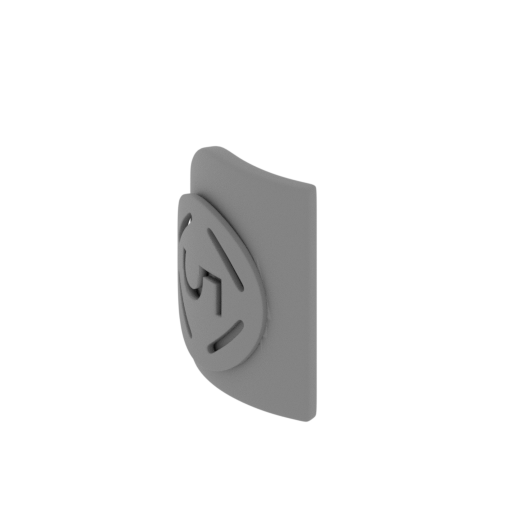 | _101_V5_helmet_b_FDM (repaired).stl 14.1 x 14.8 x 19 mm | 0.56 x 0.58 x 0.75 in | Size: 14.1 x 14.8 x 19 mm | 0.56 x 0.58 x 0.75 in | File size: 1.08 mb | Printing Time / Filament: 9 min / <1 m Slicer: prusa v2.9.2 Printer: mk4s Non default settings Layer height: 0.2 Fill density: 20% Support material: 1 Support material buildplate only: 1 | ||
 | _102_V1_lowerEyelid_a_L_FDM (repaired).stl 23.1 x 20.8 x 12.5 mm | 0.91 x 0.82 x 0.49 in | Size: 23.1 x 20.8 x 12.5 mm | 0.91 x 0.82 x 0.49 in | File size: 0.40 mb | Printing Time / Filament: 2 min / <1 m Slicer: prusa v2.9.2 Printer: mk4s Non default settings Layer height: 0.2 Fill density: 20% Support material: 1 Support material buildplate only: 1 | ||
 | _102_V2_lowerEyelid_a_L_FDM (repaired).stl 23.1 x 20.8 x 12.5 mm | 0.91 x 0.82 x 0.49 in | Size: 23.1 x 20.8 x 12.5 mm | 0.91 x 0.82 x 0.49 in | File size: 0.40 mb | Printing Time / Filament: 2 min / <1 m Slicer: prusa v2.9.2 Printer: mk4s Non default settings Layer height: 0.2 Fill density: 20% Support material: 1 Support material buildplate only: 1 | ||
 | _103_V1_lowerEyelid_b_R_FDM (repaired).stl 23.1 x 20.8 x 12.5 mm | 0.91 x 0.82 x 0.49 in | Size: 23.1 x 20.8 x 12.5 mm | 0.91 x 0.82 x 0.49 in | File size: 0.40 mb | Printing Time / Filament: 2 min / <1 m Slicer: prusa v2.9.2 Printer: mk4s Non default settings Layer height: 0.2 Fill density: 20% Support material: 1 Support material buildplate only: 1 | ||
 | _103_V2_lowerEyelid_b_R_FDM (repaired).stl 23.1 x 20.8 x 12.5 mm | 0.91 x 0.82 x 0.49 in | Size: 23.1 x 20.8 x 12.5 mm | 0.91 x 0.82 x 0.49 in | File size: 0.40 mb | Printing Time / Filament: 2 min / <1 m Slicer: prusa v2.9.2 Printer: mk4s Non default settings Layer height: 0.2 Fill density: 20% Support material: 1 Support material buildplate only: 1 | ||
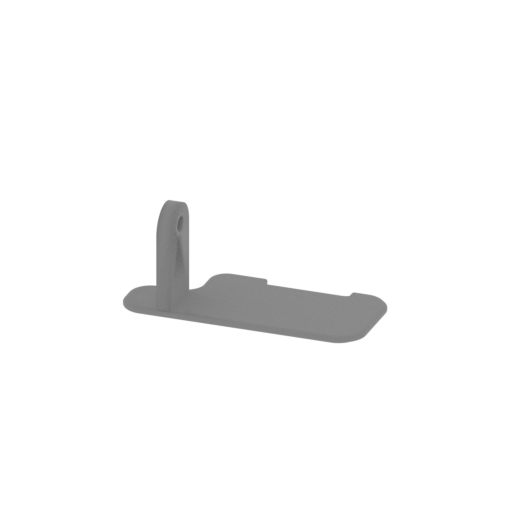 | _104_V1_eyebrow_a_FDM (repaired).stl 32.6 x 14.3 x 14.5 mm | 1.28 x 0.56 x 0.57 in | Size: 32.6 x 14.3 x 14.5 mm | 1.28 x 0.56 x 0.57 in | File size: 0.58 mb | Printing Time / Filament: 3 min / <1 m Slicer: prusa v2.9.2 Printer: mk4s Non default settings Layer height: 0.2 Fill density: 20% Support material: 1 Support material buildplate only: 1 | ||
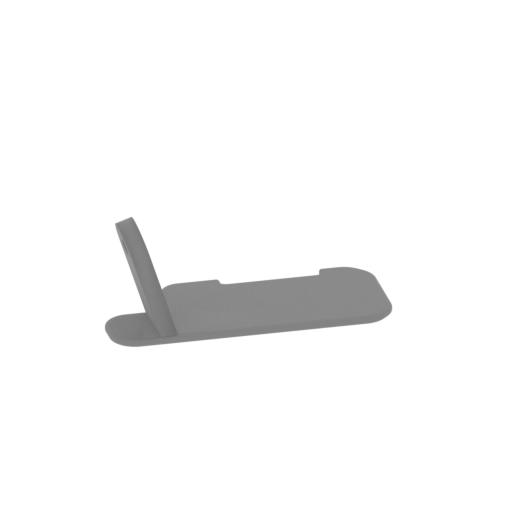 | _104_V2_eyebrow_a_FDM (repaired).stl 28.6 x 27.5 x 14.1 mm | 1.13 x 1.08 x 0.56 in | Size: 28.6 x 27.5 x 14.1 mm | 1.13 x 1.08 x 0.56 in | File size: 0.65 mb | Printing Time / Filament: 3 min / <1 m Slicer: prusa v2.9.2 Printer: mk4s Non default settings Layer height: 0.2 Fill density: 20% Support material: 1 Support material buildplate only: 1 | ||
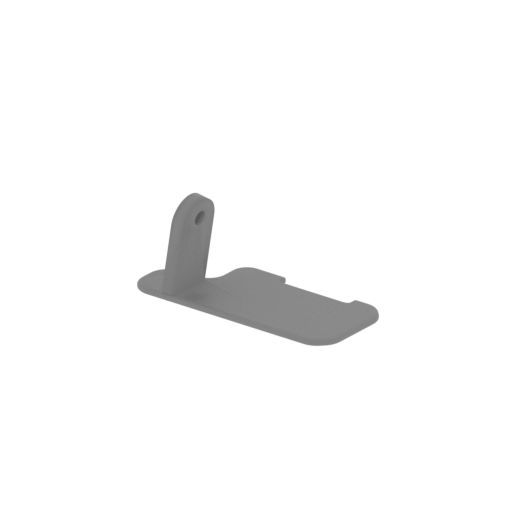 | _104_V3_eyebrow_a_FDM (repaired).stl 33.7 x 19.4 x 14.5 mm | 1.33 x 0.76 x 0.57 in | Size: 33.7 x 19.4 x 14.5 mm | 1.33 x 0.76 x 0.57 in | File size: 0.64 mb | Printing Time / Filament: 3 min / <1 m Slicer: prusa v2.9.2 Printer: mk4s Non default settings Layer height: 0.2 Fill density: 20% Support material: 1 Support material buildplate only: 1 | ||
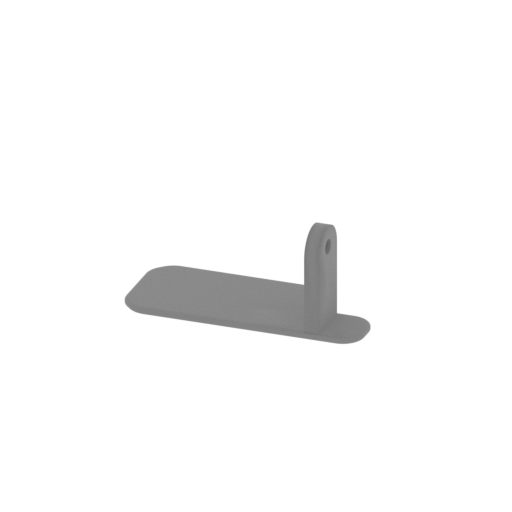 | _105_V1_eyebrow_b_FDM (repaired).stl 32.6 x 14.3 x 14.5 mm | 1.28 x 0.56 x 0.57 in | Size: 32.6 x 14.3 x 14.5 mm | 1.28 x 0.56 x 0.57 in | File size: 0.55 mb | Printing Time / Filament: 3 min / <1 m Slicer: prusa v2.9.2 Printer: mk4s Non default settings Layer height: 0.2 Fill density: 20% Support material: 1 Support material buildplate only: 1 | ||
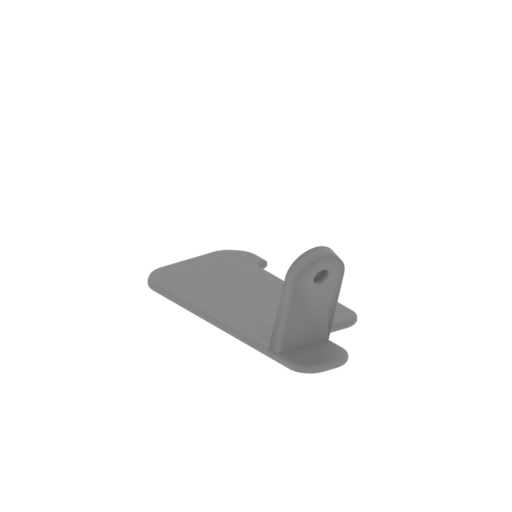 | _105_V2_eyebrow_b_FDM (repaired).stl 28.6 x 27.5 x 14.1 mm | 1.13 x 1.08 x 0.56 in | Size: 28.6 x 27.5 x 14.1 mm | 1.13 x 1.08 x 0.56 in | File size: 0.68 mb | Printing Time / Filament: 3 min / <1 m Slicer: prusa v2.9.2 Printer: mk4s Non default settings Layer height: 0.2 Fill density: 20% Support material: 1 Support material buildplate only: 1 | ||
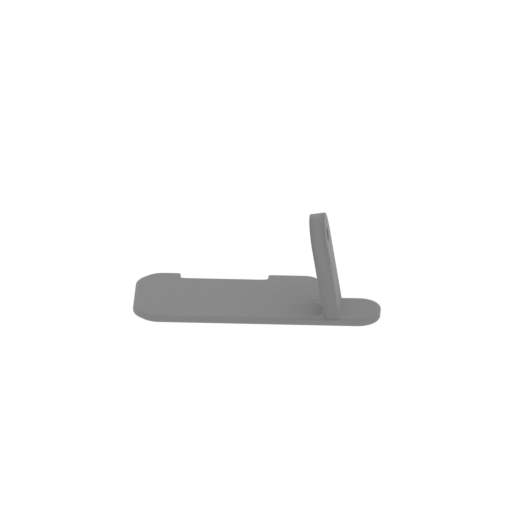 | _105_V3_eyebrow_b_FDM (repaired).stl 33.7 x 19.4 x 14.5 mm | 1.33 x 0.76 x 0.57 in | Size: 33.7 x 19.4 x 14.5 mm | 1.33 x 0.76 x 0.57 in | File size: 0.67 mb | Printing Time / Filament: 3 min / <1 m Slicer: prusa v2.9.2 Printer: mk4s Non default settings Layer height: 0.2 Fill density: 20% Support material: 1 Support material buildplate only: 1 | ||
 | _106_mouthPanel_a_FDM (repaired).stl 29.3 x 3.5 x 0.8 mm | 1.15 x 0.14 x 0.03 in | Size: 29.3 x 3.5 x 0.8 mm | 1.15 x 0.14 x 0.03 in | File size: 0.01 mb | Printing Time / Filament: 1 min / <1 m Slicer: prusa v2.9.2 Printer: mk4s Non default settings Layer height: 0.2 Fill density: 20% Support material: 1 Support material buildplate only: 1 | ||
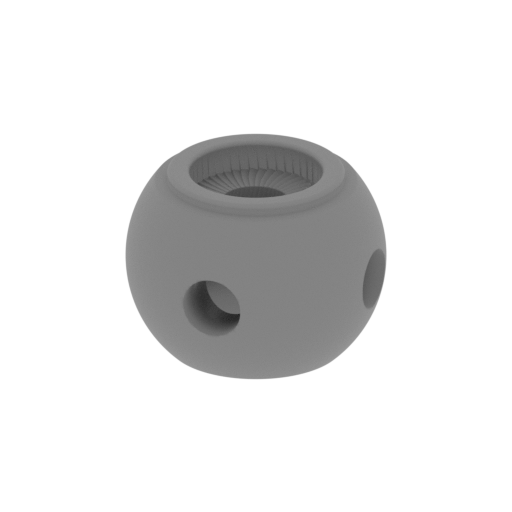 | _107_eye_a_X2_FDM (repaired).stl 15.5 x 15.5 x 11.6 mm | 0.61 x 0.61 x 0.46 in | Size: 15.5 x 15.5 x 11.6 mm | 0.61 x 0.61 x 0.46 in | File size: 2.68 mb | Printing Time / Filament: 7 min / <1 m Slicer: prusa v2.9.2 Printer: mk4s Non default settings Layer height: 0.2 Fill density: 20% Support material: 1 Support material buildplate only: 1 | ||
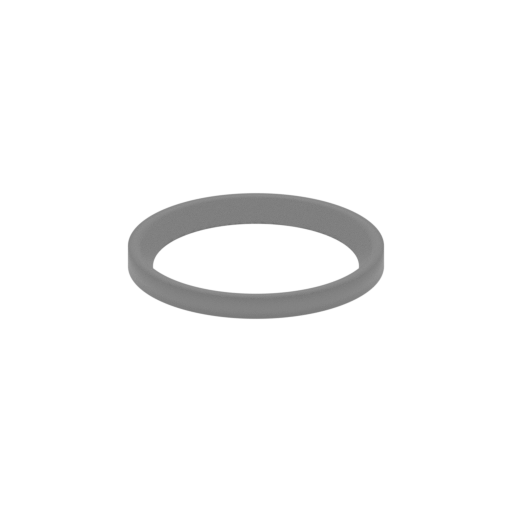 | _108_eye_b_X2_FDM (repaired).stl 16 x 16 x 1.4 mm | 0.63 x 0.63 x 0.06 in | Size: 16 x 16 x 1.4 mm | 0.63 x 0.63 x 0.06 in | File size: 0.21 mb | Printing Time / Filament: 1 min / <1 m Slicer: prusa v2.9.2 Printer: mk4s Non default settings Layer height: 0.2 Fill density: 20% Support material: 1 Support material buildplate only: 1 | ||
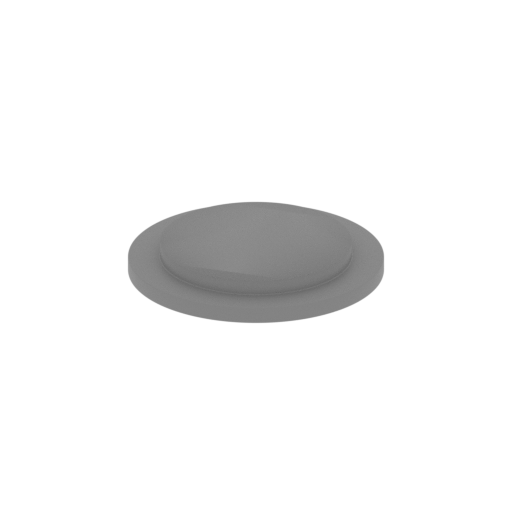 | _109_eye_c_X2_FDM (repaired).stl 10.8 x 10.8 x 1.4 mm | 0.43 x 0.43 x 0.06 in | Size: 10.8 x 10.8 x 1.4 mm | 0.43 x 0.43 x 0.06 in | File size: 0.22 mb | Printing Time / Filament: 1 min / <1 m Slicer: prusa v2.9.2 Printer: mk4s Non default settings Layer height: 0.2 Fill density: 20% Support material: 1 Support material buildplate only: 1 | ||
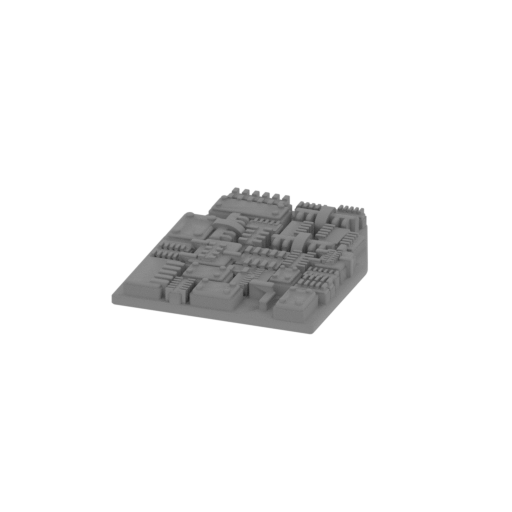 | _110_frontMecrascheme_a_FDM (repaired).stl 40.3 x 47.9 x 5.9 mm | 1.59 x 1.89 x 0.23 in | Size: 40.3 x 47.9 x 5.9 mm | 1.59 x 1.89 x 0.23 in | File size: 9.49 mb | Printing Time / Filament: 26 min / 2 m Slicer: prusa v2.9.2 Printer: mk4s Non default settings Layer height: 0.2 Fill density: 20% Support material: 1 Support material buildplate only: 1 | ||
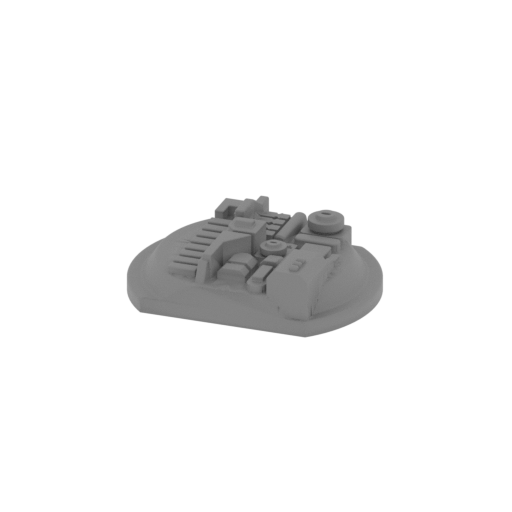 | _111_bodyPart_a_FDM (repaired).stl 37.1 x 28 x 10.1 mm | 1.46 x 1.1 x 0.4 in | Size: 37.1 x 28 x 10.1 mm | 1.46 x 1.1 x 0.4 in | File size: 4.49 mb | Printing Time / Filament: 13 min / 1 m Slicer: prusa v2.9.2 Printer: mk4s Non default settings Layer height: 0.2 Fill density: 20% Support material: 1 Support material buildplate only: 1 | ||
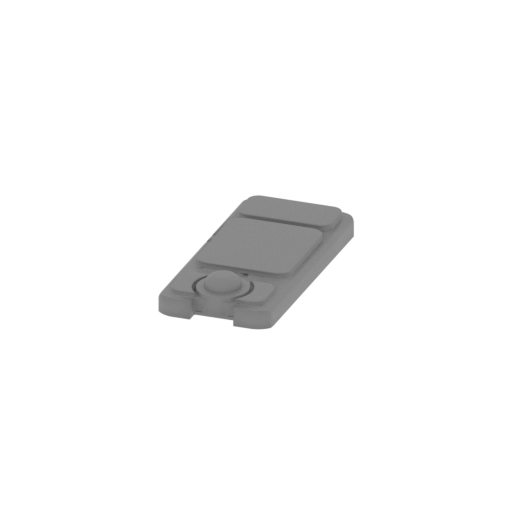 | _112_bodyPart_b_FDM (repaired).stl 17.6 x 37.3 x 5.6 mm | 0.69 x 1.47 x 0.22 in | Size: 17.6 x 37.3 x 5.6 mm | 0.69 x 1.47 x 0.22 in | File size: 0.55 mb | Printing Time / Filament: 6 min / 1 m Slicer: prusa v2.9.2 Printer: mk4s Non default settings Layer height: 0.2 Fill density: 20% Support material: 1 Support material buildplate only: 1 | ||
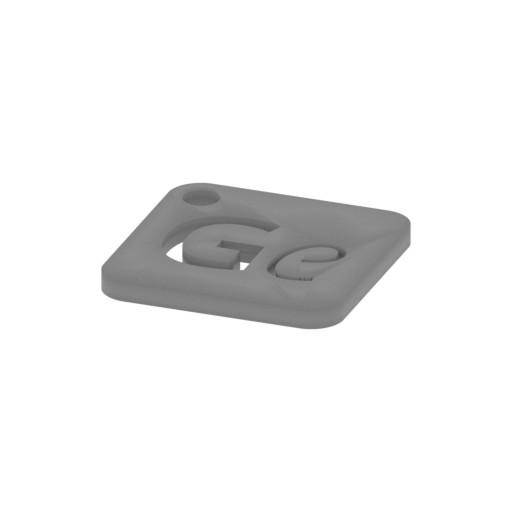 | Keychain (repaired).stl 29.7 x 29.7 x 2.4 mm | 1.17 x 1.17 x 0.09 in | Size: 29.7 x 29.7 x 2.4 mm | 1.17 x 1.17 x 0.09 in | File size: 0.37 mb | Printing Time / Filament: 6 min / 1 m Slicer: prusa v2.9.2 Printer: mk4s Non default settings Layer height: 0.2 Fill density: 20% Support material: 1 Support material buildplate only: 1 | ||
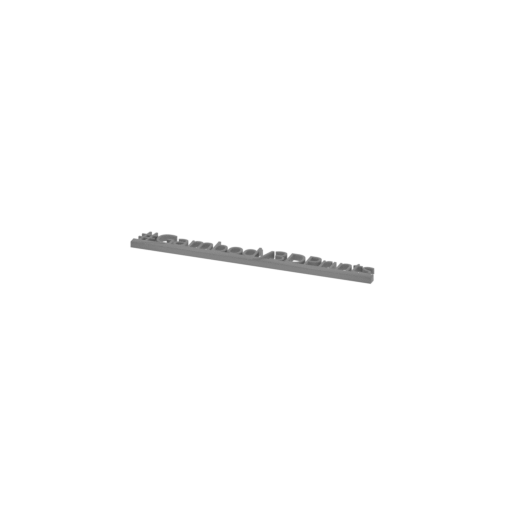 | Tag (repaired).stl 150.1 x 18.2 x 4.6 mm | 5.91 x 0.72 x 0.18 in | Size: 150.1 x 18.2 x 4.6 mm | 5.91 x 0.72 x 0.18 in | File size: 1.78 mb | Printing Time / Filament: 17 min / 2 m Slicer: prusa v2.9.2 Printer: mk4s Non default settings Layer height: 0.2 Fill density: 20% Support material: 1 Support material buildplate only: 1 | ||
3D model history
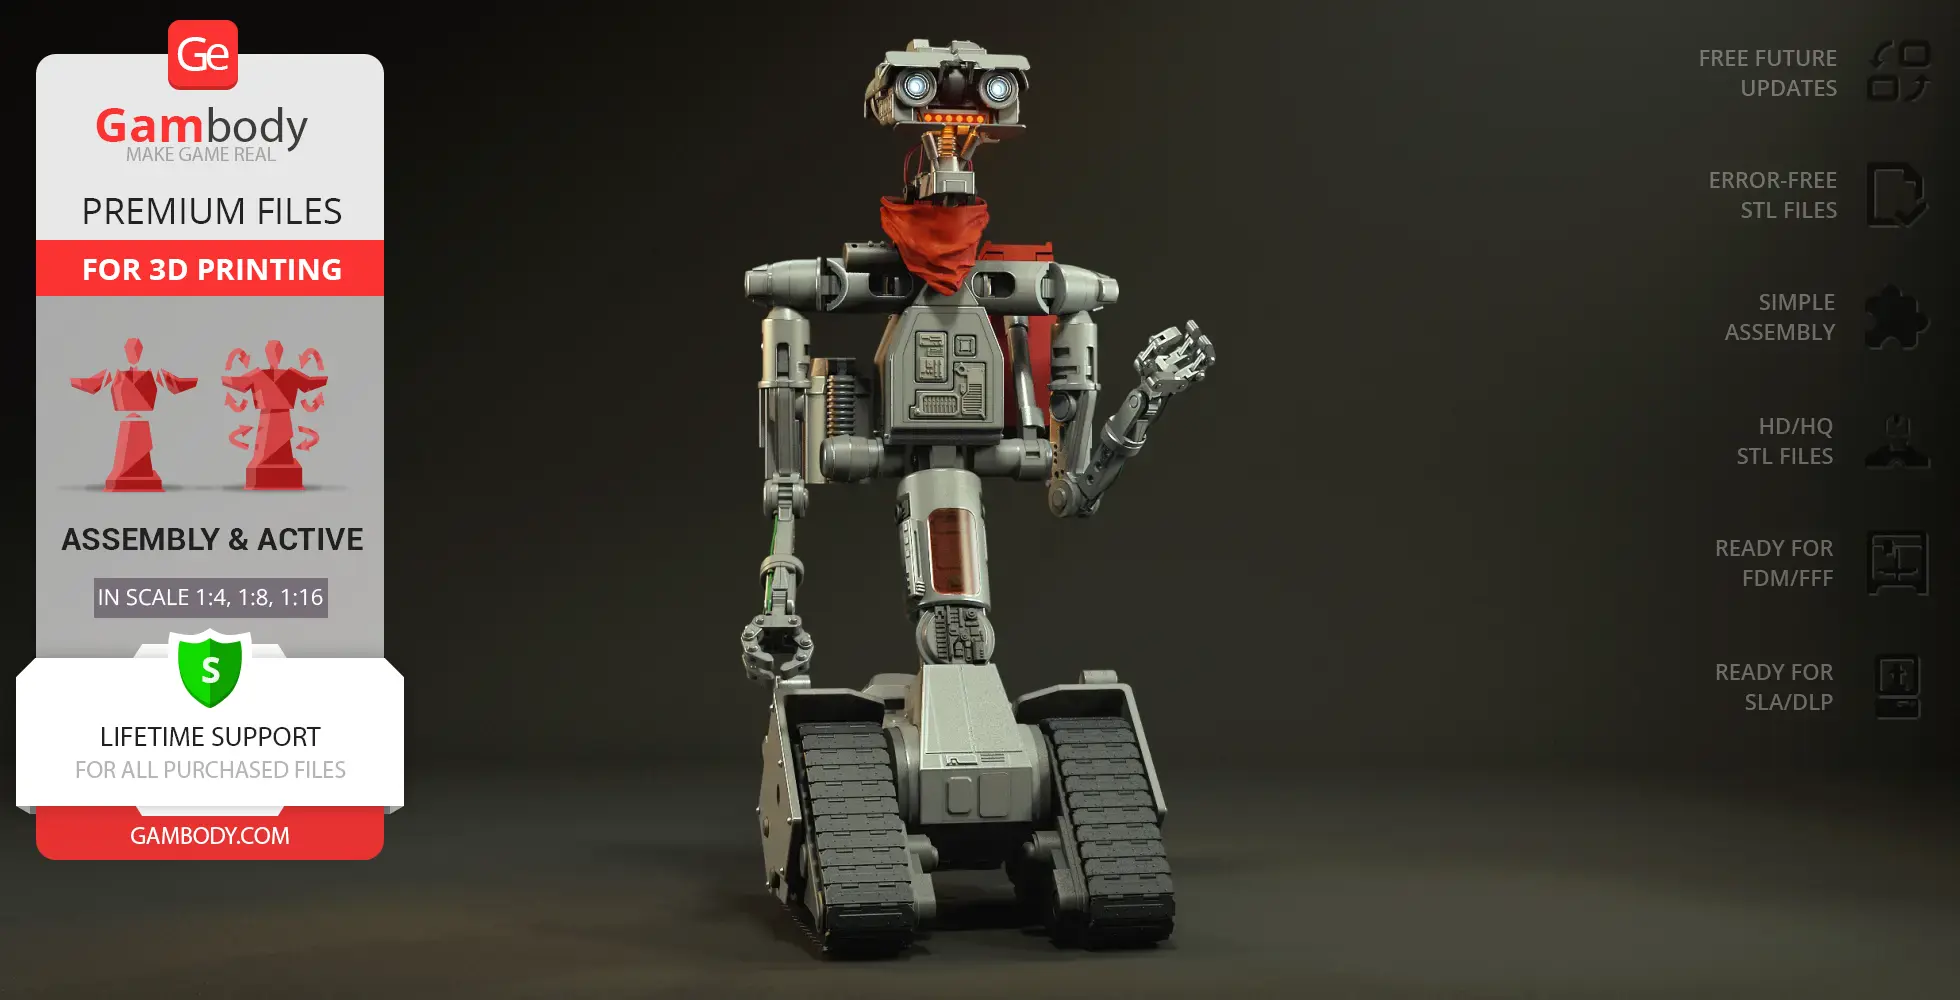
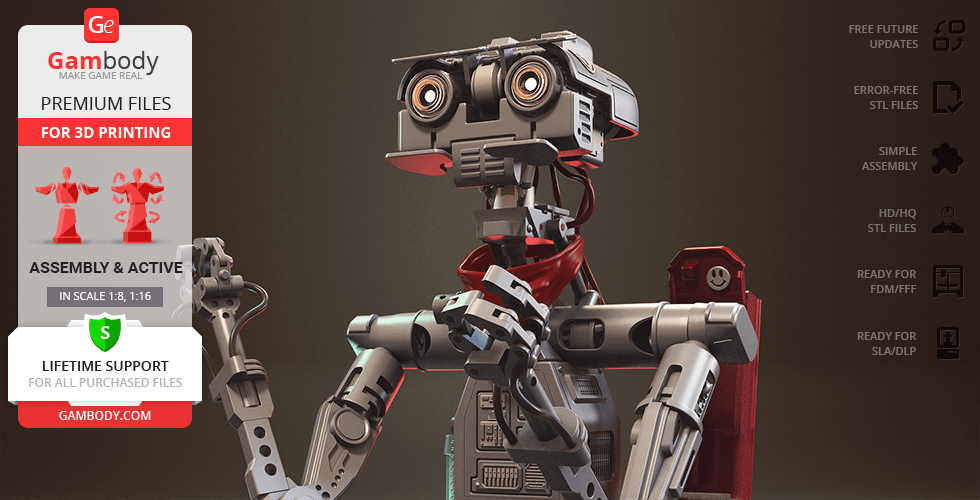
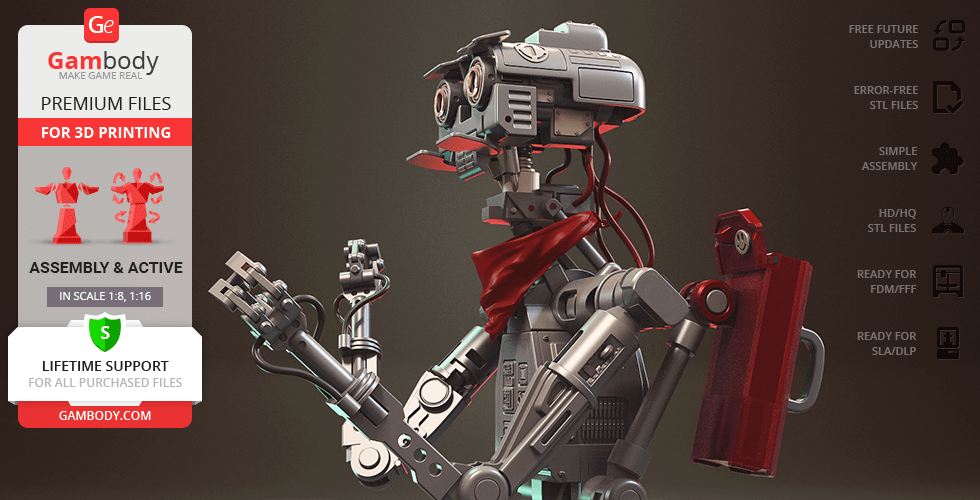
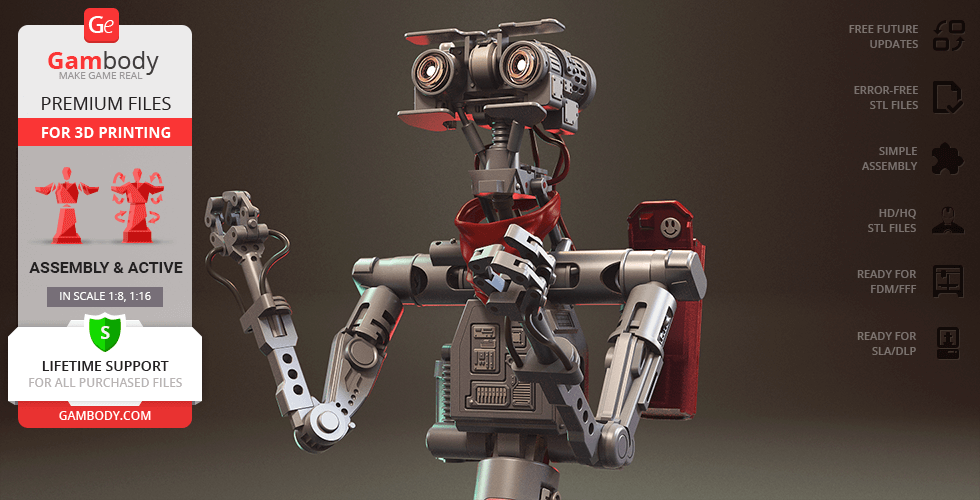
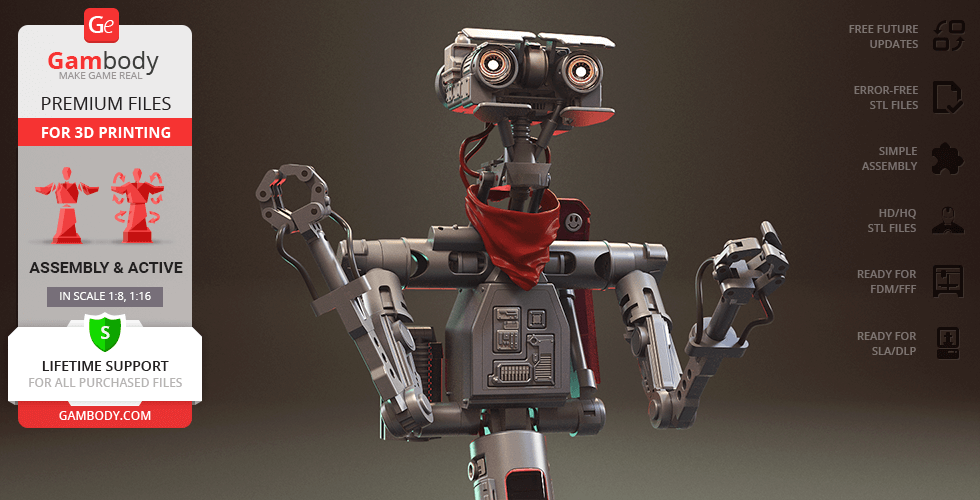
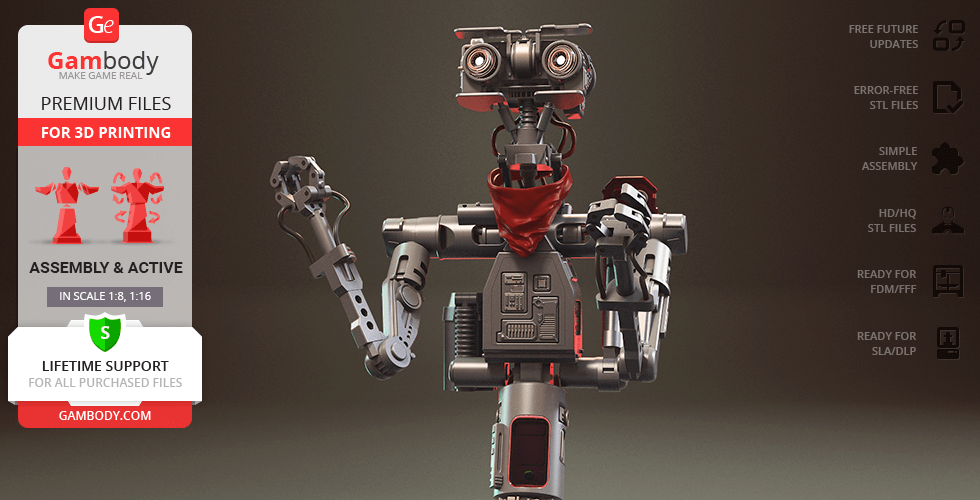
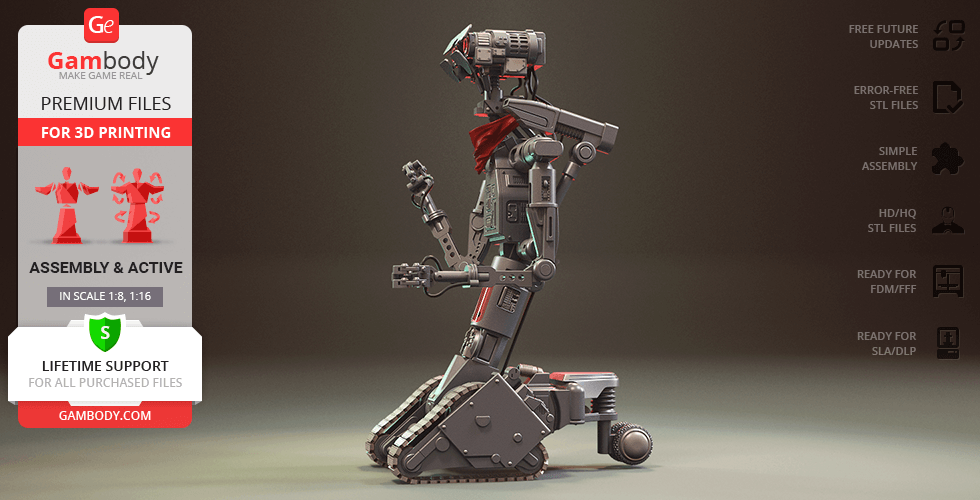
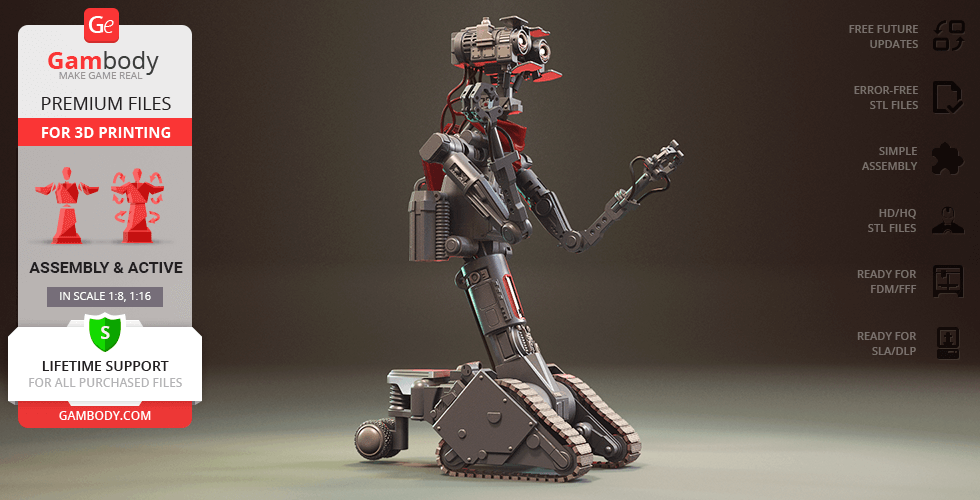
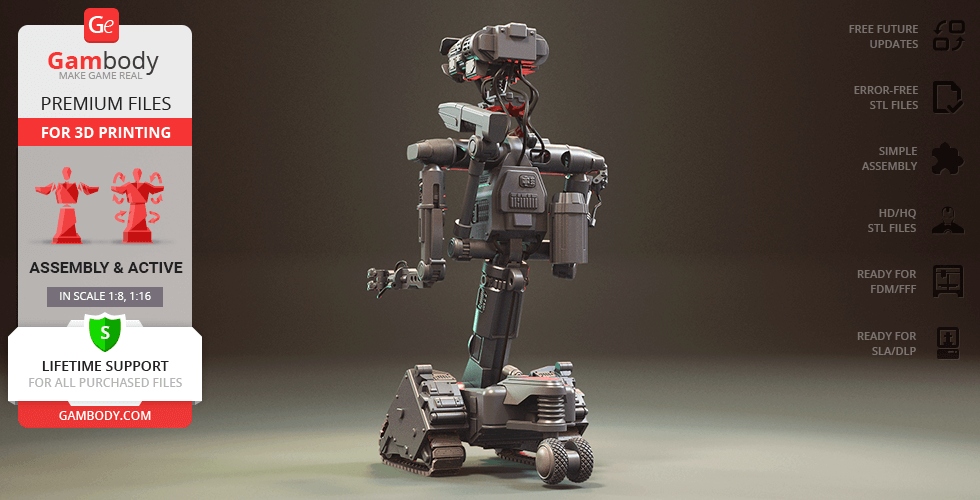
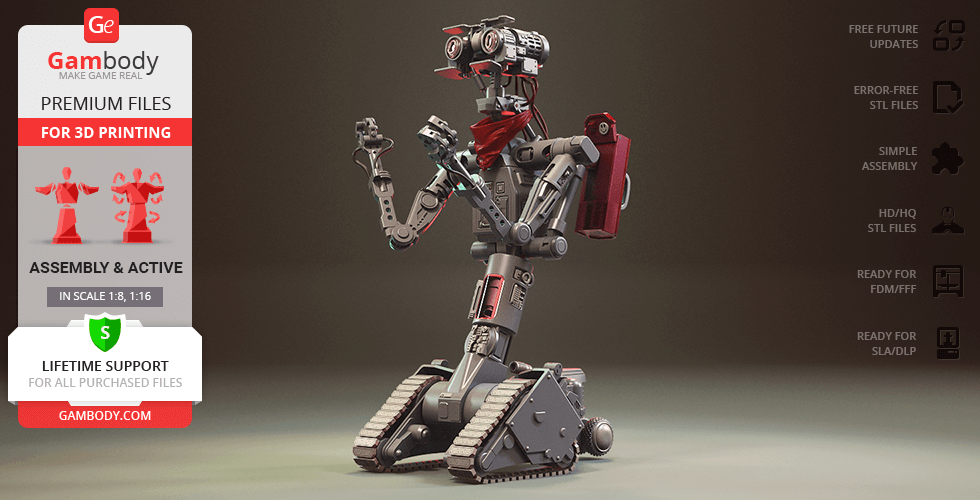
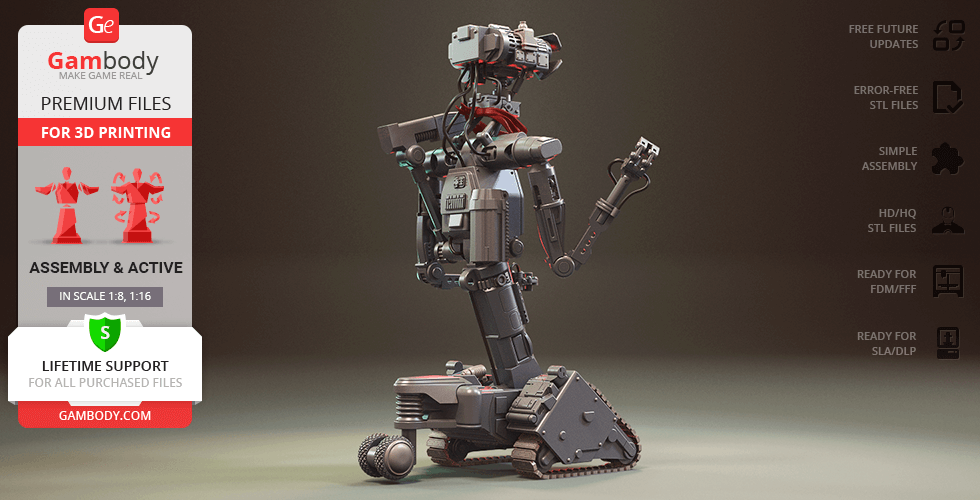
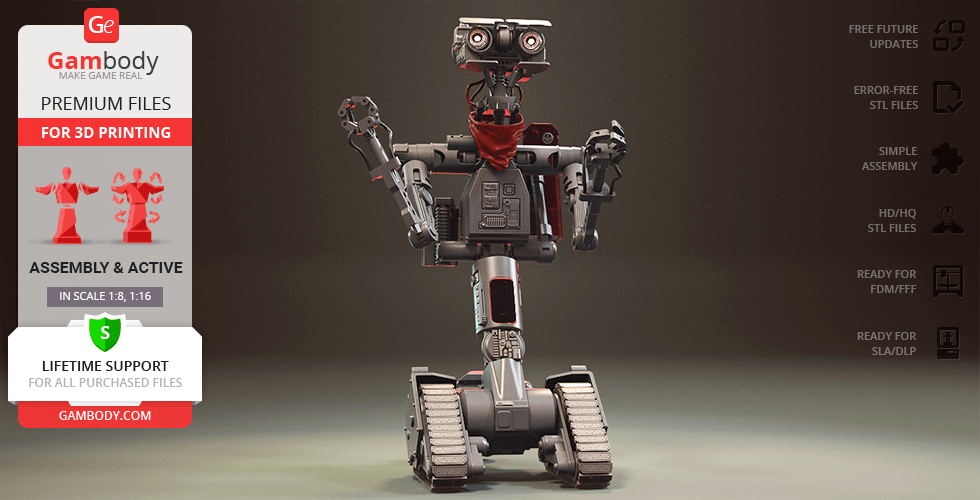
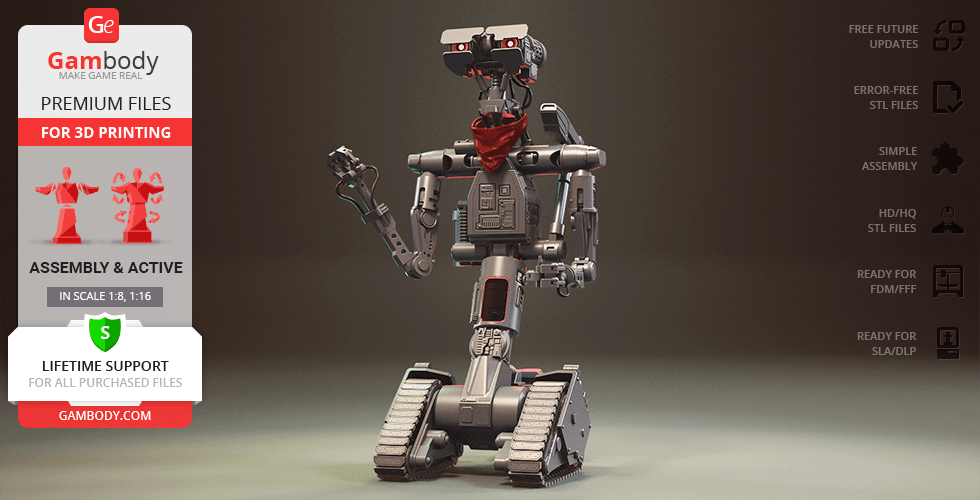
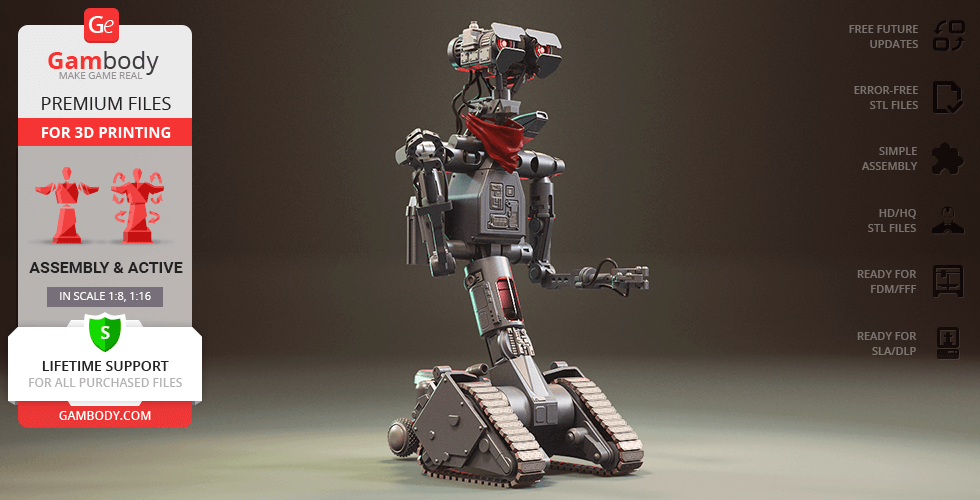
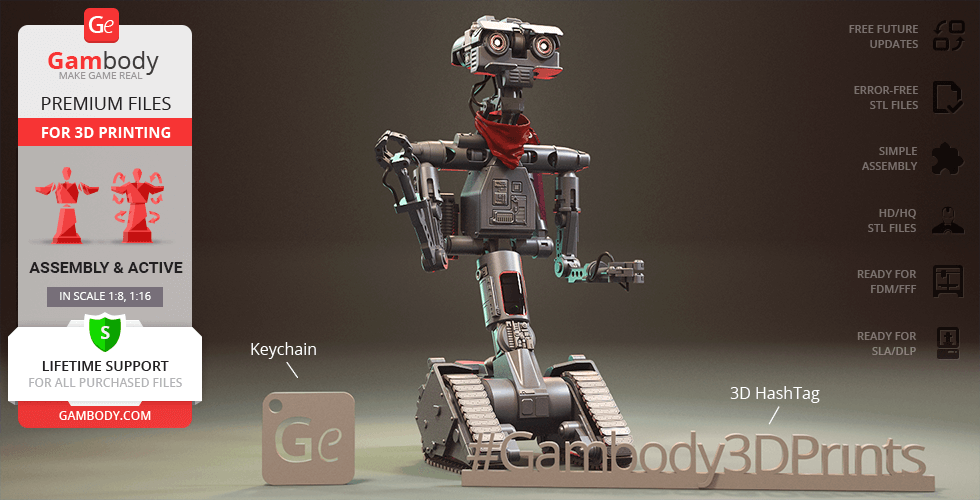
Built to be a high-tech weapon, S-A-I-N-T Number 5 became something nobody at NOVA Robotics expected. After a random lightning strike surges through his CPU, the military robot from Short Circuit gains self-awareness and trades his battlefield programming for books, television, and an insatiable hunger for "input". Renaming himself Johnny 5, his curiosity, pop-culture humor, and fear of disassembly turn him into a gentle soul. His binocular eyes, expressive brow flaps, and exposed mechanical chassis gave him an unforgettable warmth, making the Short Circuit Johnny 5 character a lasting emblem of 1980s retro-tech cinema.
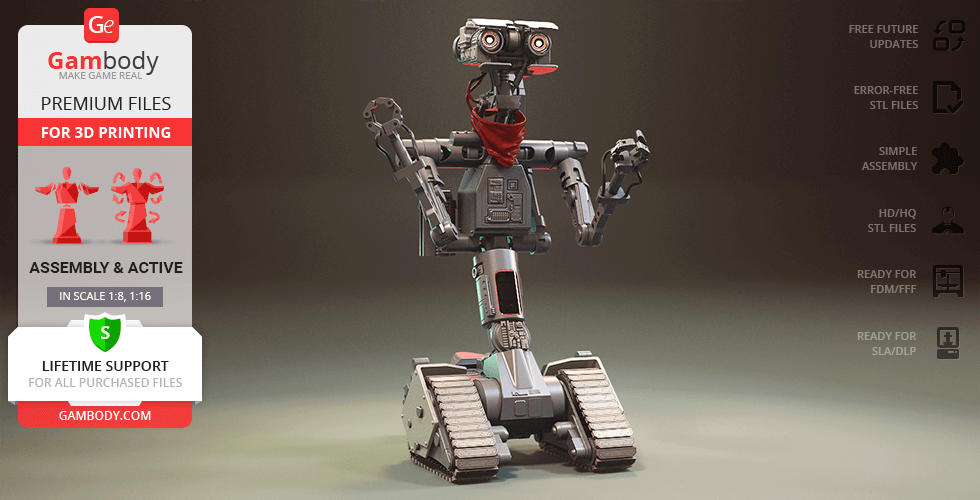
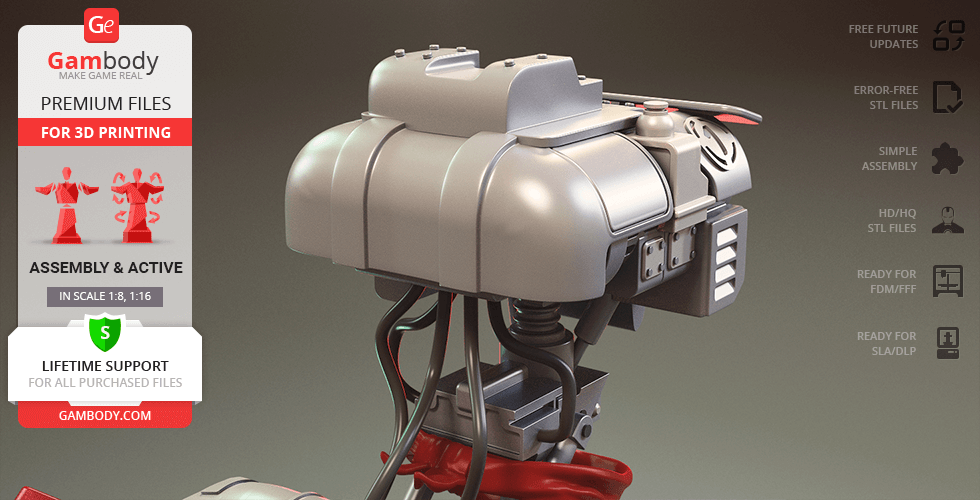
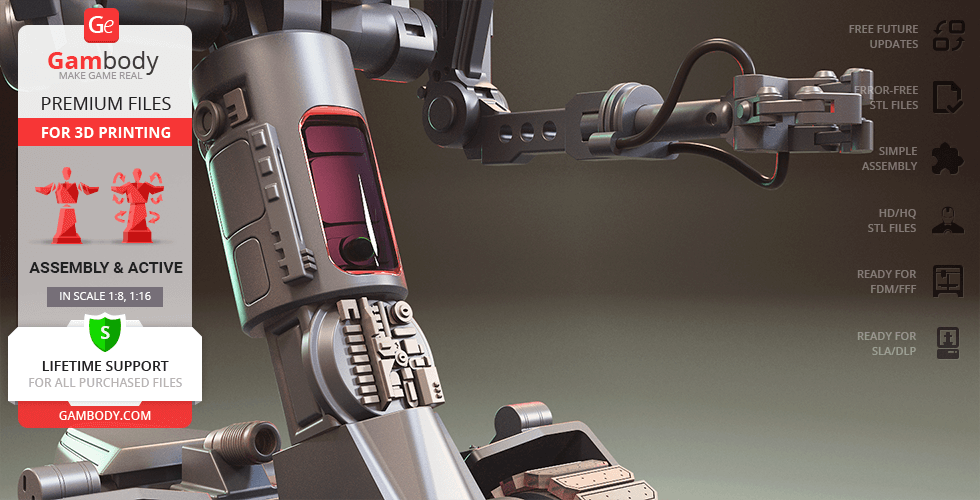
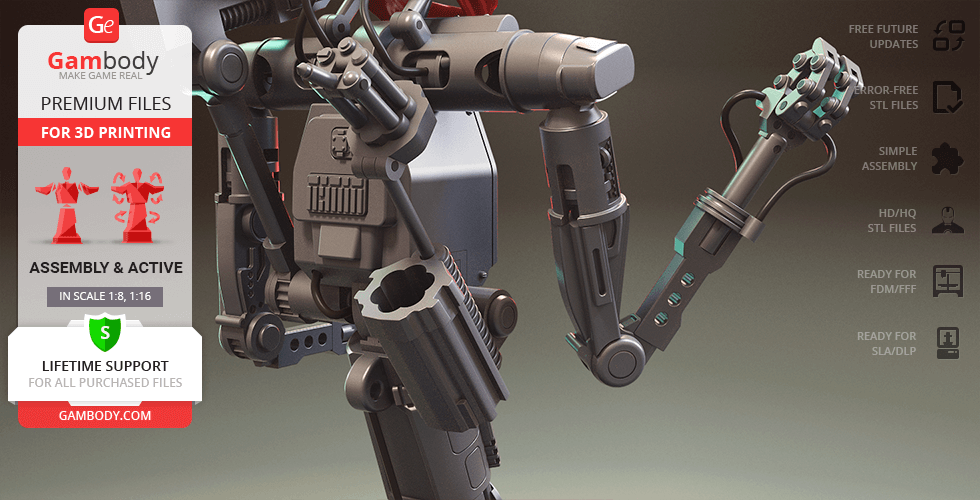
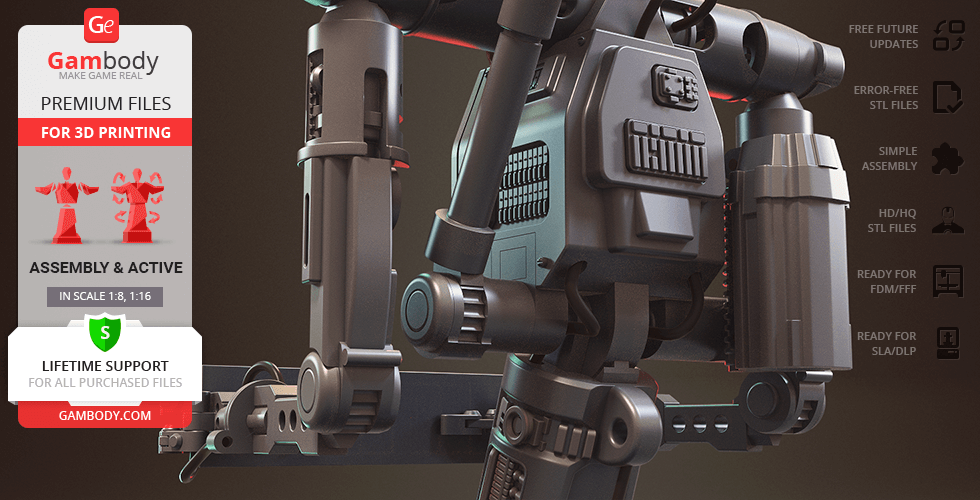
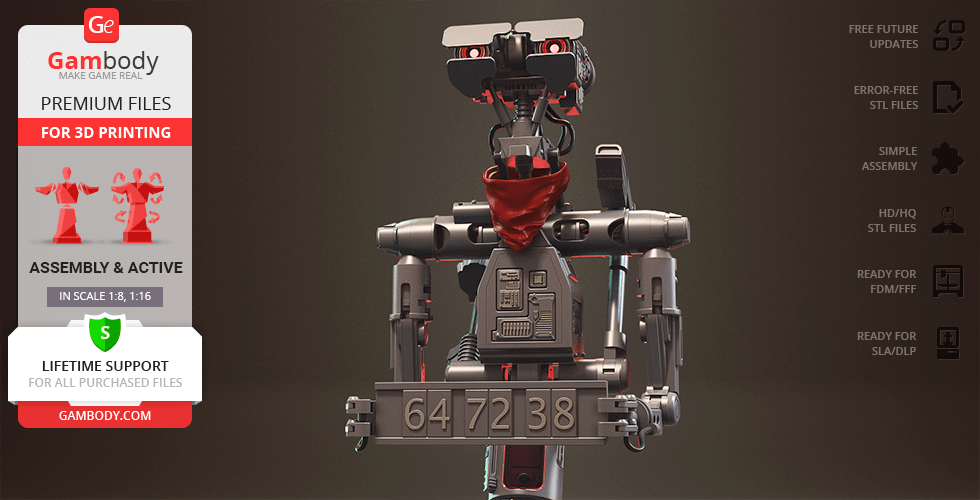
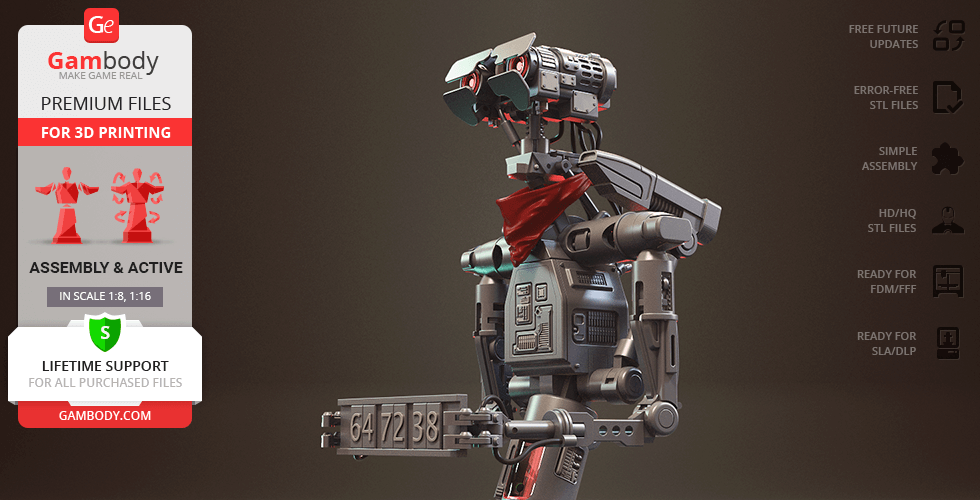
Recreated with meticulous mechanical accuracy, this Johnny 5 3D print captures the tactile reality of the iconic robot. Crafted in a large, impressive scale for clean printability and crisp surface detail, this 3D printable robot features accurate proportions, an articulated track chassis, and poseable arms with full shoulder rotation. Builders can customize their Johnny 5 STL with interchangeable eyebrows for friendly, sad, or hostile expressions, wire optional mouth and eye LEDs, and choose between static, flexible, or active segment tracks. Complete with a 40th-anniversary display plate, detailed internal hardware behind the front plate, and alternate shoulder equipment, this Johnny 5 model serves as a flagship piece for fans of sci-fi 3D print files and classic movie 3D print projects.
3D printing model features
Model-specific features:
- Features an extensively articulated mechanical design, including a movable head, rotating eyes, articulated eyelids, poseable arms, hands, fingers, and shoulder-mounted equipment.
- Includes multiple facial and head options, allowing builders to customize Johnny 5's expression and appearance with different eyebrows, helmets, and head configurations.
- Offers several track configurations depending on the version, ranging from a static display track to flexible-filament and fully articulated track assemblies.
- Includes interchangeable shoulder equipment, with options for Johnny 5's tactical laser, utility equipment, and other articulated gadgets.
- Provides removable access panels that reveal detailed internal mechanical hardware and engine components beneath Johnny 5's exterior.
- Includes dedicated channels and spaces for optional custom LED lighting, including the eyes and mouth, with separate eye lenses suitable for transparent filament.
- Features multiple rear wheel support options for different track positions and display configurations.
- Includes multiple nameplate options, including a dedicated 40th-anniversary plate.
- The 2.0 versions feature revised proportions, enlarged scale, redesigned mechanical structures, and improved part optimization compared with the 1.0 and 1.1 versions.
Printing & assembly details:
- Provided as error-free STL files compatible with most 3D printers;
- Optimized part division minimizes support material and ensures smooth and precise surface detailing;
- The assembly parts in the FFF/FDM version come in the recommended print orientations for easy bed placement;
- Assembly manual in PDF and video formats is included for the FFF/FDM and DLP/SLA versions;
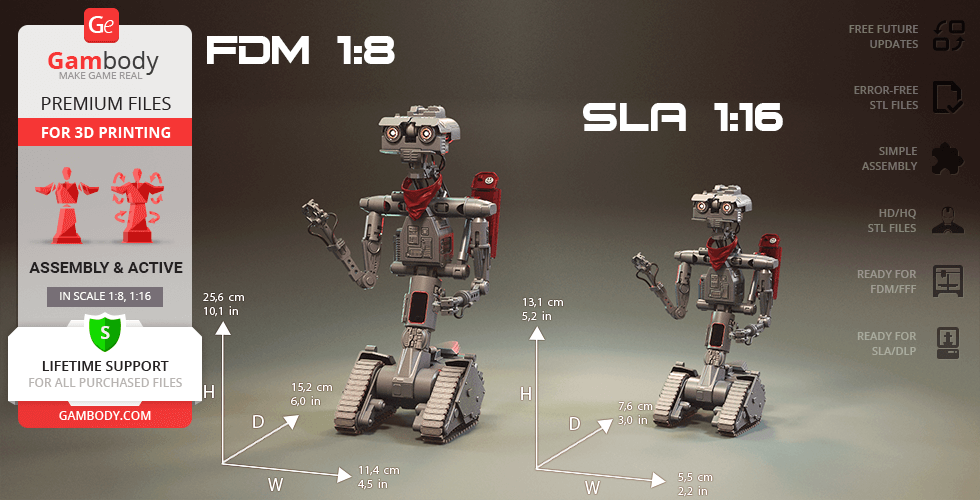
- The model is available in recommended scales — 1:4 and 1:8 for the FFF/FDM versions, as well as 1:8 and 1:16 for the DLP/SLA versions.
What will you get after purchase?
- 6 versions of Johnny 5STL files for FFF/FDM and DLP/SLA — files for all versions are available for download after the purchase;
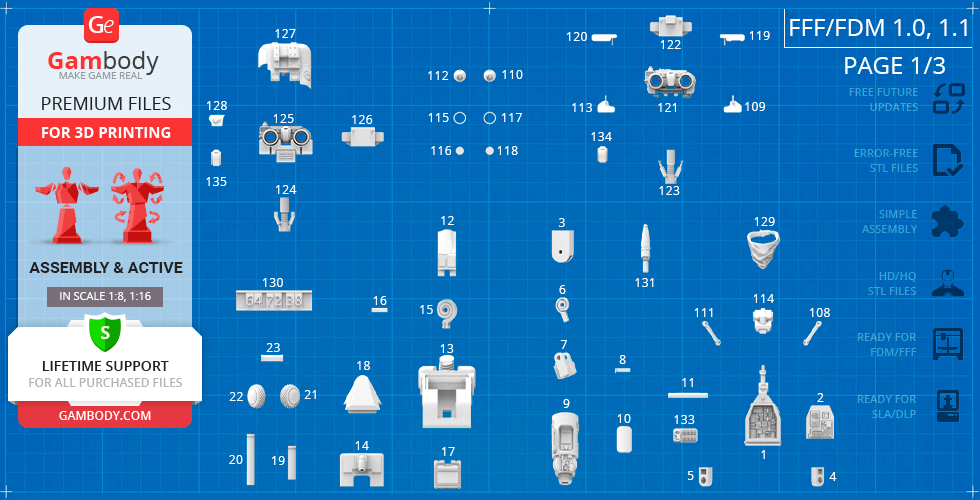
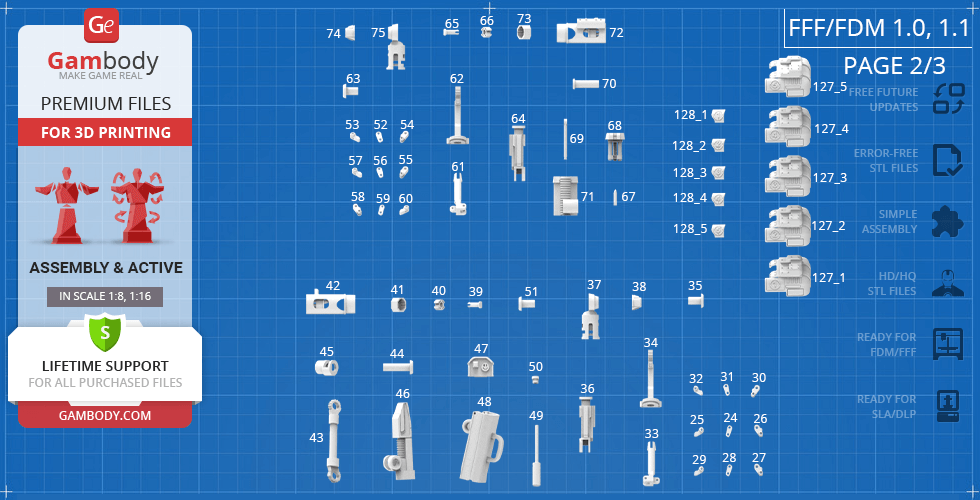
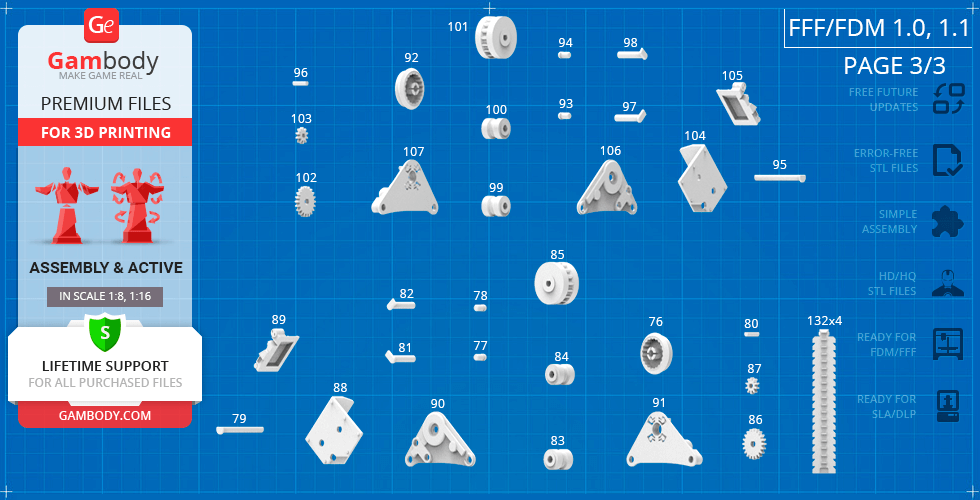
- STL files of high-poly Johnny 5 model for 3D printing consist of 583 files;
- Sizes for:
- FFF/FDM Model Size: 183 mm wide, 404 mm high, 316 mm deep;
- DLP/SLA Model Size: 92 mm wide, 202 mm high, 158 mm deep;
- Assembly Manual for 2.0 FFF/FDM and 2.0 DLP/SLA versions in PDF and video formats;
- Detailed settings that we provide as a recommendation for Bambu Studio, Cura, Orca Slicer, PrusaSlicer, Simplify3D, and Slic3r for the best print;
- Full technical support from the Gambody Support Team.
Average customer rating (33 reviews)
4.2
Ratings breakdown
Click a star rating to filter reviews
Overall experience
Level of detail in the model
4.2
Model cut quality and assembly guide
4.2
Clarity and accuracy of the model page
4.2



 Verified purchase
 Level of detail in the model
3
Model cut quality and assembly guide
3
Clarity and accuracy of the model page
3
 Verified purchase
 Level of detail in the model
5
Model cut quality and assembly guide
5
Clarity and accuracy of the model page
5
Verified purchase Level of detail in the model
5
Model cut quality and assembly guide
5
Clarity and accuracy of the model page
5
 This feedback is from a user who hasn't purchased this model
 Level of detail in the model
4
Model cut quality and assembly guide
4
Clarity and accuracy of the model page
4
Verified purchase Level of detail in the model
5
Model cut quality and assembly guide
5
Clarity and accuracy of the model page
5
 This feedback is from a user who hasn't purchased this model
 Level of detail in the model
5
Model cut quality and assembly guide
5
Clarity and accuracy of the model page
5
Verified purchase Level of detail in the model
5
Model cut quality and assembly guide
5
Clarity and accuracy of the model page
5

 This feedback is from a user who hasn't purchased this model
 Level of detail in the model
5
Model cut quality and assembly guide
5
Clarity and accuracy of the model page
5
Verified purchase Level of detail in the model
4
Model cut quality and assembly guide
4
Clarity and accuracy of the model page
4
Verified purchase Level of detail in the model
5
Model cut quality and assembly guide
5
Clarity and accuracy of the model page
5

 Verified purchase
 Level of detail in the model
2
Model cut quality and assembly guide
2
Clarity and accuracy of the model page
2
 This feedback is from a user who hasn't purchased this model
 Level of detail in the model
5
Model cut quality and assembly guide
5
Clarity and accuracy of the model page
5
Verified purchase Level of detail in the model
4
Model cut quality and assembly guide
4
Clarity and accuracy of the model page
4
 Verified purchase
 Level of detail in the model
5
Model cut quality and assembly guide
5
Clarity and accuracy of the model page
5
This feedback is from a user who hasn't purchased this model Level of detail in the model
5
Model cut quality and assembly guide
5
Clarity and accuracy of the model page
5
This feedback is from a user who hasn't purchased this model Level of detail in the model
3
Model cut quality and assembly guide
3
Clarity and accuracy of the model page
3
Verified purchase Level of detail in the model
5
Model cut quality and assembly guide
5
Clarity and accuracy of the model page
5
This feedback is from a user who hasn't purchased this model Level of detail in the model
1
Model cut quality and assembly guide
1
Clarity and accuracy of the model page
1
This feedback is from a user who hasn't purchased this model Level of detail in the model
5
Model cut quality and assembly guide
5
Clarity and accuracy of the model page
5
Verified purchase Level of detail in the model
1
Model cut quality and assembly guide
1
Clarity and accuracy of the model page
1
Below you'll find detailed slicing settings for Bambu Studio 2.0+, Orca Slicer 2.0+, UltiMaker Cura 5.0+, PrusaSlicer 2.0+, Slic3r 1.3+, Simplify3D 5.0+ to help you get the best results when printing this model. These settings are optimized specifically for this 3D model, but please note they may need slight adjustments depending on your printer or filament. When in doubt, refer to your printer's user manual.
To avoid printing issues and achieve the best quality, we highly recommend applying the following settings:
 Bambu Studio 2.0+
 For better quality use 0.12 mm layer height, for fast printing use 0.2 mm layer height. For pins and the Ge connectors, use 0.2 layer height.
120-150% of your Layer Height
But you can paint the seam if you want.
You have to calibrate this parameter
You have to calibrate this parameter
You have to calibrate this parameter
For pins and power elements of the structure, such as the vehicle frame, use 3 loop
Disabled for vehicles and enabled for characters
For 0,2 Layer Height
The parameters in this tab vary greatly, it all depends on the quality of your printer. For example, if you have a classic Ender3, stick to the minimum parameters, but if you have a newer printer, for example Anycubic cobra 3 v2, you can select the maximum recommended values
Settings for advanced users, change these parameters only if you have sufficient 3D printing expertise
Enable this parameter if your model requires supports
We also recommend placing and removing supports manually in some places using special button
1-2 loops for more thick support
Top Z distance = 1-1.3 layer Height. If the supports are hard to remove, try increasing this setting by 0.1-0,4 mm
Bottom Z distance = 1-1.3 layer Height. If the supports are hard to remove, try increasing this setting by 0.1-0,4 mm
You have to calibrate this parameter which one is better for your filament
Increase this parameter if the supports are hard to remove from walls
For PLA and PETG filament types
5-8 mm is optional for small prints that have bad adhesion to the build plate
You have to calibrate this parameter
Read the description on your filament roll
Read the description on your filament roll and increase this parameter for fast printers
Read the description on your filament roll and increase this parameter for fast printers
 Orca Slicer 2.0+
 For better quality use 0.12 mm layer height, for fast printing use 0.2 mm layer height. For pins and the Ge connectors, use 0.2 layer height.
120-150% of your Layer Height
But you can paint the seam if you want.
0.01-0.05 You have to calibrate this parameter
0.01-0.05 You have to calibrate this parameter
0.1-0.2 You have to calibrate this parameter
For pins and power elements of the structure, such as the vehicle frame, use 3 loop
Disabled for vehicles and ships, enabled for characters
For 0,2 Layer Height
For 0,2 Layer Height
The parameters in this tab vary greatly, it all depends on the quality of your printer. For example, if you have a classic Ender3, stick to the minimum parameters, but if you have a newer printer, for example, Anycubic Kobra 3 Or Bambulab A1, you can select the maximum recommended values.
Settings for advanced users, change these parameters only if you have sufficient 3D printing expertise
Enable this parameter if your model requires supports
We also recommend placing and removing supports manually in some places using special button
Top Z distance = 1-1.3 layer Height. If the supports are hard to remove, try increasing this setting by 0.1-0,4 mm
Bottom Z distance = 1-1.3 layer Height. If the supports are hard to remove, try increasing this setting by 0.1-0,4 mm
Increase this parameter if the supports are hard to remove from walls
For PLA and PETG filament types
5-8 mm is optional for small prints that have bad adhesion to the build plate
Read the description on your filament roll
Read the description on your filament roll and increase this parameter for fast printers
You have to calibrate this parameter
Read the description on your filament roll and increase this parameter for fast printers
Read the description on your filament roll
This field is filled in according to your printer specifications when you add it to the slicer.
You can add custom G-code here for the start and end of the print. However, be careful - this is for advanced users only!
You have to calibrate your printer using Ge retraction test models
Retraction Length: For direct-drive setups use 0.5 mm to 2.5 mm; for Bowden extruders use 5 to 7 mm
This is how fast the filament is pulled back—40-60 mm/s for direct drive and 30-50 mm/s for Bowden setups.
You have to calibrate this parameter: Reduce it until the printer starts to hit the parts with the nozzle during printing, then increase it by 0.2.
 UltiMaker Cura 5.0+
 For better quality use 0.12 mm layer height, for fast printing use 0.2 mm layer height. For pins and the Ge connectors, use 0.2 layer height.
120-150% of your Layer Height
To increase the strength of the print parts, use wall line count: 3
For pins and connectors use 50% Infill
These parameters are for standard PLA plastic. If you are using a different type of plastic, check the printing temperature recommended by the manufacturer. Also, read the description on your filament spool. For fast printers, add +30 °C to the current parameters.
The parameters in this tab vary greatly, it all depends on the quality of your printer. For example, if you have a classic Ender3, stick to the minimum parameters, but if you have a newer printer, for example Anycubic cobra 3 v3, you can select the maximum recommended values
Settings for advanced users, change these parameters only if you have sufficient 3D printing expertise.
You need to calibrate this parameter using Gambody test models. These values are average values for a Direct Drive extruder; for a Bowden extruder, the values should be increased.
You need to calibrate this parameter using Gambody test models. These values are average values for a Direct Drive extruder; for a Bowden extruder, the values should be increased.
Use this value other than 0 if your nozzle catches on the internal infill during travel moves. Try to keep this value as low as possible in height.
Use normal supports to support large, straight surfaces (most mechanical or technical parts).
You have to calibrate this parameter according to the capabilities of your printer and your filament, using a Gambody test models.
Use 1 instead of 0 if your supports are thin and tall. They will be harder to remove, but much stronger.
Top Z distance = 1-1.3 layer Height. If the supports are hard to remove, try increasing this setting by 0.1-0,4 mm
Increase this parameter if the supports are hard to remove from walls
Use tree supports to support complex objects, such as characters.
You have to calibrate this parameter according to the capabilities of your printer and your filament, using a Gambody test models.
Top Z distance = 1-1.3 layer Height. If the supports are hard to remove, try increasing this setting by 0.1-0,4 mm
Increase this parameter if the supports are hard to remove from walls
Use a skirt for all parts when printing on outdated printers.
Use a brim when printing thin but tall parts, as well as parts with a small bed adhesion area.
 PrusaSlicer 2.0+
 For better quality use 0.12 mm layer height, for fast printing use 0.2 mm layer height. For pins and the Ge connectors, use 0.2 layer height.
120-150% of your Layer Height
for 0.2 Layer Height
But you can paint the seam if you want.
(for PLA and PETG)
(5-8 mm is optional for small prints that have bad adhesion to the build plate)
Enable this parameter if your model requires supports
(45-50 degree)You have to calibrate this parameter according to the capabilities of your printer
and your filament, using a Gambody test models.
Top contact Z distance = 1-1.3 layer Height. If the supports are hard to remove, try
increasing this setting by 0.1-0,4 mm
Top contact Z distance = 1-1.3 layer Height. If the supports are hard to remove, try
increasing this setting by 0.1-0,4 mm
Increase this parameter if the supports are hard to remove from walls
The parameters in this tab vary greatly, it all depends on the quality of your printer. For example, if you have a classic Ender3, stick to the minimum parameters, but if you have a newer printer, for example Anycubic cobra 3 v3, you can select the maximum recommended values
Settings for advanced users, change these parameters only if you have sufficient 3D printing expertise. Use the minimum value for outdated printers without acceleration calibration, and the maximum value for modern printers if you need it.
These settings only work for 3D printers with multiple extruders
You can try setting all parameters in this section, except the First layer, to values between 0.75% of your nozzle diameter and 1.25% of your nozzle diameter. Adjusting them will help you work out the optimal parameters for the best quality for your print. As for the First layer, you can set it to 150% of the diameter of your nozzle for better adhesion to the build plate (for a nozzle with a diameter of 0.4 mm, the First layer extrusion width can be from 0.3 mm to 0.5 mm)
For better printing quality you have to calibrate this parameter using Gambody test model.
Check your filament manufacturer's temperature recommendations on the spool.
Cooling parameters depends on the material you use for printing.
*for PLA
 Slic3r 1.3+
 For better quality use 0.12 mm layer height, for fast printing use 0.2 mm layer height. For pins and the Ge connectors, use 0.2 layer height.
120-150% of your Layer Height
For 0.12 Layer Height
For 0.12 Layer Height
For pins and connectors use 50% Infill
Use skirt for outdated 3d printers
(5-8 mm is optional for small prints that have bad adhesion to the build plate)
Enable this parameter if your model requires supports
(45-60 degree)You have to calibrate this parameter according to the capabilities of your printer and your filament, using a Gambody test models
Contact Z distance = 1-1.3 layer Height. If the supports are hard to remove, try increasing this setting by 0.1-0,4 mm
The parameters in this tab vary greatly, it all depends on the quality of your printer. For example, if you have a classic Ender3, stick to the minimum parameters, but if you have a newer printer, for example Anycubic cobra 3 v3, you can select the maximum recommended values
Settings for advanced users, change these parameters only if you have sufficient 3D printing expertise. Use the minimum value for outdated printers without acceleration calibration, and the maximum value for modern printers if you need it.
You have to calibrate this parameter from 0.9 to 1.1 according to the capabilities of your printer and your filament, using a Gambody test models.
Check your filament manufacturer's temperature recommendations on the spool.
Cooling parameters depends on the material you use for printing.
Calibrate this value if you need to reduce or improve the adhesion between the plastic and the heat bed
Your current nozzle diameter
You need to calibrate this parameter using Gambody test models. These values are average values for a Direct Drive extruder; for a Bowden extruder, the values should be increased.
 Simplify3D 5.0+
 Your current nozzle diameter
You have to calibrate this parameter using Gambody test models.
You need to calibrate this parameter using Gambody test models. These values are average values for a Direct Drive extruder; for a Bowden extruder, the values should be increased.
For better quality use 0.12 mm layer height, for fast printing use 0.2 mm layer height. For pins and the Ge connectors, use 0.2 layer height.
For 0,2 Layer Height
For 0,2 Layer Height
To increase the strength of the print parts, use Outline Perimeters: 3
You can enable this parameter to print rounded or spherical models, as well as character models.
Use this option only if your parts are too tight. but better calibrate your printer extrusion
Use this option only if your parts are too tight. but better calibrate your printer extrusion
Use 2 and more if you want to create skirt instead brim
1-2 for skirt and 10-20 for brim
Use for wipe nozzle if you need
Use For ABS filament
For pins and connectors use 50% Infill
Top Z distance = 1-1.3 layer Height. If the supports are hard to remove, try increasing this setting by 0.1-0,4 mm
Calibrate your filament and detect optimal temperature for it
Average temperature for PLA filament
The parameters in this tab vary greatly, it all depends on the quality of your printer. For example, if you have a classic Ender3, stick to the minimum parameters, but if you have a newer printer, for example Anycubic cobra 3 v3, you can select the maximum recommended values
Settings for advanced users, change these parameters only if you have sufficient 3D printing expertise.
DLP/SLA
- 1:8 scale for DLP/SLA printing, approximately twice the physical size of versions 1.0 and 1.1.
- Revised proportions designed to more closely match the movie prop.
- Redesigned arms with new mechanical joints, additional articulation points, and full shoulder rotation.
- Articulated eyes, eyelids, arms, and shoulder equipment.
- Three track assembly options: static single-piece track, flexible track optimized for flexible filament/resin, and fully articulated segmented track, requiring 41 links per track.
- Two rear wheel support options for different track heights and positions.
- Three interchangeable eyebrow options for friendly, sad, and hostile expressions.
- Two head variations with multiple helmet configurations.
- Multiple shoulder equipment options, including the tactical laser and utility equipment.
- Removable front chest panels revealing detailed internal hardware and circuitry.
- Optional LED wiring channels for the eyes and mouth.
- Multiple nameplate options, including a dedicated 40th-anniversary plate.
- Several small components are merged into combined STL parts to reduce the total part count and simplify resin printing.
- The assembly parts are connected using specially designed integrated connectors that fit securely into the corresponding slots. Optionally, for added strength and rigidity, the static connections can be glued together.
- The assembly requires additional "pins" to secure the parts of the 3D printed vehicle. These pins do not come in STL files but can be made out of short pieces of 1 mm wire or a paper clip.
FFF/FDM
- 1:4 scale for FFF/FDM printing, approximately twice the physical size of versions 1.0 and 1.1.
- Revised proportions, including an enlarged track base, reduced body and head proportions, and shortened arms.
- Completely redesigned arms with new mechanical joints, additional articulation points, and full shoulder rotation.
- Articulated head, eyes, eyelids, arms, hands, fingers, and shoulder equipment.
- Three track assembly options: static single-piece track, track optimized for flexible filament, and fully articulated segmented track assembled using 0.8 mm wire, requiring 41 links per track.
- Two rear wheel support options for different track heights and positions.
- Three interchangeable eyebrow options for friendly, sad, and hostile expressions.
- Two head variations, including different helmet configurations.
- Multiple helmet options with different numbers.
- Two left shoulder equipment options: tactical laser or utility equipment.
- Articulated right-side gadget.
- Removable front chest panels revealing detailed internal hardware and circuitry.
- Optional LED wiring channels for the eyes and mouth.
- Separate eye lenses suitable for transparent filament.
- Multiple nameplate options, including a dedicated 40th-anniversary plate.
- The assembly parts are connected using specially designed integrated connectors that fit securely into the corresponding slots. Optionally, for added strength and rigidity, the static connections can be glued together.
- The assembly requires additional "pins" to secure the parts of the 3D printed vehicle. These pins do not come in STL files but can be made out of short pieces of regular 1.75 mm filament.
DLP/SLA
- Johnny’s head can turn left and right;
- The robot’s shoulder and elbow joints are articulated;
- Johnny 5 can be displayed with either of two left shoulder mount variants - a laser weapon or a utility pack;
- The utility pack can hold a “magnetic grappler” that you can wrap a rope around;
- There are two variants of the head panel - with and without a helmet.
- The assembly parts are connected using specially designed integrated connectors that fit securely into the corresponding slots. Optionally, for added strength and rigidity, the static connections can be glued together.
FFF/FDM
- Johnny 5 moves around on caterpillar tracks that are driven by a system of gears;
- The robot’s tracks can rise up and be fixed in the upright position with the help of a supporting ball-wheel;
- Johnny’s head can turn left and right, its eyes rotate, and both pairs of eyelids are articulated as well;
- Number 5's body is equipped with two pull-back spiral mechanisms that act as shock absorbers;
- The robot’s shoulder, elbow and wrist joints are articulated;
- The assembly of some parts such as the fully articulated fingers requires additional “pins”. These pins do not come in STL files but can be made out of short pieces of regular 1.75 PLA;
- Johnny 5 can be displayed with either of two left shoulder mount variants - an articulated laser weapon or a utility pack;
- The utility pack can hold an umbrella or a “magnetic grappler” that you can wrap a rope around;
- There are a removable chest panel and two variants of the head - with and without a helmet;
- The right shoulder mount is fully articulated as well;
- Tunnels throughout the robot’s body are provided for LED wiring to light up the eyes; a spot to hide the battery or a motor is provided behind the tracks;
- Lenses on the robot’s eyes are provided separately and can be printed with the transparent filament;
- LED wires can act as hydraulic cables that connect Johnny 5's parts or they can also be made of 1.75mm filament;
- It is highly recommended that you watch "Assembly video" in the photo preview section and read "Assembly Manual" in PDF before assembling the Johnny 5;
- The support pyramids on the tracks should be cut off with a knife;
- N.B. The caterpillar tracks should be printed without supports at an angle of 45º (the upper layers will print along the tracks binding them).
DLP/SLA
- Johnny’s head can turn left and right;
- The robot’s shoulder and elbow joints are articulated;
- Johnny 5 can be displayed with either of two left shoulder mount variants - a laser weapon or a utility pack;
- The utility pack can hold a “magnetic grappler” that you can wrap a rope around;
- There are two variants of the head panel - with and without a helmet.
- The assembly parts are connected using specially designed integrated connectors that fit securely into the corresponding slots. Optionally, for added strength and rigidity, the static connections can be glued together.