


This should take overall.

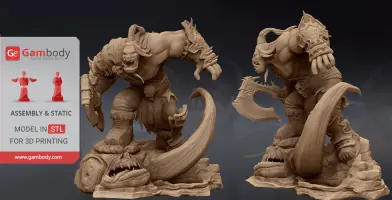
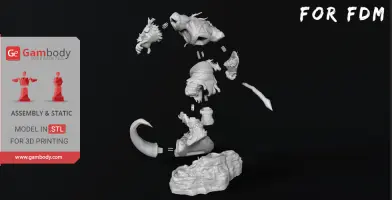
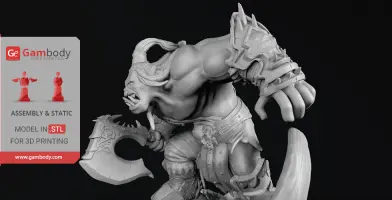
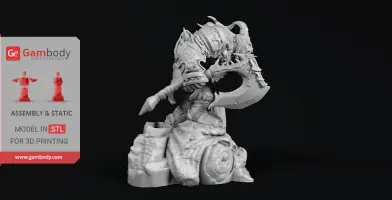
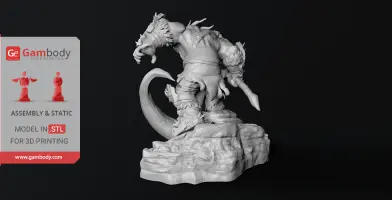
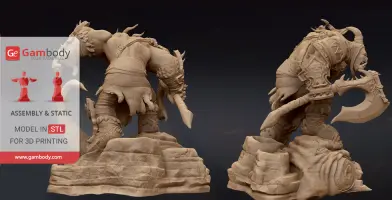
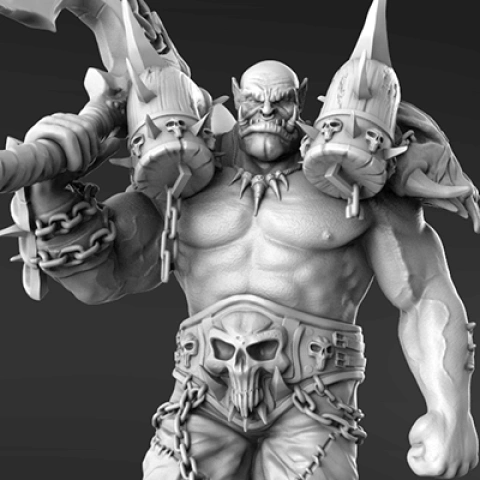
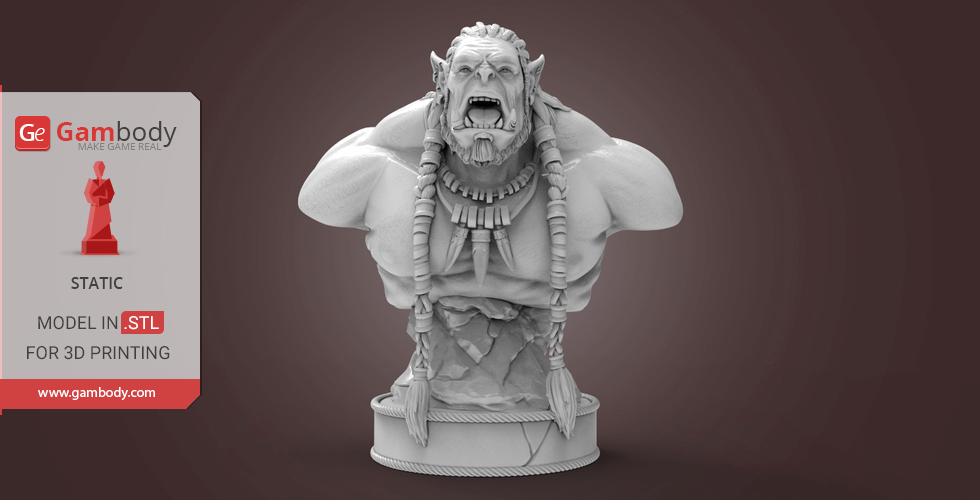
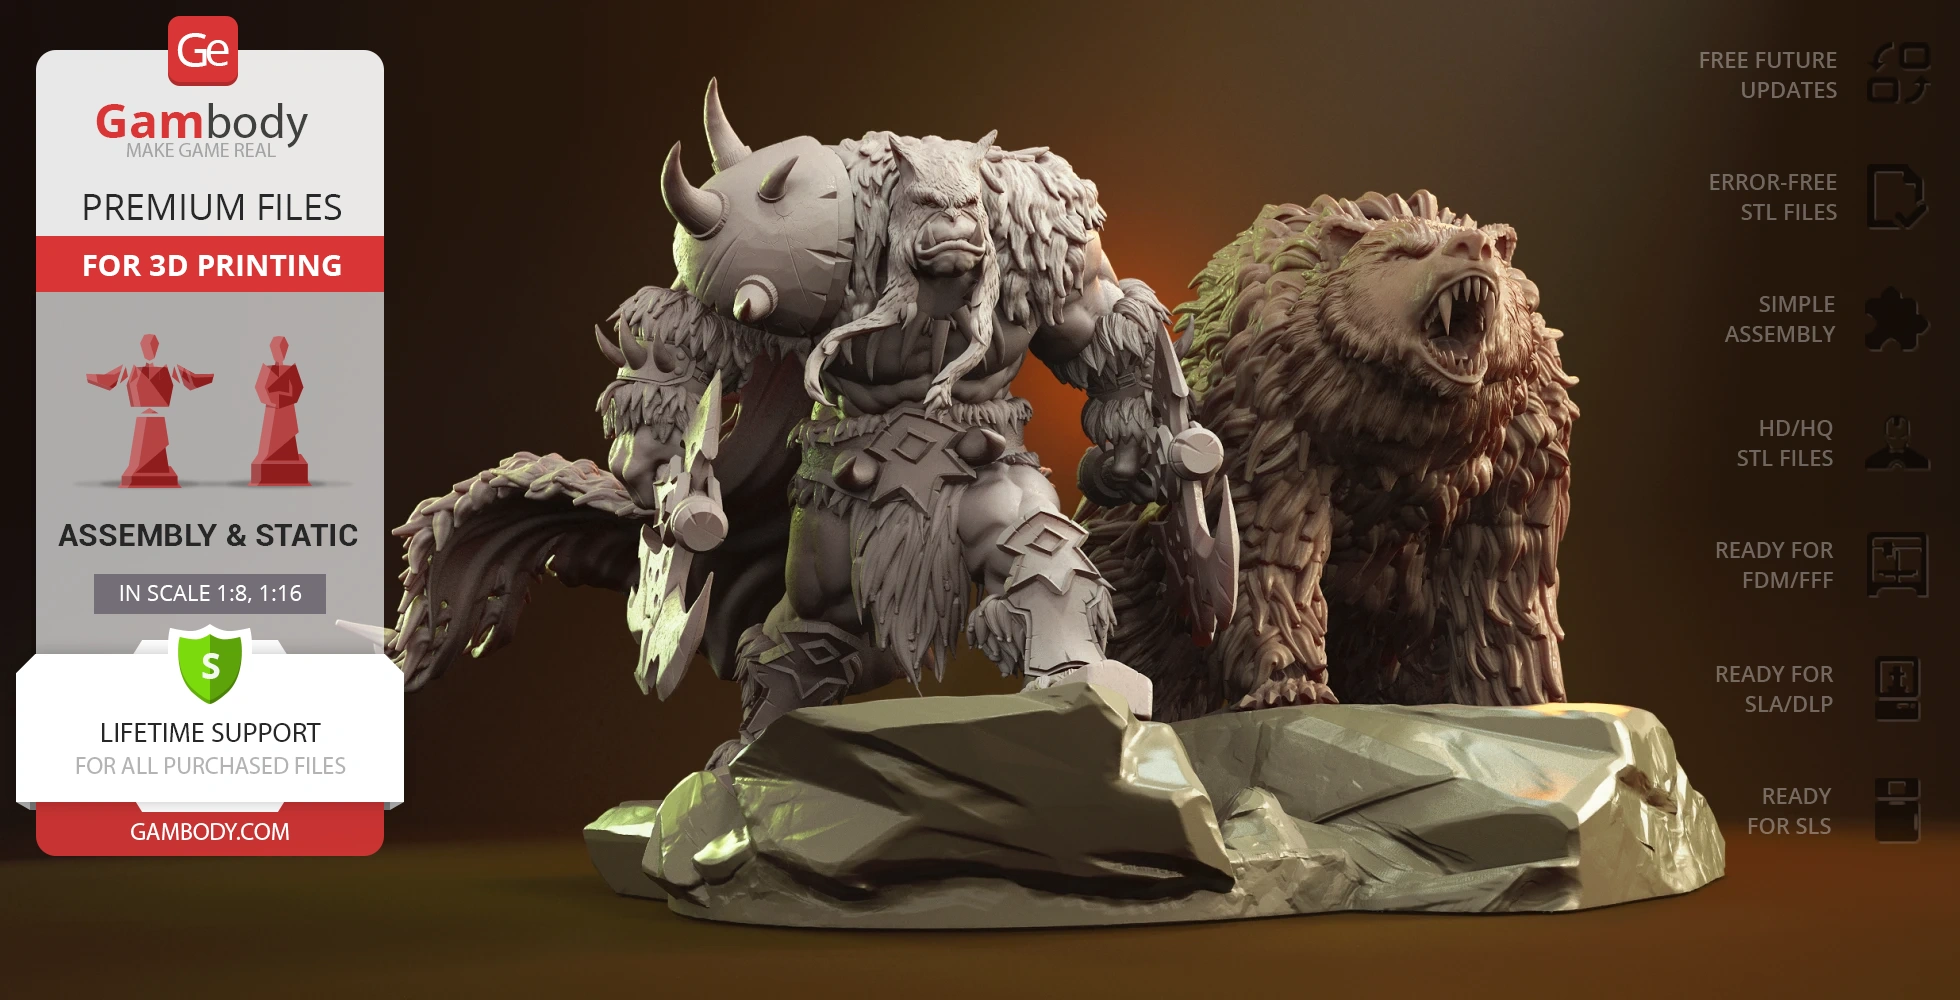
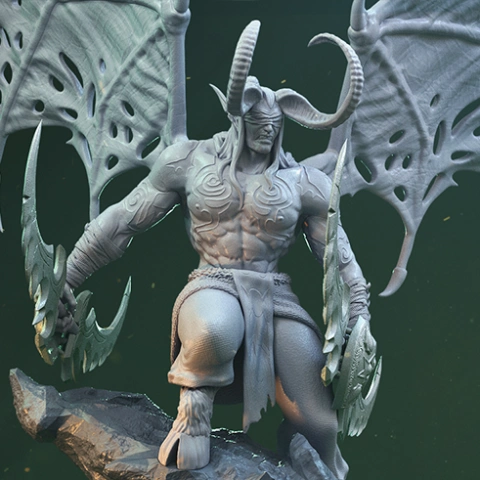
This 3D Figurine of Grommash Hellscream consists of files in StereoLithography (.Stl) format that is optimized for 3D printing.
Before printing the files, we strongly recommend reading the PRINTING DETAILS section.
WHAT WILL YOU GET AFTER PURCHASE?
- 3 versions of Grommash Hellscream STL files for FFF/FDM, DLP/SLA and SLS - files for each version are available for download after the purchase
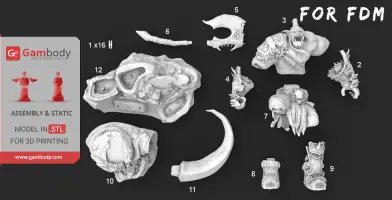
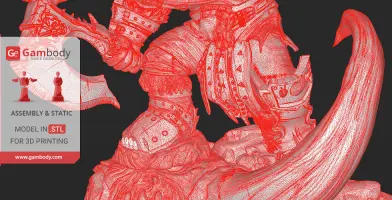
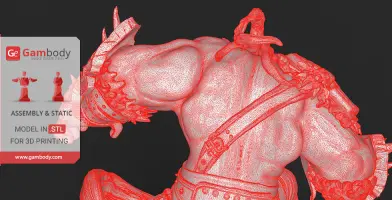
- STL files of high-poly the Grommash Hellscream 3D Figurine for 3D printing consist of 20 parts
- Sizes:
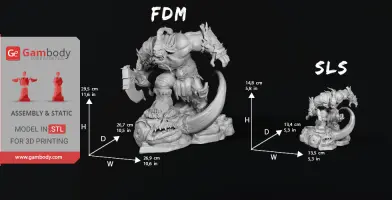
FFF/FDM: 295 mm tall, 269 mm wide, 267 mm deep
DLP/SLA/SLS: 148 mm tall, 135 mm wide, 134 mm deep
- Full technical support from the Gambody Support Team
Detailed information about this 3D printing figurine is available in the DESCRIPTION section.

|
|||||
|---|---|---|---|---|---|
| File Name | File Size | Time / Filament | Object Size (x/y/z mm) |
||
|
1_Ge_lock_7S (x16).STL |
0.02 MiB | 3 min <1 m | 7 x 18 x 2 | Download | |
|
2_arm_L.stl |
12.10 MiB | 13 h 7 min 8 m | 62 x 87 x 87 | Download | |
|
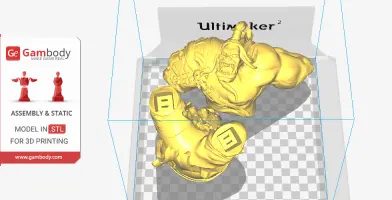
3_body.stl |
24.11 MiB | 57 h 34 min 36 m | 182 x 121 x 131 | Download | |
|
4_arm_R.stl |
9.87 MiB | 11 h 12 min 7 m | 53 x 81 x 77 | Download | |
|
8_foot_R.stl |
5.11 MiB | 7 h 27 min 4 m | 43 x 71 x 60 | Download | |
|
9_foot_L.stl |
12.73 MiB | 12 h 30 min 7 m | 66 x 60 x 102 | Download | |
|
10_platform_head.stl |
15.63 MiB | 58 h 13 min 34 m | 162 x 143 x 95 | Download | |
|
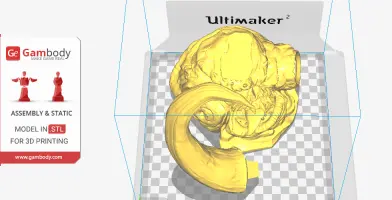
11_platform_horn.stl |
6.81 MiB | 18 h 41 min 12 m | 102 x 59 x 177 | Download | |
|
12_platform_base.stl |
13.09 MiB | 78 h 27 min 46 m | 216 x 215 x 90 | Download | |
|
7_legs.stl |
8.87 MiB | 33 h 36 min 21 m | 114 x 101 x 104 | Download | |
|
5_axe_1.stl |
6.26 MiB | 5 h 19 min 3 m | 83 x 30 x 100 | Download | |
|
6_axe_2.stl |
2.06 MiB | 2 h 2 min 1 m | 20 x 22 x 132 | Download | |
|
3_body_v2.stl |
26.13 MiB | 50 h 56 min 32 m | 182 x 96 x 108 | Download | |
|
3_body_v2_head.stl |
26.09 MiB | 4 h 5 min 2 m | 46 x 71 x 39 | Download | |
|
3_body_v2_knot.stl |
8.26 MiB | 1 h 54 min 1 m | 27 x 61 x 61 | Download | |
| ... | |||||
This should take overall.
ABOUT THIS 3D FIGURINE
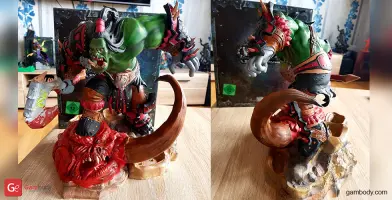
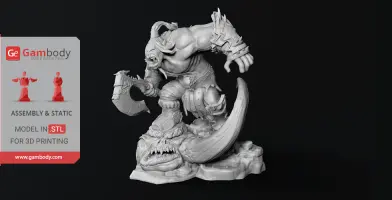
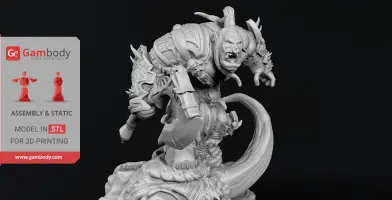
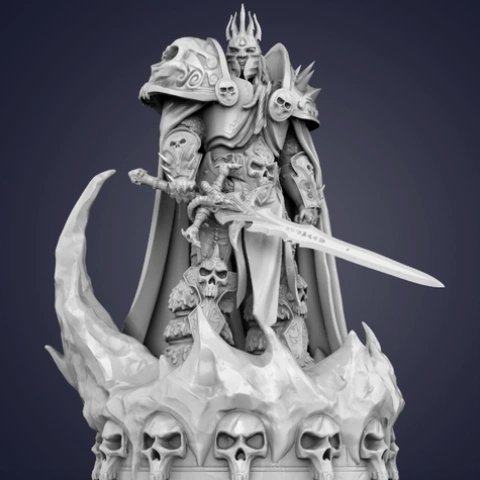
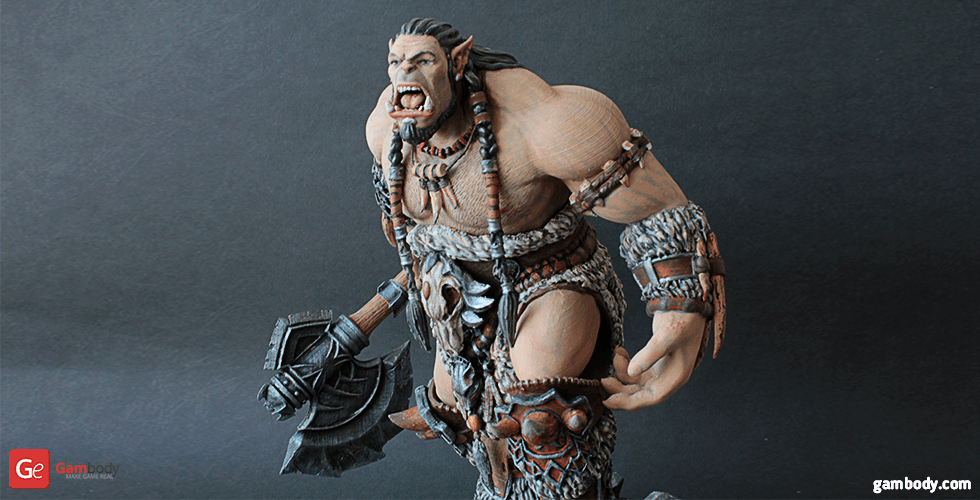
Grommash Hellscream The audacious leader of the War Song clan has never shied away from the fight. With the famous ax Bloody Howl, he led his riders into battle. But no matter how valiant Grommash was, he lacked prudence. When another reckless attack nearly cost him his life, he despised death and kill the superior enemies, gaining the right to retaliation instead of an imminent defeat. His ferocity became famous throughout Draenor. Grommash turned into a living legend. His son Garrosh grew up in the shadow of the Colossus. Shortly before the great meeting of the Orc clans, a stranger appeared to Grommash and offered advice. He managed to win the trust of the leader. It was none other than Grommash's own son, Garrosh Hellscream, but as an adult, he returned from another world. Garrosh warned his father that among his subjects there is a traitor, he serves demons and intends to help them enslave the orcs. Grommash exposed the plot and the confidence in it among the orcs had increased. Almost all the clans united under his command. Using his popularity and influence, Grommash created the Iron Horde free association of orcs who could decide his own destiny.
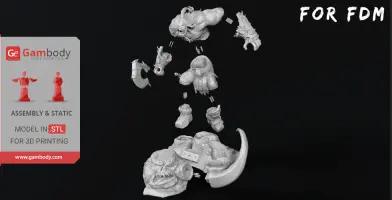
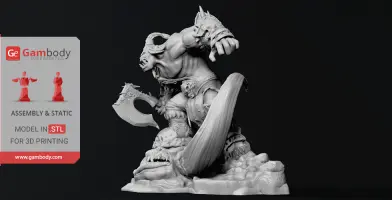
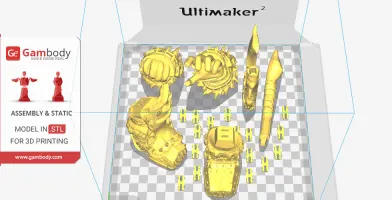
All assembly parts of the FFF/FDM versions come in STL files in recommended positions that were worked out in order to ensure the smoothness of the details’ surfaces after printing and so that the 3D printing beginners won't face difficulties when placing the parts on a build plate.
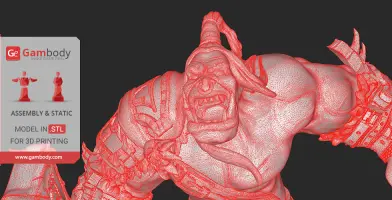
The figurine is saved in STL files, a format supported by most 3D printers. All STL files for 3D printing have been checked in Netfabb and no errors were shown.
The model's scale was calculated from the height of Grommash which is 2300 mm. The 3D printing figurine's chosen scale is 1:8 for the FFF/FDM version and 1:16 for the DLP/SLA/SLS versions.
VERSIONS' SPECIFICATIONS
FFF/FDM 1.0 version features:
- Contains 12 parts;
- A printed model is 295 mm tall, 269 mm wide, 267 mm deep;
- The assembly kit includes lock 1_Ge_lock_7S (x16) to attach the model's parts securely without glue that you need to print 16 times;
- All parts are divided in such a way that you will print them with the smallest number of support structures.
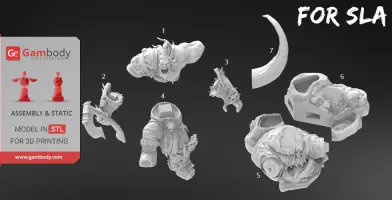
DLP/SLA 1.0 version features:
- Contains 7 parts;
- A printed model is 148 mm tall, 135 mm wide, 134 mm deep;
- All parts are divided in such a way to fit the build plates and to ensure that support structures are generated where needed.
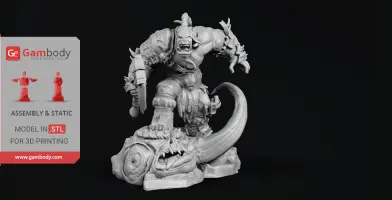
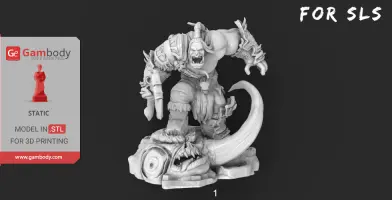
SLS 1.0 version features:
- Contains 1 part - made as a solid one-piece Grommash Hellscream figurine;
- A printed model is 148 mm tall, 135 mm wide, 134 mm deep.
You can get the figurine of Grommash Hellscream for 3D Printing immediately after the purchase! Just click the green Buy button in the top-right corner of the model’s page. You can pay with PayPal or your credit card.
Watch the tutorial video on how to assemble Grommash Hellscream 3D Printing Figurine at Gambody YouTube channel.
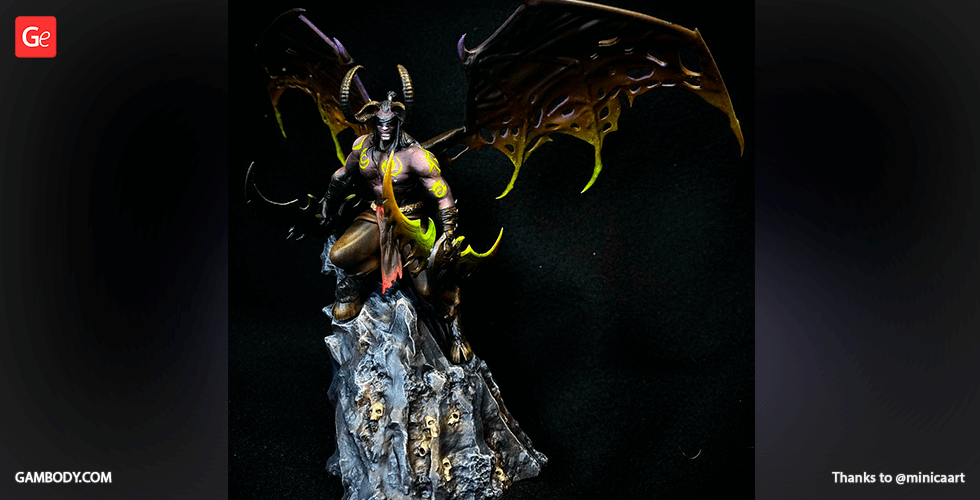
Also, you may like other WoW 3D Printing Figurines.
_______
FAQ:
Where can I print a model if I have no printer?
How to get started with 3D printing?
How to set up my 3D printer?
How to choose right 3D model print bed positioning?
How to paint printed figurine?
This model was tested in Cura 3.2.1 and printed on an Ultimaker 2 in PLA material.
Recommendations: For all parts of Locks you need to change "Brim" type to "Skirt" in Build Plate Adhesion section.
To avoid printing problems, we recommend the following settings:
Quality
Layer Height: 0.1 mm
Initial Layer Height: 0.3 mm
Line Width: 0.4 mm
Wall Line Width: 0.4 mm
Outer Wall Line Width: 0.4 mm
Inner Wall(s) Line Width: 0.4 mm
Top/Bottom Line Width: 0.4 mm
Infill Line Width: 0.4 mm
Skirt/Brim Line Width: 0.4 mm
Initial Layer Line Width: 100%
Shell
Wall Thickness: 0.8 mm
Wall Line Count: 2
Outer Wall Wipe Distance: 0.2 mm
Top Surface Skin Layers: 0
Top/Bottom Thickness: 0.8 mm
Top Thickness: 0.8 mm
Top Layers: 8
Bottom Thickness: 0.8 mm
Bottom Layers: 8
Top/Bottom Pattern: Lines
Bottom Pattern Initial Layer: Lines
Top/Bottom Line Directions: [ ]
Outer Wall Inset: 0 mm
Compensate Wall Overlaps: Check
Compensate Outer Wall Overlaps: Check
Compensate Inner Wall Overlaps: Check
Fill Gaps Between Walls: Everywhere
Filter Out Tiny Gaps: Check
Horizontal Expansion: 0 mm
Initial Layer Horizontal Expansion: 0 mm
Z Seam Alignment: Sharpest Corner
Seam Corner Preference: Hide Seam
Ignore Small Z Gaps: Check
Extra Skin Wall Count: 1
Infill
Infill Density: 20%
Infill Line Distance: 4.0 mm
Infill Pattern: Grid
Infill Line Directions: [ ]
Infill X Offset: 0 mm
Infill Y Offset: 0 mm
Infill Overlap Percentage: 10%
Infill Overlap: 0.04 mm
Skin Overlap Percentage: 5%
Skin Overlap: 0.02 mm
Infill Wipe Distance: 0.1 mm
Infill Layer Thickness: 0.1 mm
Gradual Infill Steps: 0
Infill Before Walls: Check
Minimum Infill Area: 0 mm2
Skin Removal Width: 0.8 mm
Top Skin Removal Width: 0.8 mm
Bottom Skin Removal Width: 0.8 mm
Skin Expand Distance: 0.8
Top Skin Expand Distance: 0.8
Bottom Skin Expand Distance: 0.8
Maximum Skin Angle for Expansion: 90˚
Minimum Skin Width for Expansion: 0.0
Material
Enable Retraction: Check
Retraction Extra Prime Amount: 0 mm3
Retraction Minimum Travel: 0.8 mm
Maximum Retraction Count: 90
Minimum Extrusion Distance Window: 6.5 mm
Nozzle Switch Retraction Distance: 16 mm
Nozzle Switch Retraction Speed: 20 mm/s
Nozzle Switch Retract Speed: 20 mm/s
Nozzle Switch Prime Speed: 20 mm/s
Speed
Print Speed: 45 mm/s
Infill Speed: 50 mm/s
Wall Speed: 22.5 mm/s
Outer Wall Speed: 22.5 mm/s
Inner Wall Speed: 45 mm/s
Top/Bottom Speed: 15 mm/s
Travel Speed: 120 mm/s
Initial Layer Speed: 30 mm/s
Initial Layer Print Speed: 30 mm/s
Initial Layer Travel Speed: 60 mm/s
Skirt/Brim Speed: 30 mm/s
Maximum Z Speed: 0 mm/s
Number of Slower Layers: 2
Travel
Combing Mode: All
Avoid Printed Parts when Traveling: Check
Travel Avoid Distance: 0.625 mm
Layer Start X: 0.0 mm
Layer Start Y: 0.0 mm
Cooling
Enable Print Cooling: Check
Fan Speed: 100%
Regular Fan Speed: 100%
Maximum Fan Speed: 100%
Regular/Maximum Fan Speed Threshold: 10 s
Initial Fan Speed: 0%
Regular Fan Speed at Height: 0.3 mm
Regular Fan Speed at Layer: 2
Minimum Layer Time: 5 s
Minimum Speed: 10 mm/s
Support
Generate Support: Check
Support Placement: Everywhere
Support Overhang Angle: 60°
Support Pattern: Zig Zag
Connect Support ZigZags: Check
Support Density: 15 %
Support Line Distance: 1.3333 mm
Support Z Distance: 0.3 mm
Support Top Distance: 0.3 mm
Support Bottom Distance: 0.3 mm
Support X/Y Distance: 0.7 mm
Support Distance Priority: Z overrides X/Y
Minimum Support X/Y Distance: 0.2 mm
Support Stair Step Height: 0.3 mm
Support Stair Step Maximum Width: 5.0 mm
Support Join Distance: 2.0 mm
Support Horizontal Expansion: 0.2 mm
Support Infill Layer Thickness: 0.1 mm
Use Towers: Check
Tower Diameter: 3.0 mm
Minimum Diameter: 3.0 mm
Tower Roof Angle: 65°
Build Plate Adhesion
Build Plate Adhesion Type: Brim (for all parts of locks use "Skirt")
Skirt/Brim Minimum Length: 250 mm
Brim Width: 8.0 mm
Brim Line Count: 18
Brim Only on Outside: Check
Mesh Fixes
Union Overlapping Volumes: Check
Merged Meshes Overlap: 0.15 mm
Special Modes
Print Sequence: All at Once
Surface Mode: Normal
Experimental
Slicing Tolerance: Middle
Maximum Resolution: 0.01 mm
Flow rate compensation max extrusion offset: 0 mm
Flow rate compensation factor: 100%
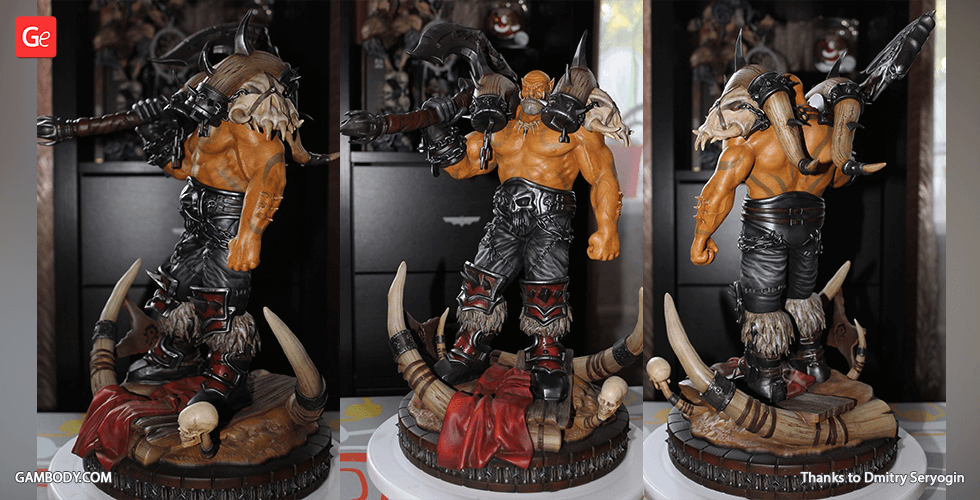
Disclaimer: This model will look outstanding if printed on SLA/SLS 3D printer. The accuracy of the model printed on FFF printer can vary from the result shown in the pictures.
wow, warcraft, orc, world-of-warcraft, world-warcraft, world-of-warcraft-legion, frozen-throne, world-of-warcraft-cataclysm, hellscream, grommash-hellscream
You are about to report Grommash Hellscream 3D Printing Figurine | Assembly for violating our Terms and Conditions. Please take a few moments to fill in the following information.


Comments
comments powered by Disqus