


Files
3D model format
Stereolithography (.stl)
Total files
Slicer settings
not available
Mesh error check
not specified
Support
Provided by 3D Artist (optional)
Update requests
Subject to 3D Artist’s discretion
Model versions
FFF/FDM
Assembly method
not specified
Features
Additional details
Part of diorama
No
Special pack included
No
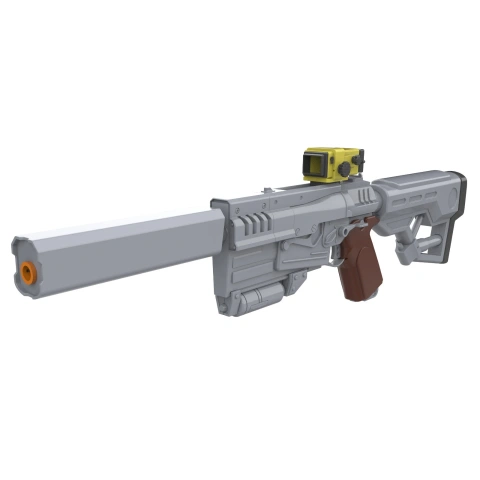
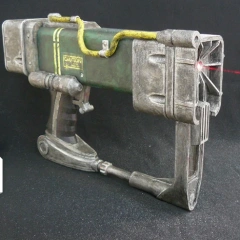
You will get instant access to the STL files of Fallout 4 Laser Pistol after completing your purchase. Simply add the model to your cart and check out using PayPal, credit or debit card, Apple Pay, Google Pay, Alipay, or other available payment methods.
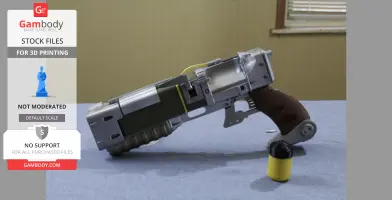
Watch the assembly video for Fallout 4 Laser Pistol, and explore more tutorials, behind-the-scenes content, 3D printing timelapses, and painting guides on the official Gambody YouTube channel.
STL files and the cutting of this model are preserved as created by the Author. This model was not moderated by Gambody, it is not subject to technical support by Gambody, and we do not offer any guarantees on the 3D printing results.
Stock models can only be purchased in an order separate from the Premium STL files by Gambody. If a Premium model is added to the Cart, the Stock models are deleted automatically, and vice versa.
You can read more about Stock models onGambody's Blog.
The Author of the Stock model can provide technical support if they wish. All your questions, requests, wishes and remarks can be left in the comment section below.
Gambody Team can consider providing a Premium version of the model if highly requested.
Before printing, take a look at Printing Details for recommended settings and tips to achieve better results.
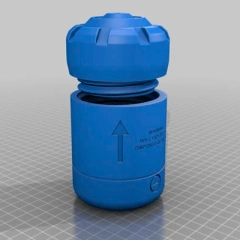
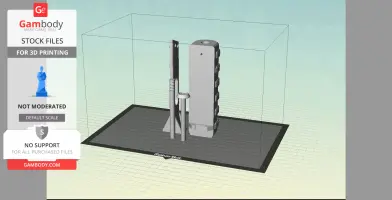
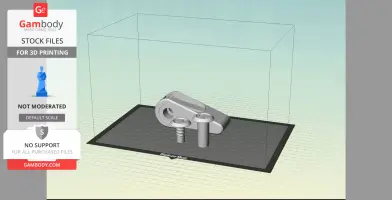
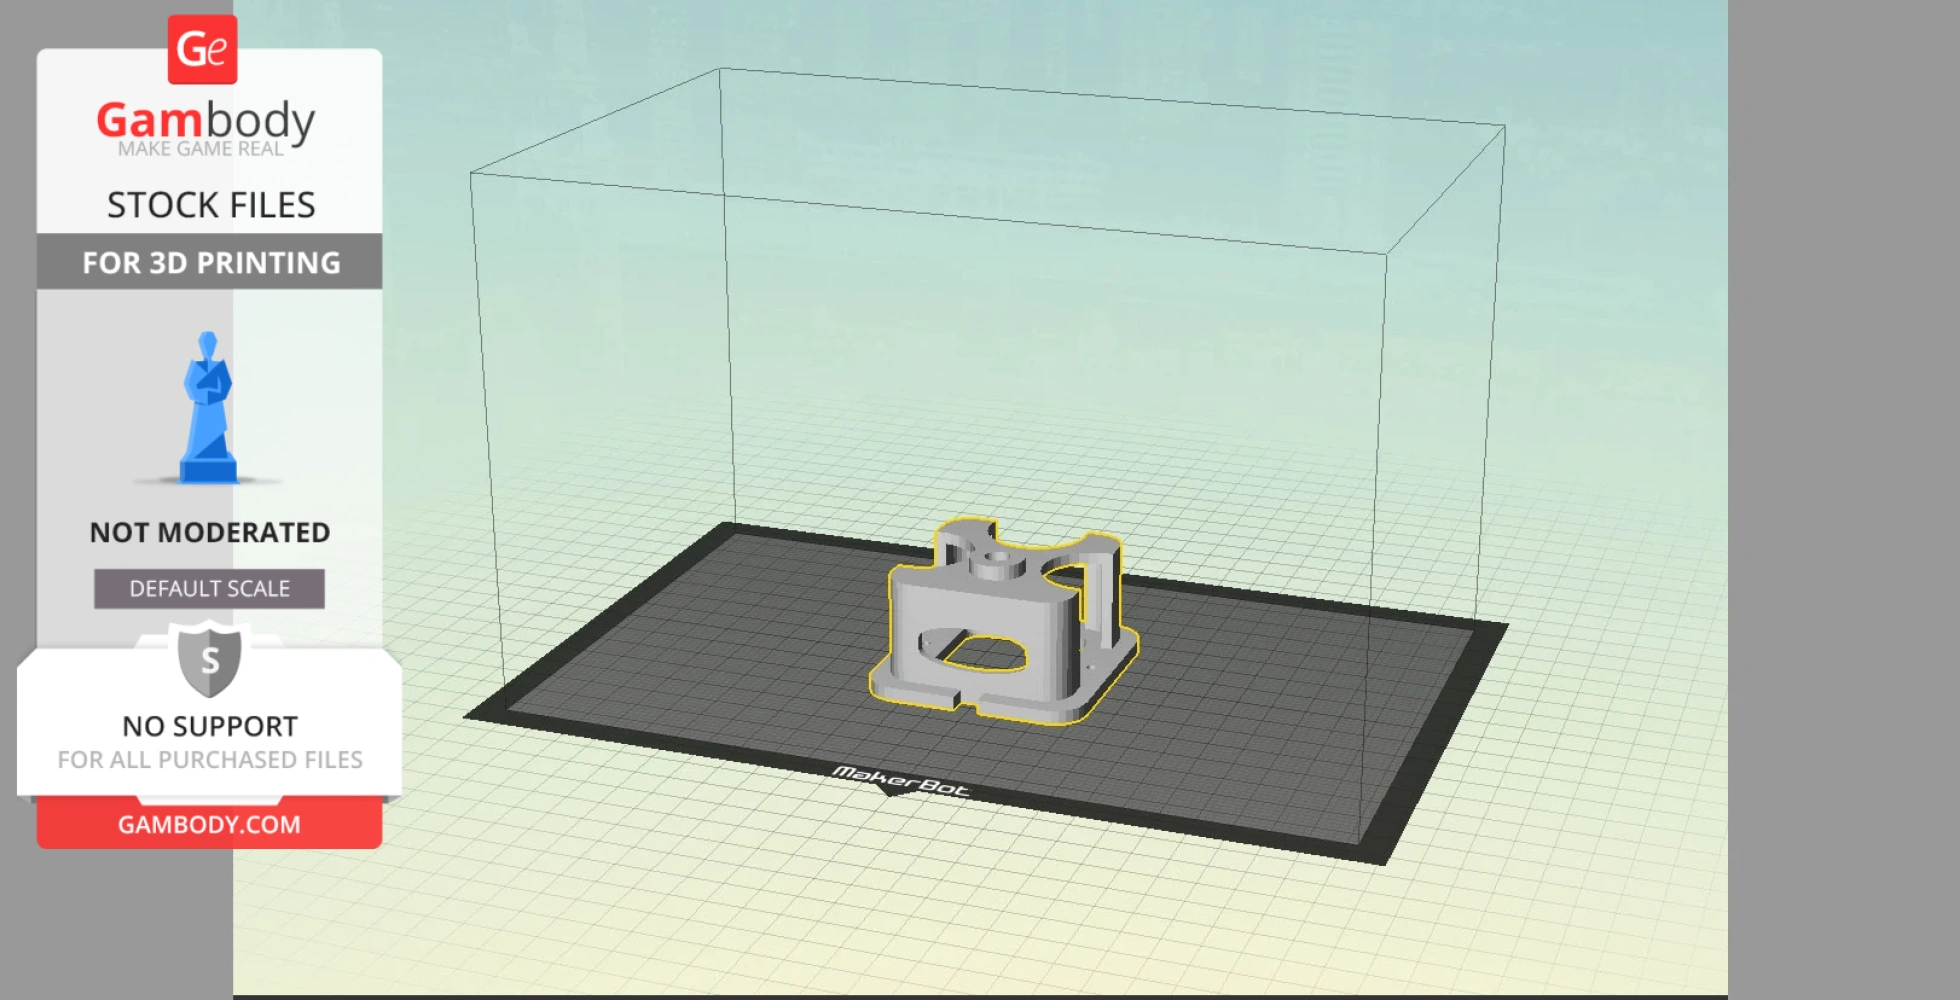
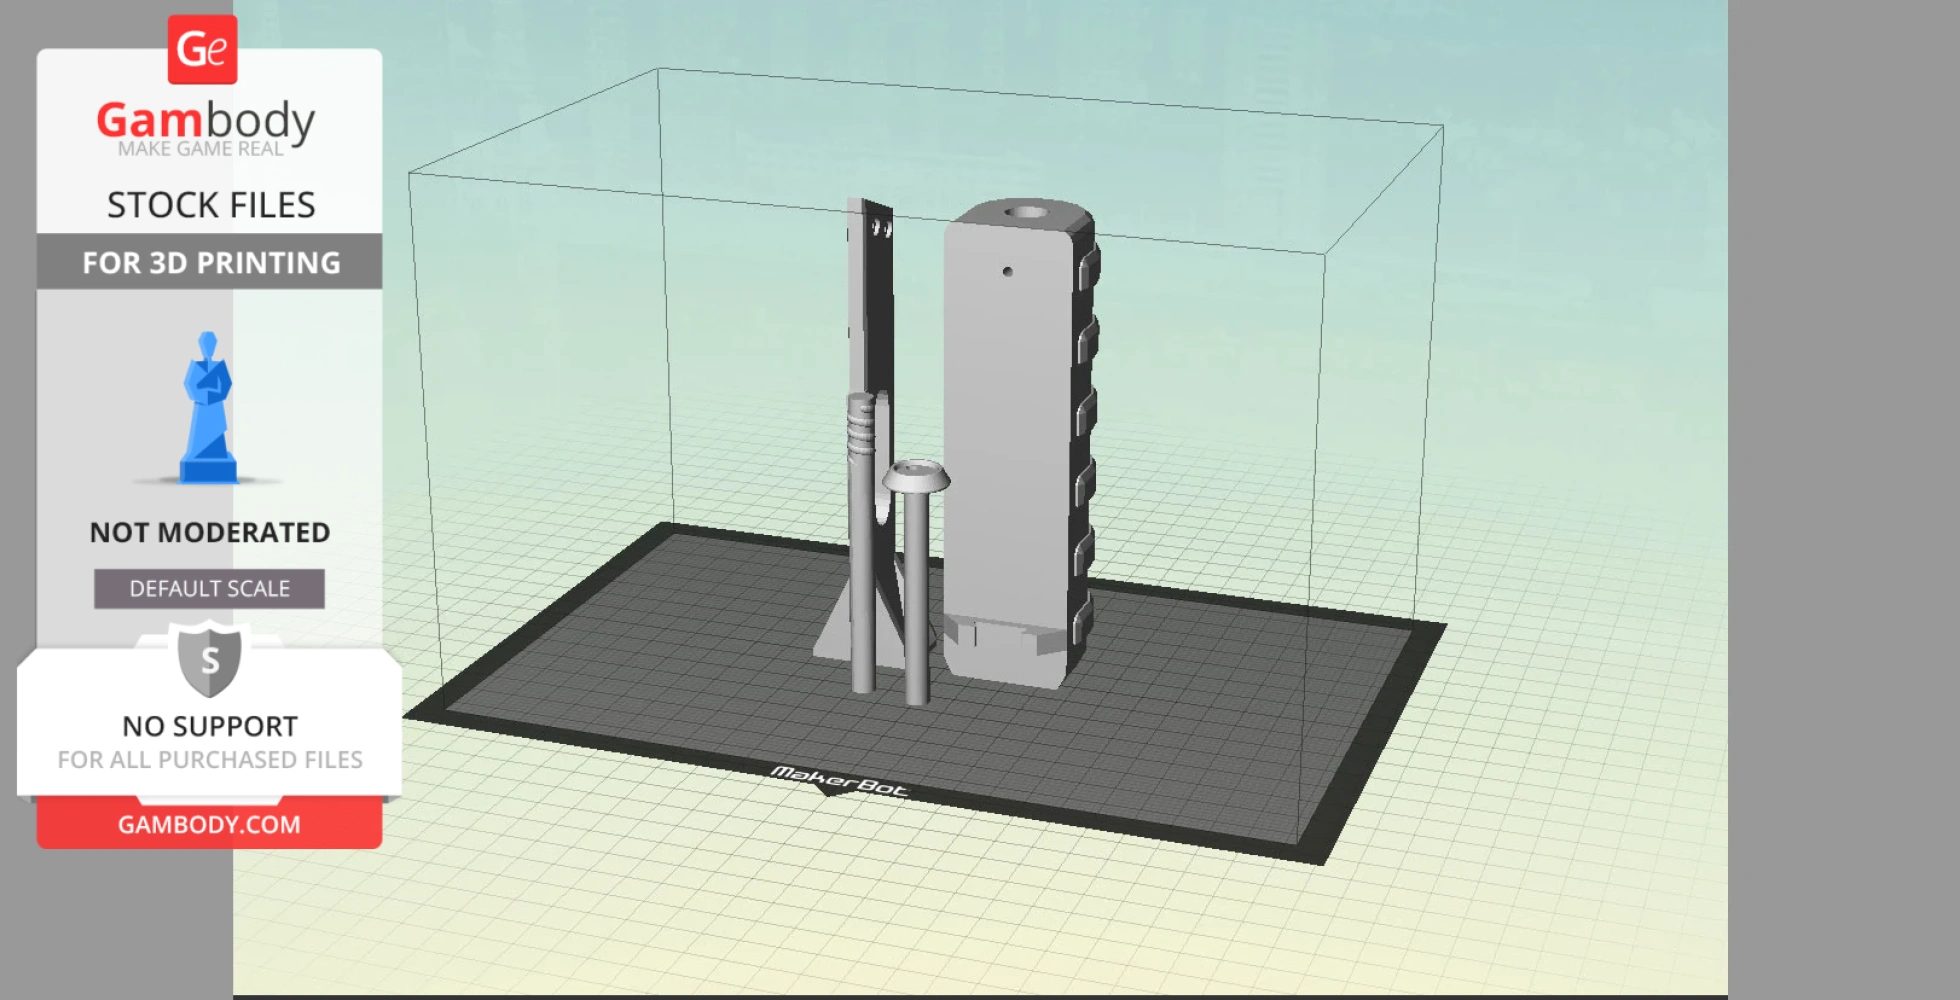
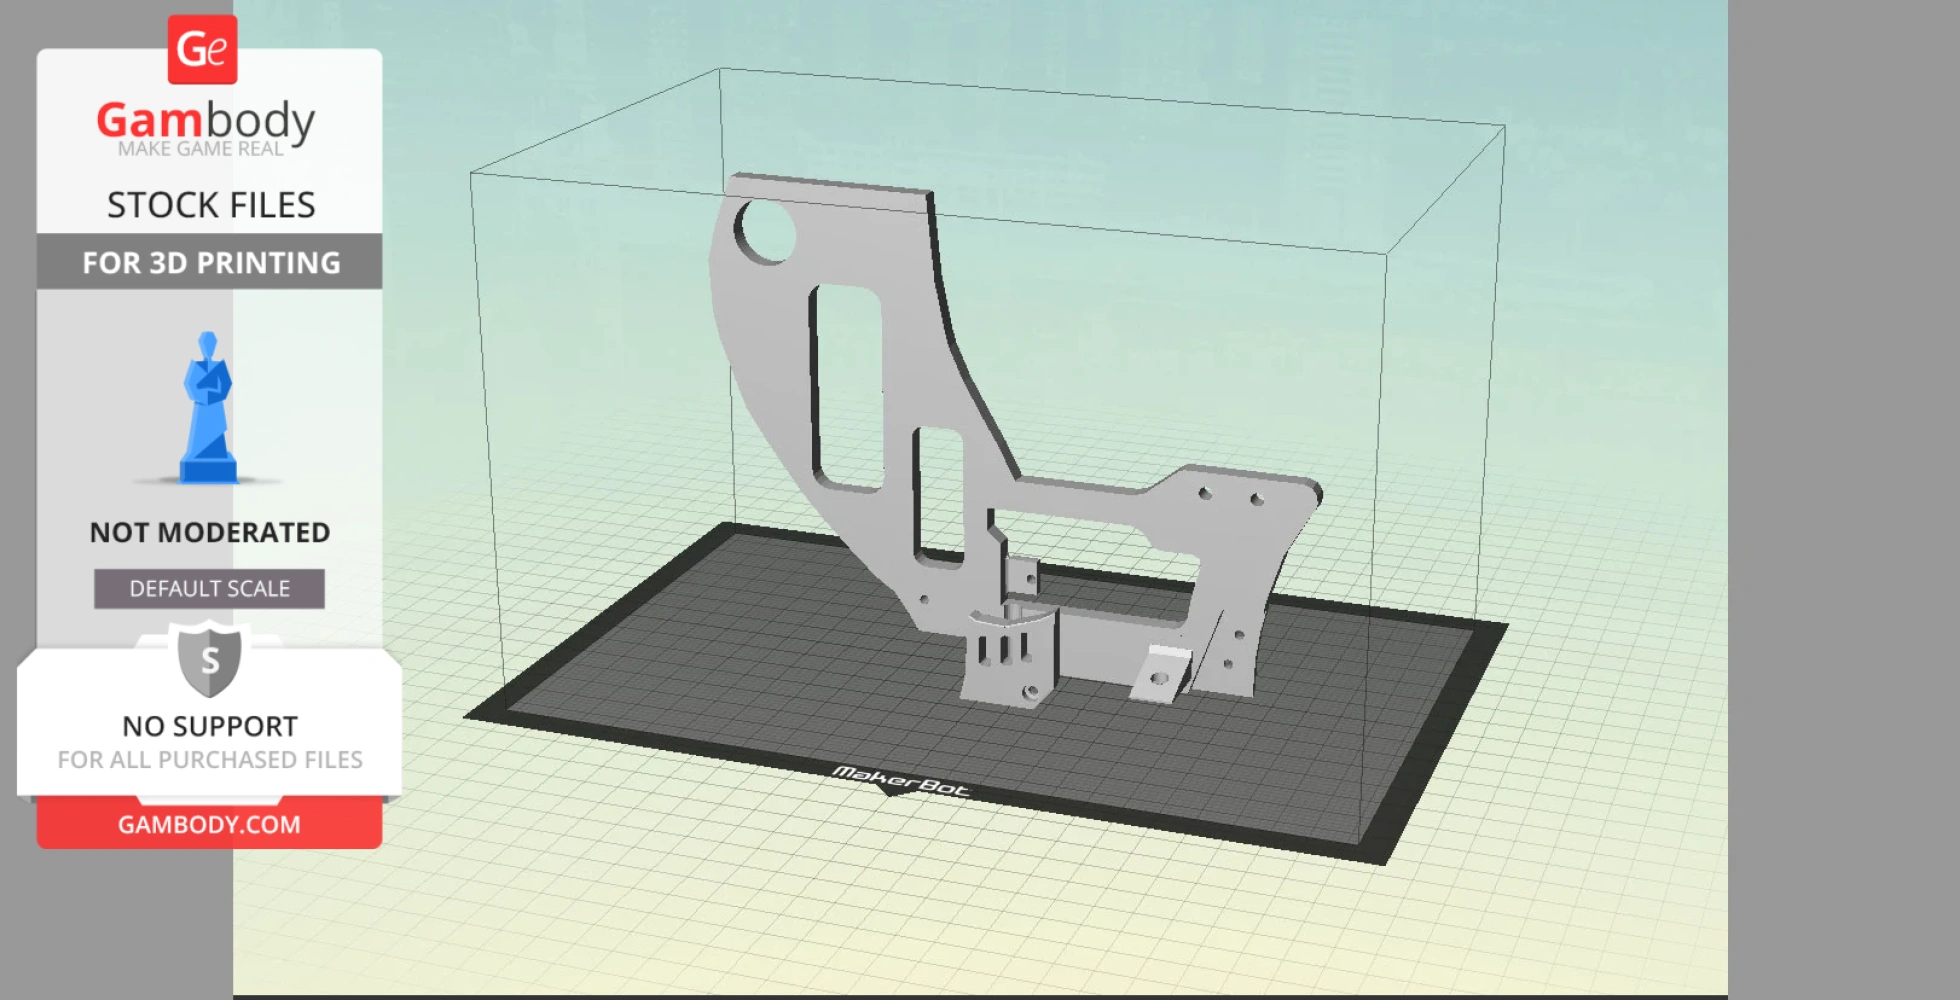
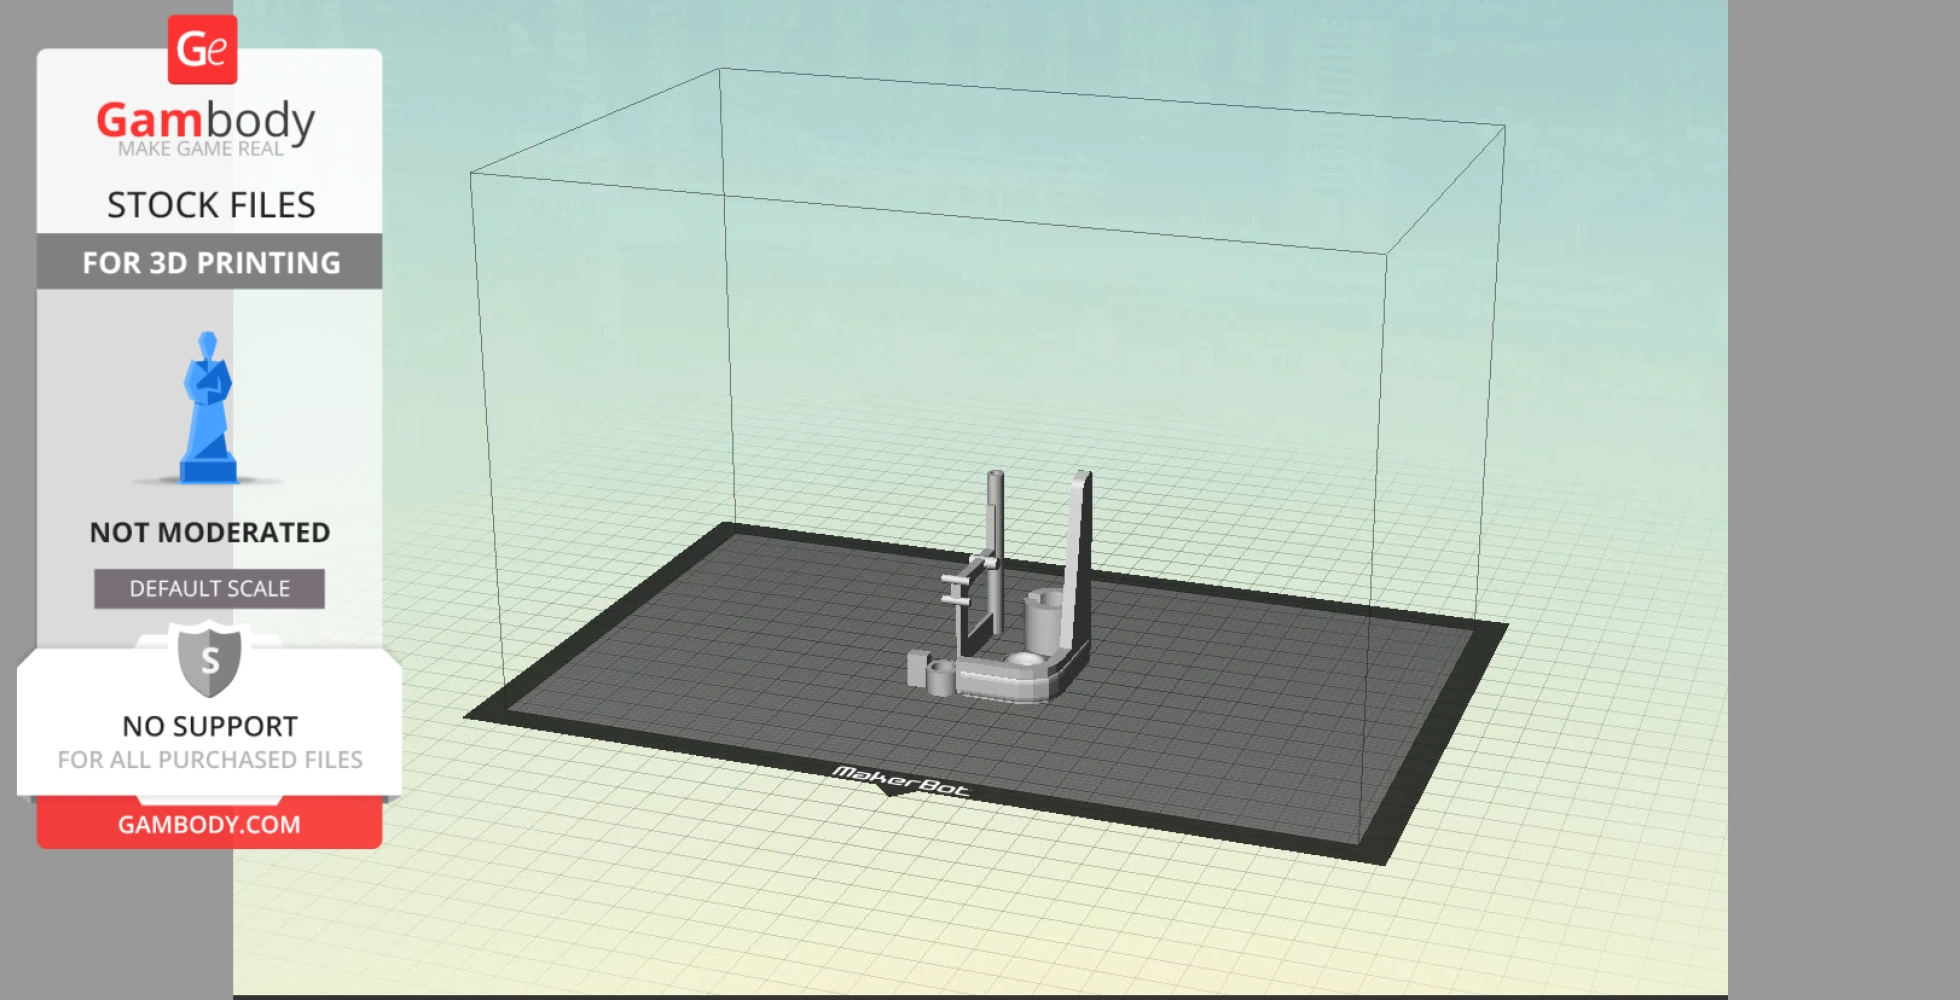
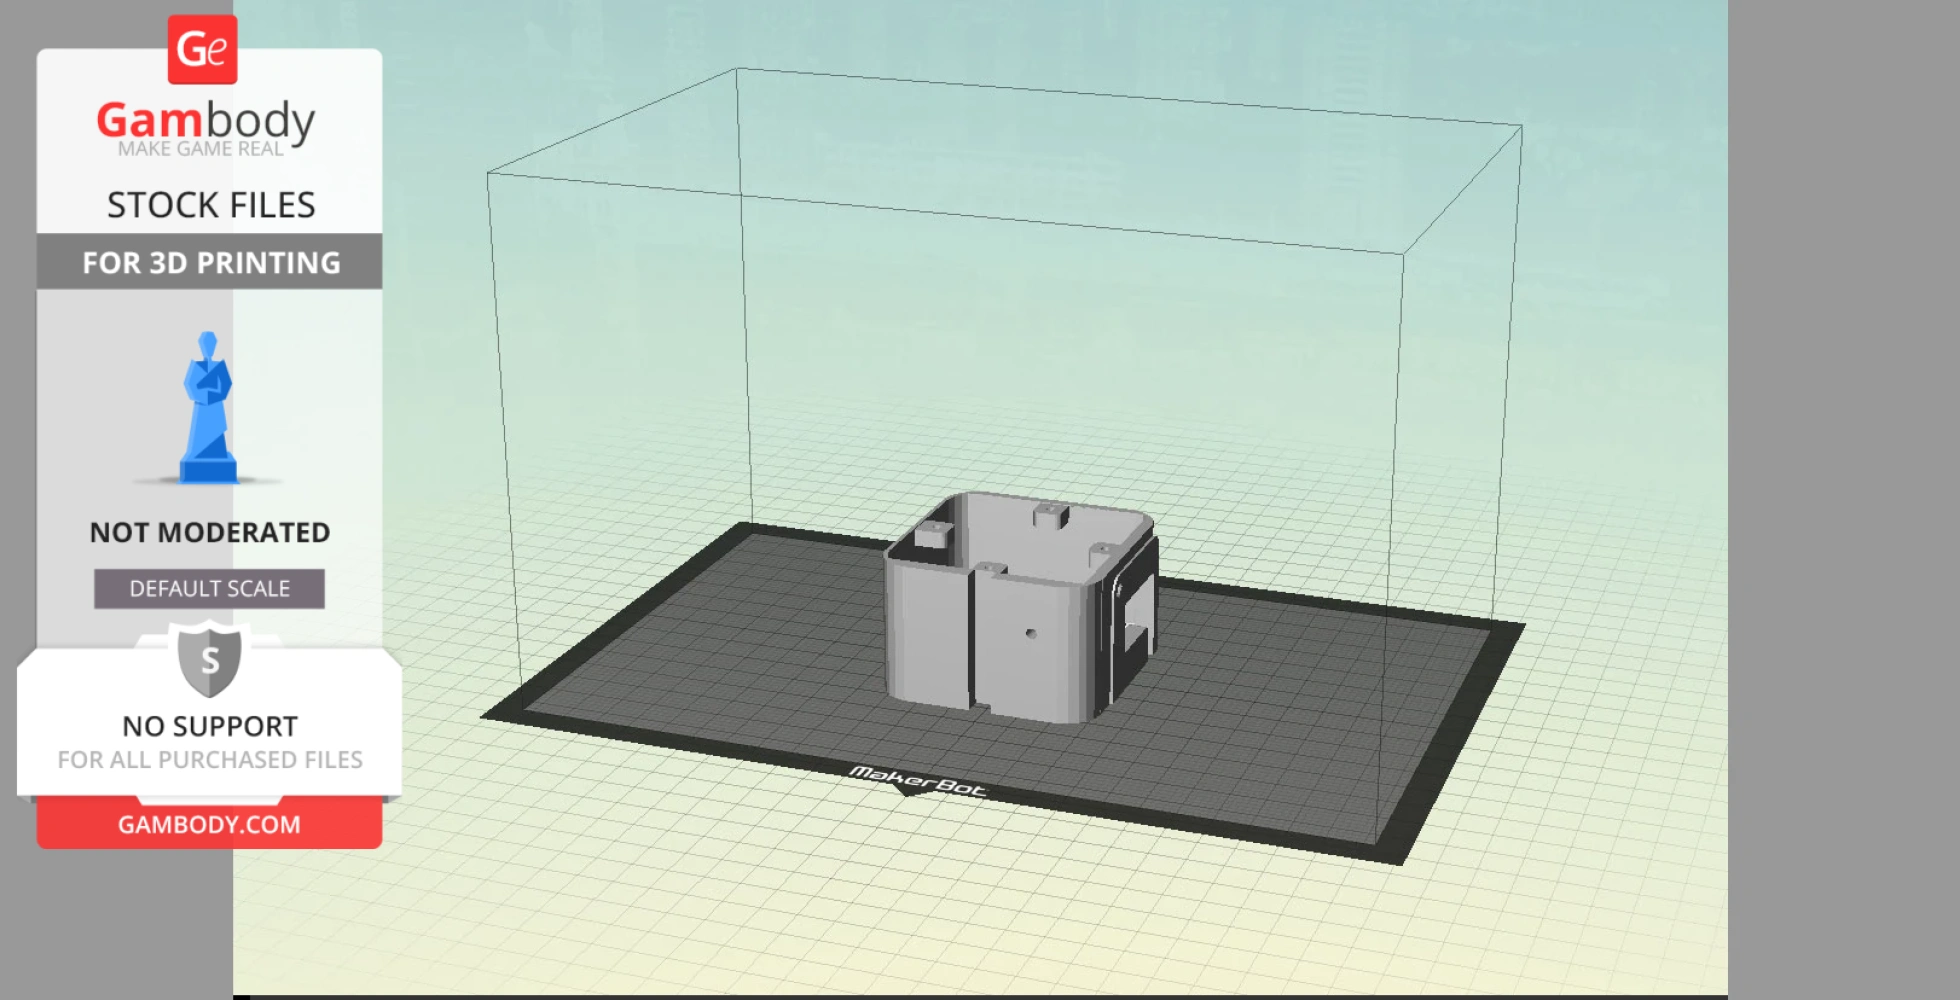
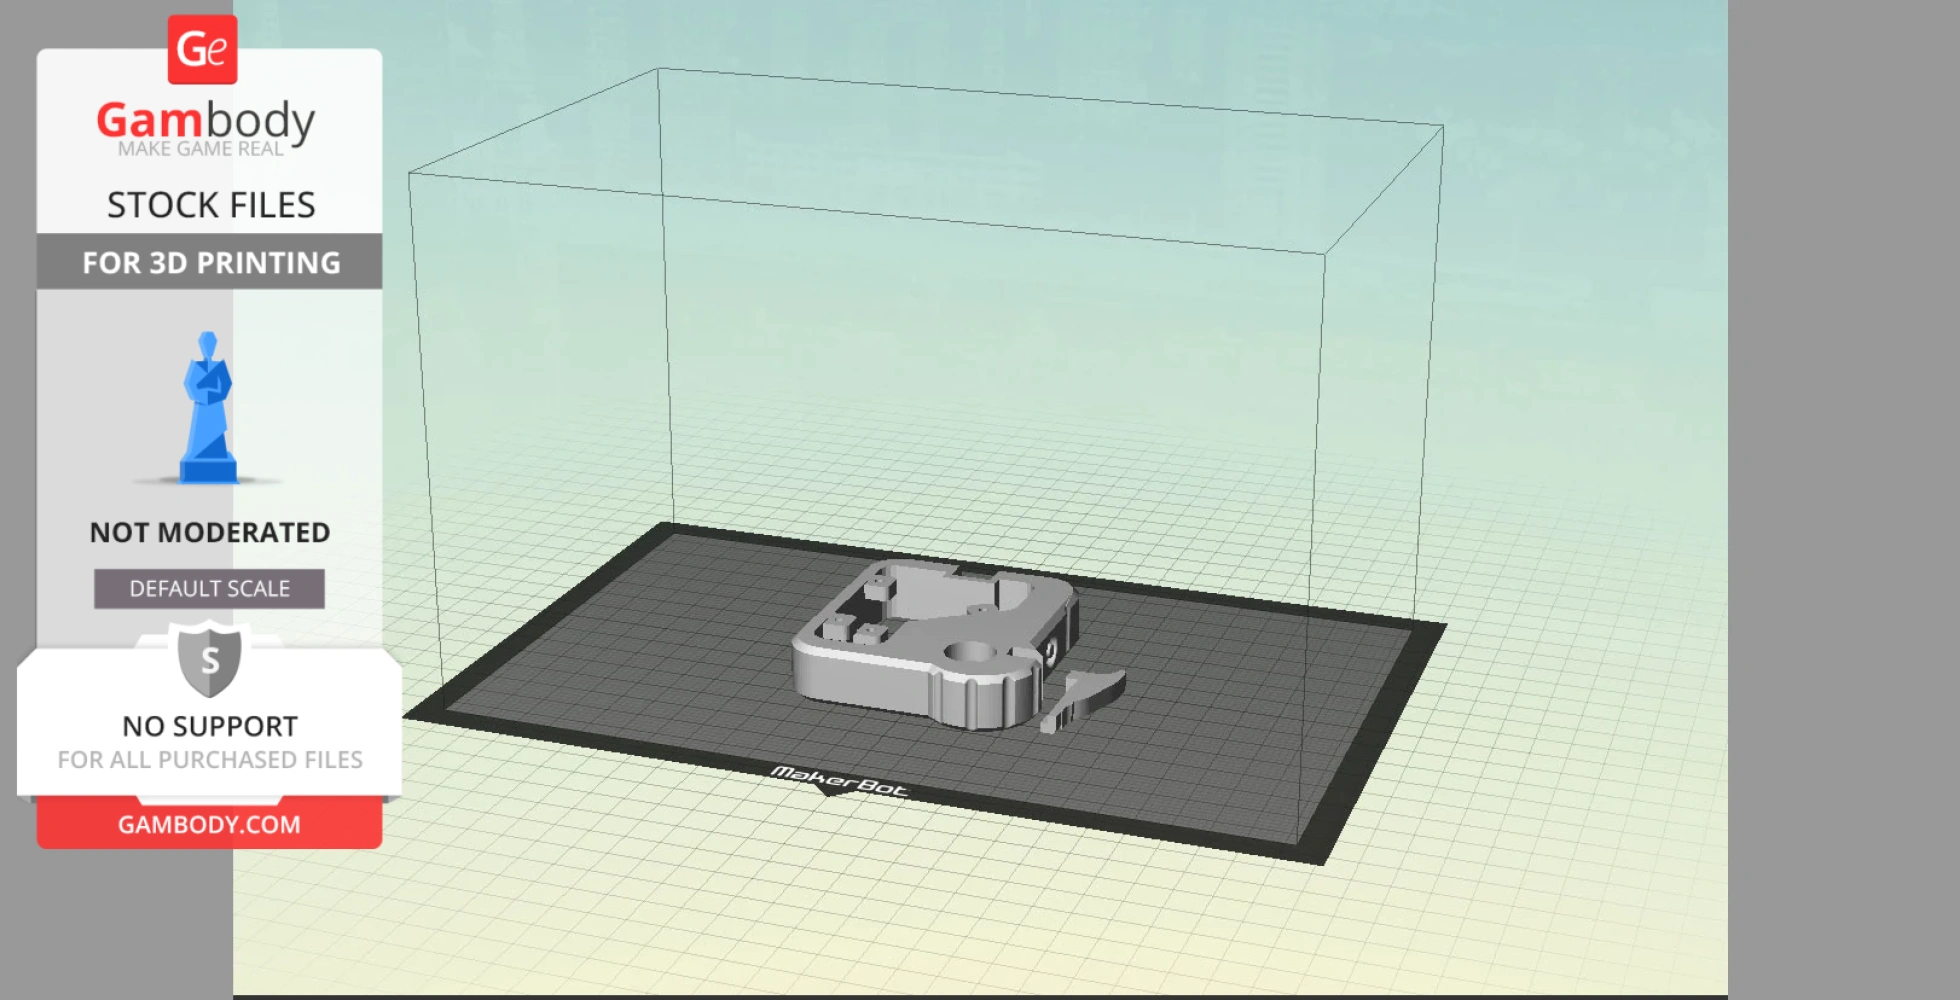
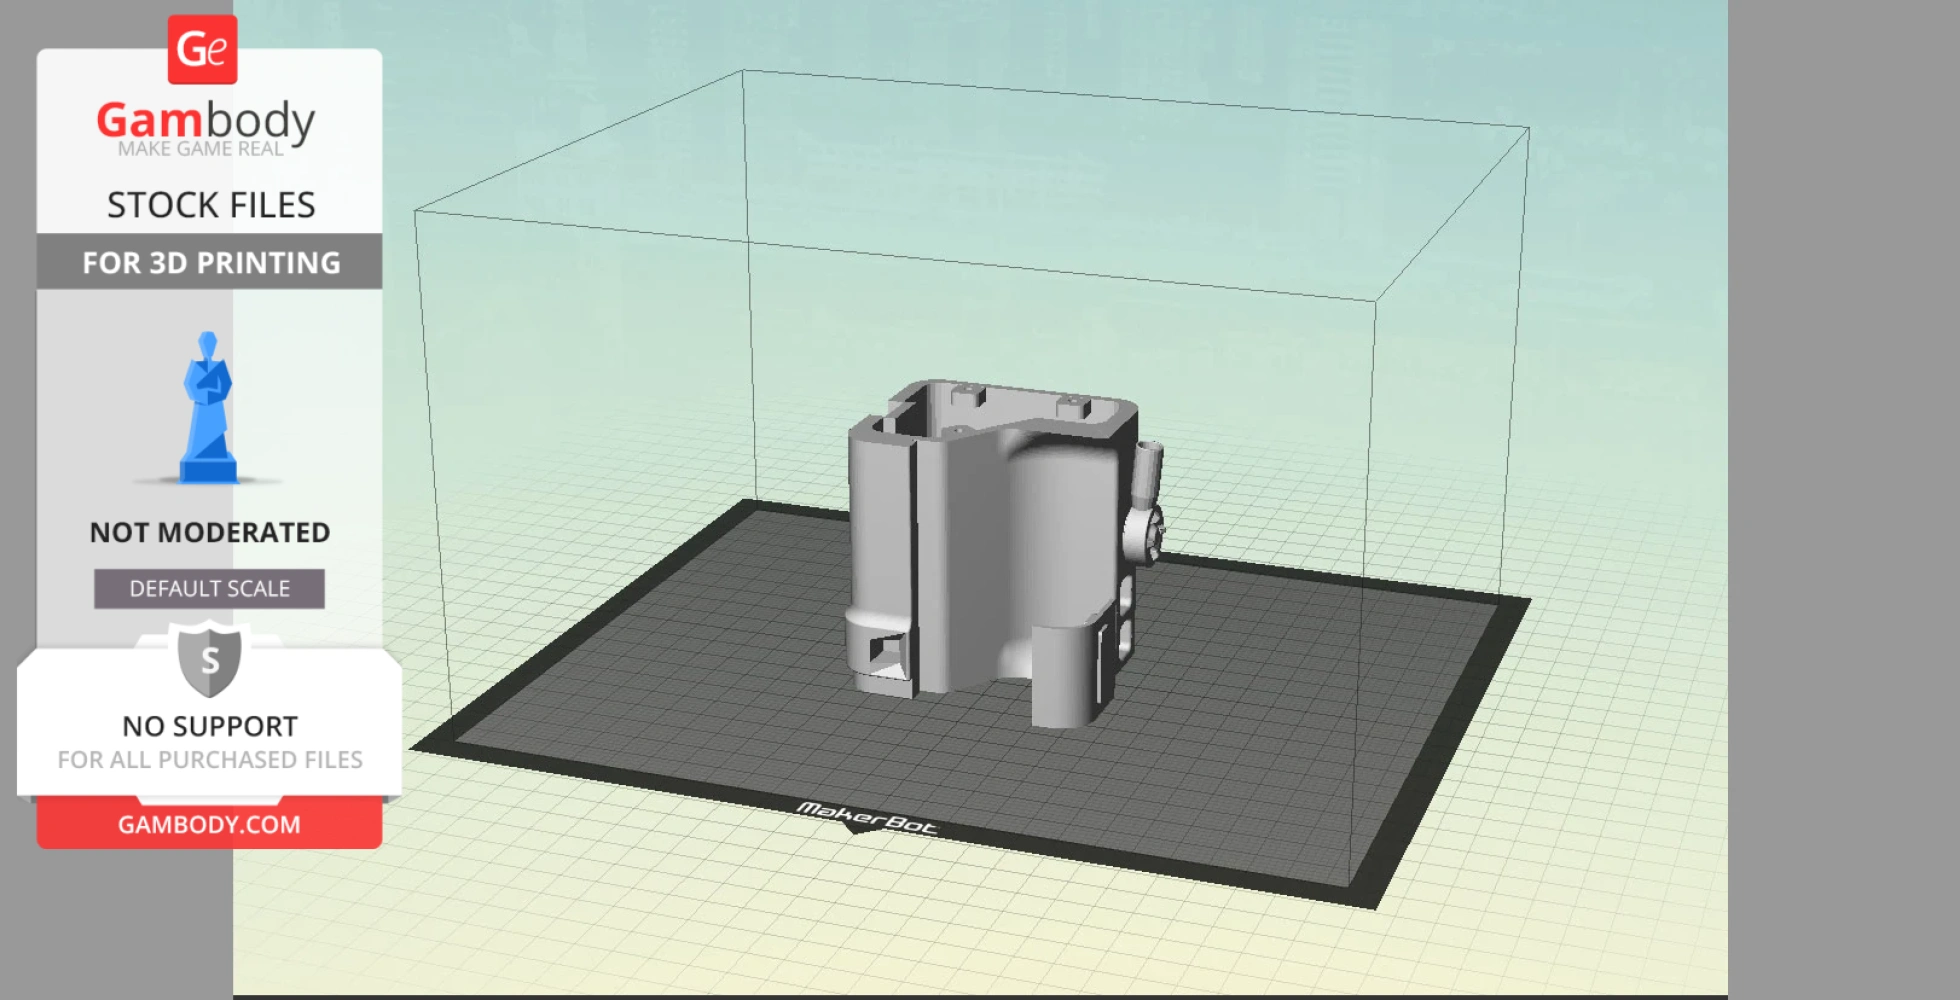
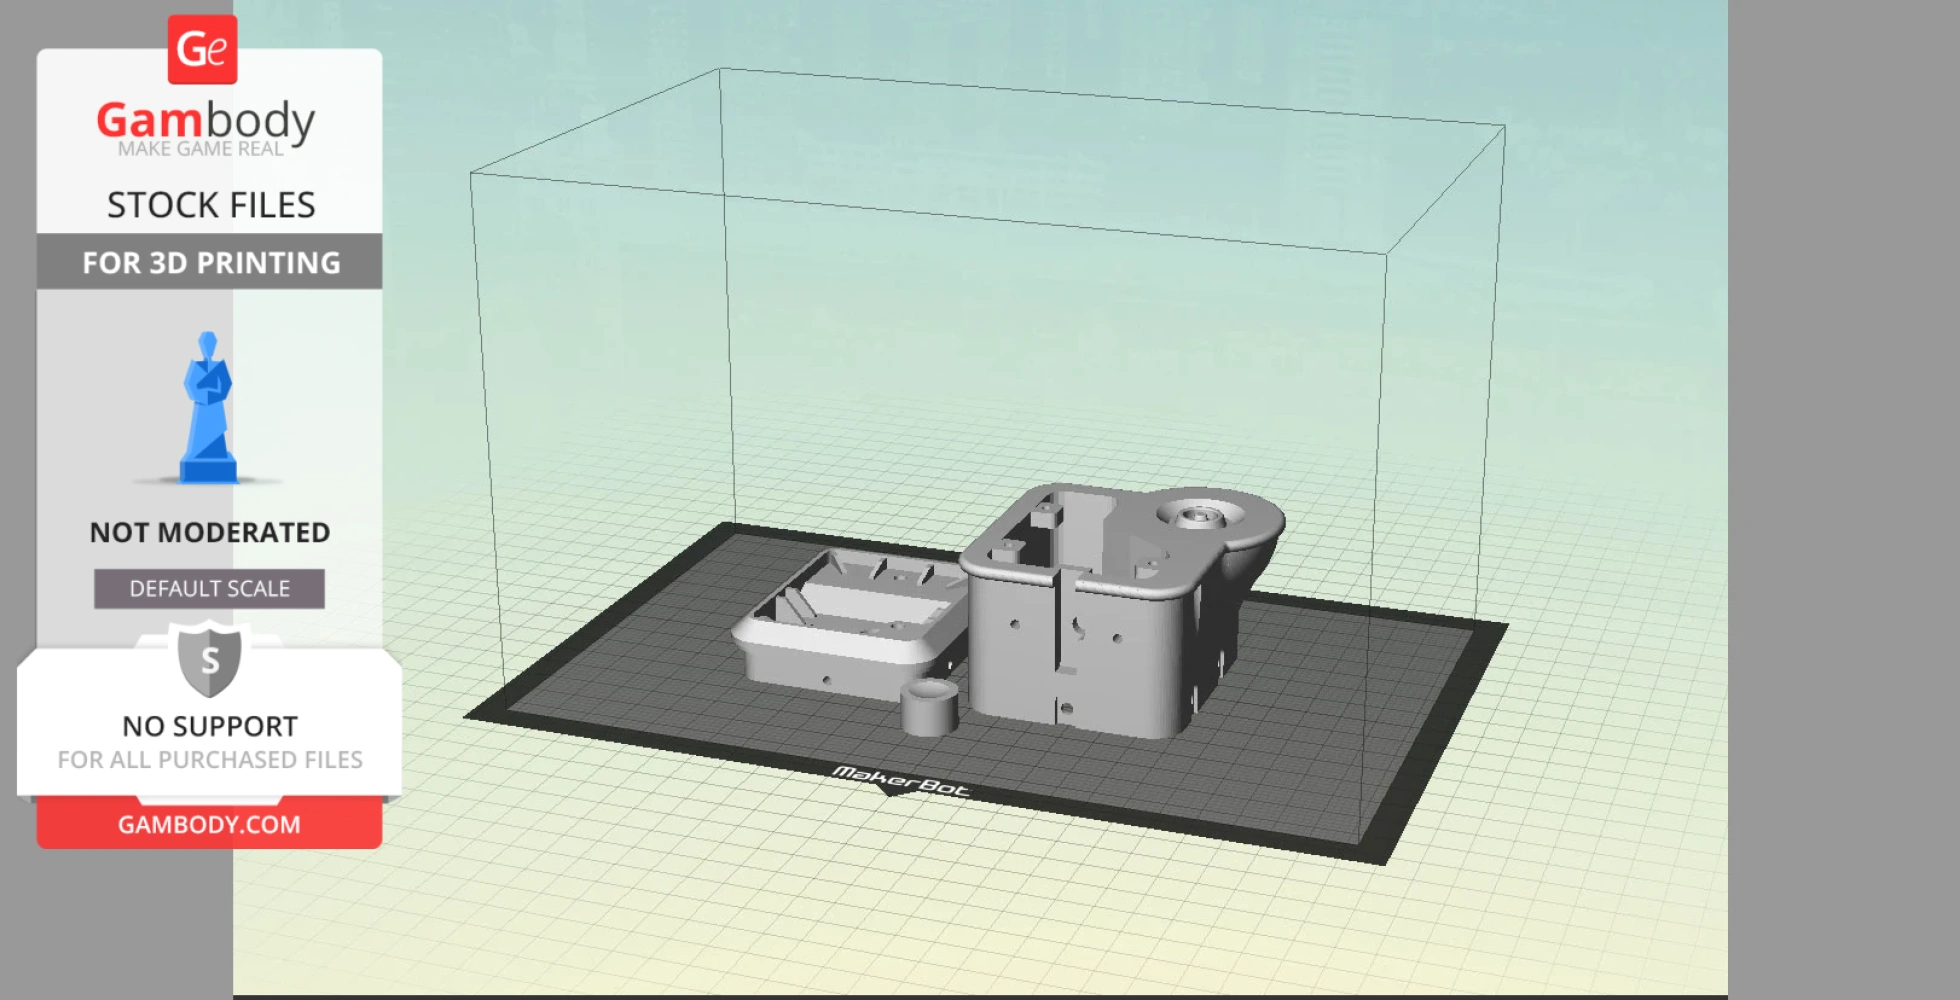
The AEPX Laser Pistol build consists of 30 unique pieces. This features the Power Control Module(PCM), Short Barrel, and Laser Pistol Grip sub assemblies. It features an actuator to engage and disengage the Micro Fusion Cell. To attach different barrels the barrel mount flange will need to be swapped out to attach the desired barrel. You will need an assortment of M3x8mm(26 count) and M4x14mm(2 count) screws to properly assemble it. I recommend purchasing screws from www.accu.co.uk If you can find a cheaper place to buy bulk screws then go with that one.
To avoid printing issues and achieve the best quality, we highly recommend applying the following settings:
Generic
I use makerware 3.7 or later as my slicer. I print in ABS.
- Heatbed temp: 110C
- Extruder temp: 230C
- Infill: at least 30%. For the small actuator pieces 50%
- Travel speed: 110 mm/s
- Recomend using rafts and supports.
- Recommended Filament: Hatchbox
Post Processing
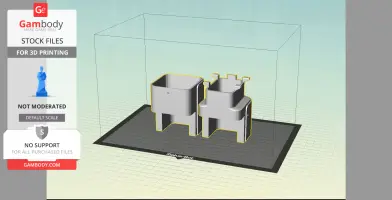
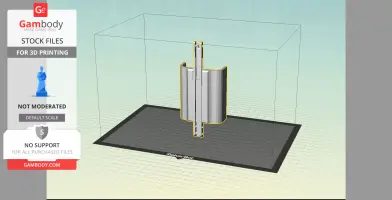
The short barrel and barrel attachment rod are bi sected to cater to the most average size build volumes (150 x 150 x 250 mm) of 3D printers. I recommend printing these parts in ABS as they can easily be adhered together using a mix of acetone and abs scrap slurry. To make the slurry cram your scrap rafting into a glass baby food jar and fill to the top with acetone. Give time for the acetone to melt the plastic scrap to desired working consistency. Brush the acetone and slurry onto where the pieces connect and join them together.