


Files
3D model format
Stereolithography (.stl), model.show.specifications-section.characteristics.format.values.STL
Total files
Slicer settings
not available
Mesh error check
not specified
Support
Provided by 3D Artist (optional)
Update requests
Subject to 3D Artist’s discretion
Model versions
FFF/FDM
Assembly method
not specified
Features
Additional details
Part of diorama
No
Special pack included
No
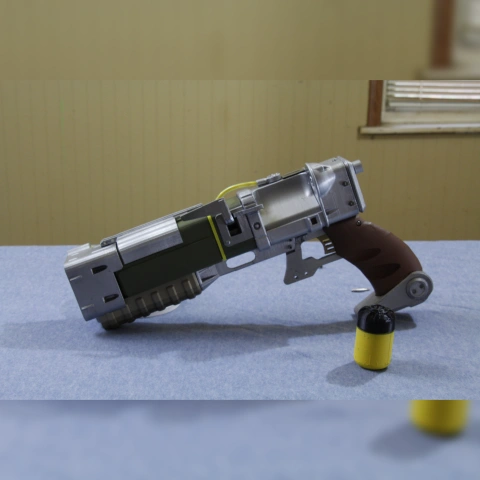
You will get instant access to the STL files of Fallout Lazer Pistol after completing your purchase. Simply add the model to your cart and check out using PayPal, credit or debit card, Apple Pay, Google Pay, Alipay, or other available payment methods.
Watch the assembly video for Fallout Lazer Pistol, and explore more tutorials, behind-the-scenes content, 3D printing timelapses, and painting guides on the official Gambody YouTube channel.
STL files and the cutting of this model are preserved as created by the Author. This model was not moderated by Gambody, it is not subject to technical support by Gambody, and we do not offer any guarantees on the 3D printing results.
Stock models can only be purchased in an order separate from the Premium STL files by Gambody. If a Premium model is added to the Cart, the Stock models are deleted automatically, and vice versa.
You can read more about Stock models onGambody's Blog.
The Author of the Stock model can provide technical support if they wish. All your questions, requests, wishes and remarks can be left in the comment section below.
Gambody Team can consider providing a Premium version of the model if highly requested.
Before printing, take a look at Printing Details for recommended settings and tips to achieve better results.
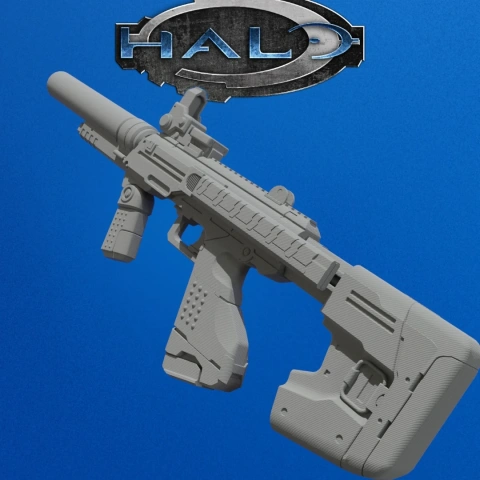
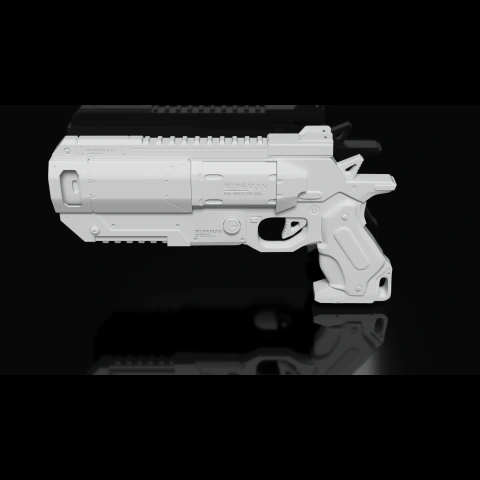
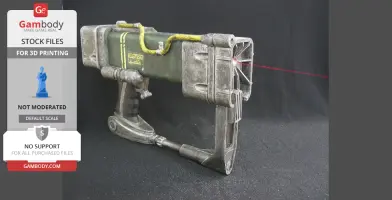
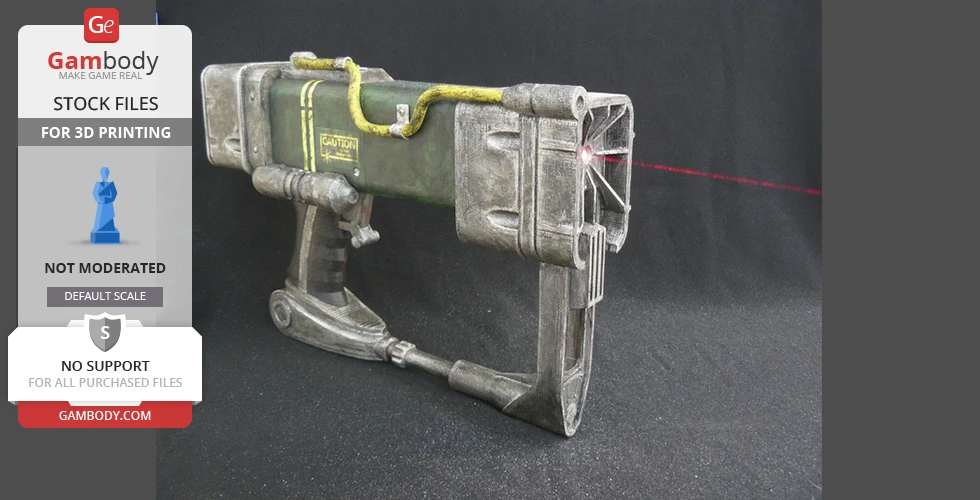
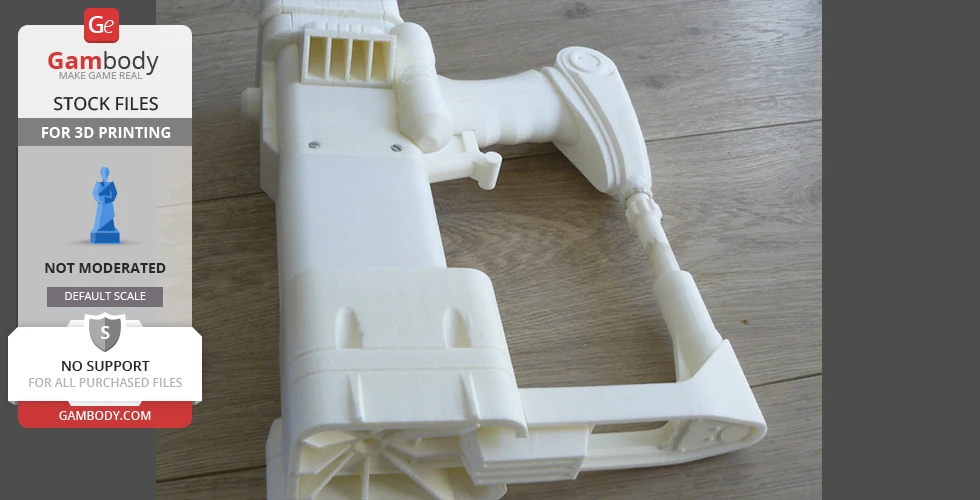
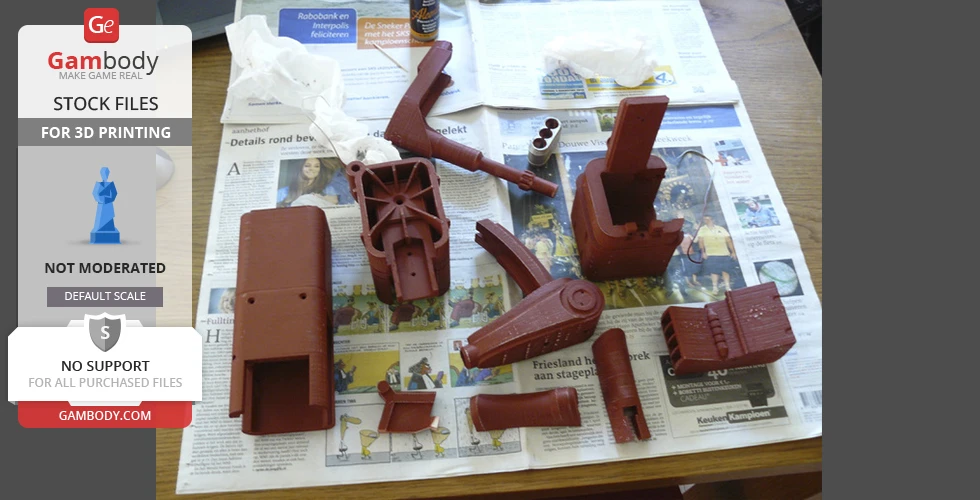
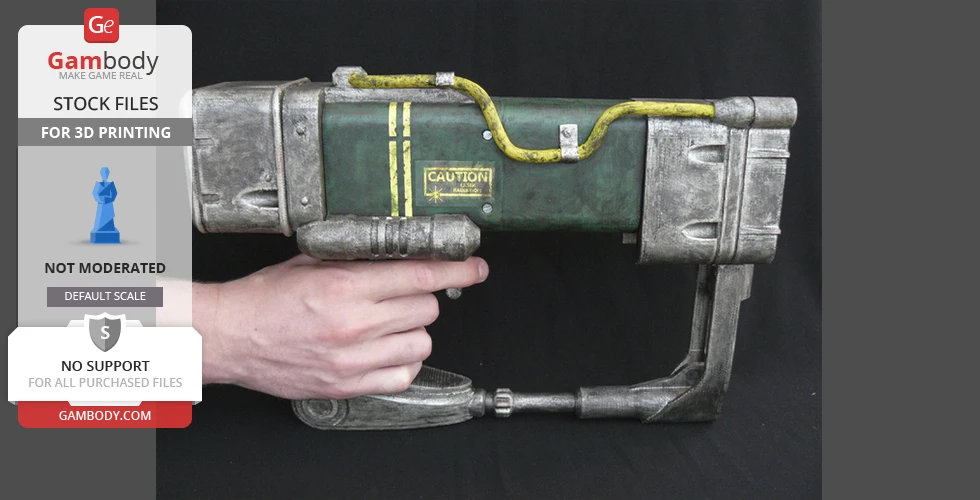
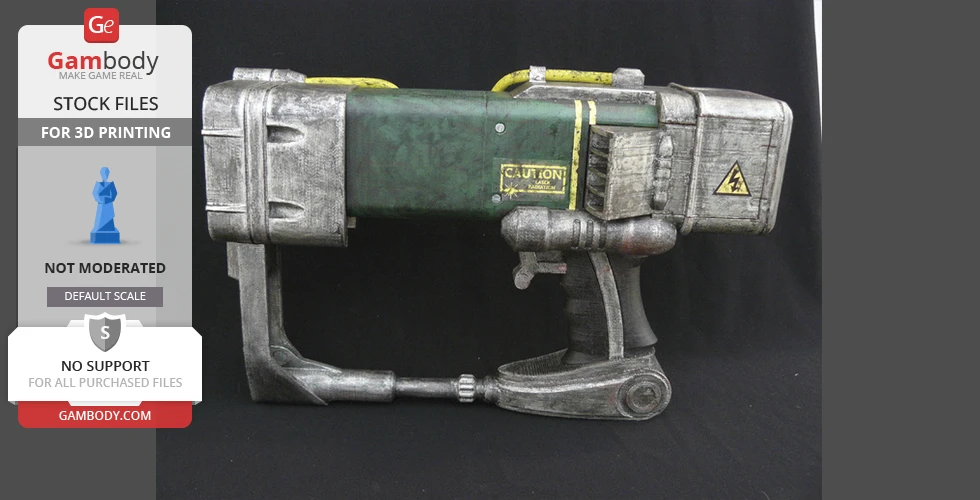
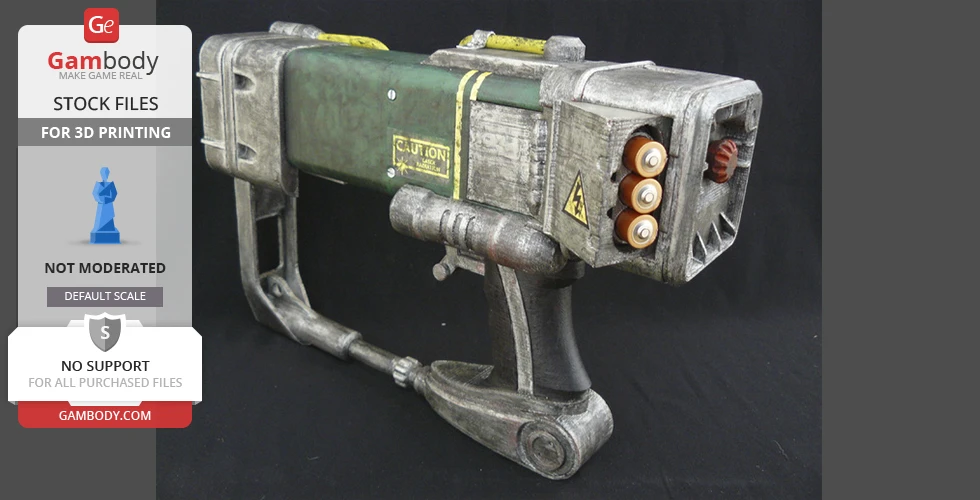
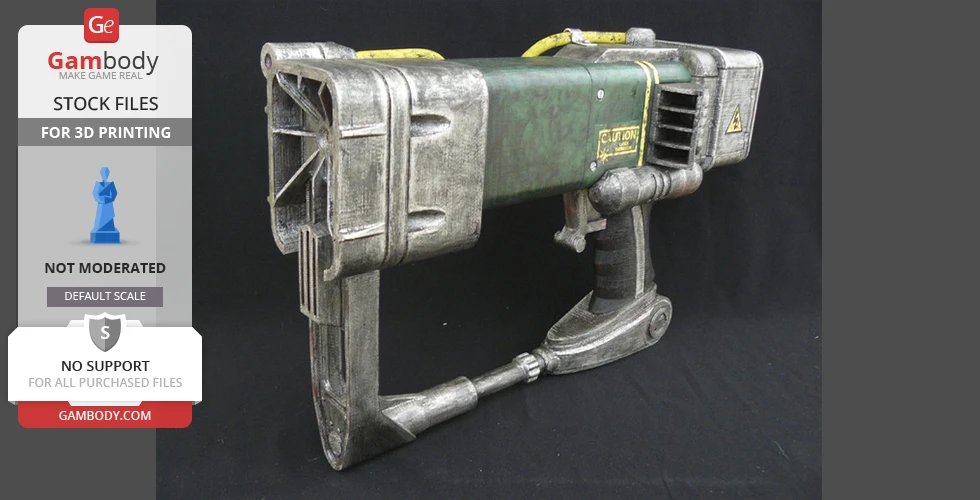
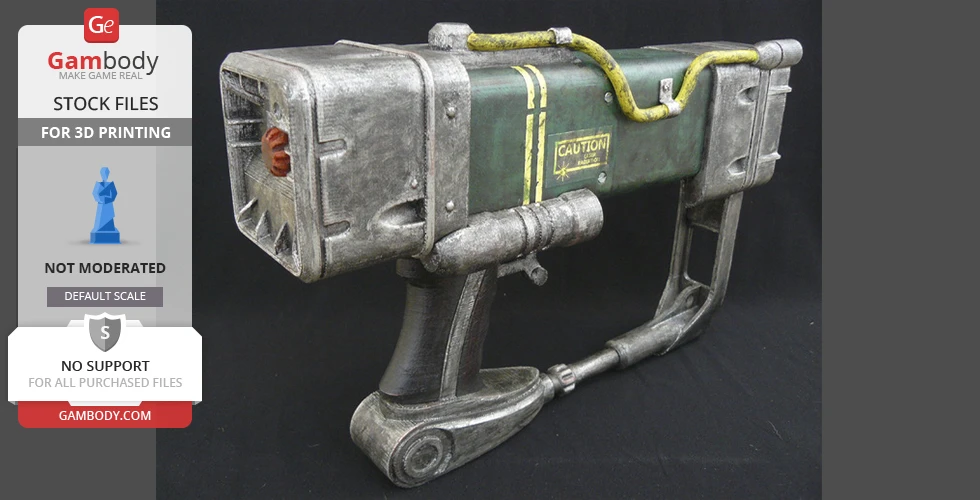
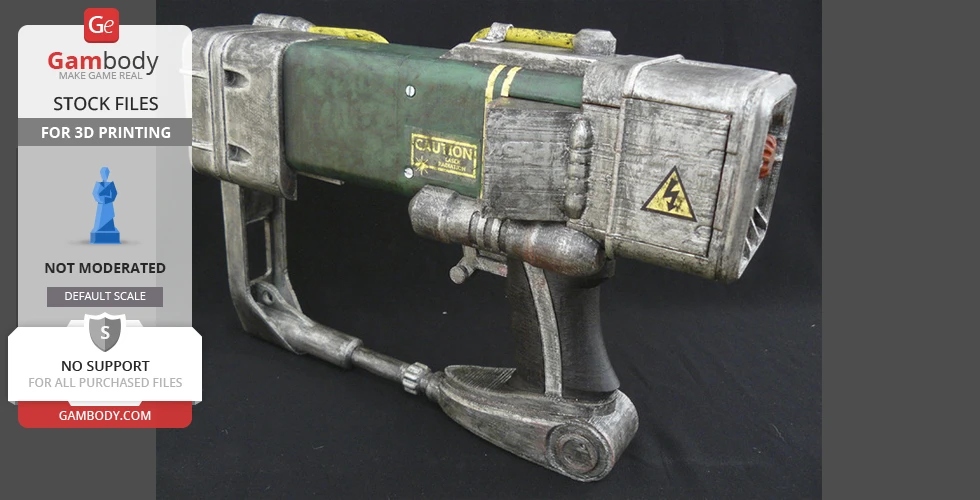
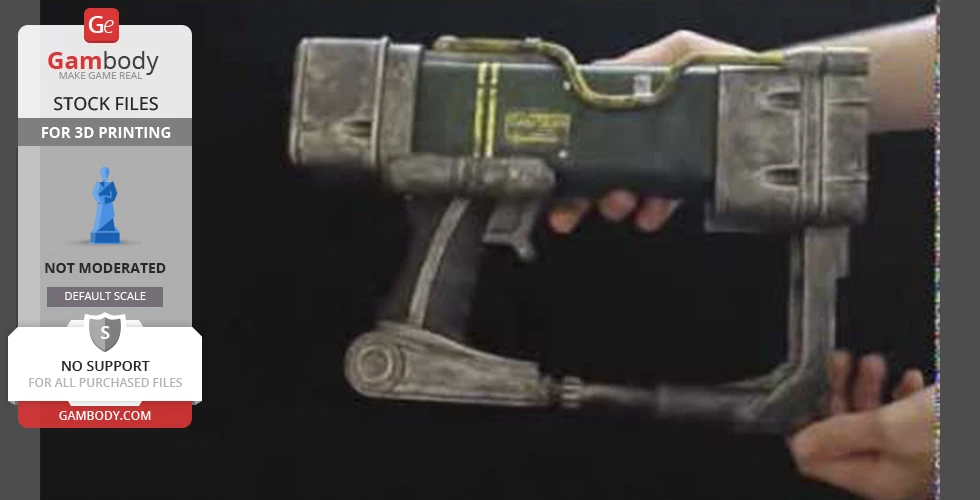
A 3D printable AEP7 laser pistol from the fallout series. It is hard to print (long print times, large parts, lots of support) but the pay-off is most certainly worth it.
Average customer rating (1 reviews)
5
Ratings breakdown
Click a star rating to filter reviews
Overall experience
Level of detail in the model
5
Model cut quality and assembly guide
5
Clarity and accuracy of the model page
5
Level of detail in the model
5
Model cut quality and assembly guide
5
Clarity and accuracy of the model page
5
To avoid printing issues and achieve the best quality, we highly recommend applying the following settings:
Generic
To make this you will need several things:
- An assortment of M3 screws and nuts;
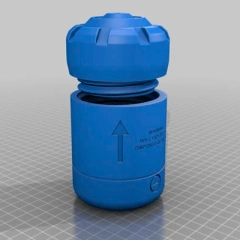
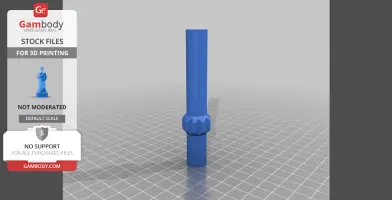
- 2 M4 screws for the cilinder;
- A piece of M4 or 4mm shaft as a hinge for the mag holder;
- A stiff flexible tube around 7mm (I used a painted coax cable);
- A tiny piece of strip, aluminum ie. to make tine clamps for the tube;
- plenty of printing material;
- All sorts of paint;
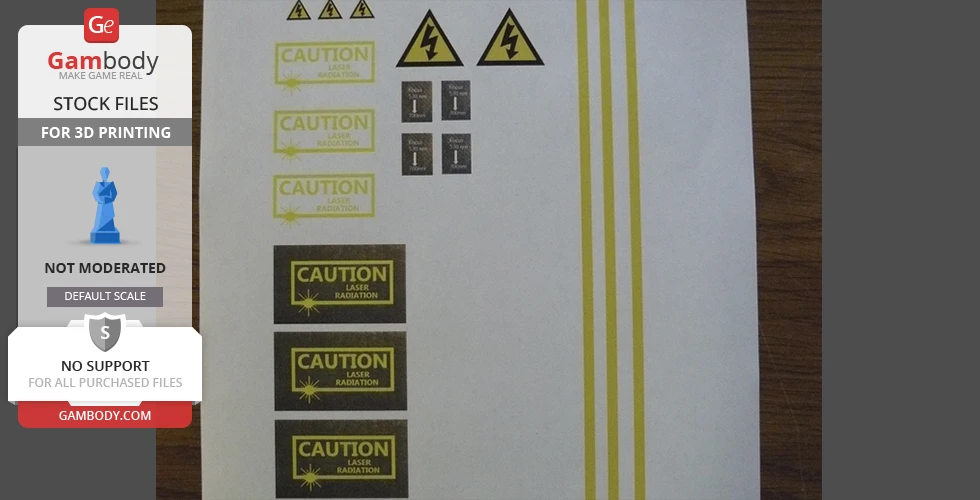
- A color printer to print some of the decals
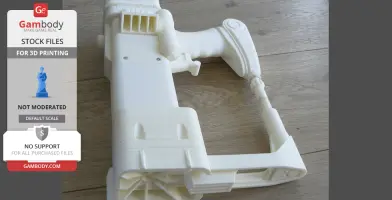
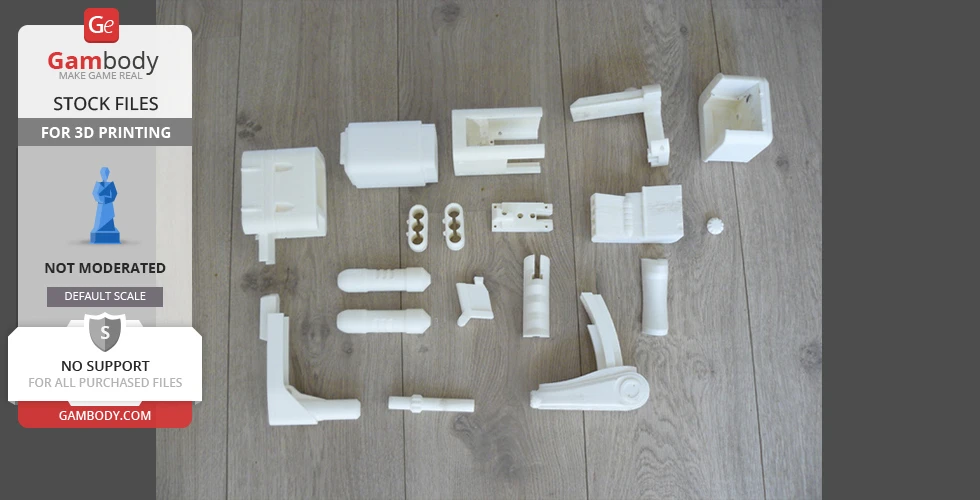
Printing took me around 30 hours and just above (I had some misprints) 1kg of material. Almost every part needs support, this isn't an easy print.
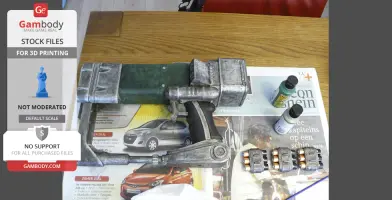
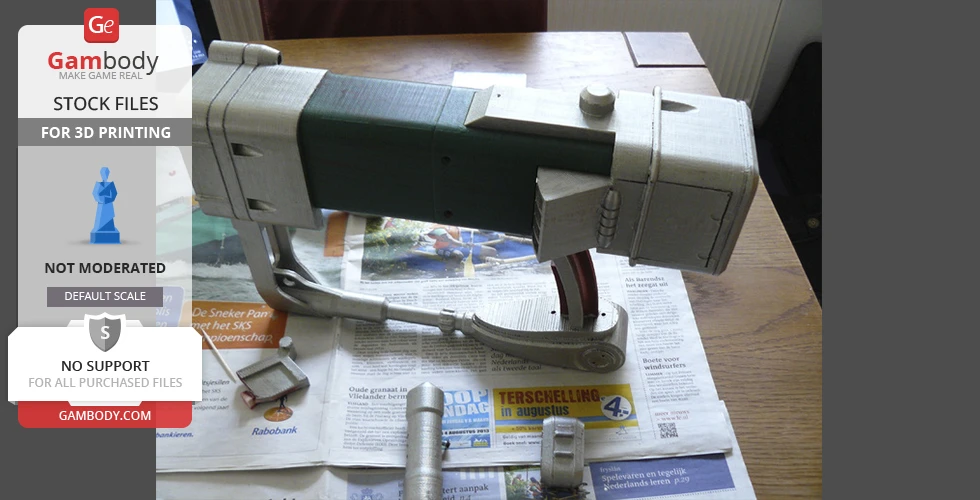
Next paint it the way you want to. This time (having learned my lesson from the Pip-Boy (it was supposed to be green)) I did my best to get it painted the way it is supposed to be, as game accurate as possible.
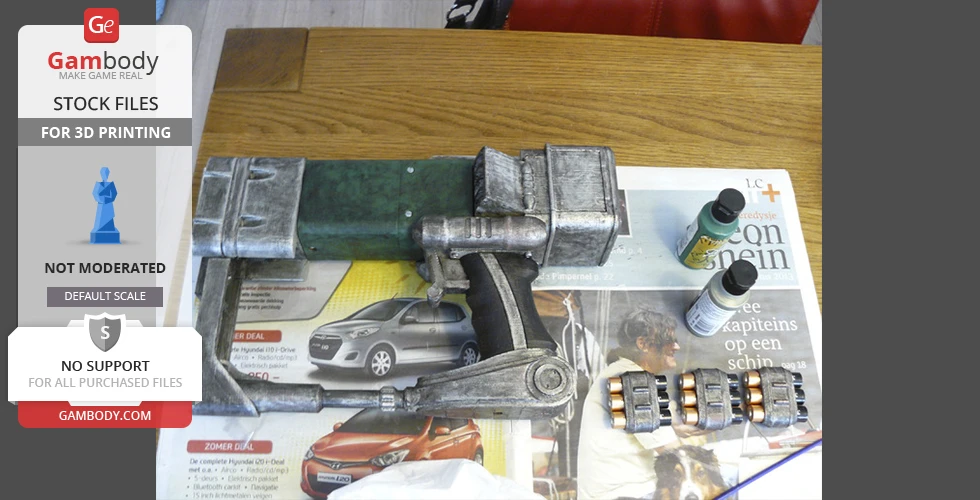
I first used filler primer to smooth the parts, then painted in the right colors. After that I weathered all parts using a brush and black paint (and a whole lot of time).
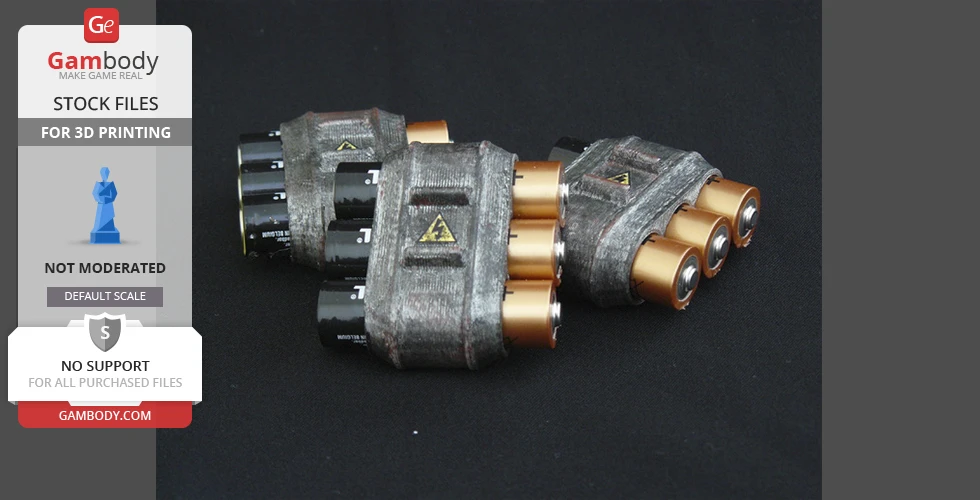
Lastly print all of the decals using a color printer and apply the decals to the model. Some of the texty bits have color added to them to ease the work. you might need to adjust the color of these decals to your paint job. Shock hazard warnings for Hyena_of_dooms' energy cells are also included on the decals sheet.
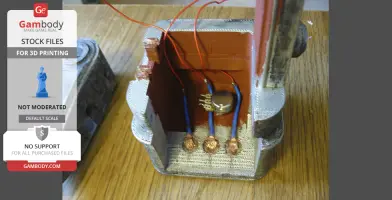
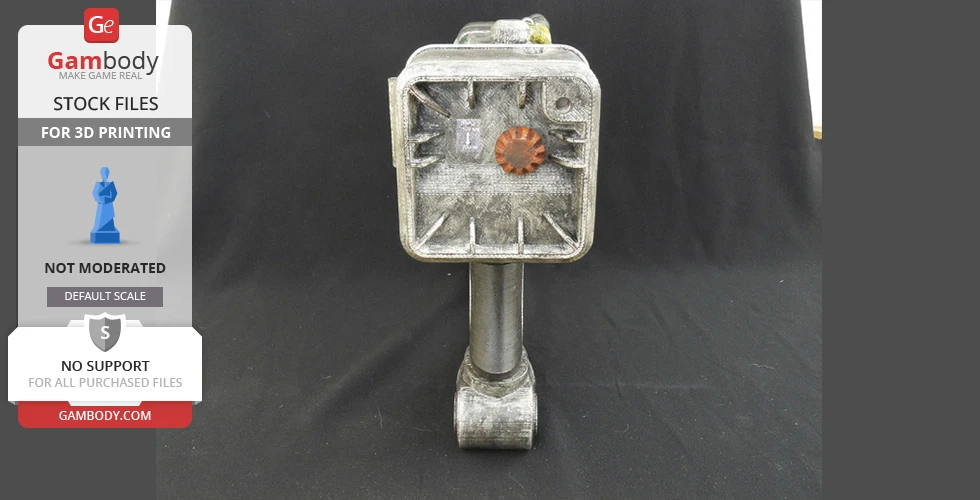
A switch can be added to the trigger and a potentiometer can be added to the knob on the back. The body is fully open to fit anything you desire (like a red laser pointer).